To equip various homemade products, a small DC electric motor may be required. It can be purchased or dismantled from broken equipment, but it is also possible to make it yourself. It's not as difficult as it might seem at first glance.
Materials:
- PVC pipe;
- Super glue;
- bicycle spoke;
- plastic candy tube;
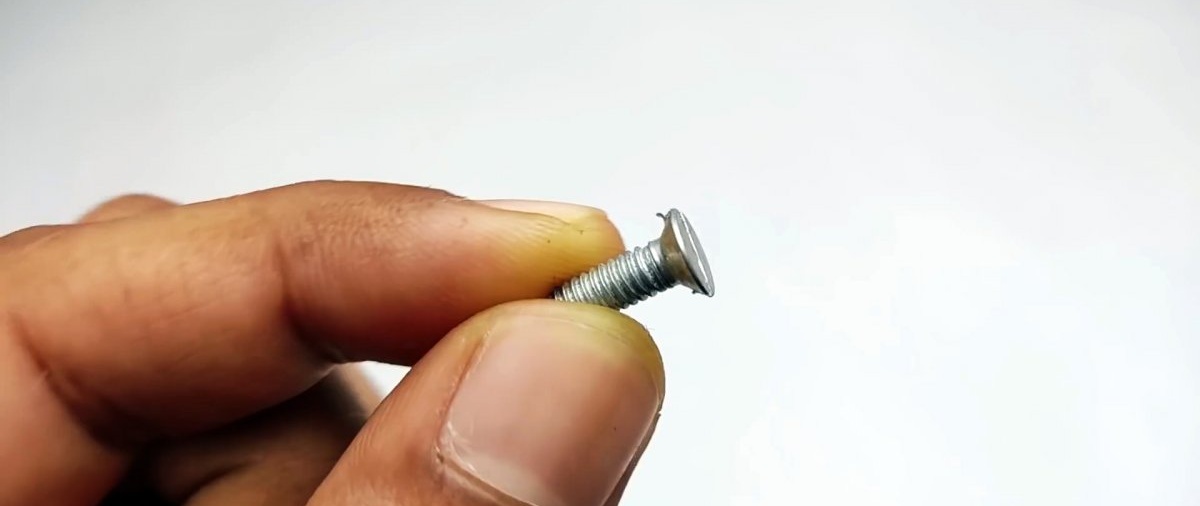
- M3-M4 screws – 6 pcs.;
- telescopic antenna tube;
- enameled copper wire;
- neodymium magnets – 4 pcs -
Electric motor manufacturing process
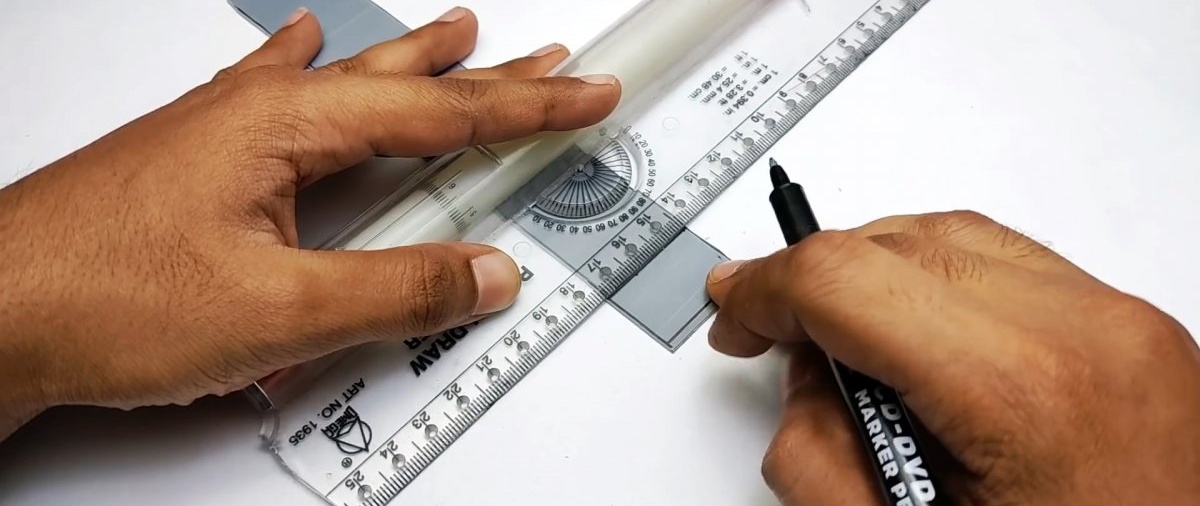
A piece of PVC pipe needs to be cut lengthwise, heated and flattened into a sheet.


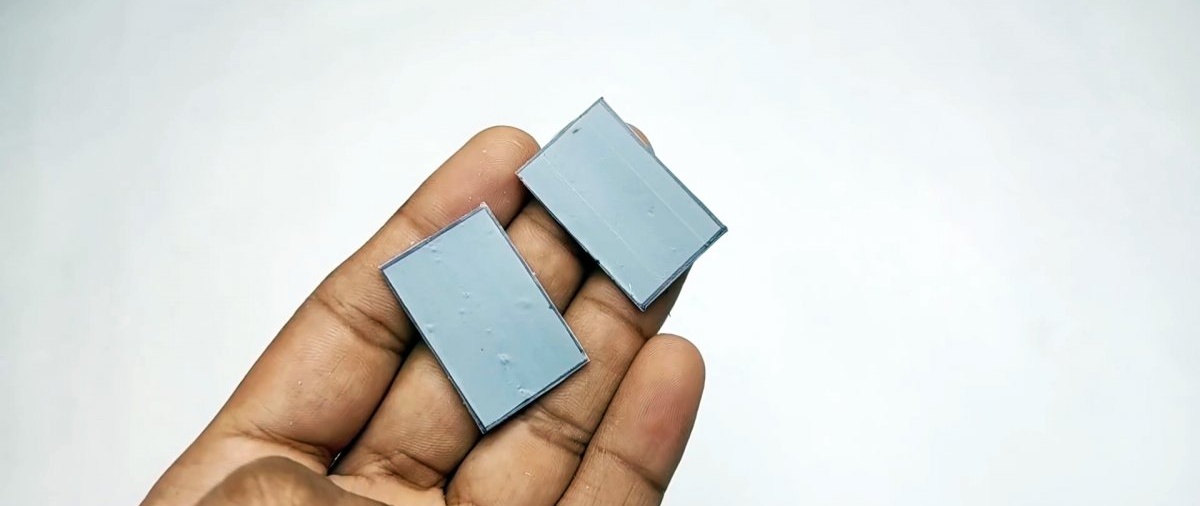
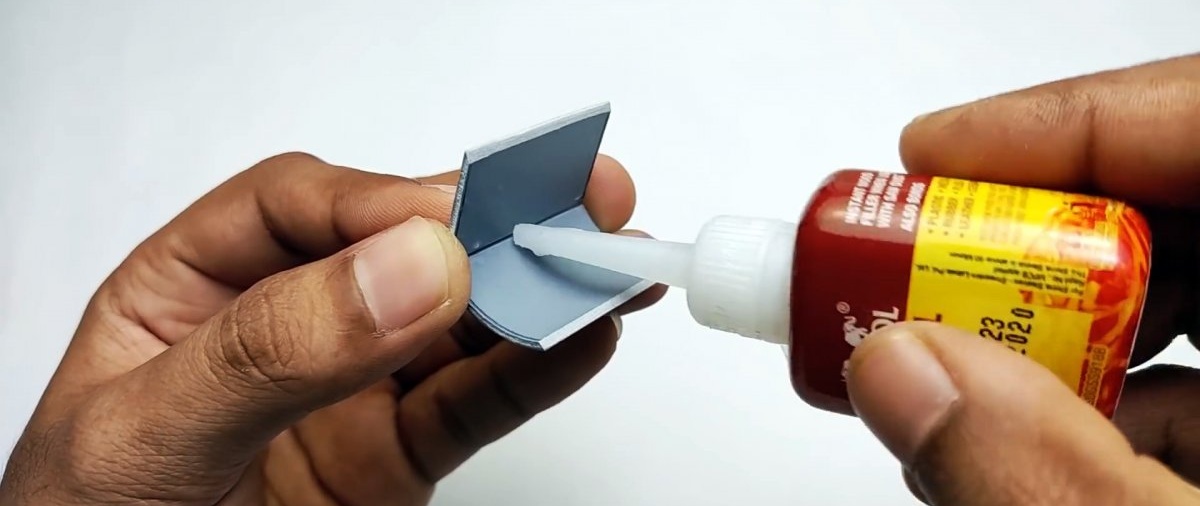
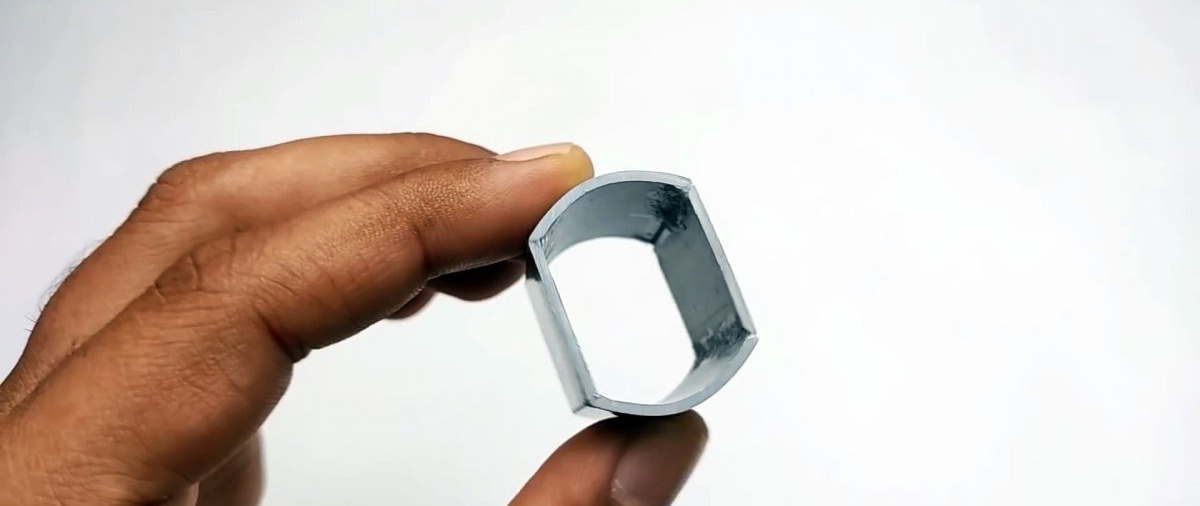
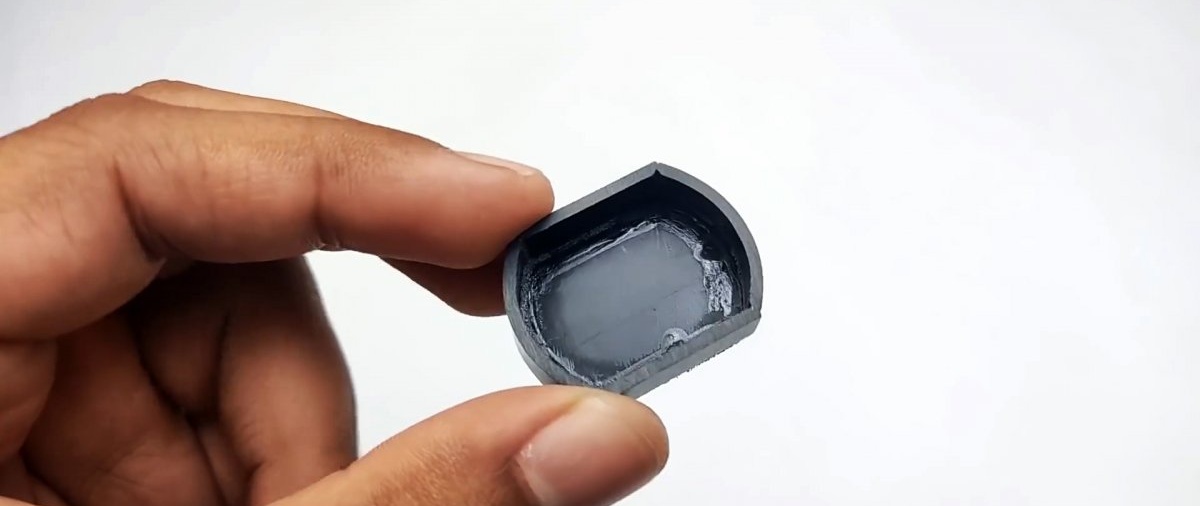
A strip is cut out of it. 2 rectangles are cut from it to make the engine housing.
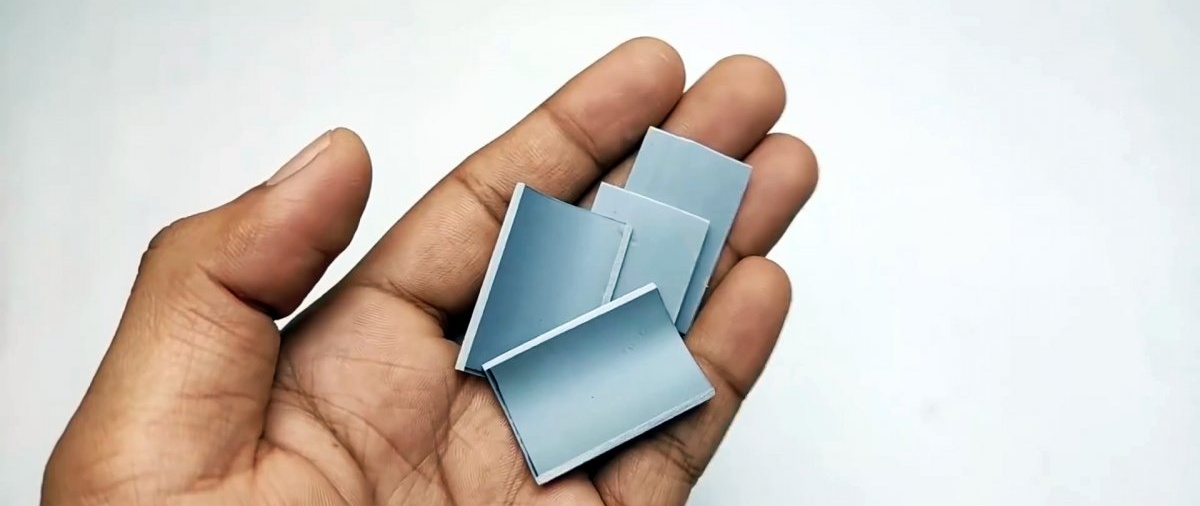
The rest of the strip is heated and curls around the tube. Arcs are cut from the resulting ring, which will serve as the sides of the body.


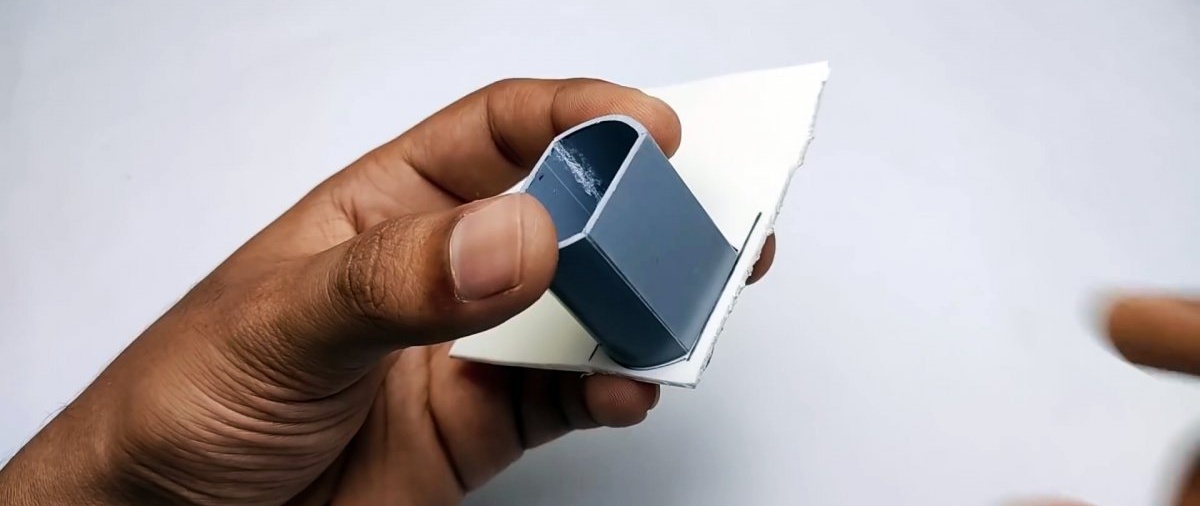
The parts are glued into the body with super glue.
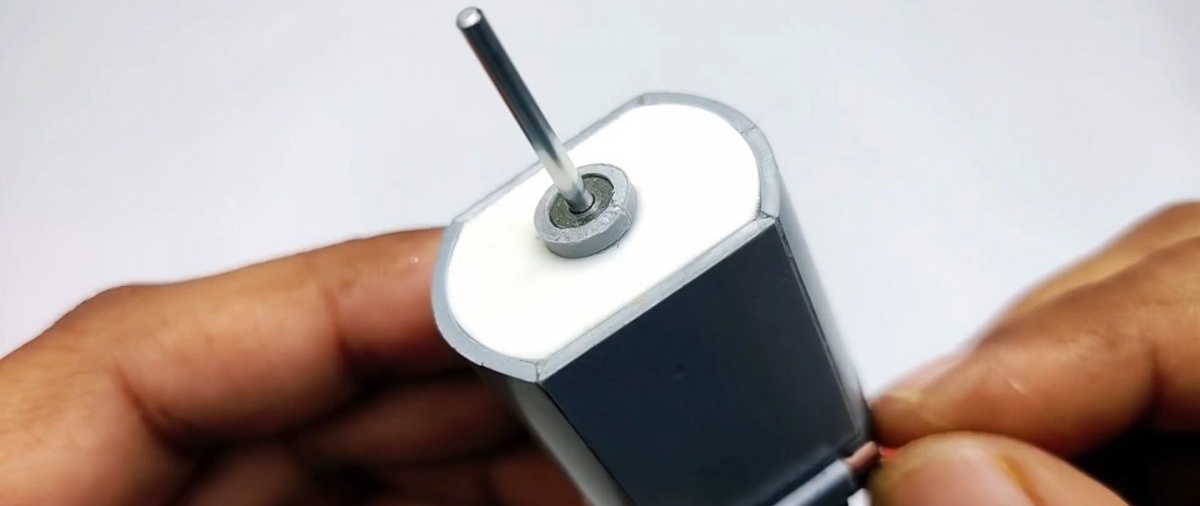
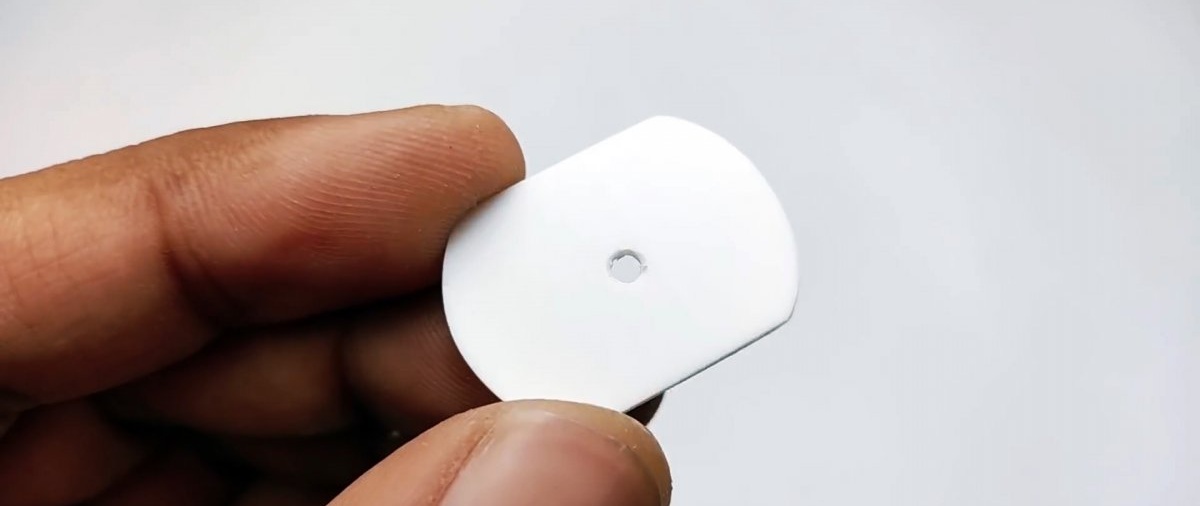
The front plug is cut out of sheet plastic. A hole is drilled in its center for the rotor shaft.

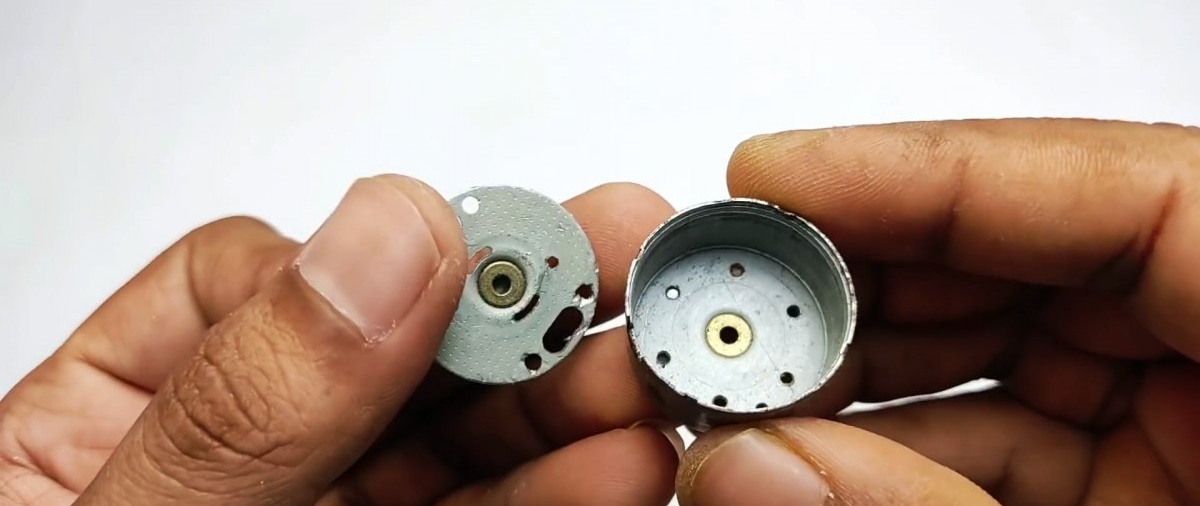
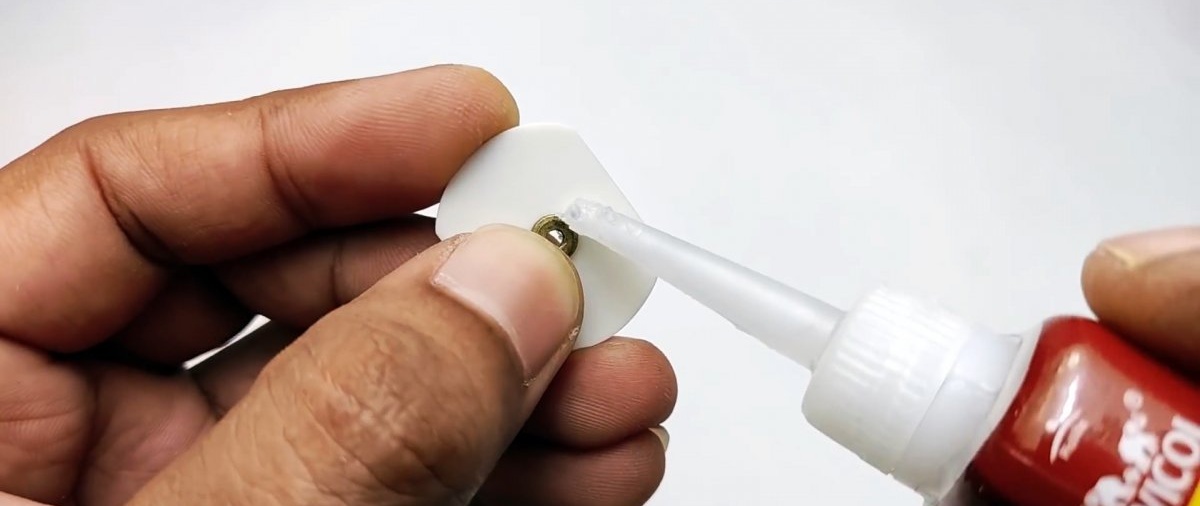
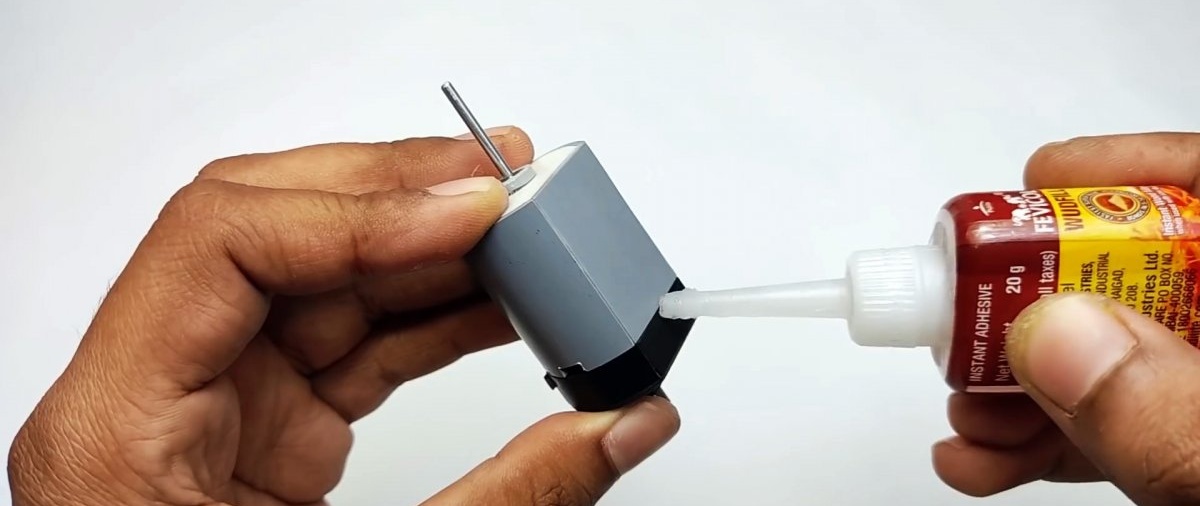
The bushings must be removed from any broken electric motor of a similar size. One of them is glued onto the plug of a homemade case.Then the front wall itself is glued.


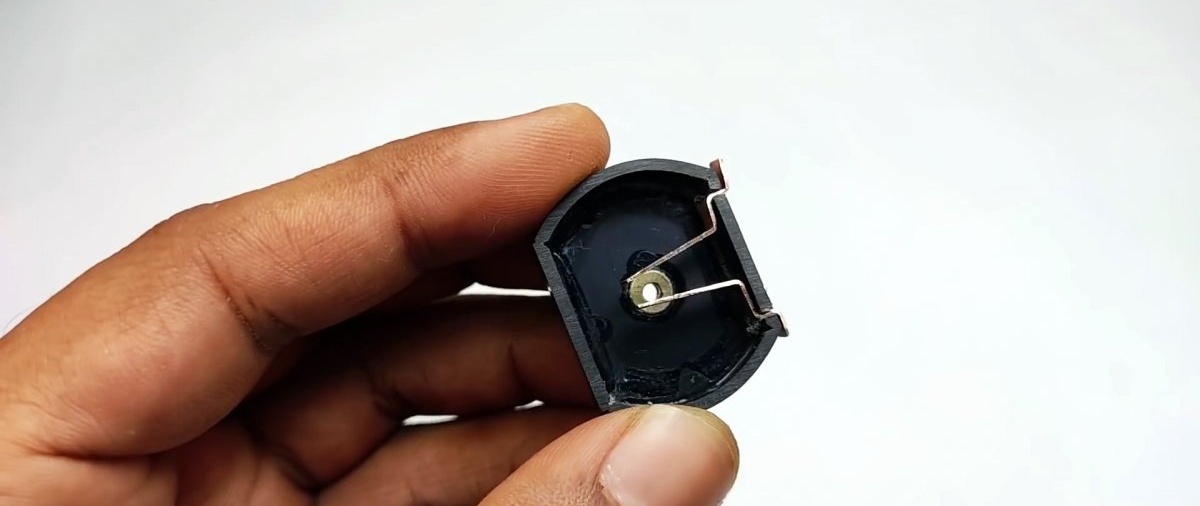
Next, the back cover is made. Since the brushes will be placed on it, you will need to make sidewalls on it. A hole is drilled in its center and a second bushing is glued into it. You will also need to make an external trim for the lid.

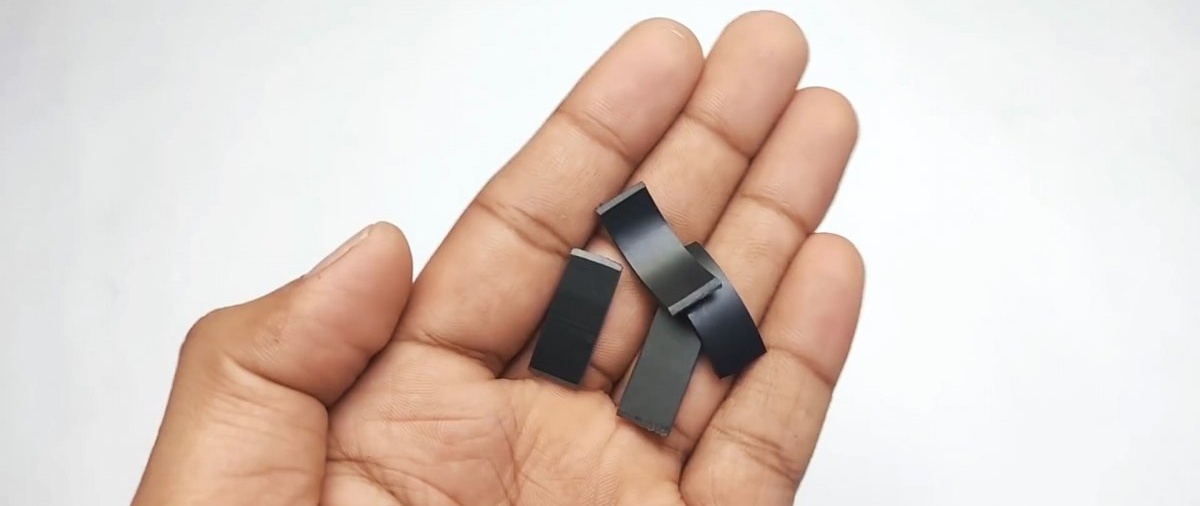


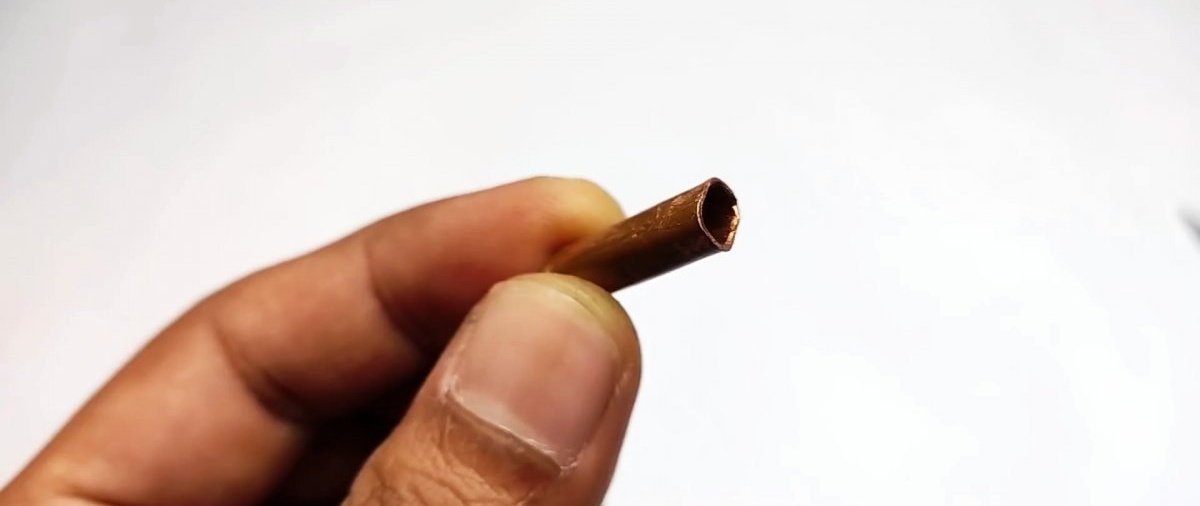
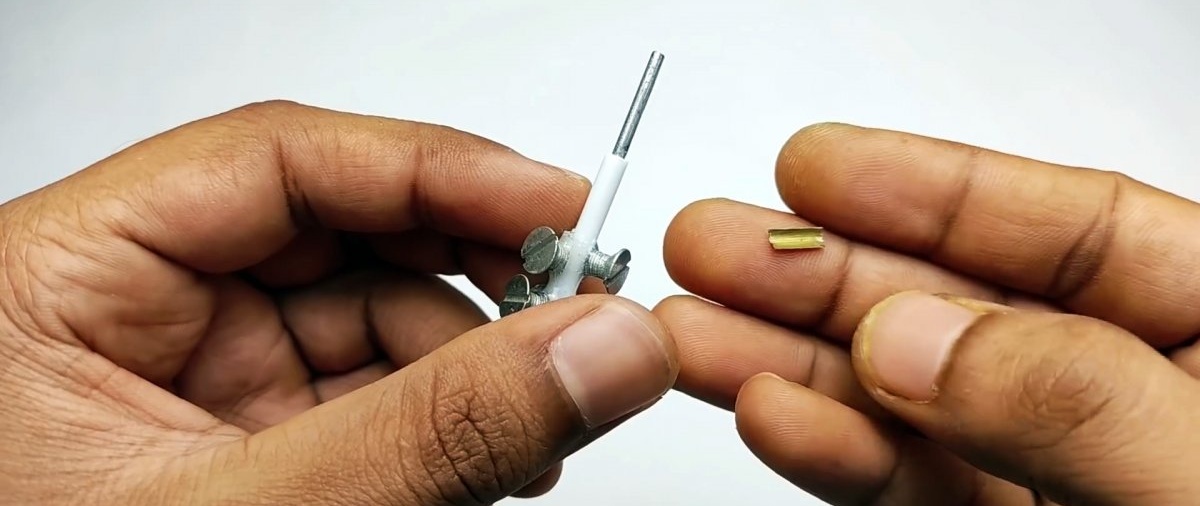
At the next stage, brushes are made. To do this, you need to cut and straighten the copper tube, then cut strips from it. Cuts are made in the back cover, and curved brushes are inserted into them. They should be supported from the outside with a glued strip of PVC.


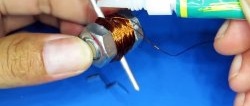
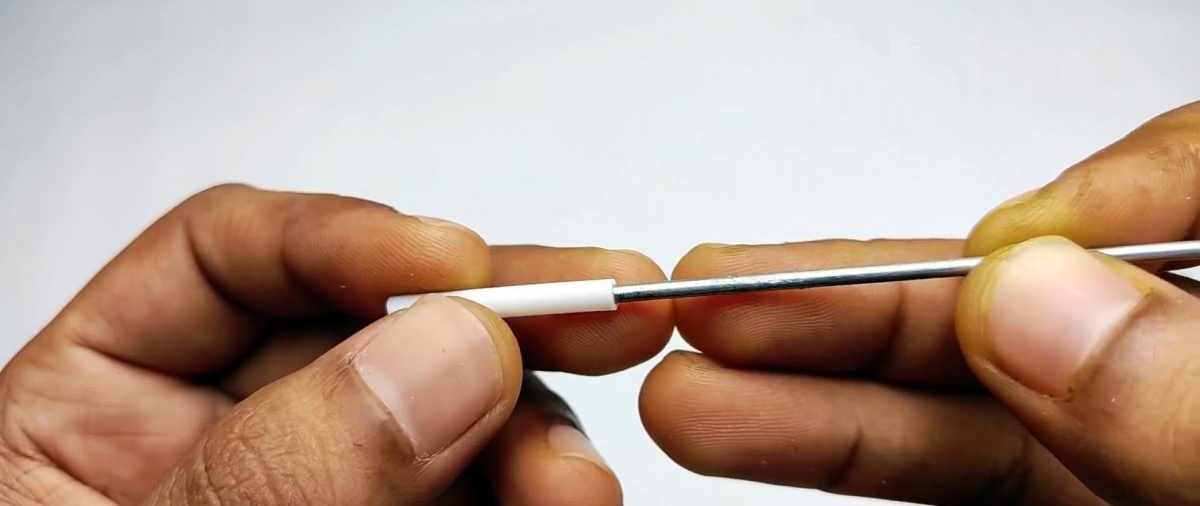
The rotor shaft is made from a bicycle spoke. A plastic tube is put on it and glued. 6 shortened screws are glued to it. They are fixed with epoxy resin.

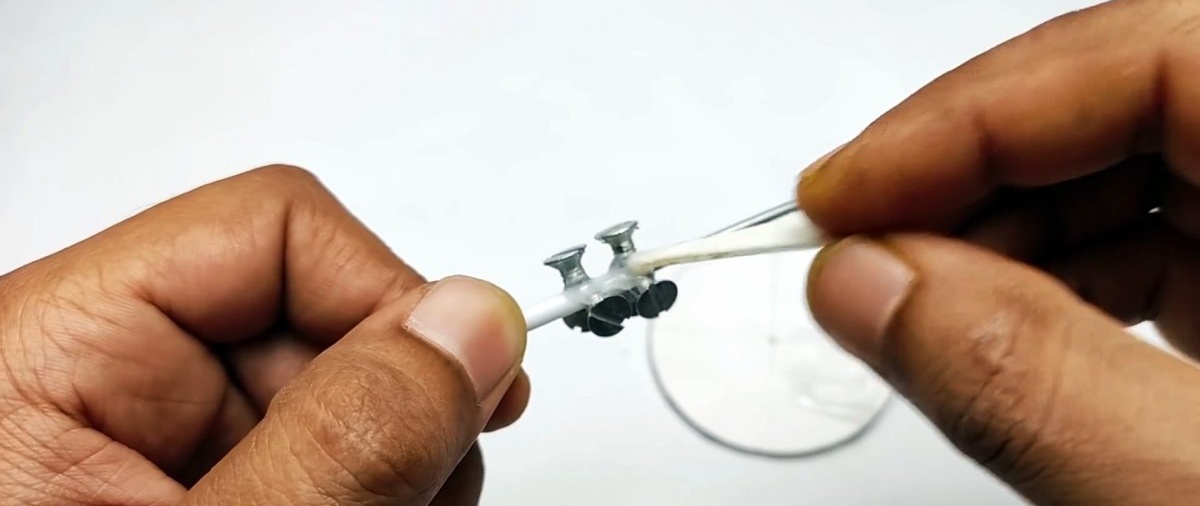
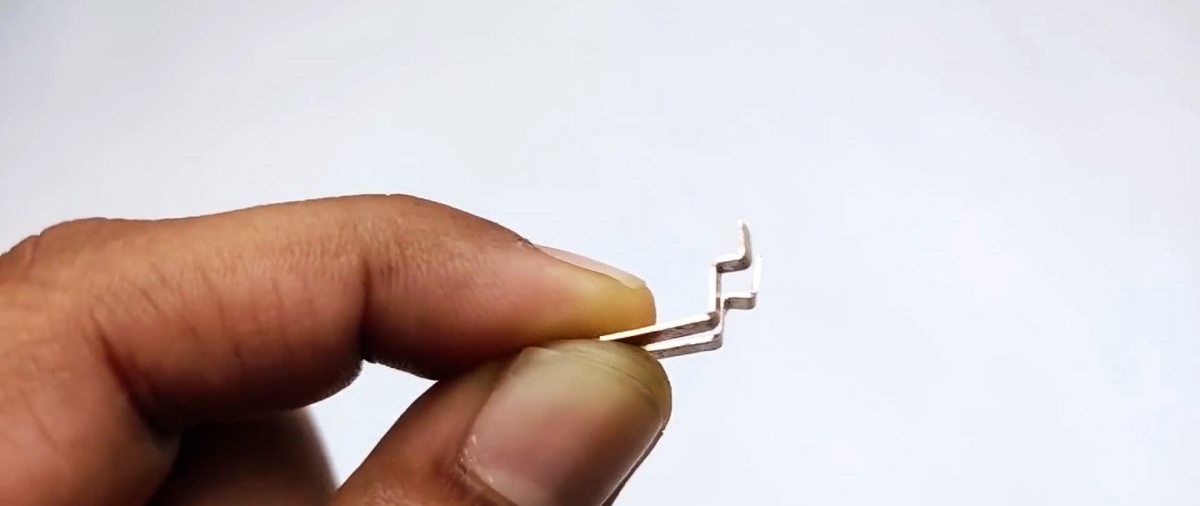
To make the engine manifold, you need to cut 3 pieces from the telescopic antenna. They are glued to the tube slightly above the screws.
Next, 60 turns of copper wire are screwed onto each pair of screws. The edges of the winding are soldered onto the collector.
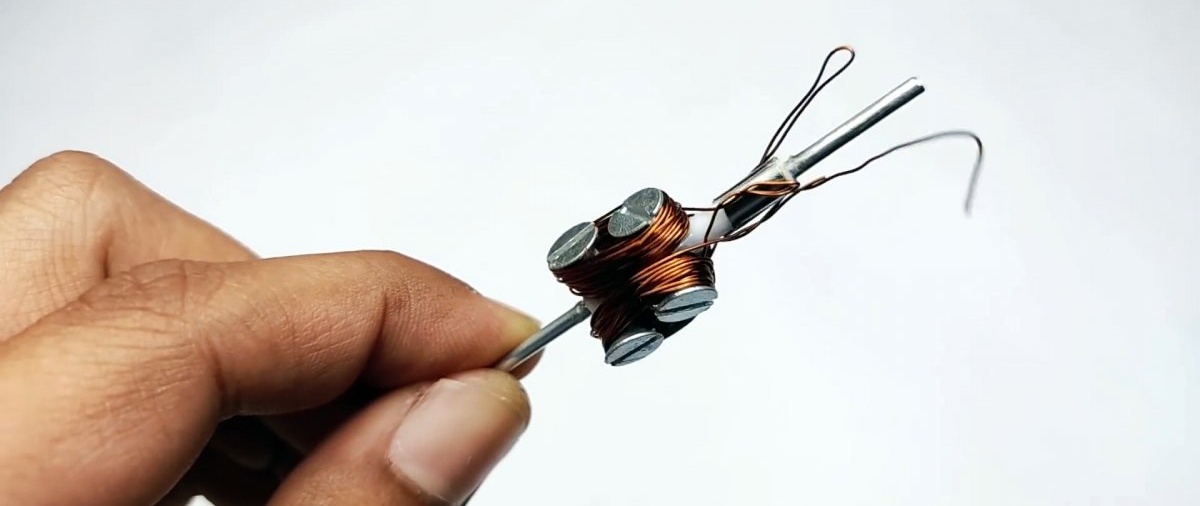

Limiting bushings are installed on the armature shaft to prevent play in the engine housing.

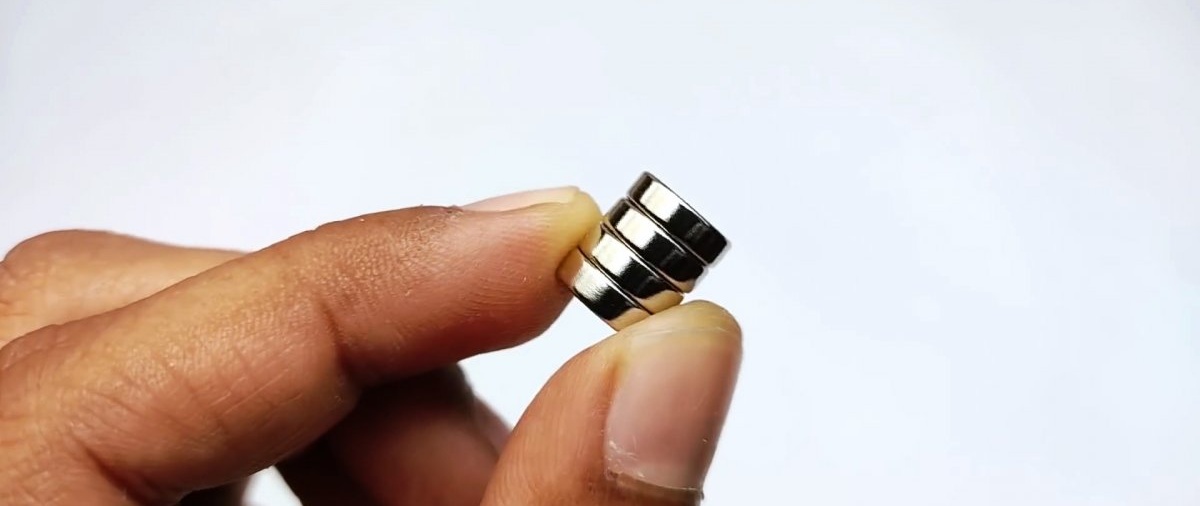
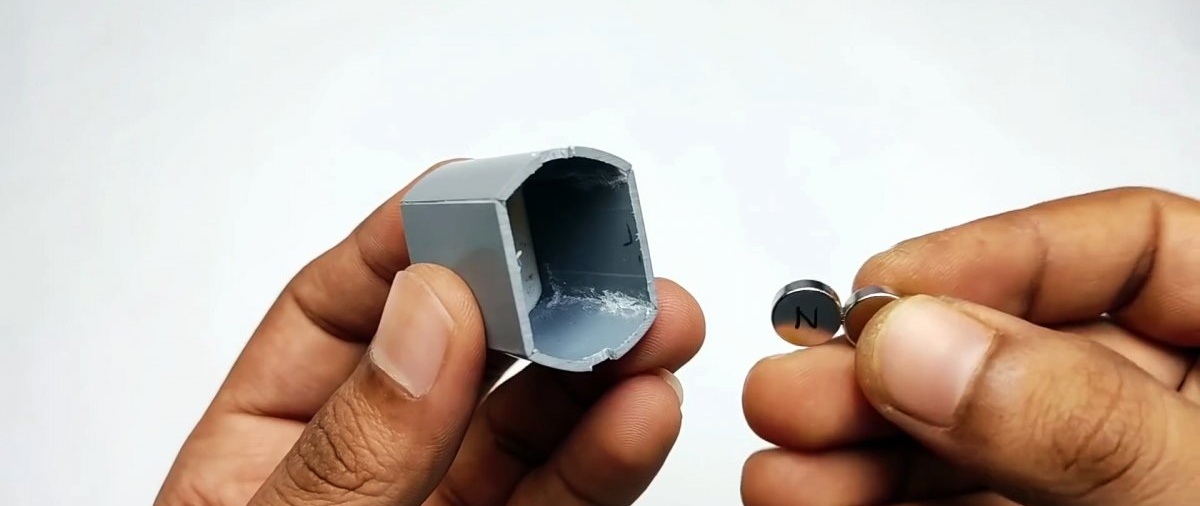
Next, you need to glue together 2 pairs of neodymium magnets, turning their poles opposite. They are glued into the engine housing from the side of the curved sides.

The rotor is installed in the housing so that the brushes are adjacent to the commutator. Then you need to glue the back cover.

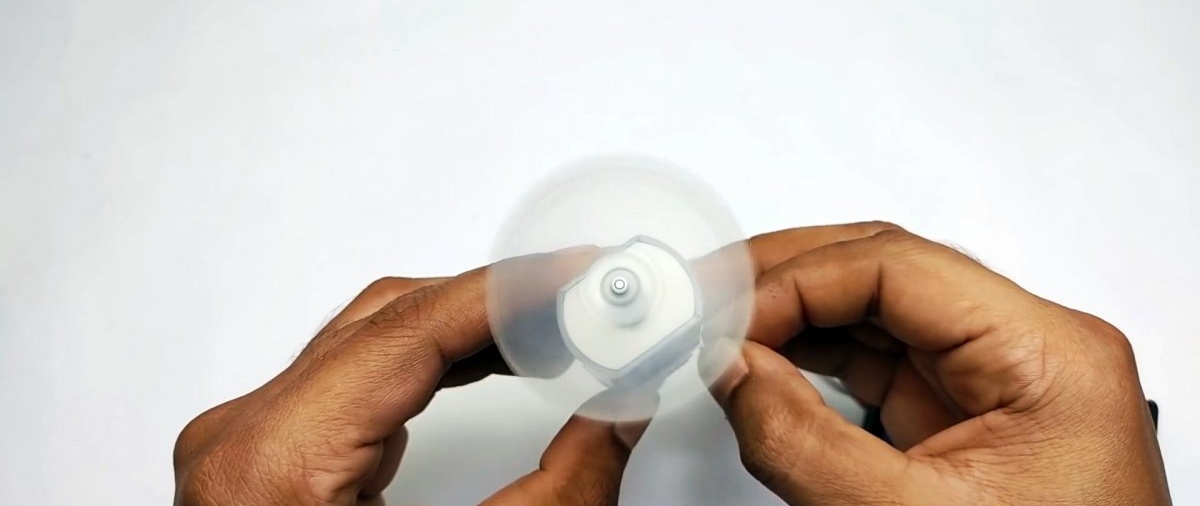
Now, when power is applied, the motor will start.