A clamp is used to tighten hoses on fittings, attach fencing mesh and perform other tasks. It can be used to tighten the wire clamp very tightly. There are many variations in the manufacture of this instrument, but few designs are easier to replicate than this one.
Materials:
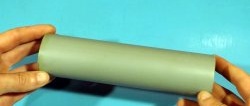
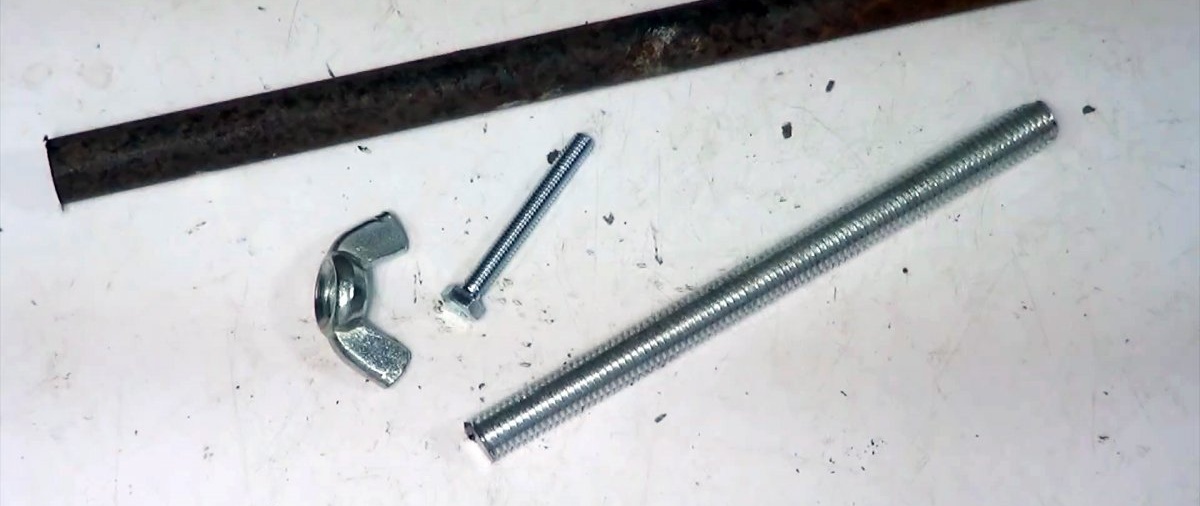
- half-inch pipe;
- threaded rod M12-M14;
- wing nut for stud;
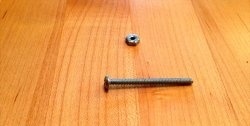
- long M8 bolt.
Clamp manufacturing process
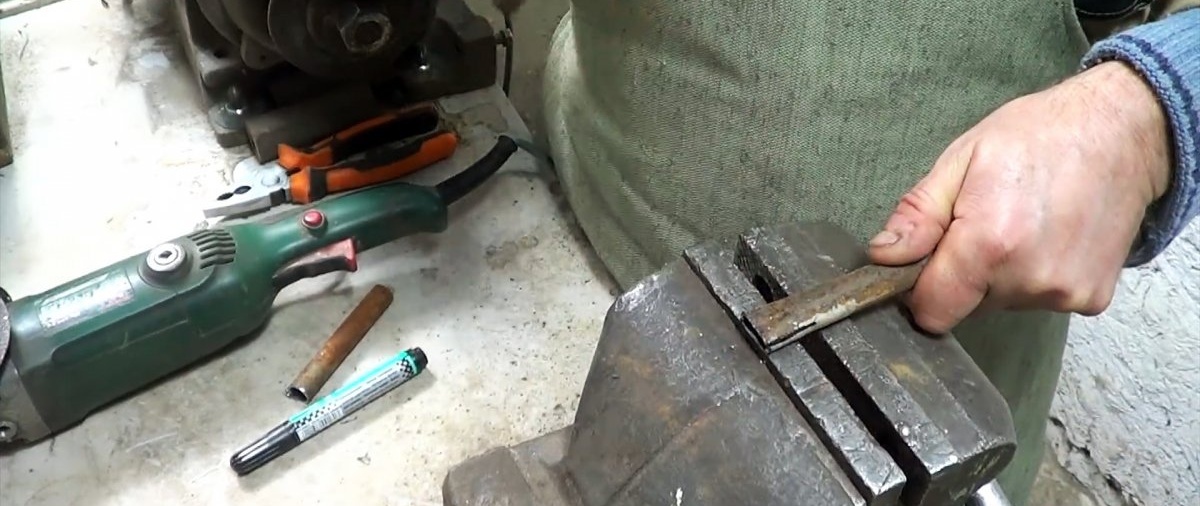
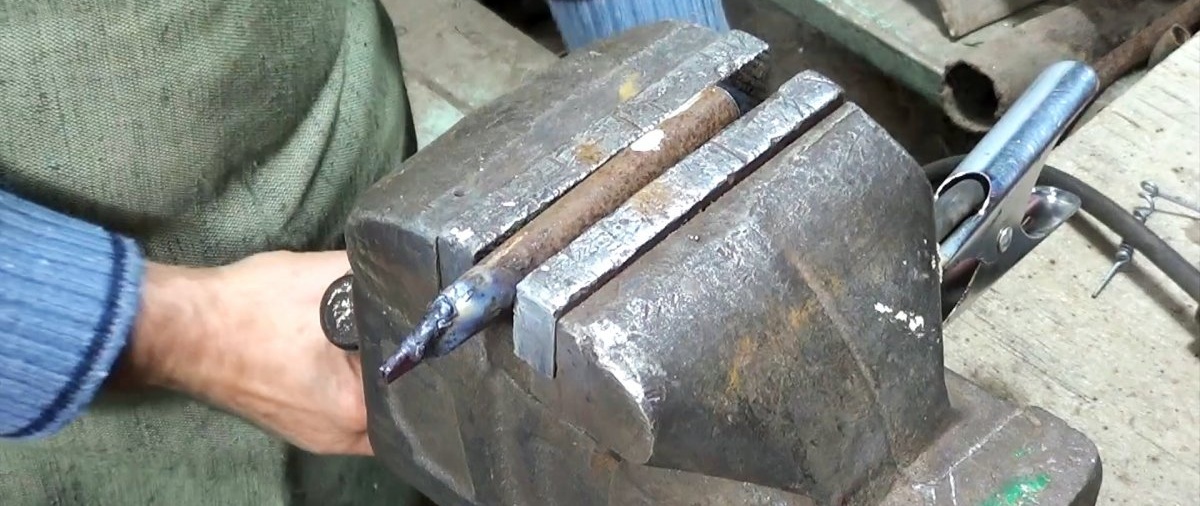
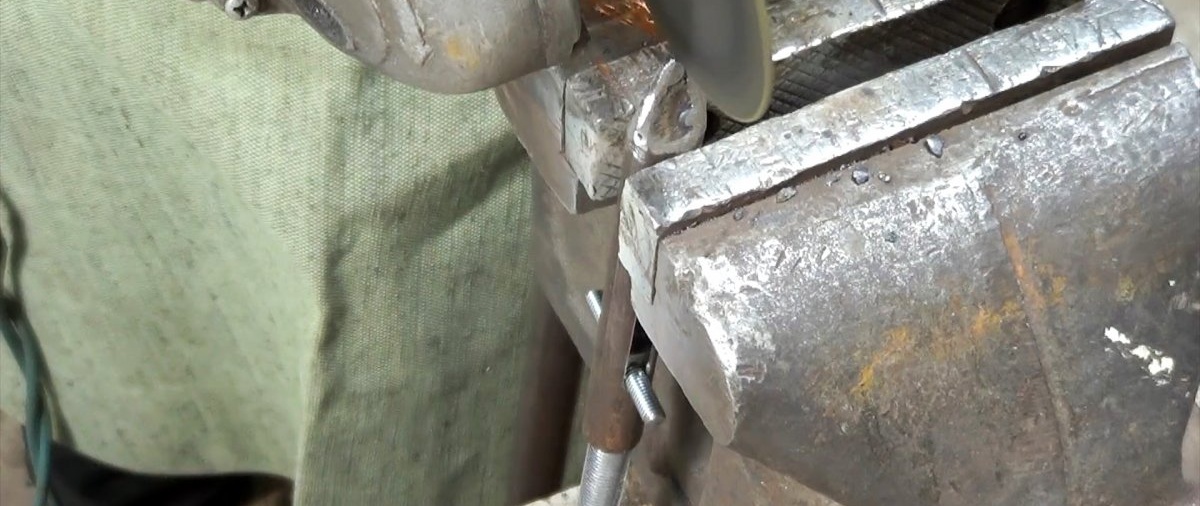
A 150 mm blank is cut from the pipe. Its edge must be flattened to a length of 30 mm and cut to a point. The sides of the cut are welded and polished.


A 200 mm workpiece is removed from the threaded rod. From one edge it needs to be ground off on both sides, drill a hole in this place and cut a thread in it for the bolt.


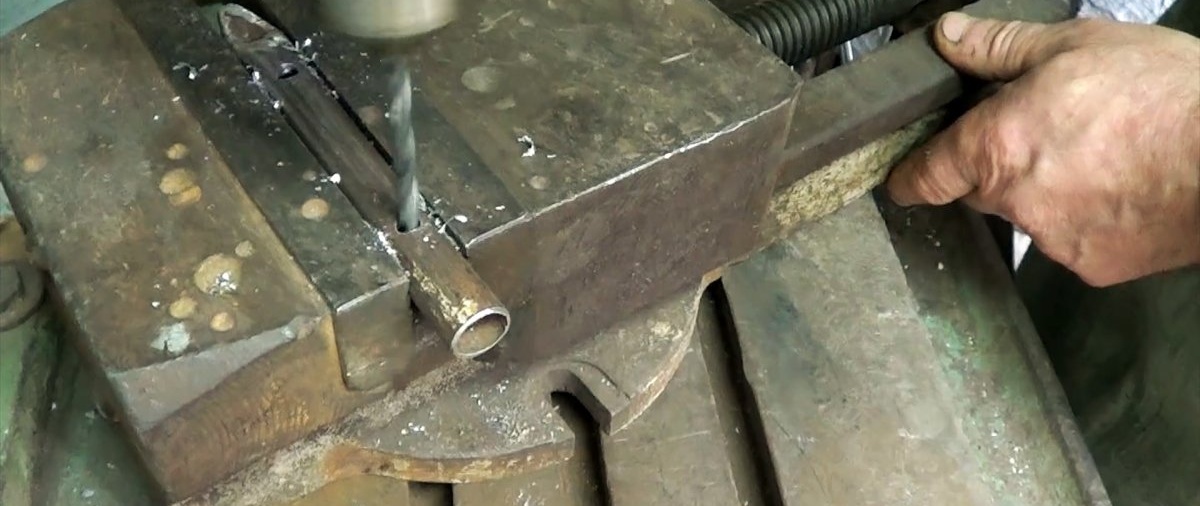
In the central part of the tube it is required to make a longitudinal cut to a length of 60-70 mm. Its width should be enough for the bolt to slide freely along it.

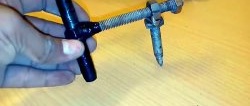
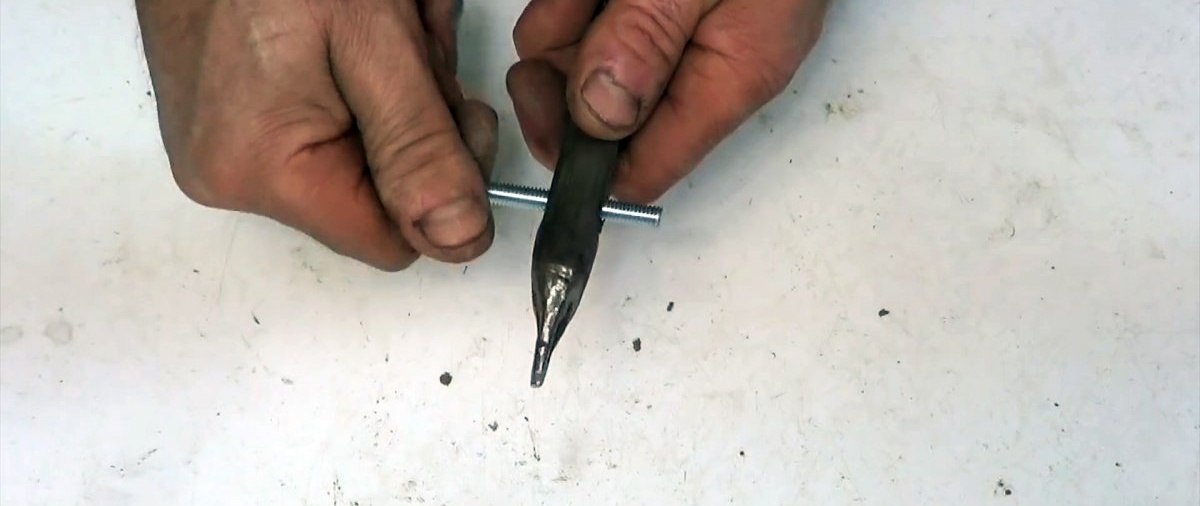
Next, a pin with a wing nut is inserted into the tube, and a bolt with a cut off head is screwed into it. A small cut is made at the peak of the pipe.

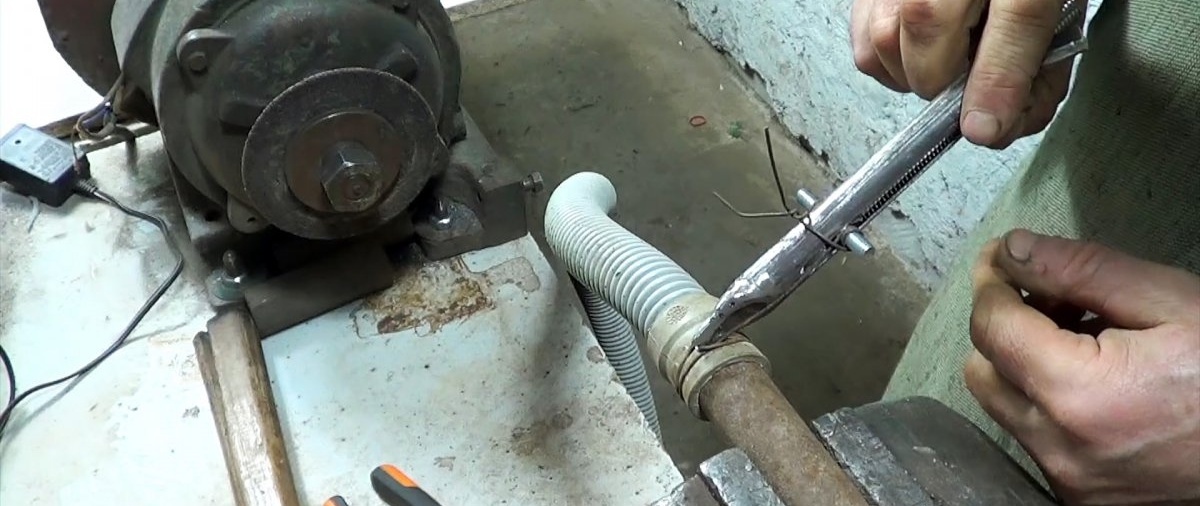
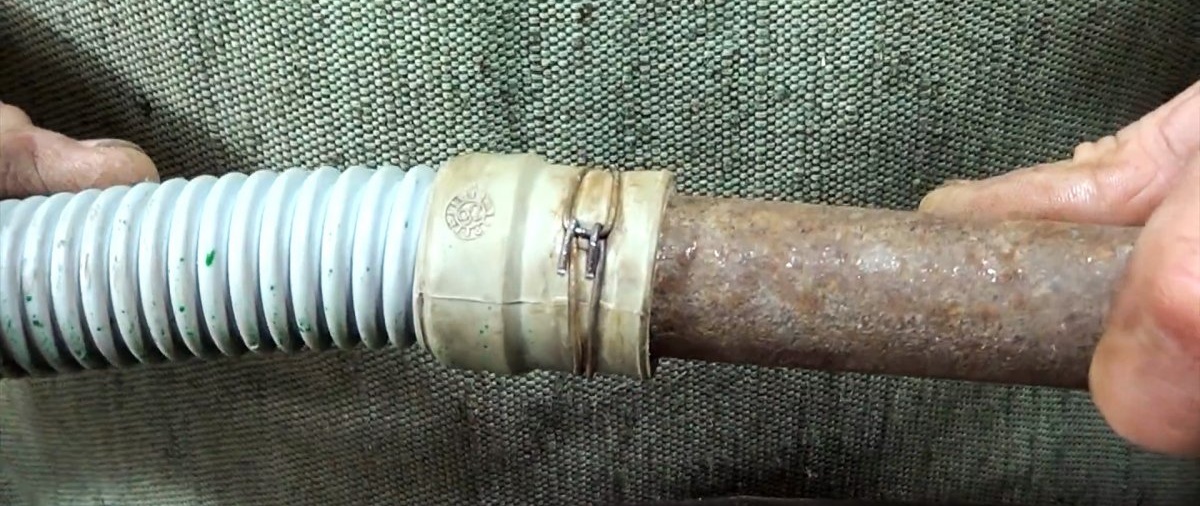
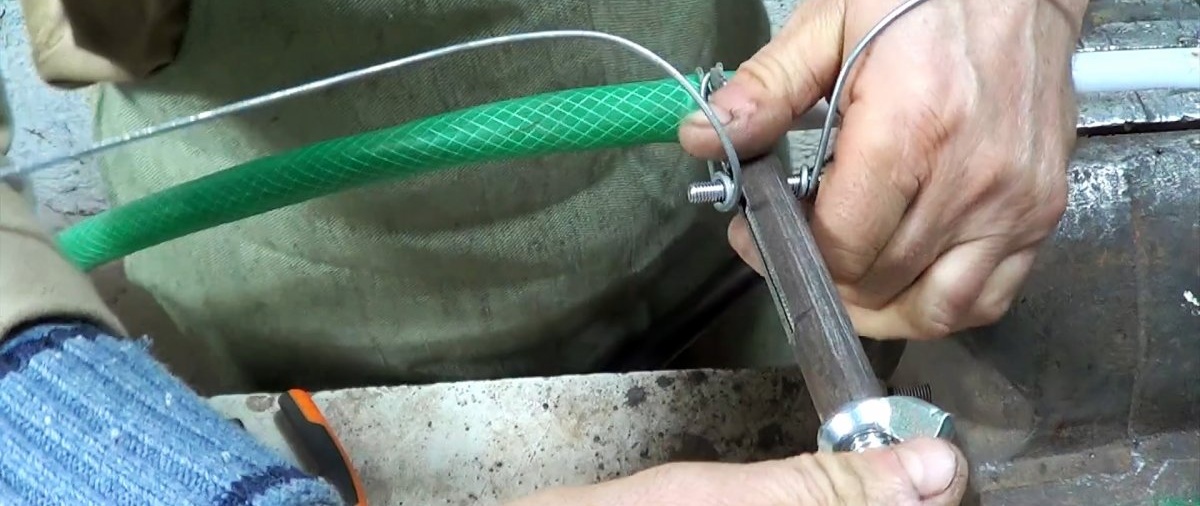
To use a tie, you need to fold a piece of wire in half, wrap it around the item to be tied, and put the ends in a loop.

Then the sharpened peak of the clamp rests against the loop, and the edges of the wire are wound a couple of times around the cut bolt from both sides.
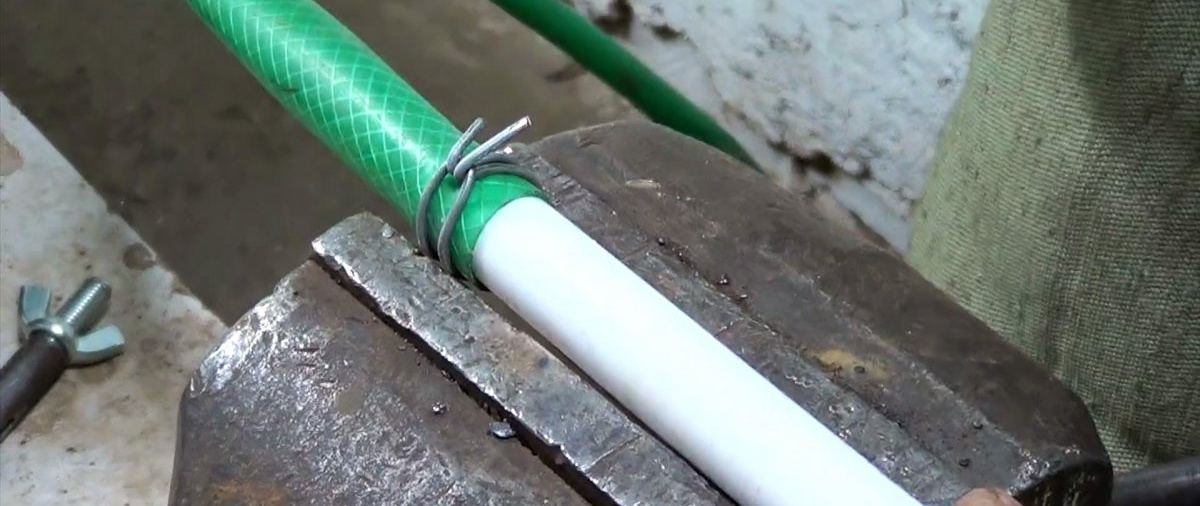
Next, you need to tighten the clamp, screwing the wing nut to the maximum, and tilt the tool towards the hinge.

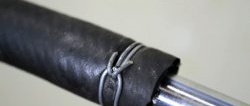
After this, the lamb is released, the clamp is removed, and the excess edges of the wire are bitten off. All that remains is to bend the protruding tails.
One more time: