Do it yourself
Life hacks, master classes, useful tips, recipes.
home » Workshop » Lightweight, cheap DIY vices
When performing plumbing and carpentry work, you cannot do without a vice. This is quite expensive equipment, the purchase of which is impractical for a small home workshop. In order not to spend money on a factory vice, you can make them yourself. Of course, a homemade product cannot be compared to a real vice in terms of reliability, but it does its job, and most importantly, the purchase of materials for its manufacture will cost at least 10 times less.
Lightweight, cheap DIY vise

Materials:


  • large flat file;
  • profile pipe 40x40 mm or more;
  • sheet steel 4-10 mm;
  • bolt M10;
  • washer M10 – 2 pcs.;
  • nut M10 – 7 pcs.;
  • extended nut M10;
  • M10 pin;
  • nut M12.

Making a vice


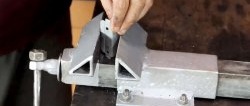
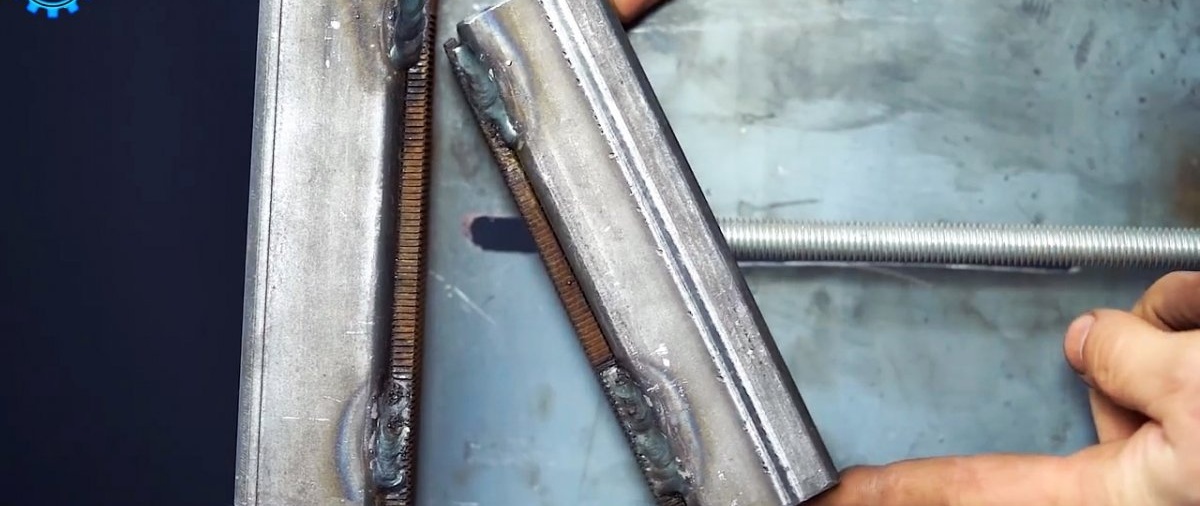
To make the clamping jaws, 2 pieces of a flat file are used.
Lightweight, cheap DIY vise

They are welded onto pieces of profile pipe of the same length.
Lightweight, cheap DIY vise

The sole of the machine in the form of a rectangle is cut from sheet steel. Its width should correspond to the length of the jaws. The length of the sole is taken 10-15 cm more than the desired width of the clamp.
Lightweight, cheap DIY vise

One of the jaws is placed along the edge of the sole and welded to it. Then a longitudinal cut 11 mm wide is made in the center of the base.It should start from the welded sponge and end 10-15 cm from the opposite edge.
Lightweight, cheap DIY vise

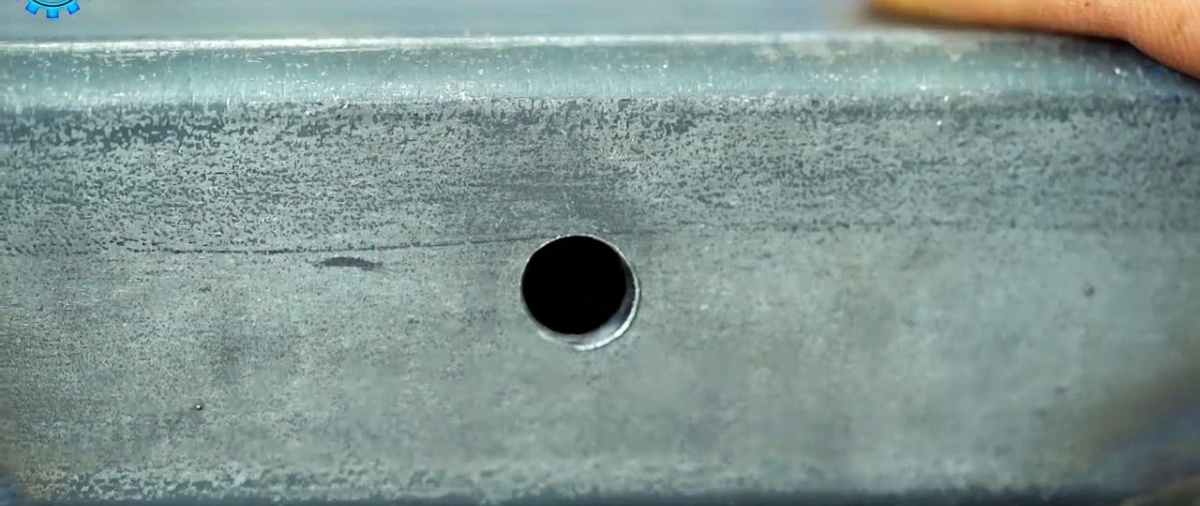
On the lower side of the second unused jaw, a hole is drilled in the center, but only through one wall. Then a bolt with a washer is inserted into the slot from below the sole of the machine, and it is inserted into the hole in the jaw. After this, you need to get onto this bolt from the inside of the profile pipe with a washer and nut. It needs to be twisted slightly so that the sponge slides back and forth across the sole.
Lightweight, cheap DIY vise

Lightweight, cheap DIY vise

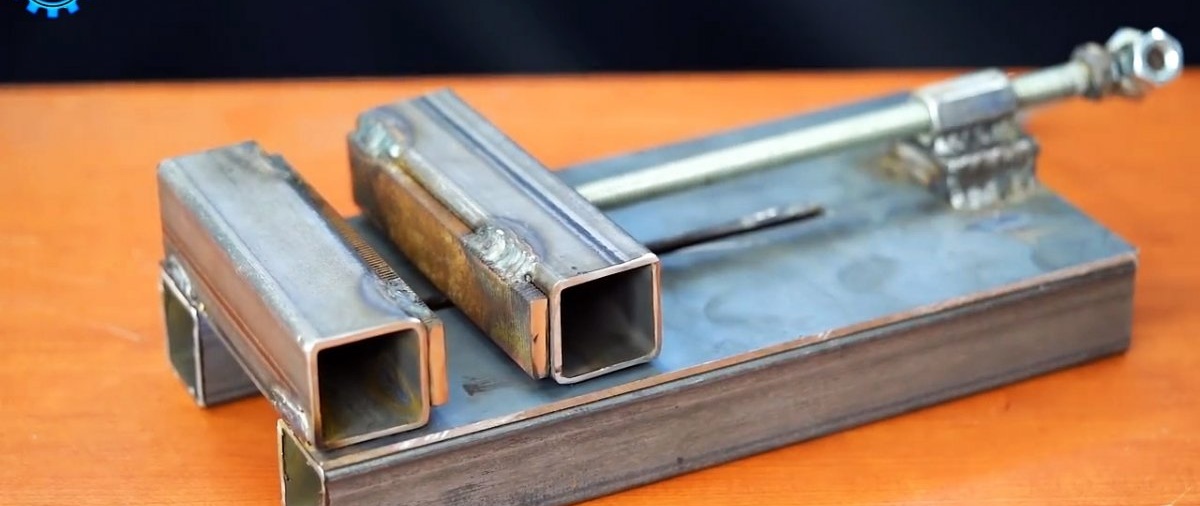
At the edge of the base opposite to the fixed jaw, an elongated nut is welded opposite the slot. You need to use a stand underneath it to raise its center by half the width of the profile pipe. A long pin is screwed into the nut.
Lightweight, cheap DIY vise

Lightweight, cheap DIY vise

Lightweight, cheap DIY vise

Opposite the pin, in the center of the sliding jaw, a hole is drilled with a 10.5-12 mm drill. A pin is inserted into it, and 2 nuts are screwed onto it from inside the pipe so that it does not come back out.
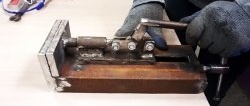
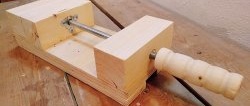
The jaws of the vice are compressed, after which the excess length of the pin is cut off. An M10 nut is screwed onto its end and welded. Then the M12 nuts are welded, but at the end. The remaining section of the pin is inserted into it. M10 nuts are screwed onto its ends. The result is a knob.
Lightweight, cheap DIY vise

To give the structure rigidity, a section of profile pipe must be welded to its base at the long edges. This will also allow the second jaw slider to slide without being caught by the fastener underneath. After this, the tool is screwed to the work table.
Lightweight, cheap DIY vise

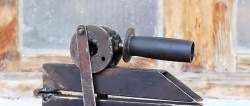
The resulting vice is not designed to withstand impacts with a sledgehammer on workpieces clamped in them, but they will cope with holding parts during grinding, sawing, planing, etc. Over time, if they are overloaded, the metric threads on a stud or extended nut may break off, but these parts change quickly.This tool is really capable of successfully helping out when performing most carpentry and plumbing work, so its manufacture makes sense.
Lightweight, cheap DIY vise

Lightweight, cheap DIY vise

Watch the video


come back
Comment
  • bowtiesmilelaughingblushsmileyrelaxed relaxedsmirk
    heart_eyeskissing_heartkissing_closed_eyesflushedrelievedsatisfiedgrin
    winkstuck_out_tongue_winking_eyestuck_out_tongue_closed_eyesgrinningkissingstuck_out_tonguesleeping
    worriedfrowninganguishedopen_mouthgrimacingconfusedhushed
    expressionlessunamusedsweat_smilesweatdisappointed_relievedwearypassive
    disappointedconfoundedfearfulcold_sweatperseverecrysob
    joyastonishedscreamtired_faceangryragetriumph
    sleepyyummasksunglassesdizzy_faceimpsmiling_imp
    neutral_faceno_mouthinnocent
5+two=
Comments (2)
  1. Sergey K
    #1 Sergey K Visitors 25 February 2020 01:06
    1
    The only question is why weld files onto the jaws? To leave marks on the parts?
    As a vice for cutting threads on pipes, they are frankly rather weak, but for welding this design is just right - it’s not a pity if the whole thing is covered with splashes, you can always make a new one ;)

    Another disadvantage is that there is no attachment of the vice to the table.

    PS: I’ve had a similar design working on a drilling machine for years, although I used a solid 20mm square and a 2x4mm base plate as a basis. Pilot (temporary) version, but performs its functions
  2. Zhorik
    #2 Zhorik Guests 26 February 2020 18:16
    1
    Dew went over this design well in a new video

How to make a reliable wood chipper from junk with your own hands

Battery desulfator from junk

3 simple useful tools that you can make with your own hands in 10 minutes

Automatic lighting in cabinets | Do it yourself

«Do it yourself - with your own hands» - a site of interesting homemade products made from scrap materials and items at home. Step-by-step master classes with photos and descriptions, technologies, life hacks - everything a real master or just a craftsman needs for needlework. Crafts of any complexity, a large selection of directions and ideas for creativity.

We recommend reading

Washing machine error codes