A good soldering holder (aka “third hand”), with three, four, or even six flexible holders, is not cheap. The cheapest holder, more or less decent, that I found on the Internet costs about 2.5 thousand rubles. This money, of course, is not that much in our time, but why spend it on something that you can get five or six times cheaper? With the difference saved, it is better to buy high-quality soldering consumables, or even a new soldering iron! Let's estimate the prices: one flexible holder costs about 150 rubles (). Magnifying glass, medium size – 70 rubles (). USB light bulb – 100 rub. (). USB fan – 100 rub. (). Charging module – 45 rub. (). The base for the station, a phone battery, wiring, a USB connector, and a toggle switch, can be removed from some old and unnecessary electrical appliances. Total: less than seven hundred rubles spent.

The difference, in my opinion, is more than obvious! And now I will try to explain in more detail how to put all these purchased parts together and connect them correctly and quickly.This work is short, exciting and entertaining.
Will need
Material:
- Flexible holders, 3 pcs. (more is possible, at your discretion) -
- Small magnifying glass -
- USB light -
- USB fan -
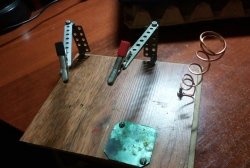
- The base for the station is something like a small bowl with low edges (I took the lid of an old razor case).
- The USB connector with cable is longer than the flexible holder.
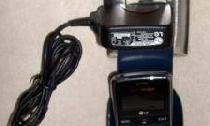
- 3.7 volt charging module with 5 volt output -
- Flat battery (can be from an old phone) -
- Switch.
- Thin wiring (about 30 cm)
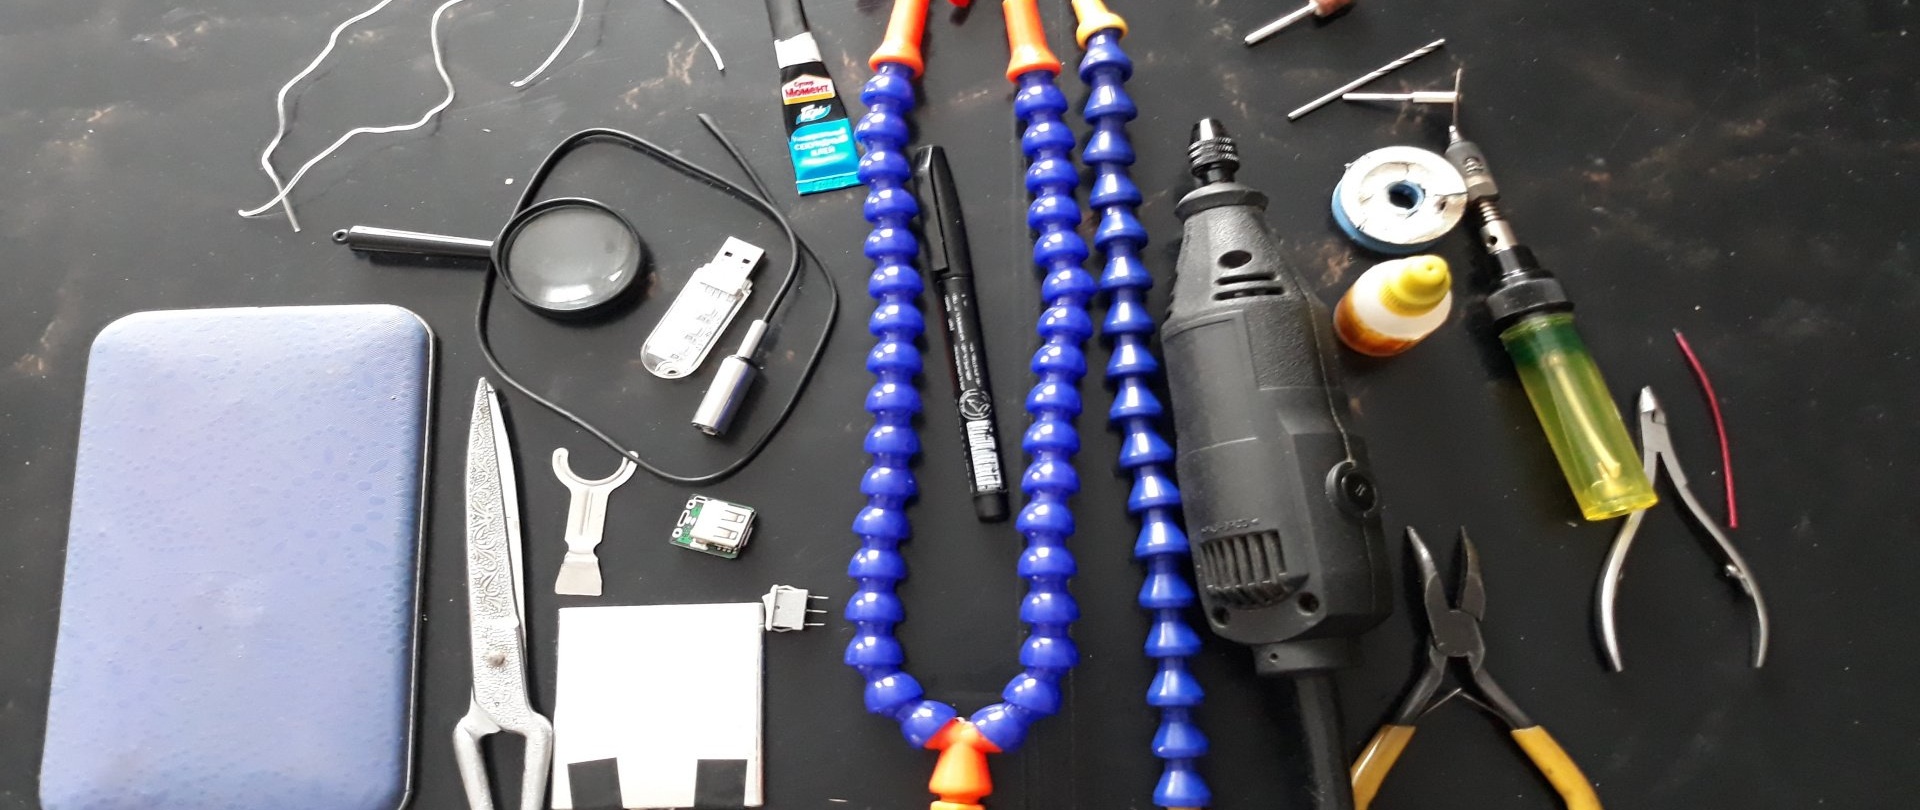
Tool:
Mini drill with cutting disc and drills. Soldering iron with solder. Wire cutters. Pliers. Scissors. Secondary glue. Hot glue gun. Insulating tape. Marker.
Third hand holder assembly
First, let's prepare the base. Its role can be played by anything that fits into a soldering iron box and that has a cavity inside - the case from an old router, receiver, or the lid from some strong rectangular box. We make markings on it with a marker in those places where, in your opinion, there will be the most convenient position for the holders, switch, and input for the charging module. We drill and cut out holes for the holders, switch, and module.

Next, glue the battery onto the side opposite the holes using second glue. If there is no insulation on it or it is damaged, then we insulate it with electrical tape.
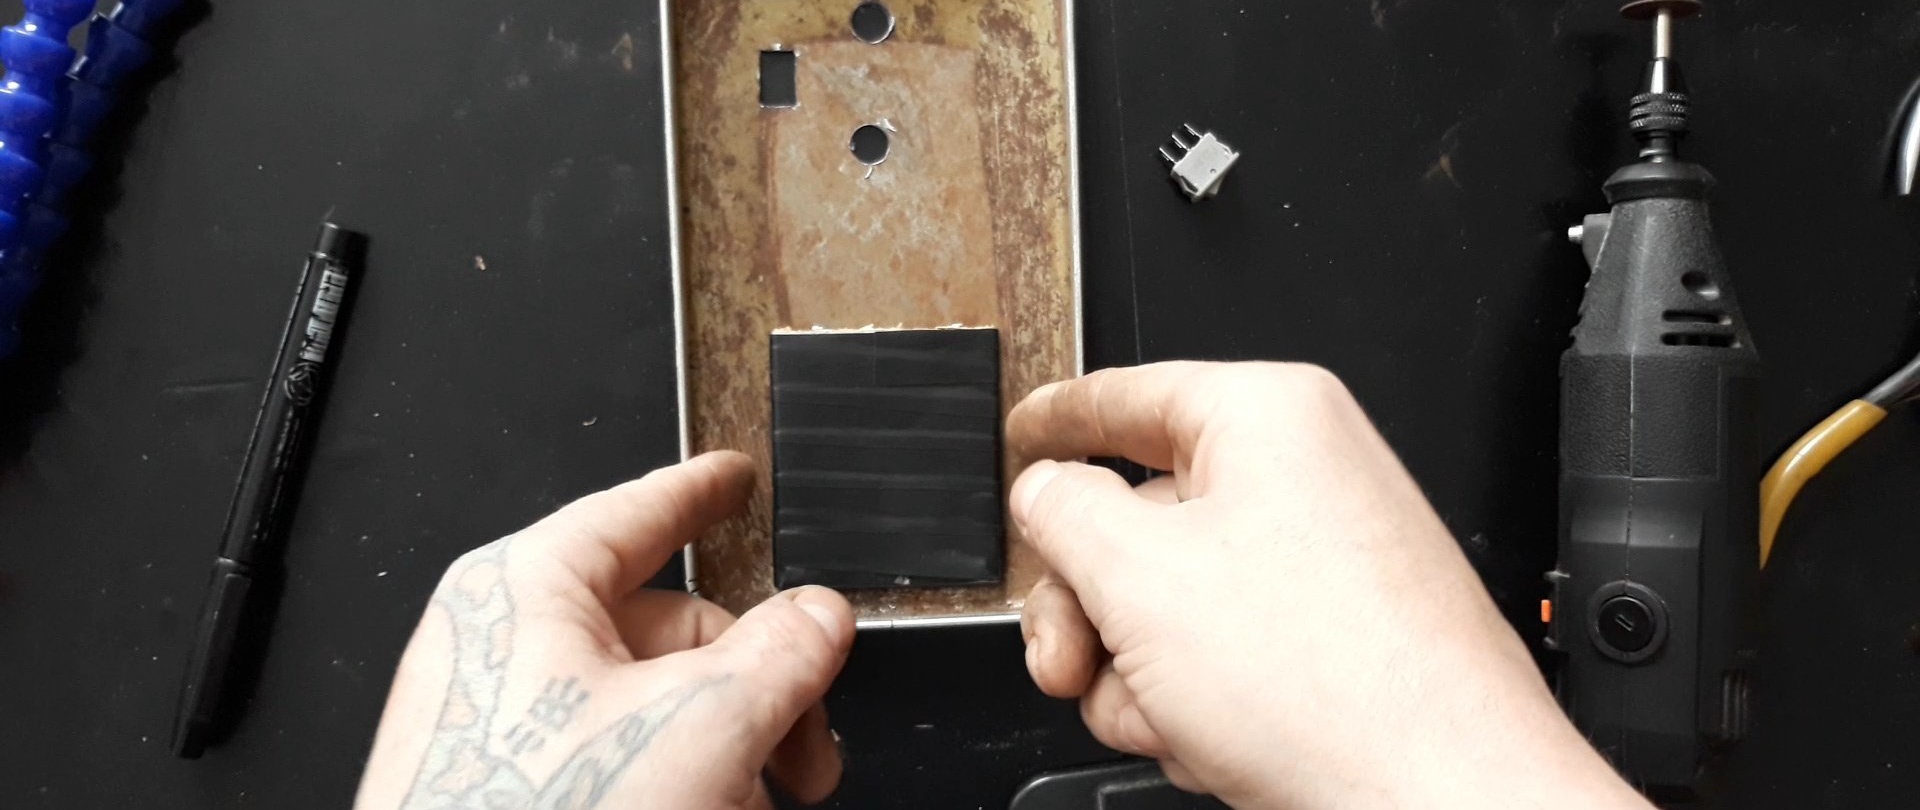
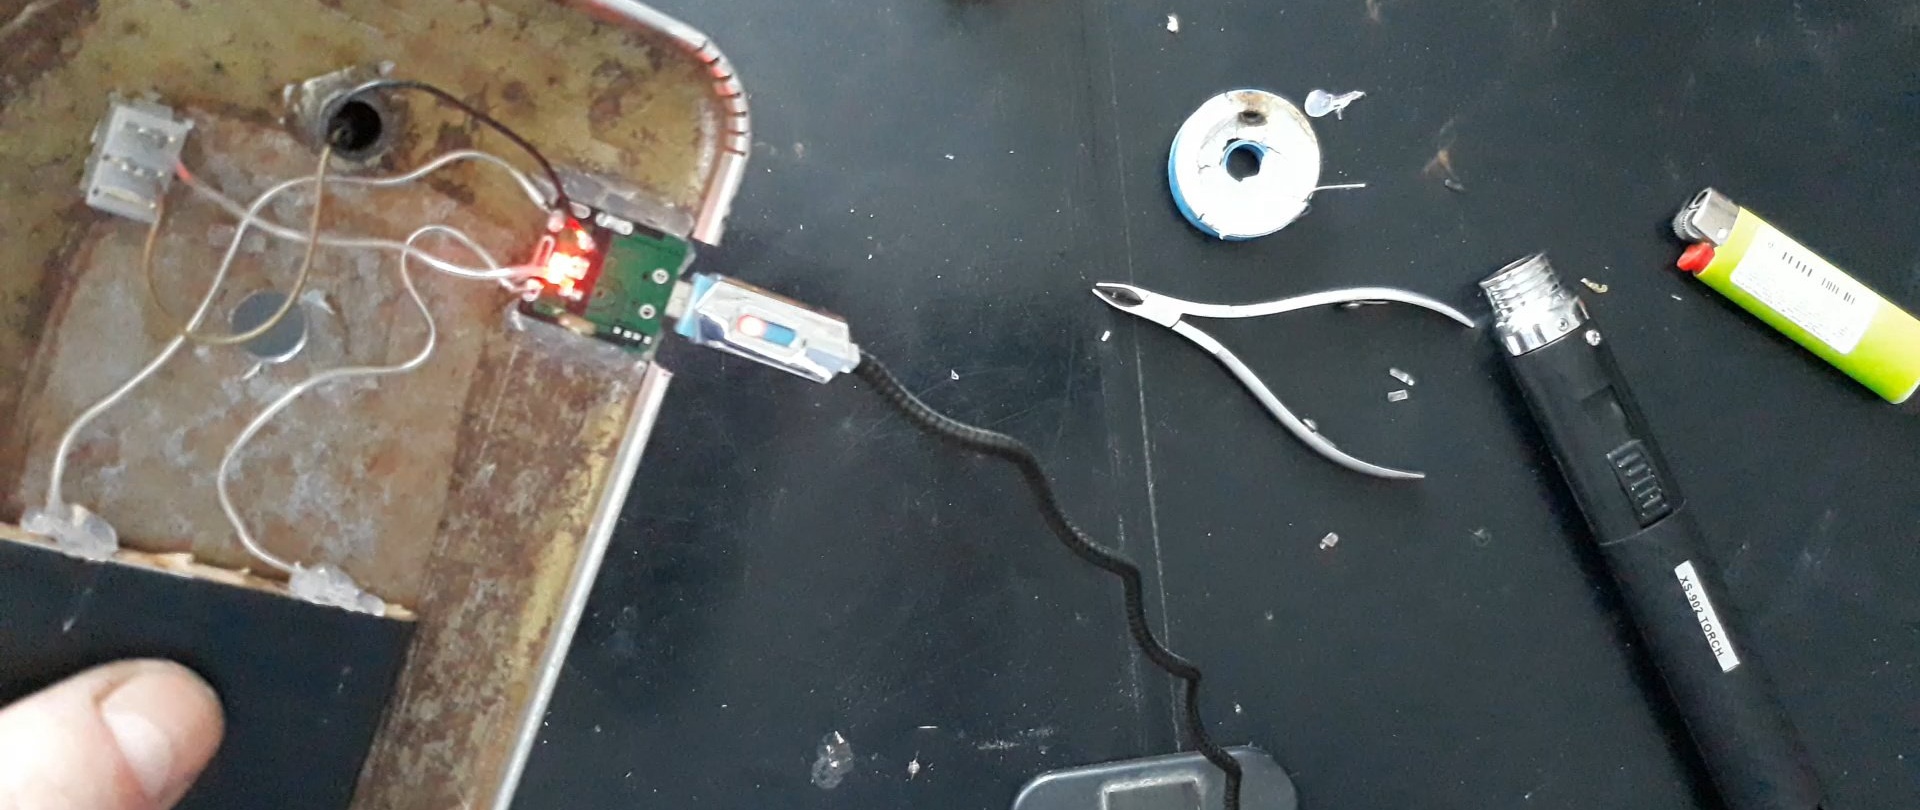
Now let’s “edit” the charging module! You need to separate the USB connector from it so that it does not interfere with soldering in the future.
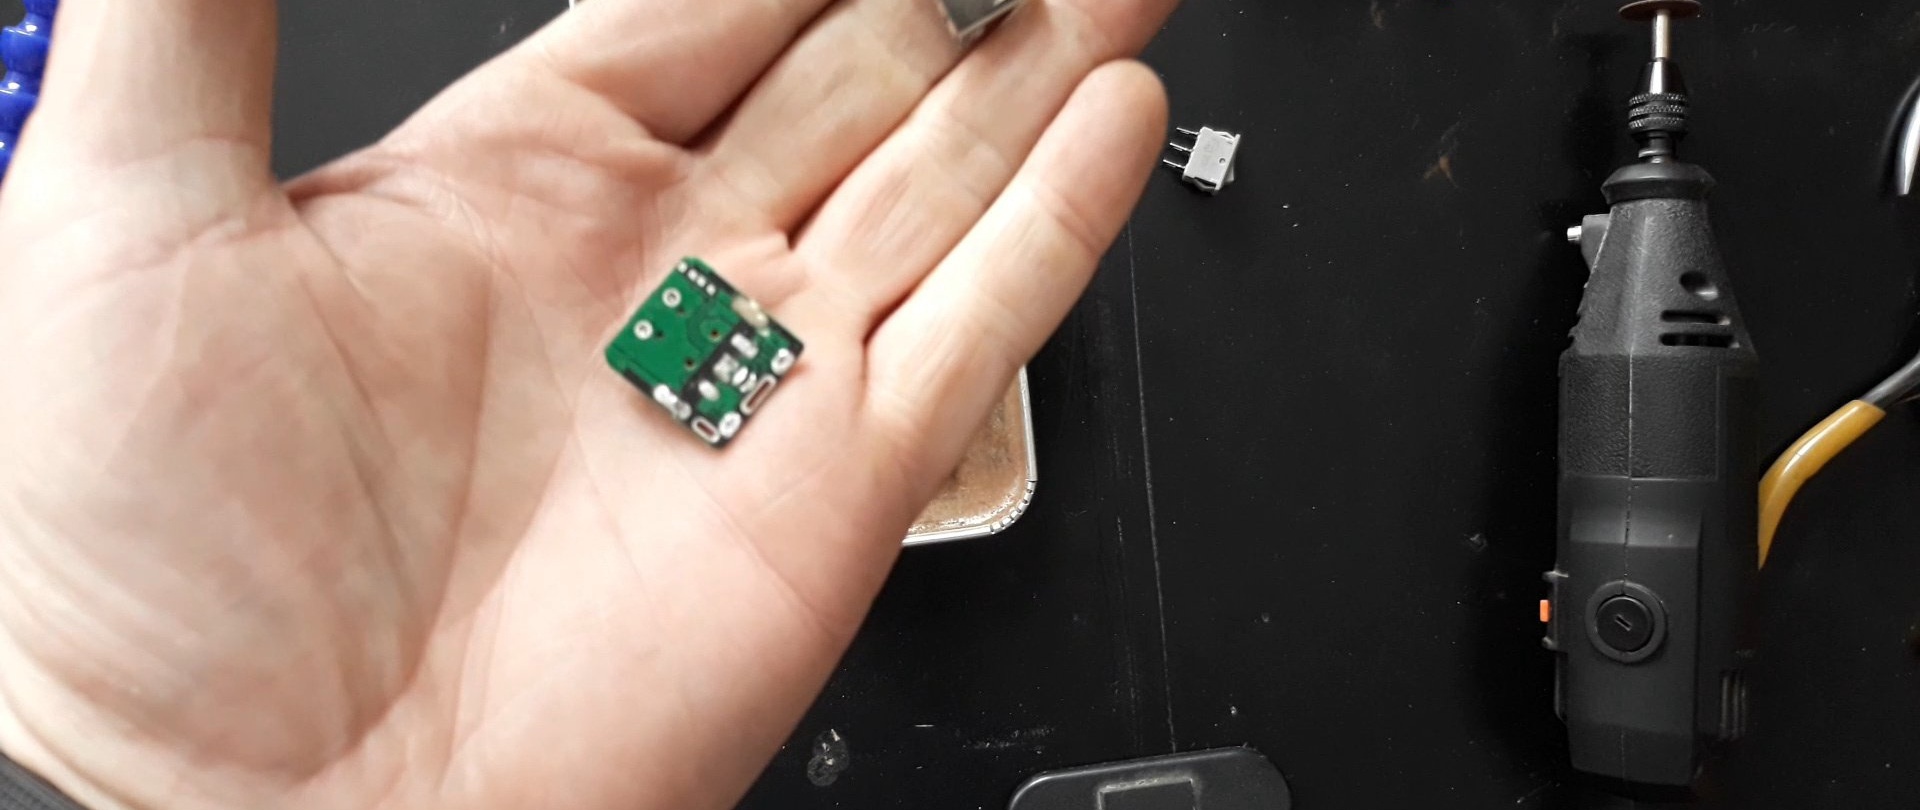
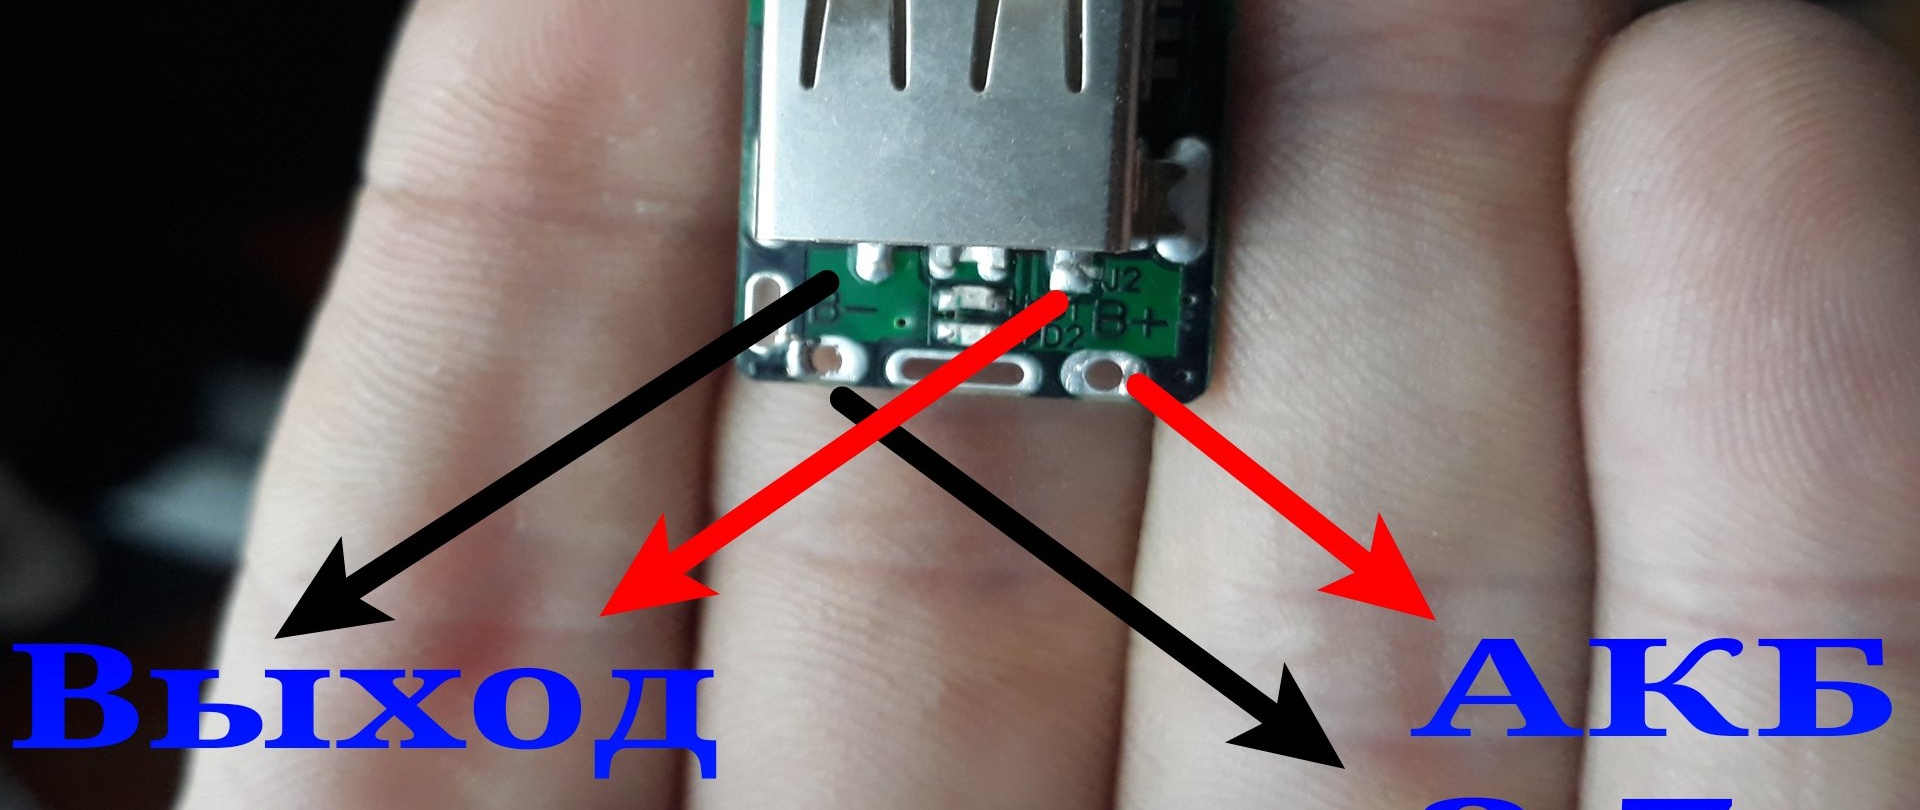
I sawed it off bluntly with a cutting disc. You can unsolder it if you're not too lazy. The main thing is not to damage the contacts and have access to them. We only need contacts “plus” and “minus”, which output 5 volts to USB. Here's the diagram:
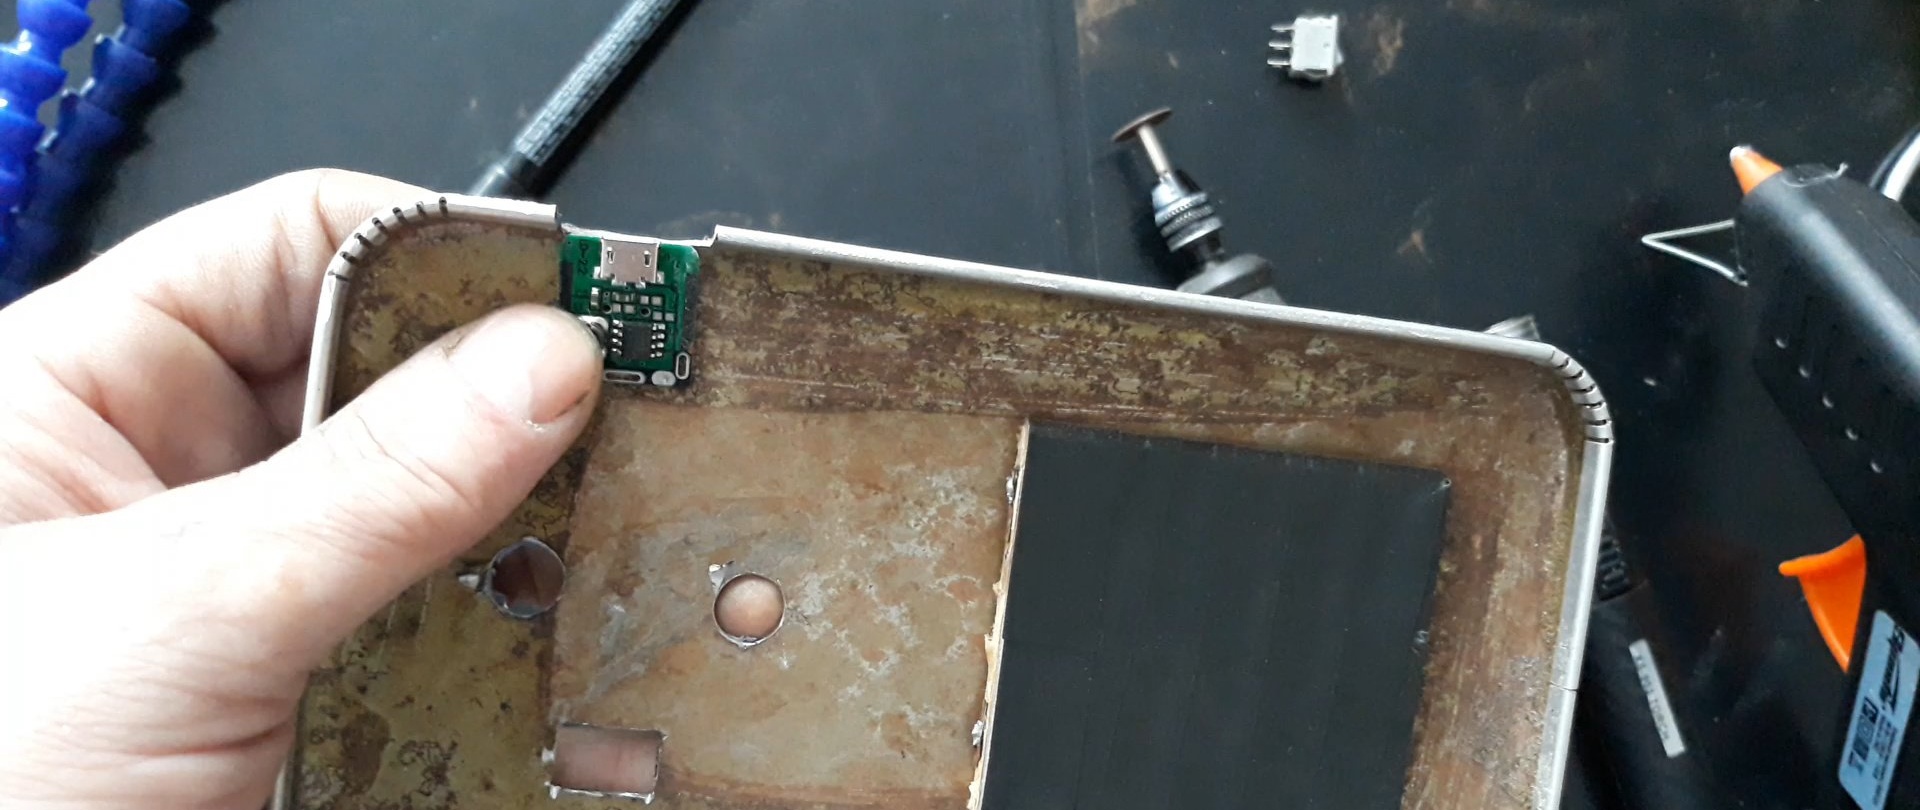
Next, we hot glue the charging module to the corresponding output in the case.
Using a soldering iron, we connect the battery contacts and the module input contacts with wires. Maintain polarity! It is also necessary to insulate the battery contacts. Like this:
Now we connect with a wire one output contact of the module and one contact of the switch:
Next, remove the crocodile clip from one of the flexible holders and thread the USB cable into the holder.

We thread the rest of the cable into the hole in the case and install the holder on the case.
It is attached using a thread and a nut, which comes with the holder included. We strip the wires from the USB connector and solder them to the remaining contacts on the module and on the switch.

Also, don’t forget about polarity; The red wire from the connector cable is a plus, and the black wire is a minus. This is what you should end up with:
We check for functionality. Connect the charging cable to the module. Flashing red – battery is charging.
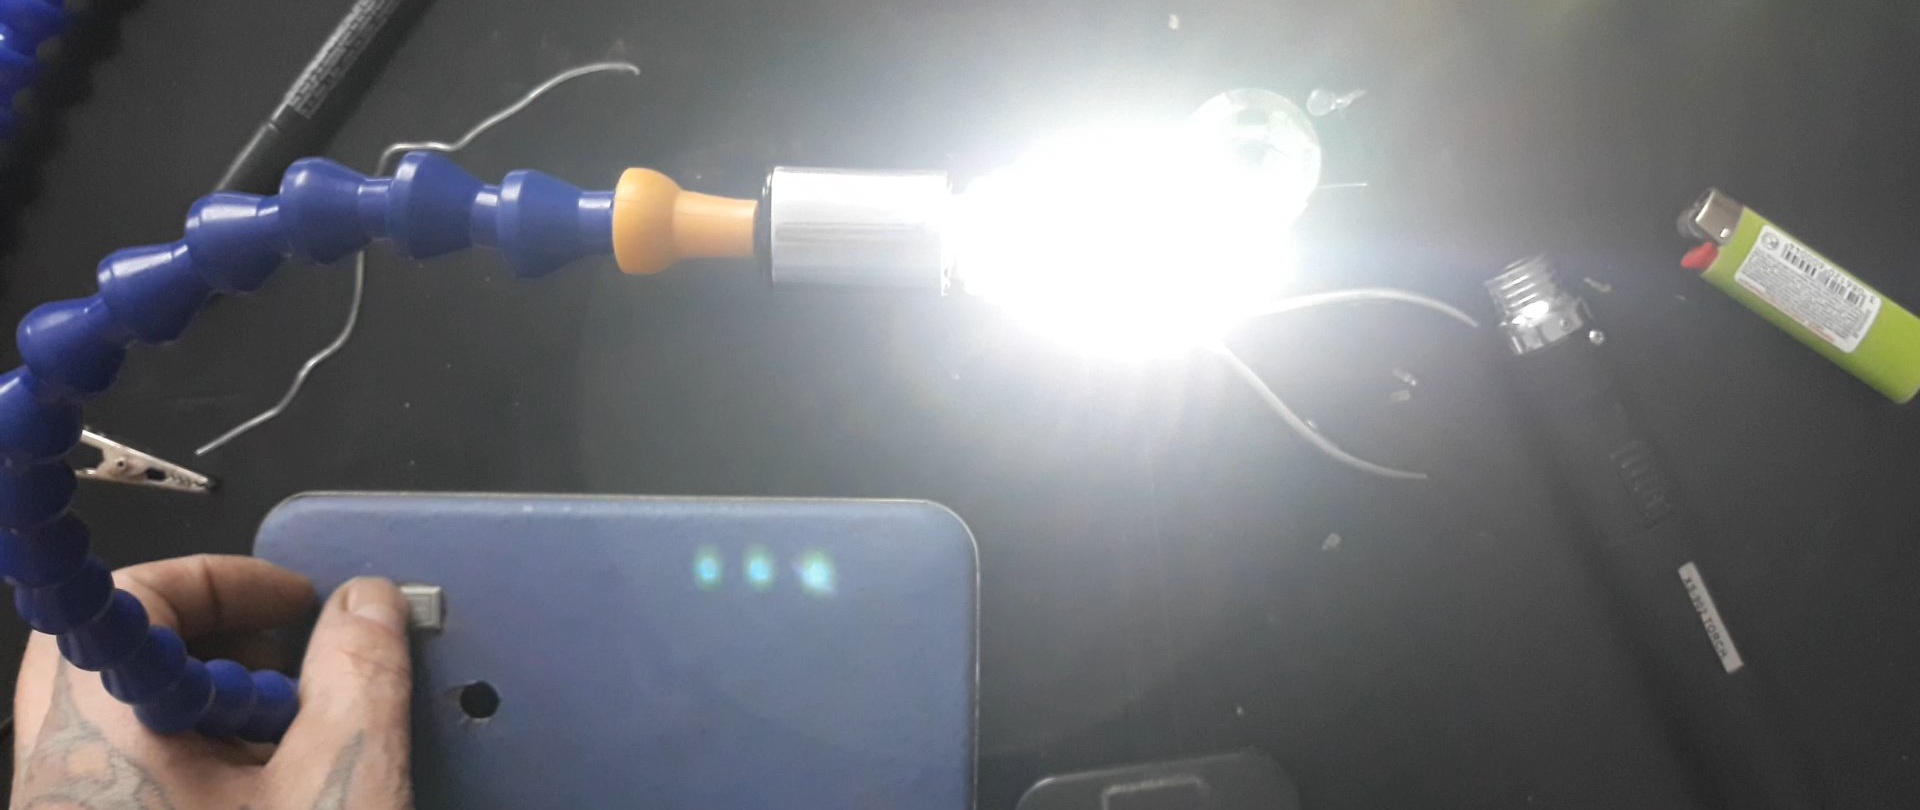
When you turn on the lamp, the light will turn solid blue, which means the battery is delivering charge to the lamp.
All that remains is to install the remaining holders.

Now we take out the crocodile from any free holder you like, and try on a magnifying glass to the free tube:

Using a cutting disc and a knife, we adjust the handle of the magnifying glass to the inner diameter of the tube, and install the magnifying glass in the holder.

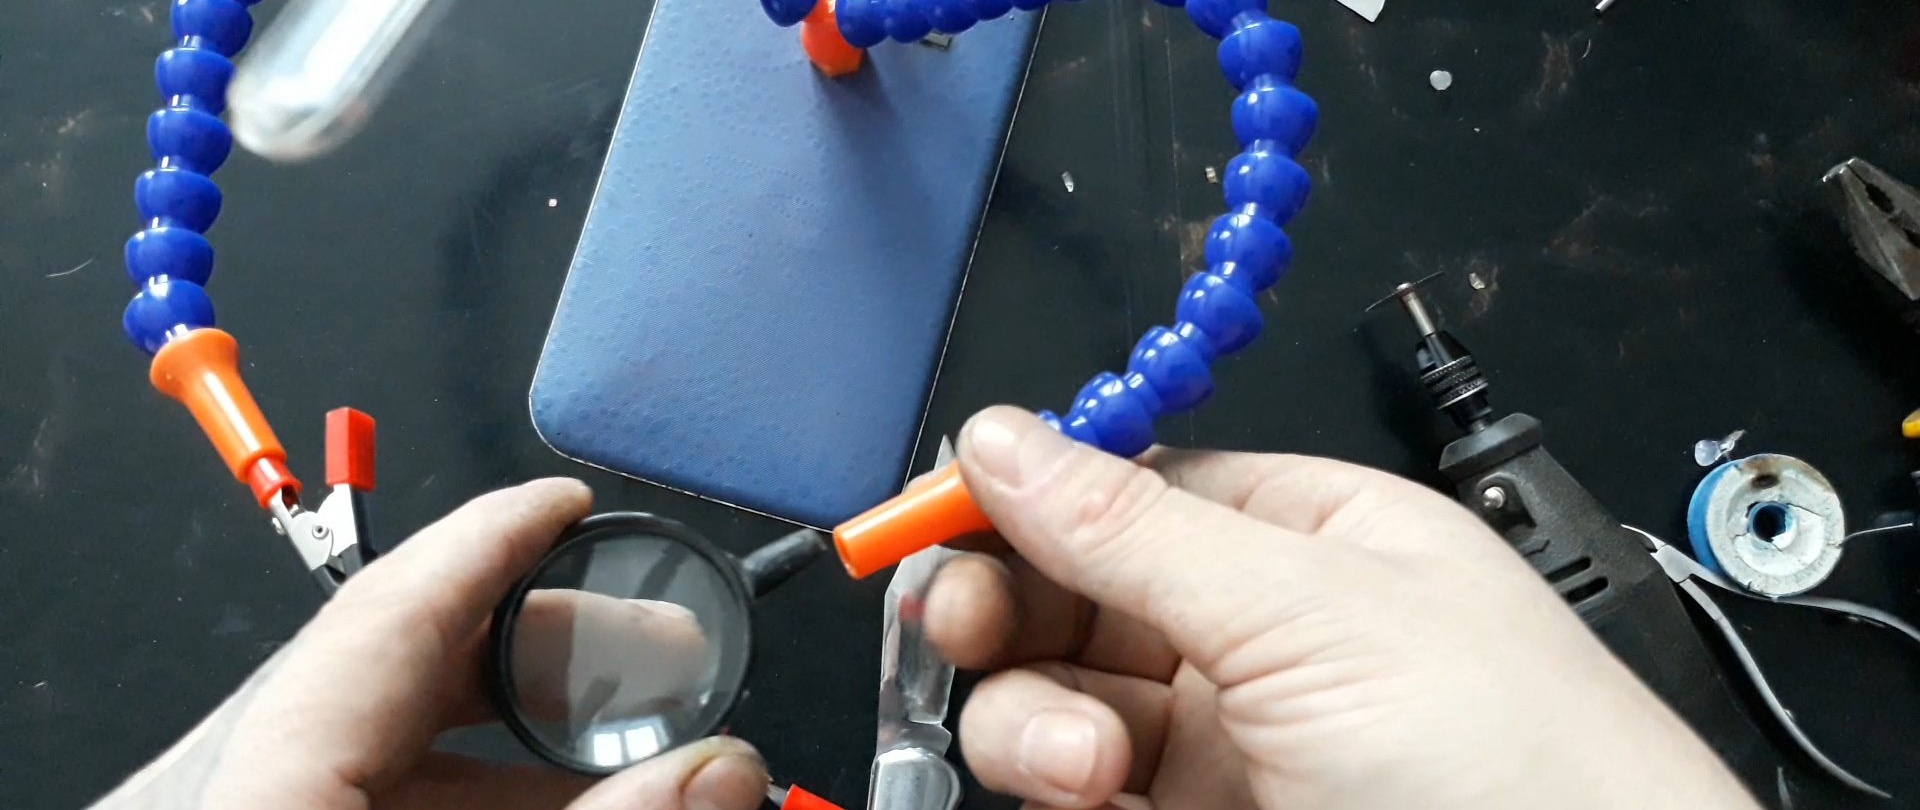

If necessary, you can install the crocodile back.
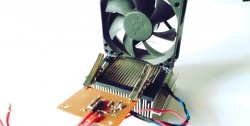
Also, instead of a lamp, you can install a small fan in the USB connector to quickly cool the board or chip being soldered.

At this point, the third hand holder with a magnifying glass and light is ready. You can, of course, instead of three holders, install four or six. At least ten! Anyway, it will be cheaper than in the store. But, in my opinion, three holders are quite enough.After all, their endings can be changed depending on need.