Do it yourself
Life hacks, master classes, useful tips, recipes.
home » Electronics » Simple circuits » Attachment-regulator for power supply
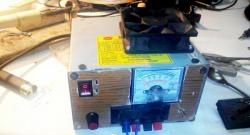
Attachment regulator to the power supply

This is a good and inexpensive way to make an adjustable power supply without much expense or effort. For example, I have a good 12 V and 2 A power supply. I will build an attachment for it, with which I can regulate the voltage over a wide range. Everything will be built on ready-made Chinese modules; all I have to do is make a housing for the device and connect everything with wires.

Necessary materials


Parts List (Purchase Links):

Preparing regulator housing parts


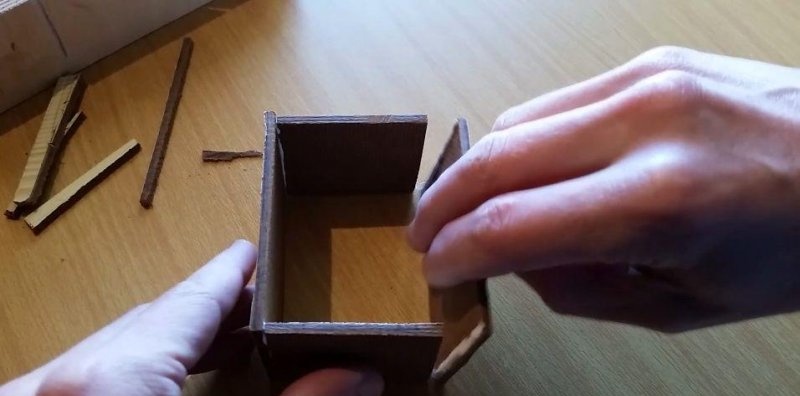
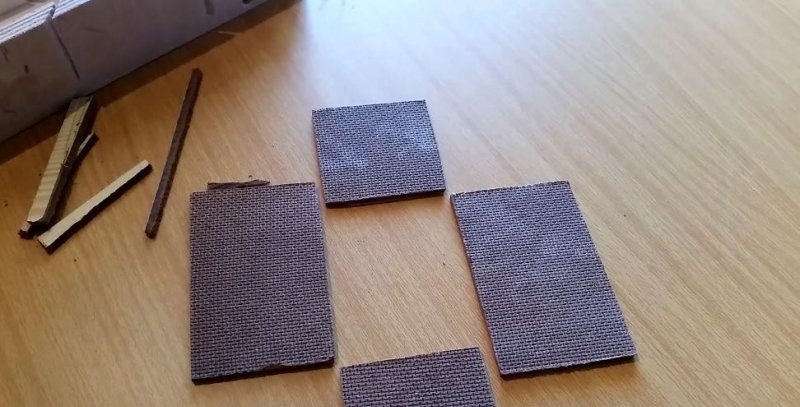
We break the plywood and cut out parts of the body. You will estimate the dimensions yourself so that everything fits. Of course, you can take a ready-made case and skip these steps, but I’m assembling a budget regulator.
Attachment regulator to the power supply

Attachment regulator to the power supply

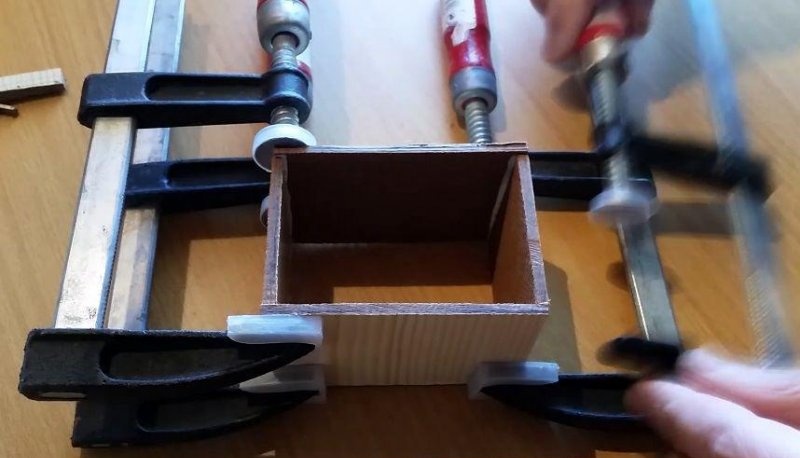
We coat the ends with wood glue and clamp everything with a clamp. We wait until the glue dries.
Attachment regulator to the power supply

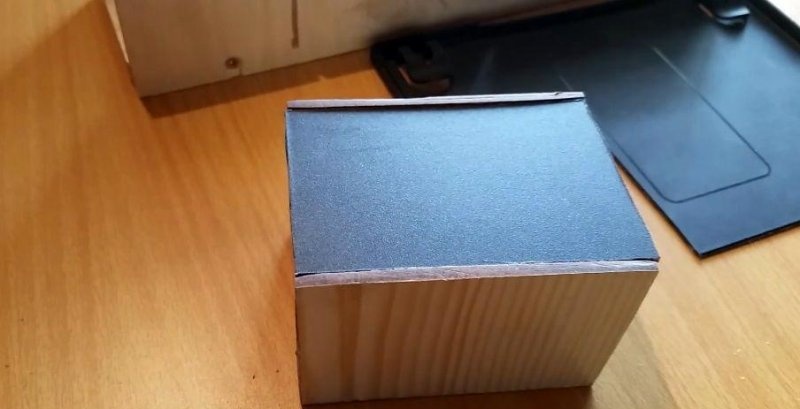
Housing assembly


Attachment regulator to the power supply

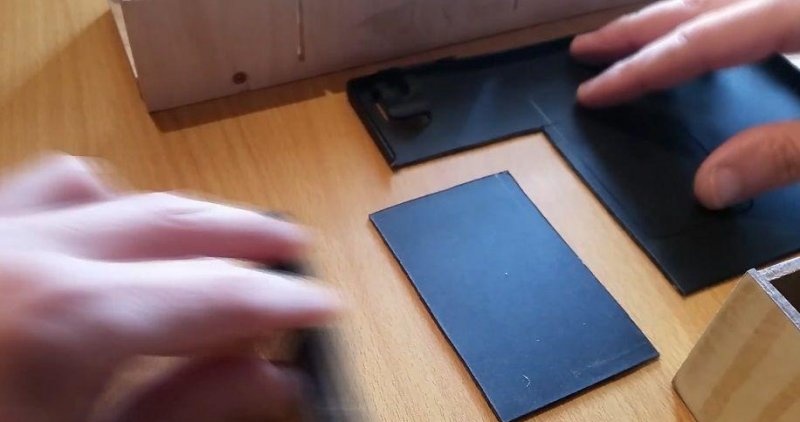
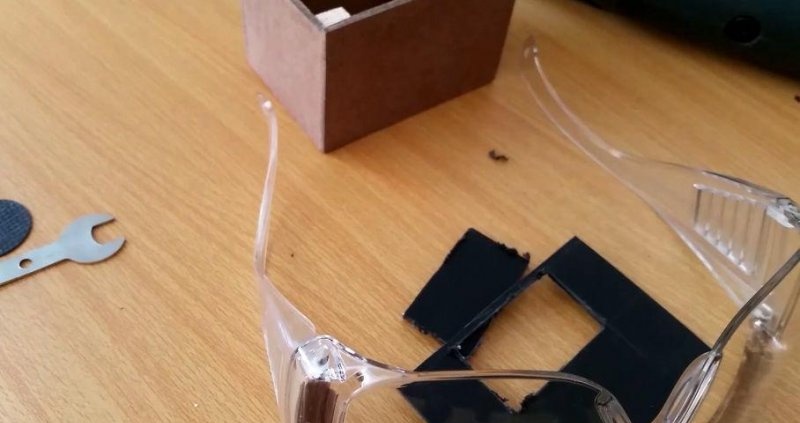
The front and back panels will be made of plastic, as it is easier to process and looks more solid.
Attachment regulator to the power supply

Attachment regulator to the power supply

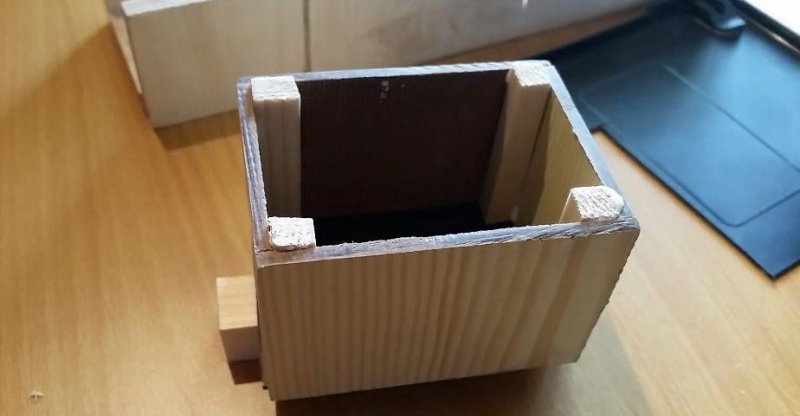
I glued the racks into the corners of the slats to stiffen the whole structure.
Attachment regulator to the power supply

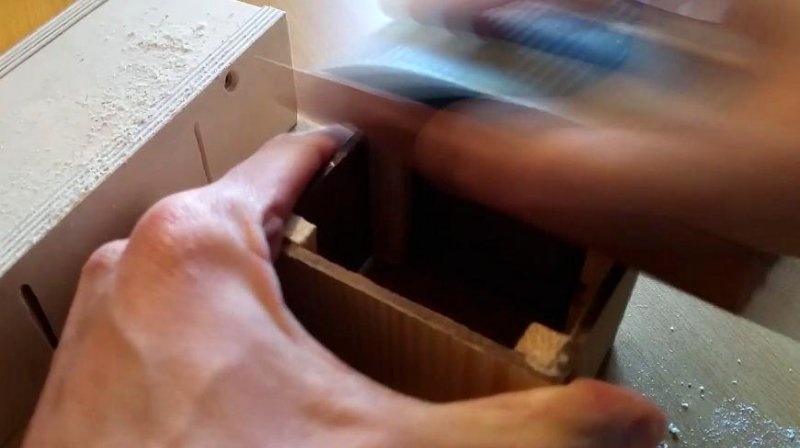
We clean the protrusions.
Attachment regulator to the power supply

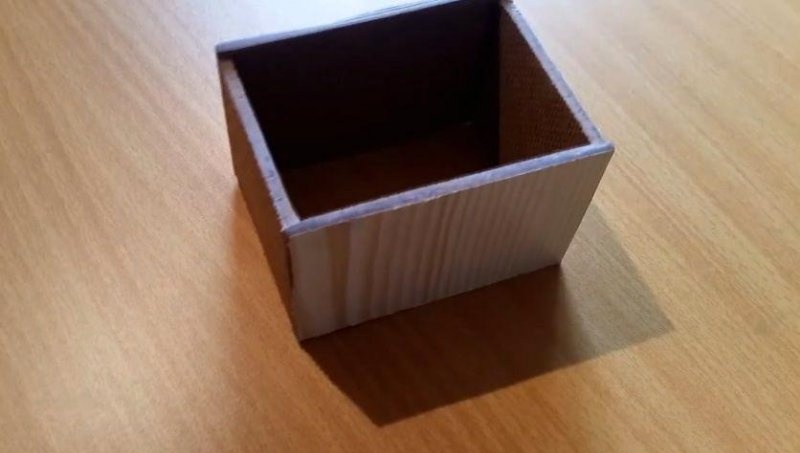
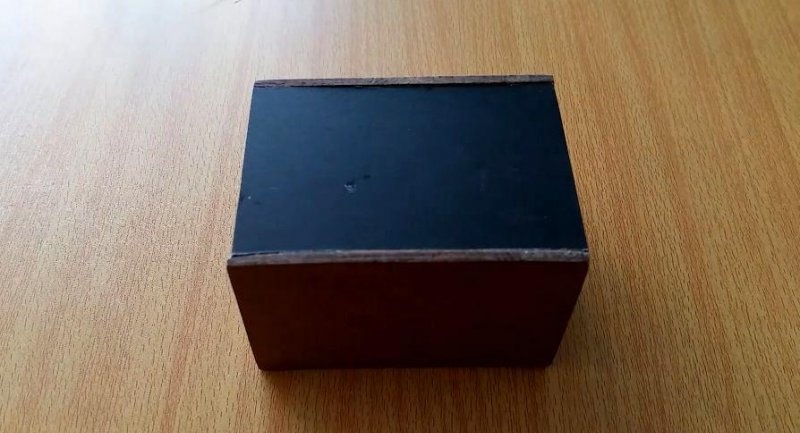
The body is ready.
Attachment regulator to the power supply

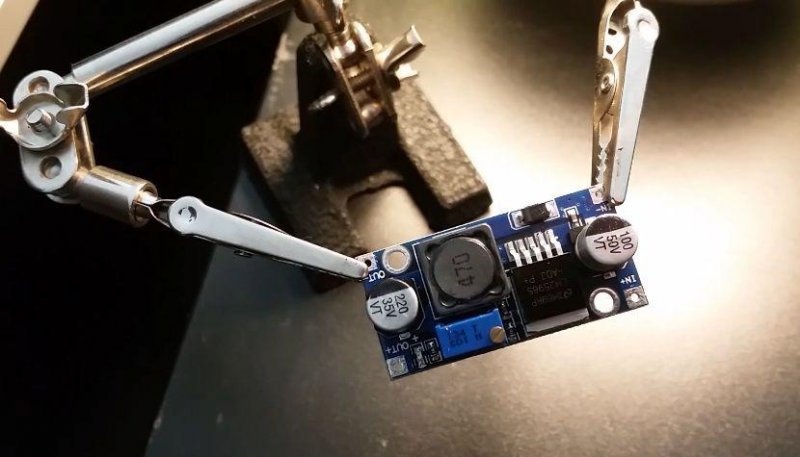
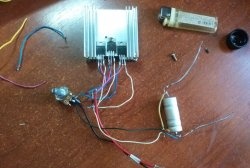
Refinement of the buck converter


This is a buck converter. You can apply up to 30 V to it and it will be regulated without any problems. Its load current is 1.5 A. Moreover, without radiators, it has built-in overheating protection. Since it is pulsed, it has a very high efficiency. Plus, the output voltage is perfectly stabilized.
Attachment regulator to the power supply

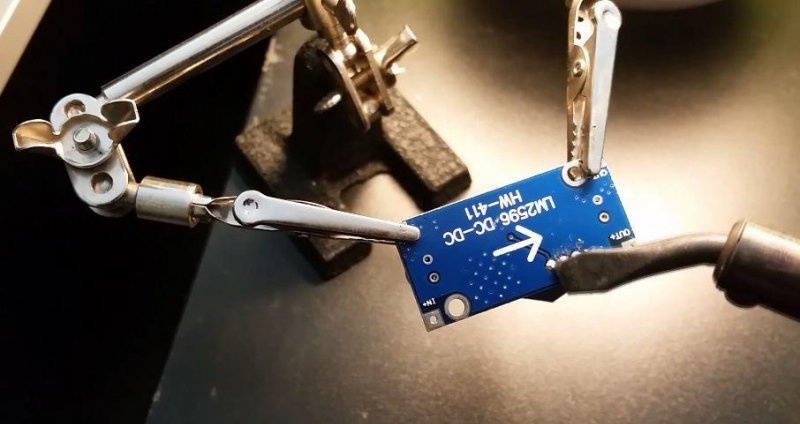
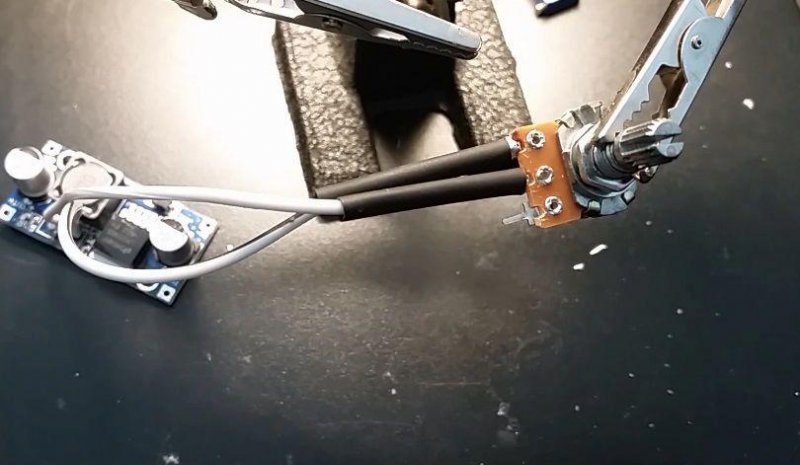
All its modification comes down to replacing the tuning resistor on the board with an external variable one.
Attachment regulator to the power supply

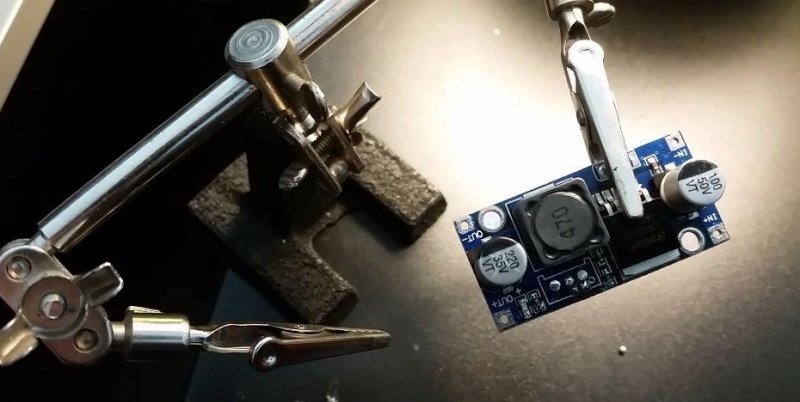
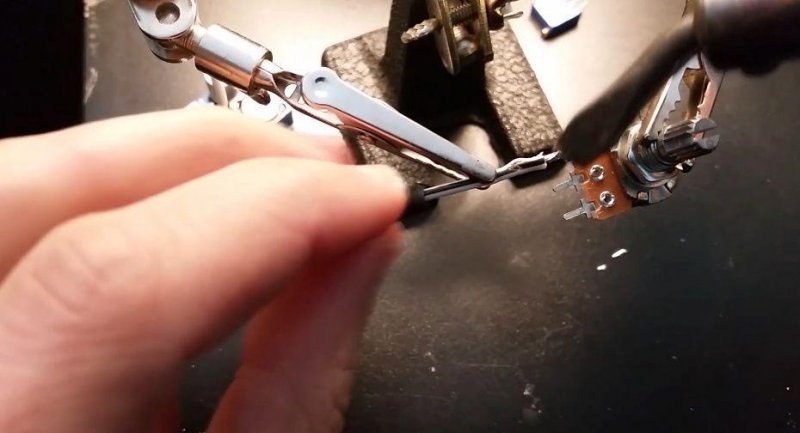
Solder off the tuning resistor.
Attachment regulator to the power supply

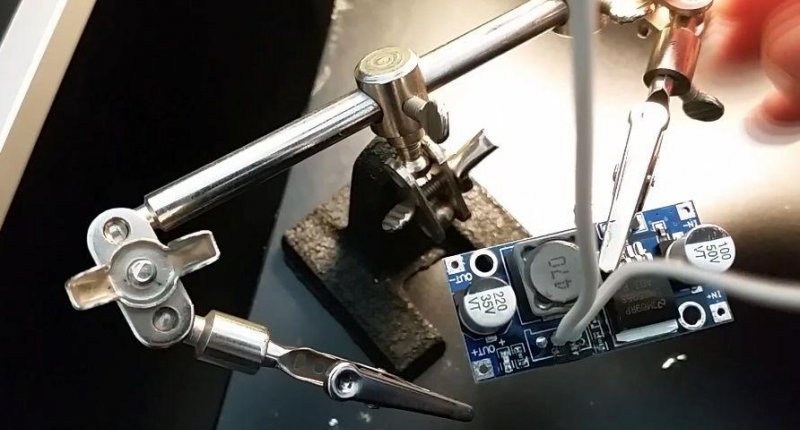
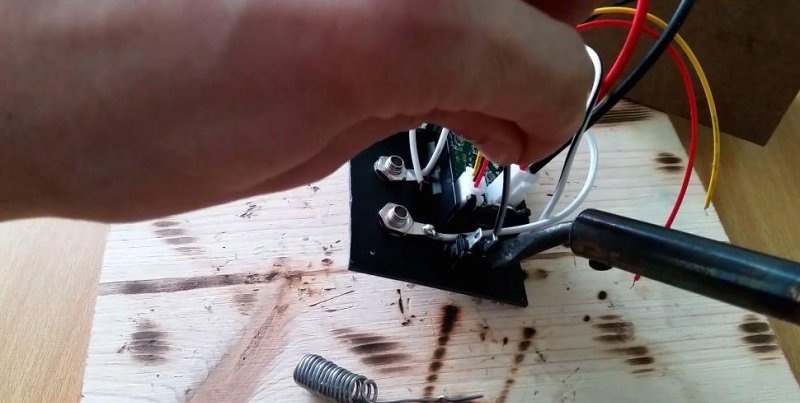
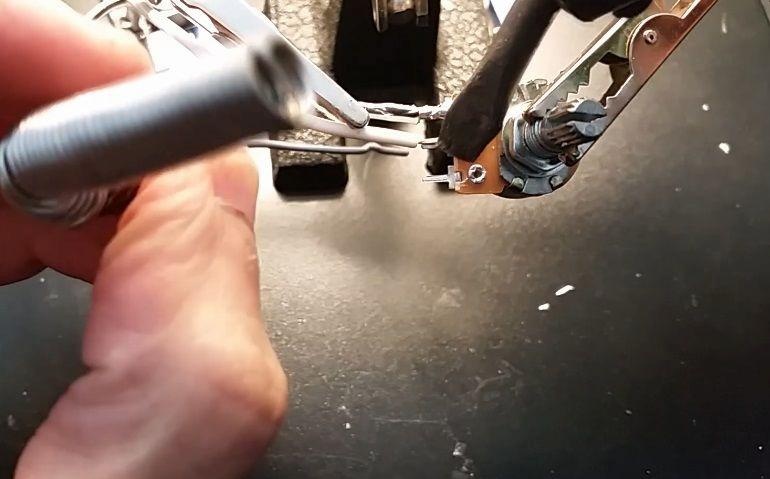
Solder a variable resistor onto the wires.
Attachment regulator to the power supply

Attachment regulator to the power supply

Regulator attachment in the power supply

Attachment regulator to the power supply

That's all the modification.

Assembling the regulator circuit


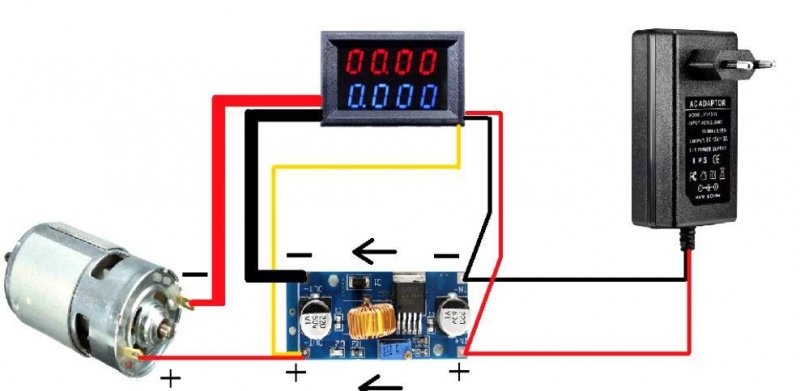
Here is the connection diagram itself.
Attachment regulator to the power supply

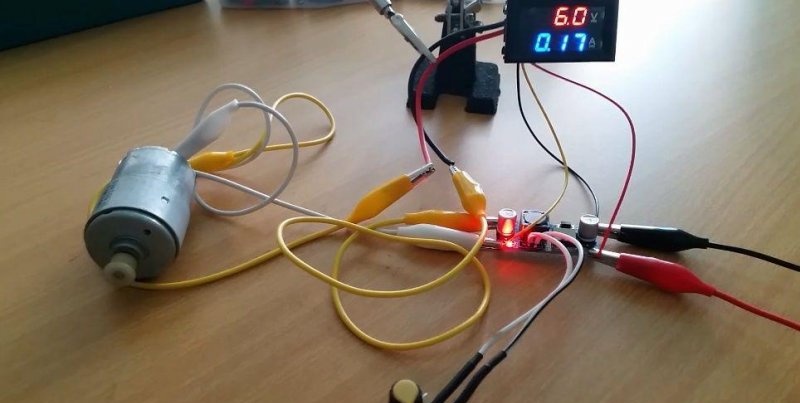
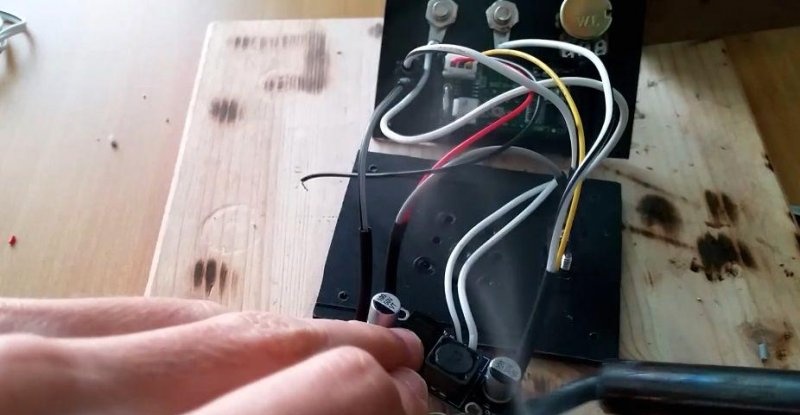
Let's put together a diagram.
Attachment regulator to the power supply

Everything is working. The ampere-voltmeter perfectly displays voltage and current.

Assembling the regulator attachment


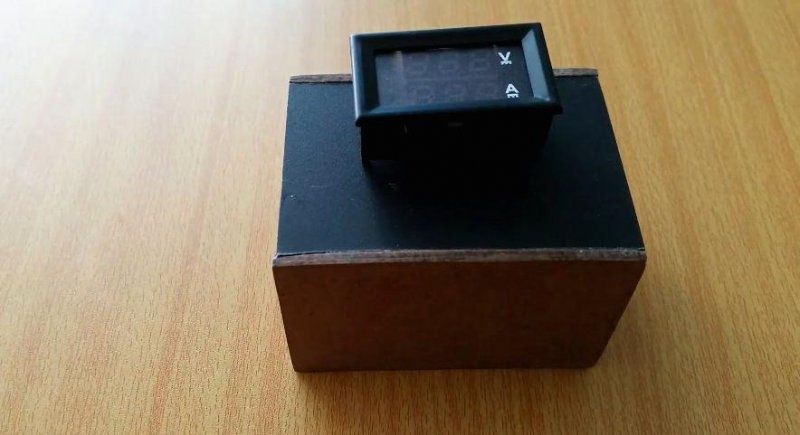
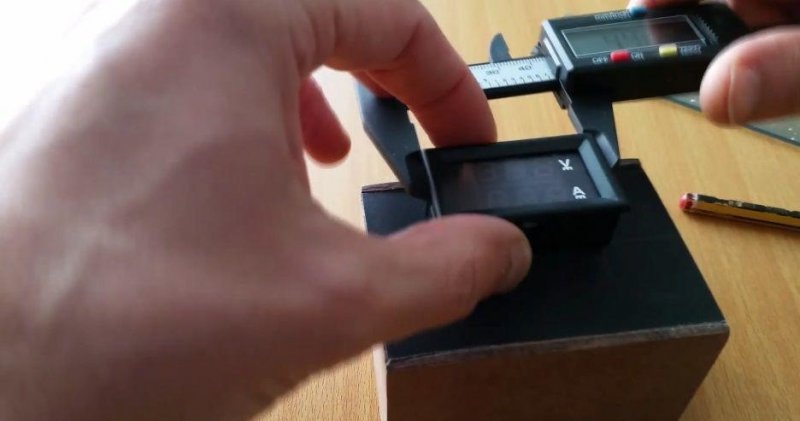
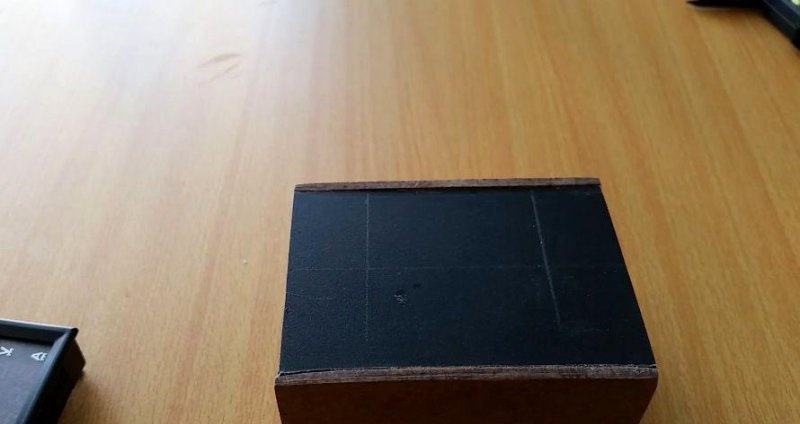
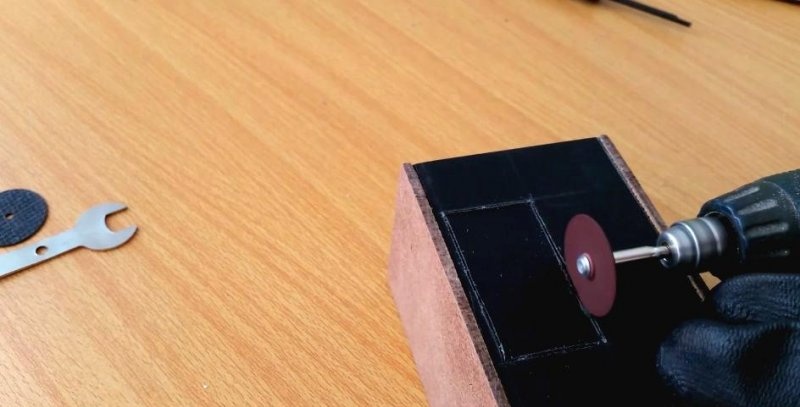
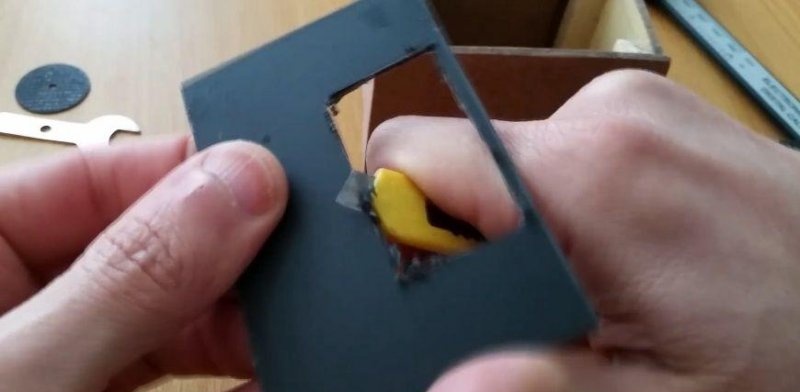
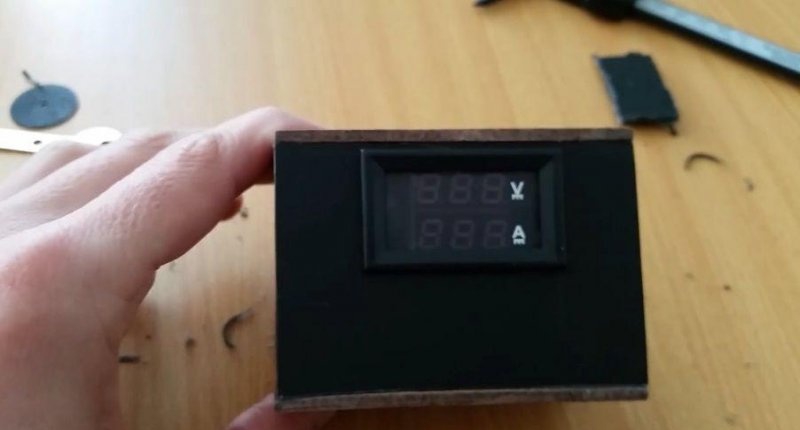
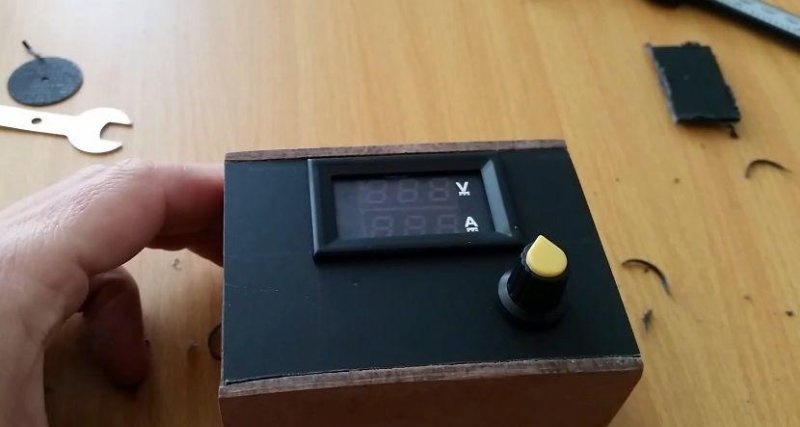
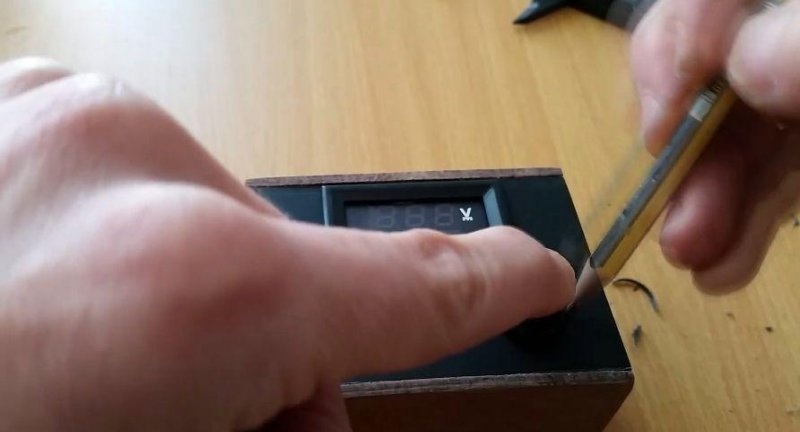
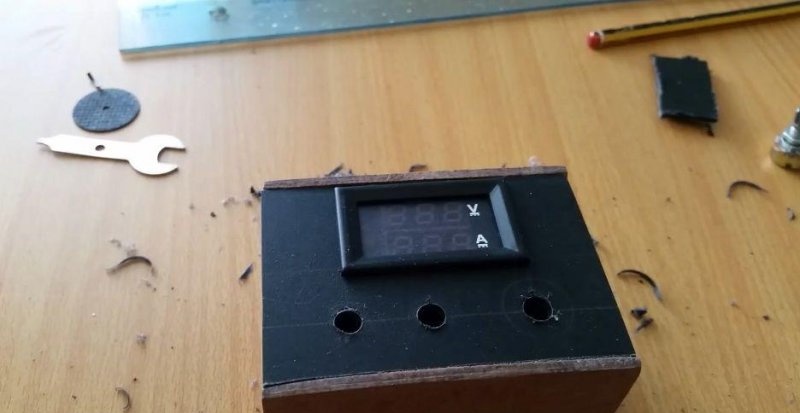
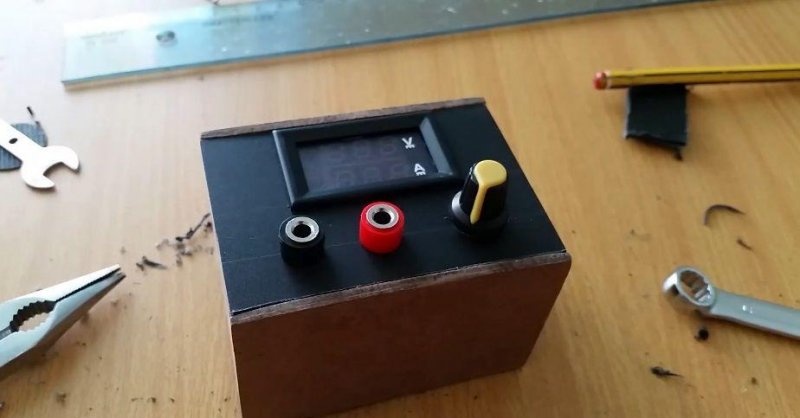
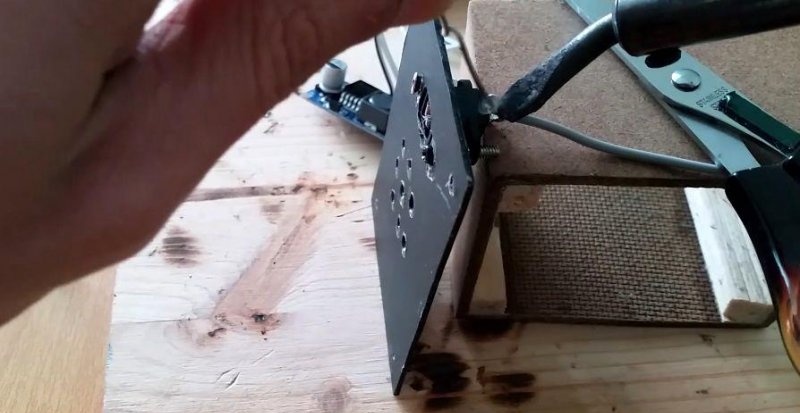
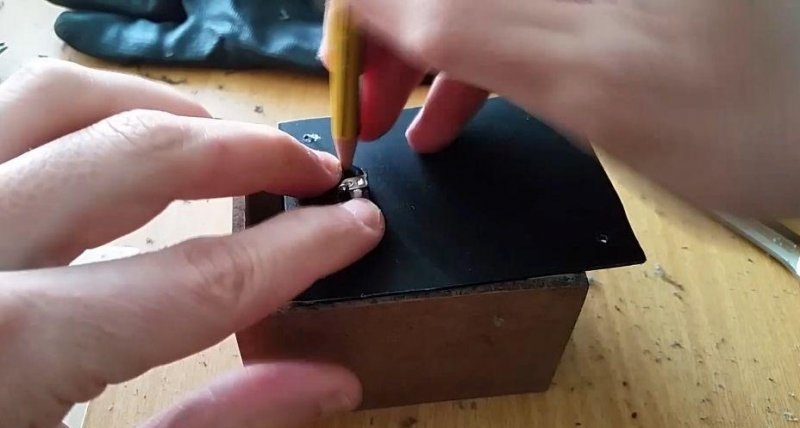
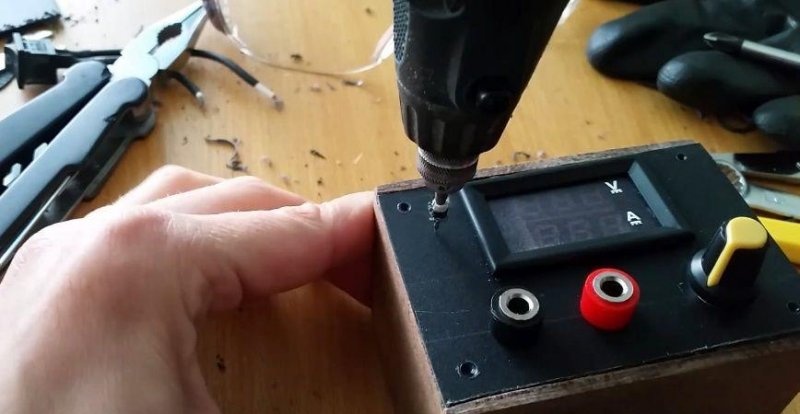
We embed the ampere-voltmeter into the front panel. We drill holes for the connectors and variable resistor. We insert everything and the front part is ready. We fix the panel.
Attachment regulator to the power supply

Attachment regulator to the power supply

Attachment regulator to the power supply

Attachment regulator to the power supply

Attachment regulator to the power supply

Attachment regulator to the power supply

Attachment regulator to the power supply

Attachment regulator to the power supply

Attachment regulator to the power supply

Attachment regulator to the power supply

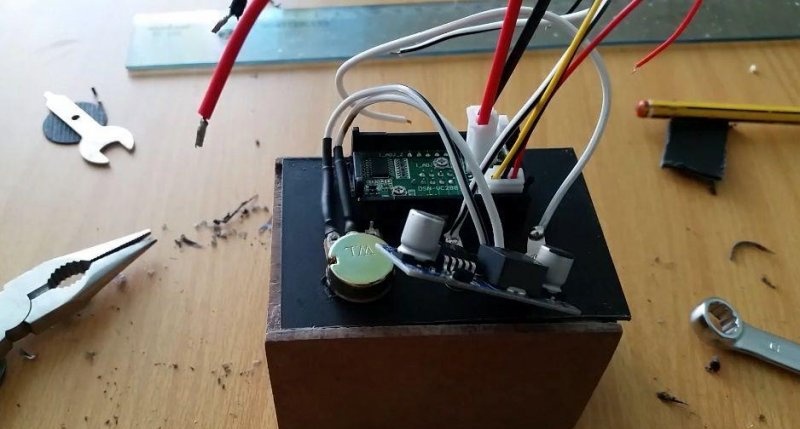
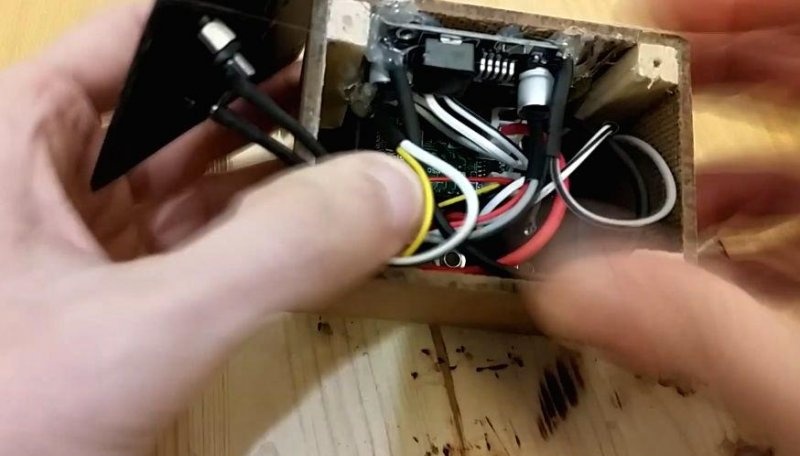
We connect all the parts. We attach the connector for the power supply input to the back wall.
Attachment regulator to the power supply

Attachment regulator to the power supply

Attachment regulator to the power supply

Attachment regulator to the power supply

Attachment regulator to the power supply

Attachment regulator to the power supply

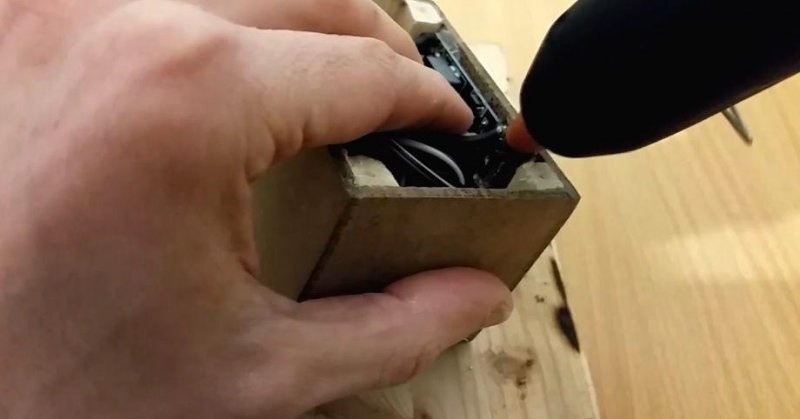
We place the module on hot glue so that it does not dangle inside.
Attachment regulator to the power supply

Attachment regulator to the power supply

Attachment regulator to the power supply

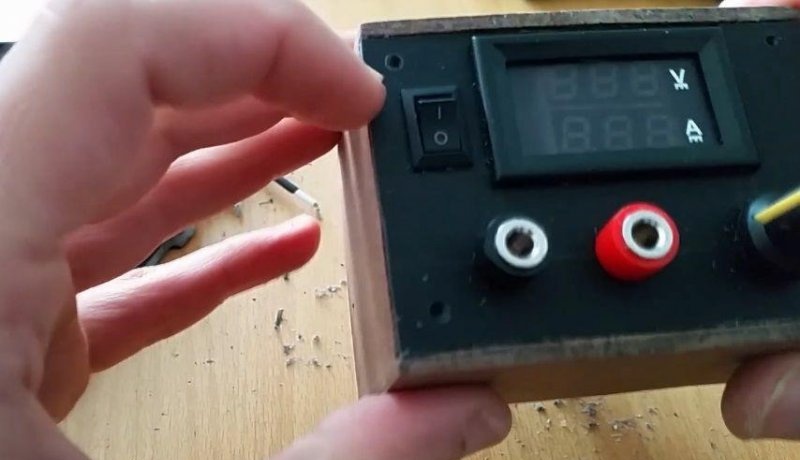
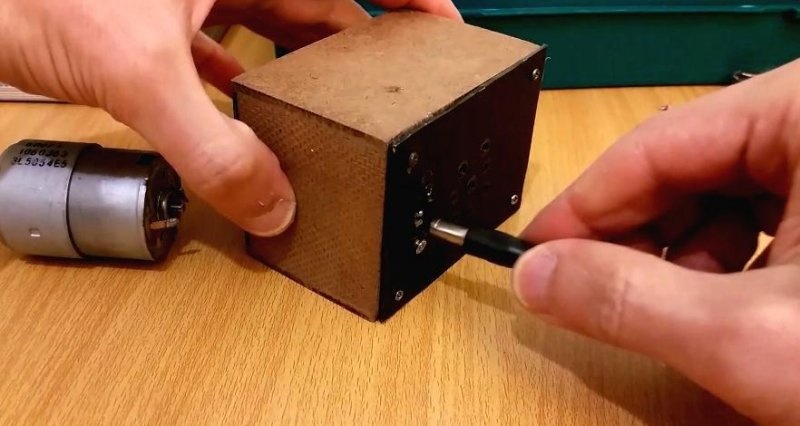
All is ready. But I forgot to say that I added a switch just in case. It is not needed, but suddenly I want to connect the set-top box to a battery.
Attachment regulator to the power supply

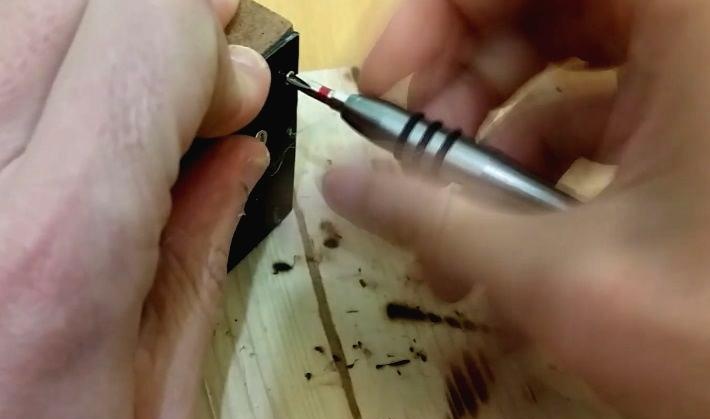
The last step is to tighten the screws of the front and rear panels.
Regulator attachment in the power supply

Checking the voltage regulator


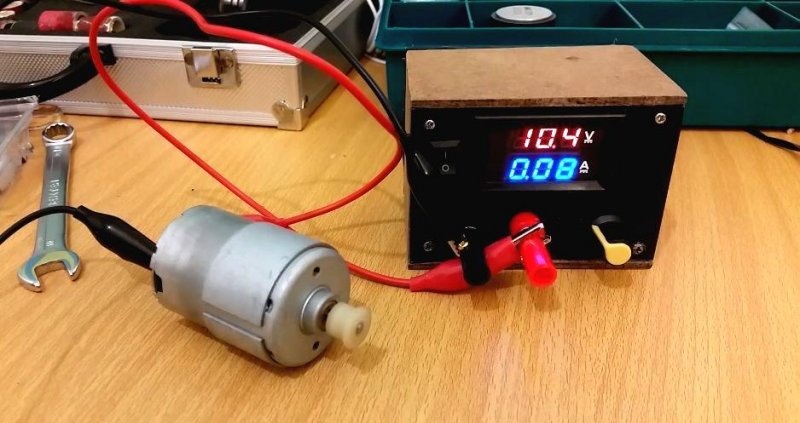
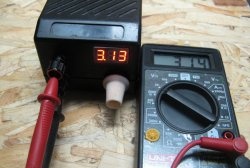
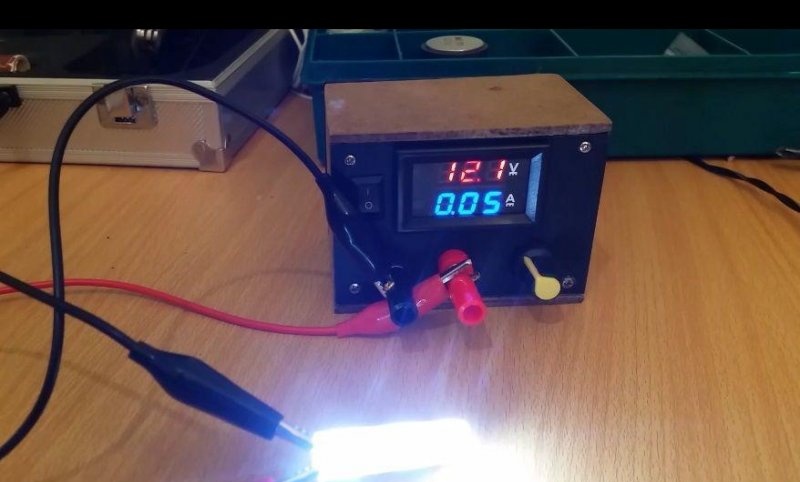
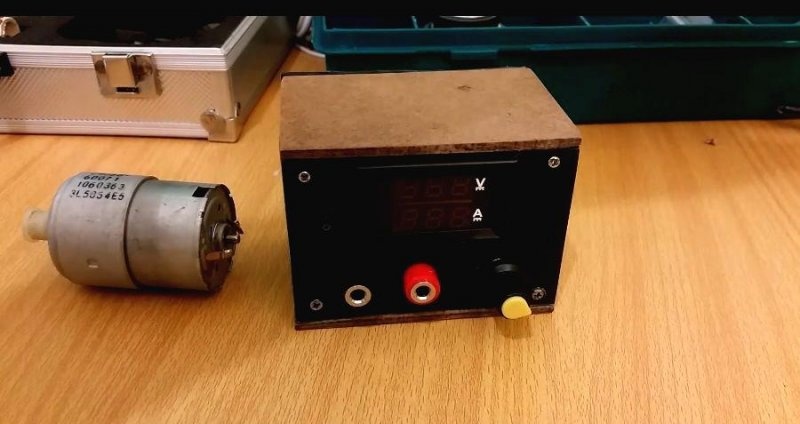
We connect the power supply to the connector. We connect the load. Everything works amazingly! The adjustment is smooth.
Attachment regulator to the power supply

Attachment regulator to the power supply

Attachment regulator to the power supply

Attachment regulator to the power supply

Of course, it would be possible not to install a voltmeter with an ammeter, but how could we do without it?
Watch a video of making and testing a simple regulator


come back
Comment
  • bowtiesmilelaughingblushsmileyrelaxed relaxedsmirk
    heart_eyeskissing_heartkissing_closed_eyesflushedrelievedsatisfiedgrin
    winkstuck_out_tongue_winking_eyestuck_out_tongue_closed_eyesgrinningkissingstuck_out_tonguesleeping
    worriedfrowninganguishedopen_mouthgrimacingconfusedhushed
    expressionlessunamusedsweat_smilesweatdisappointed_relievedwearypassive
    disappointedconfoundedfearfulcold_sweatperseverecrysob
    joyastonishedscreamtired_faceangryragetriumph
    sleepyyummasksunglassesdizzy_faceimpsmiling_imp
    neutral_faceno_mouthinnocent
4 minus one =
Comments (2)
  1. Skuzlebut
    #1 Skuzlebut Guests 20 April 2019 17:35
    0
    How many ohms is the variable resistor?
  2. aleks
    #2 aleks Guests 8 April 2022 17:55
    2
    10kOm (103)

Sweet Christmas tree | Do it yourself

How to weld thin metal

Electronics | Page 15 | Do it yourself

Graceful flower | Do it yourself

«Do it yourself - with your own hands» - a site of interesting homemade products made from scrap materials and items at home. Step-by-step master classes with photos and descriptions, technologies, life hacks - everything a real master or just a craftsman needs for needlework. Crafts of any complexity, a large selection of directions and ideas for creativity.

We recommend reading

Washing machine error codes