Nowadays, everything can be bought in industrial stores. But it happens that an unclaimed device is collecting dust on the farm, which can be given a second life. And this will be of great benefit around the house during renovations.

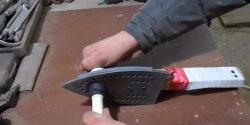
This device is a welding machine (soldering iron) for soldering polypropylene water pipes. It’s just that the Soviet iron is taken as a basis. Due to the impressive heating element and adjustable heat of the spiral, soldering pipes will be easy and simple.
To work you will need the following material
- Soviet-made iron;
- 2 M12 bolts 50 mm long;
- 2 M12 nuts;
- 3 M8 bolts 100 mm long and 5 M8 nuts;
- Hairpin 250 mm long M8;
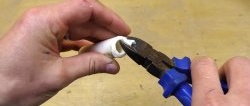
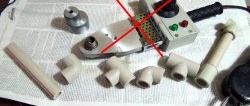
- 4 nozzles for soldering pipes (2 for internal and 2 for external heating) corresponding to the diameter of the pipes;
- Drills 12 mm and 8 mm for bolts;
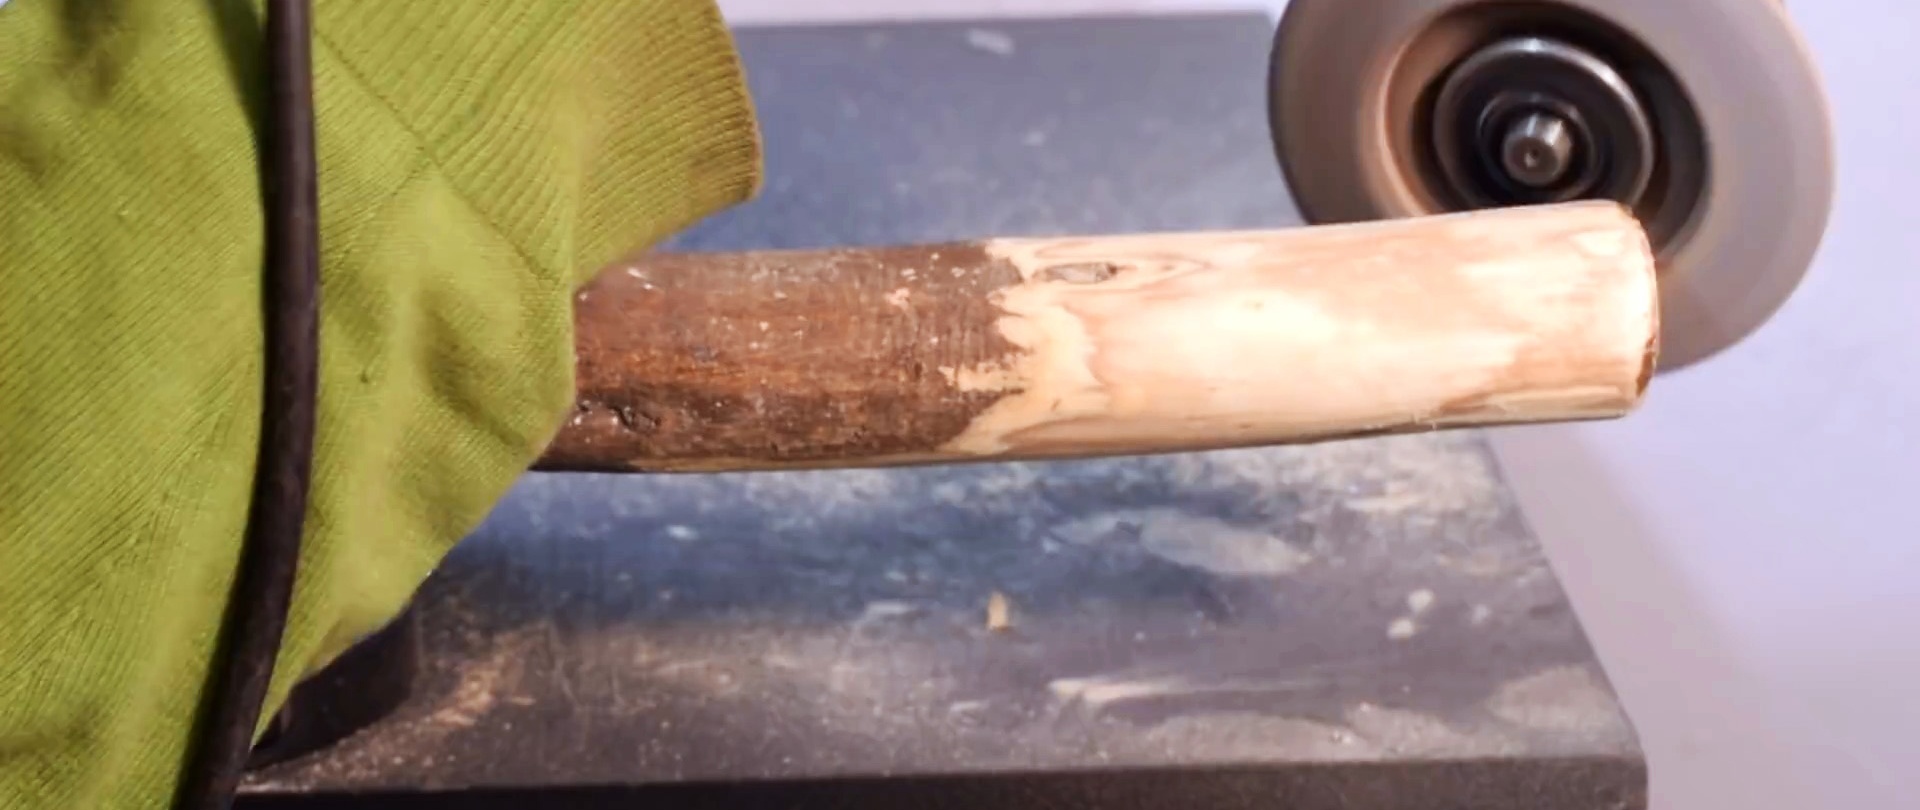
- Wood blank 40-60 mm in diameter and 200 mm in length.
The manufacturing process of a welding machine for PP pipes from a Soviet iron
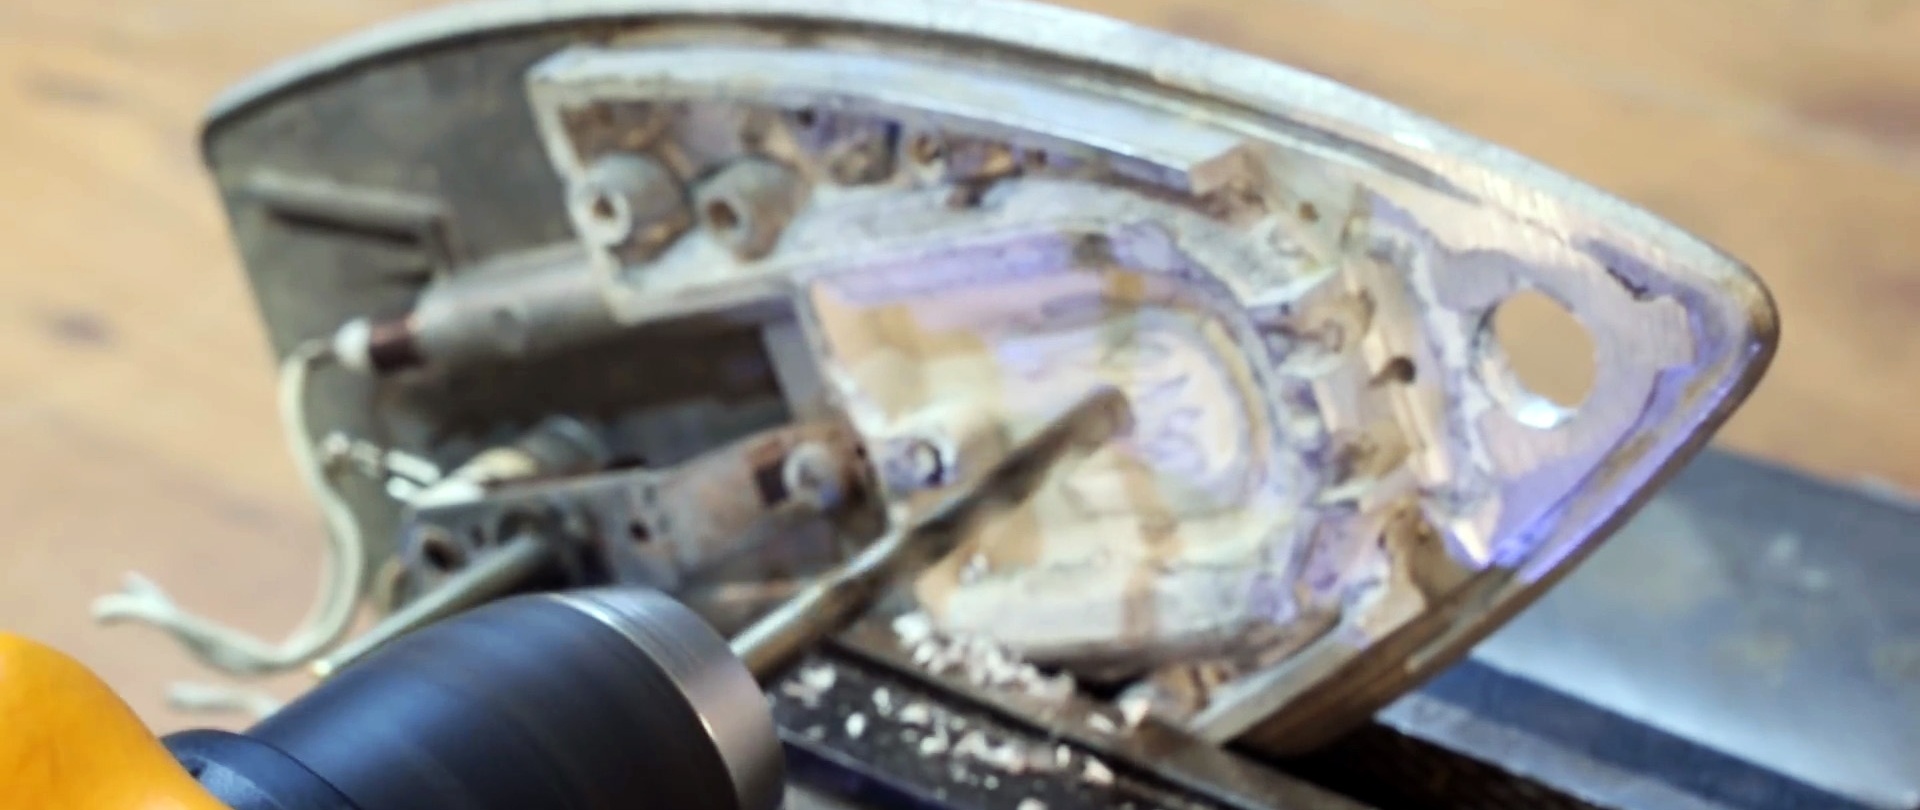
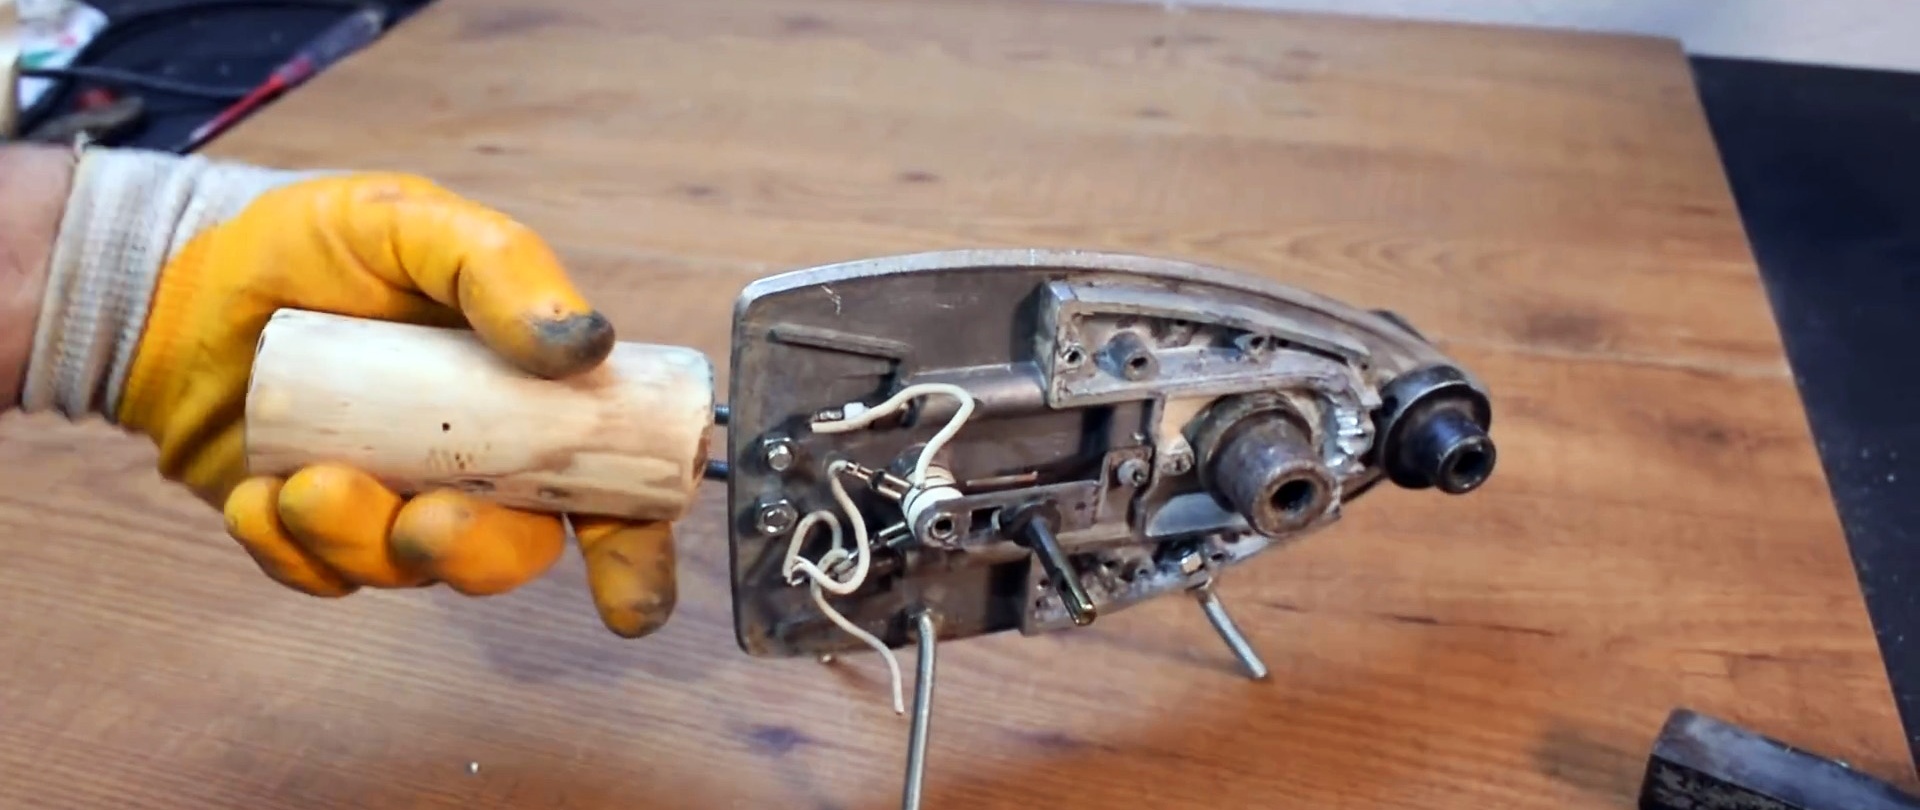
Take the iron and disconnect the upper plastic casing.
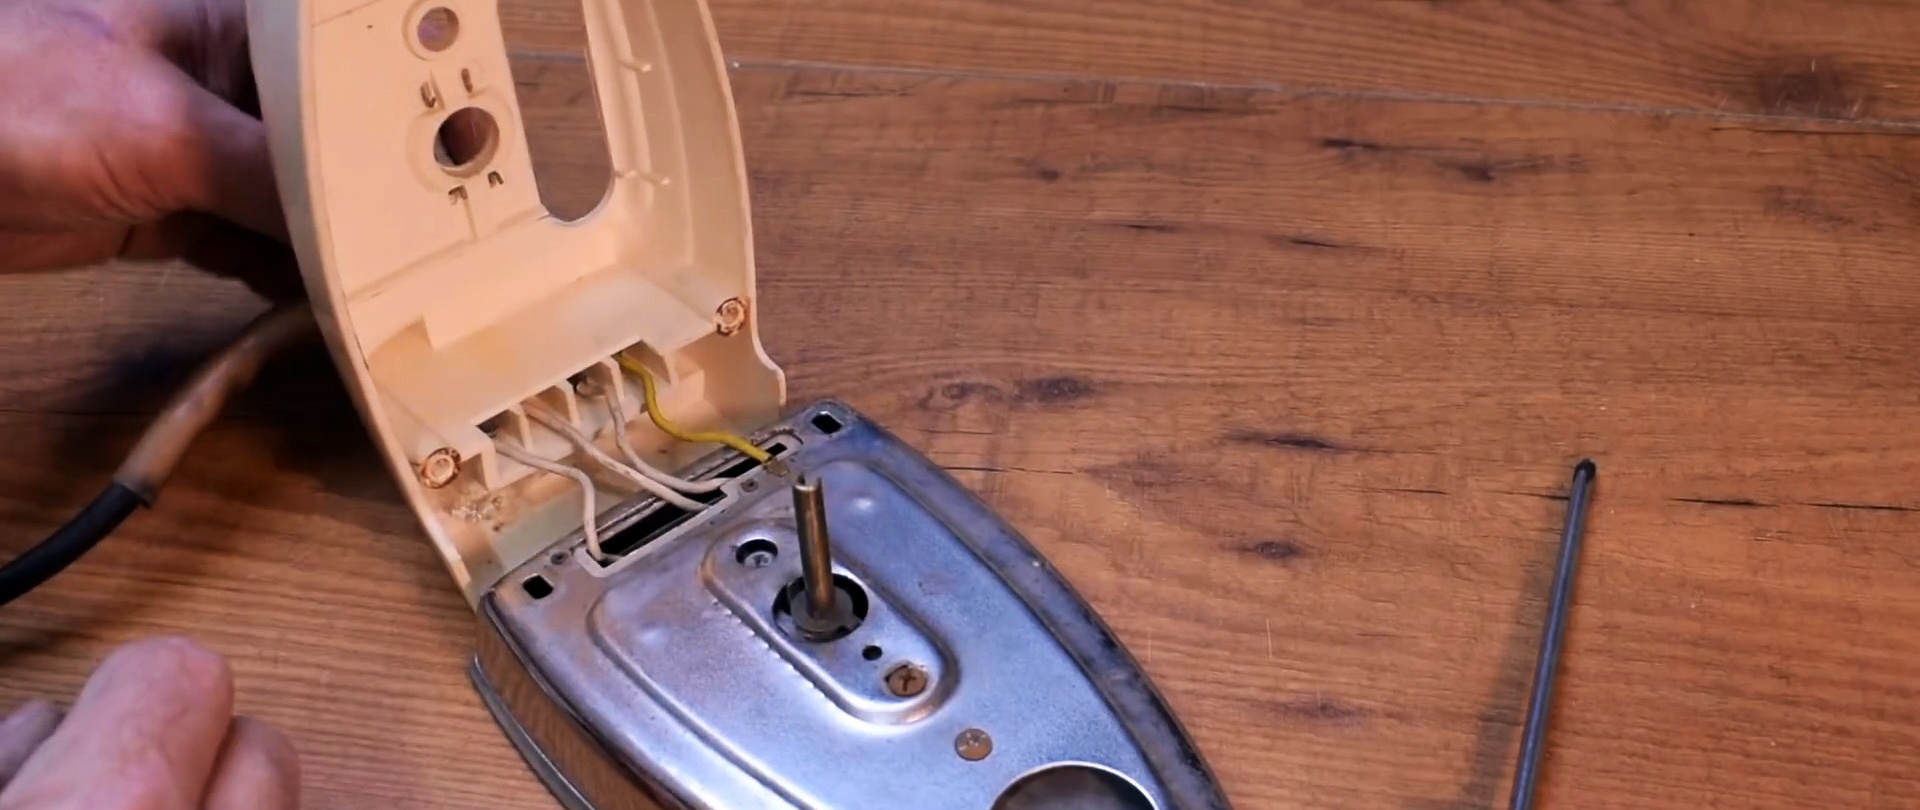
You should also disconnect the wires that lead to the heating element.As a result, the tin protection is removed from the lower metal case and the cover is unscrewed from the case.
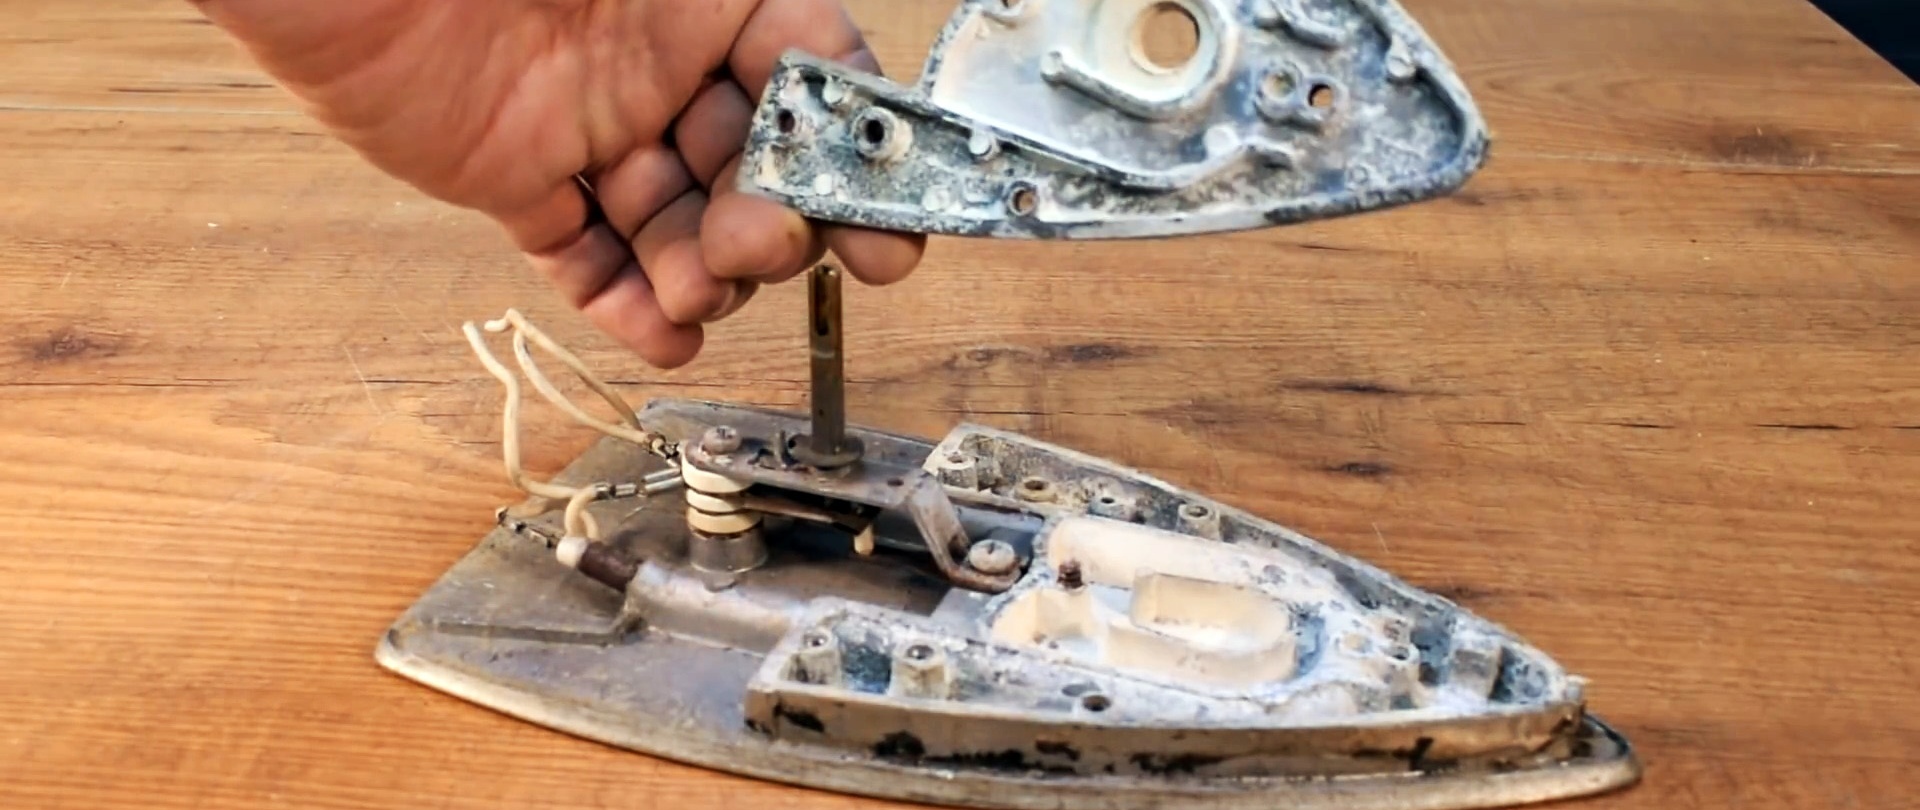
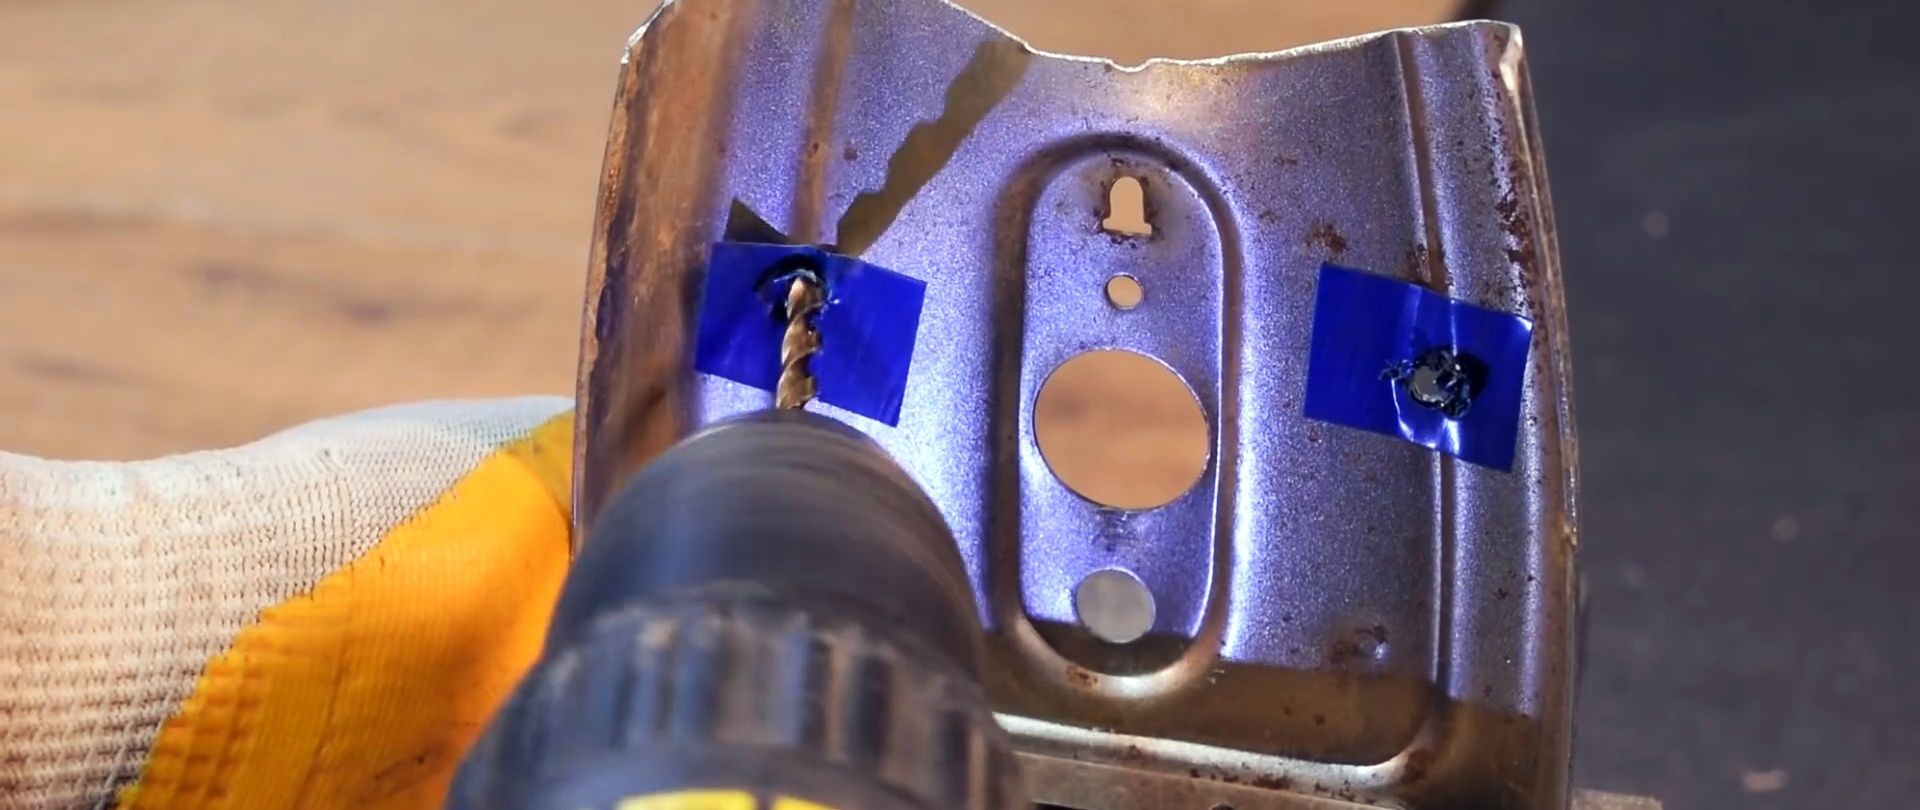
Next, we clean the inside of the body tip and, retreating 20 mm, drill a 12 mm hole in the center.


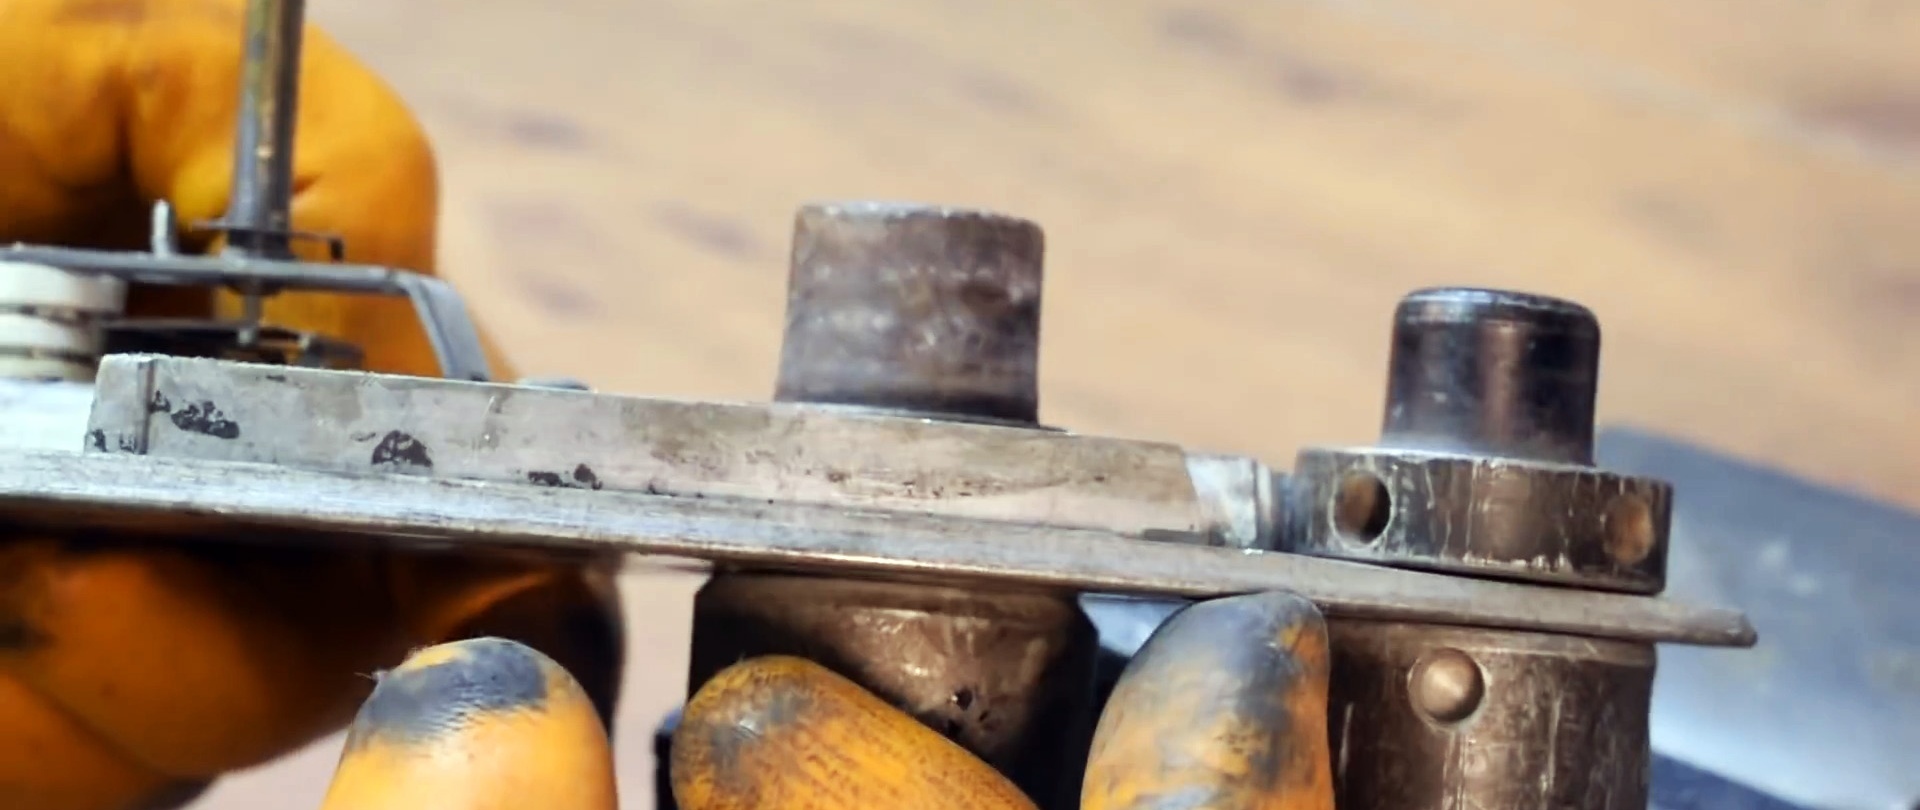
On the M12 bolts, the hexagonal head is cut off and a stud is obtained for attaching the heated bushings. You need 2 of these pins.

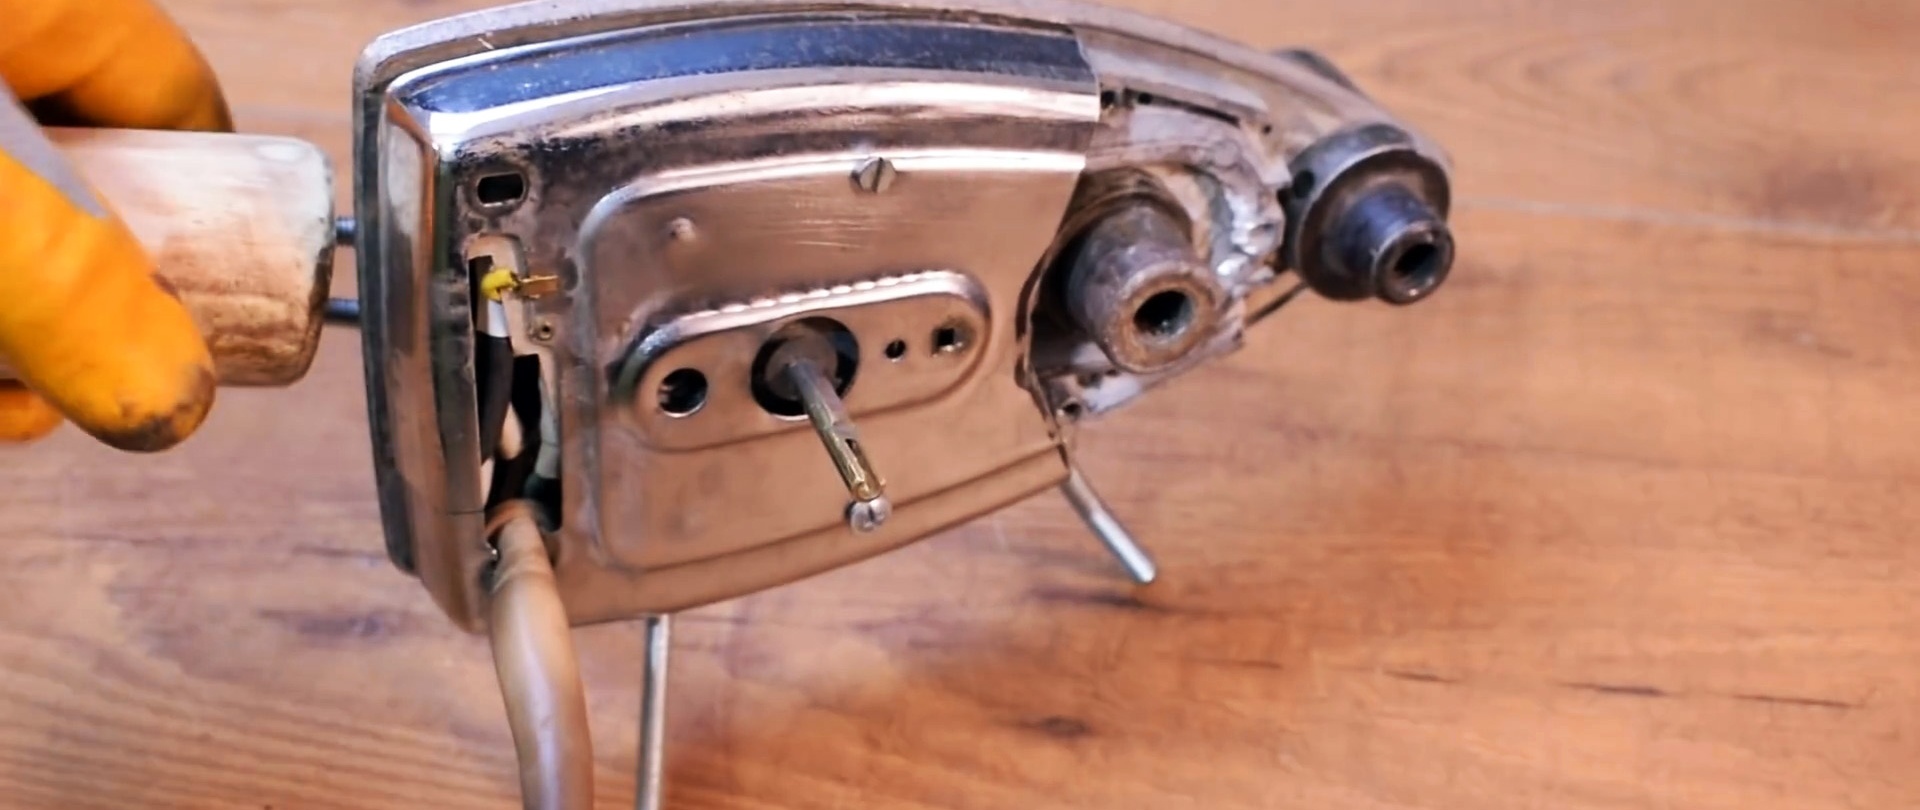
The next hole is drilled 12 mm in the center where the cover is removed. An M12 pin is also inserted there, onto which the heating bushings are screwed.

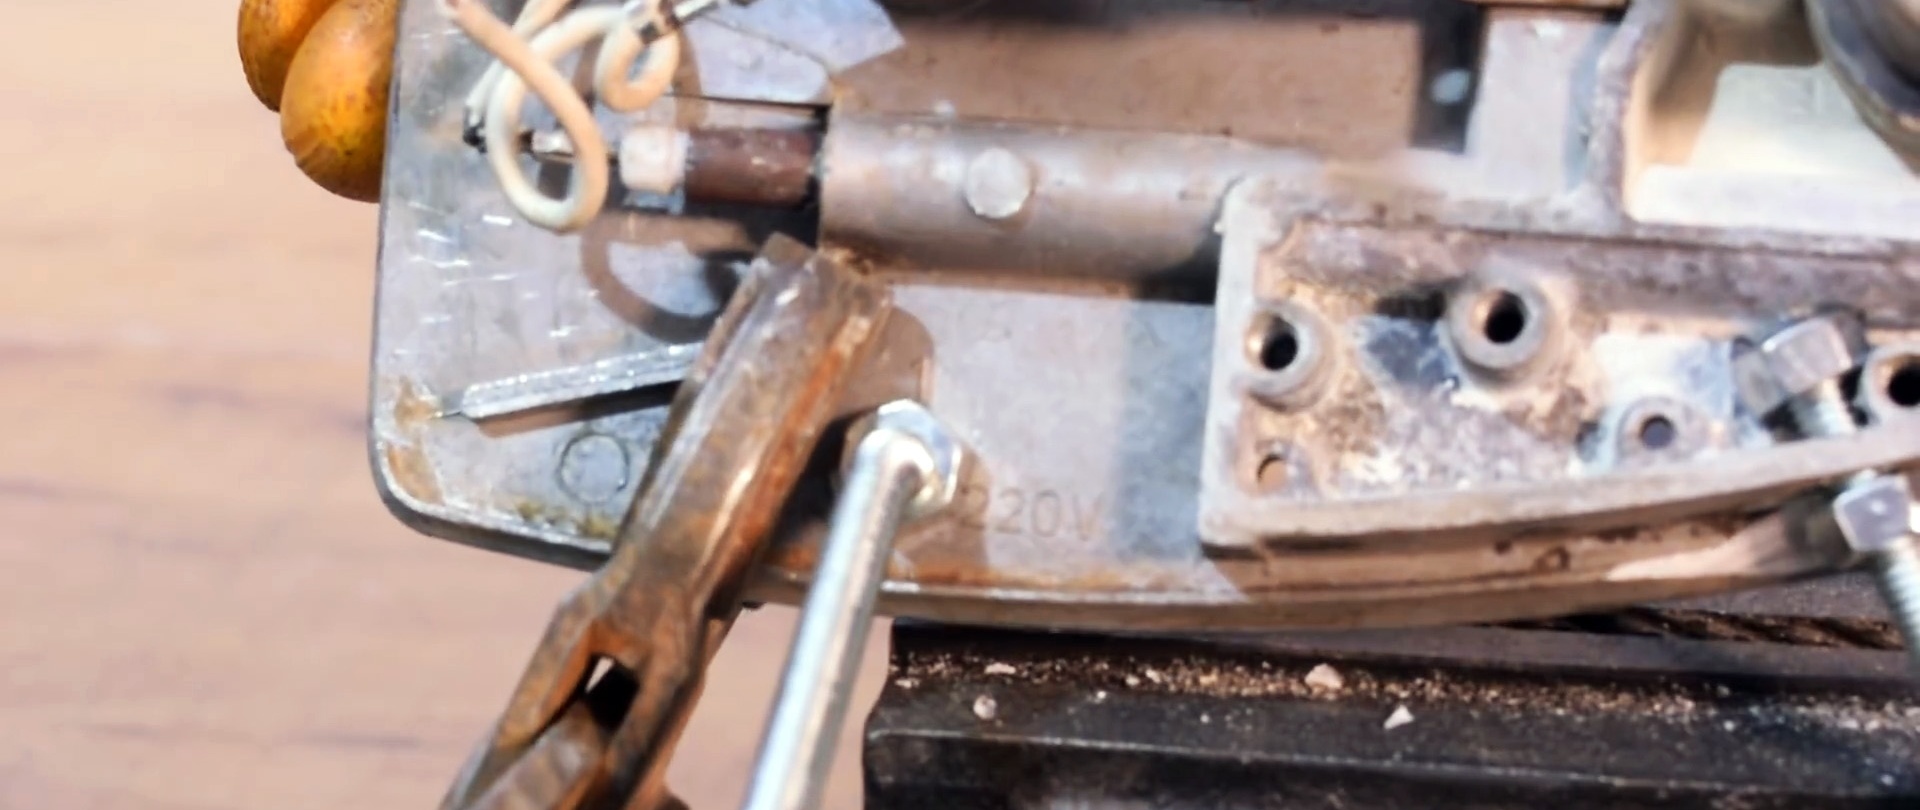
In order for the device to stand, it is necessary to make legs. Stepping back 100 mm from the nose of the iron, drill an 8 mm hole in the side edge of the body. The bolt and nut should be fixed there. You should also retreat 100 mm from the back side and drill an 8 mm hole in the body plate. A long 250 mm pin is inserted there and secured with two nuts in the center.


Next, the long pin must be bent on the body by 45 degrees in different directions. This creates two rear legs.
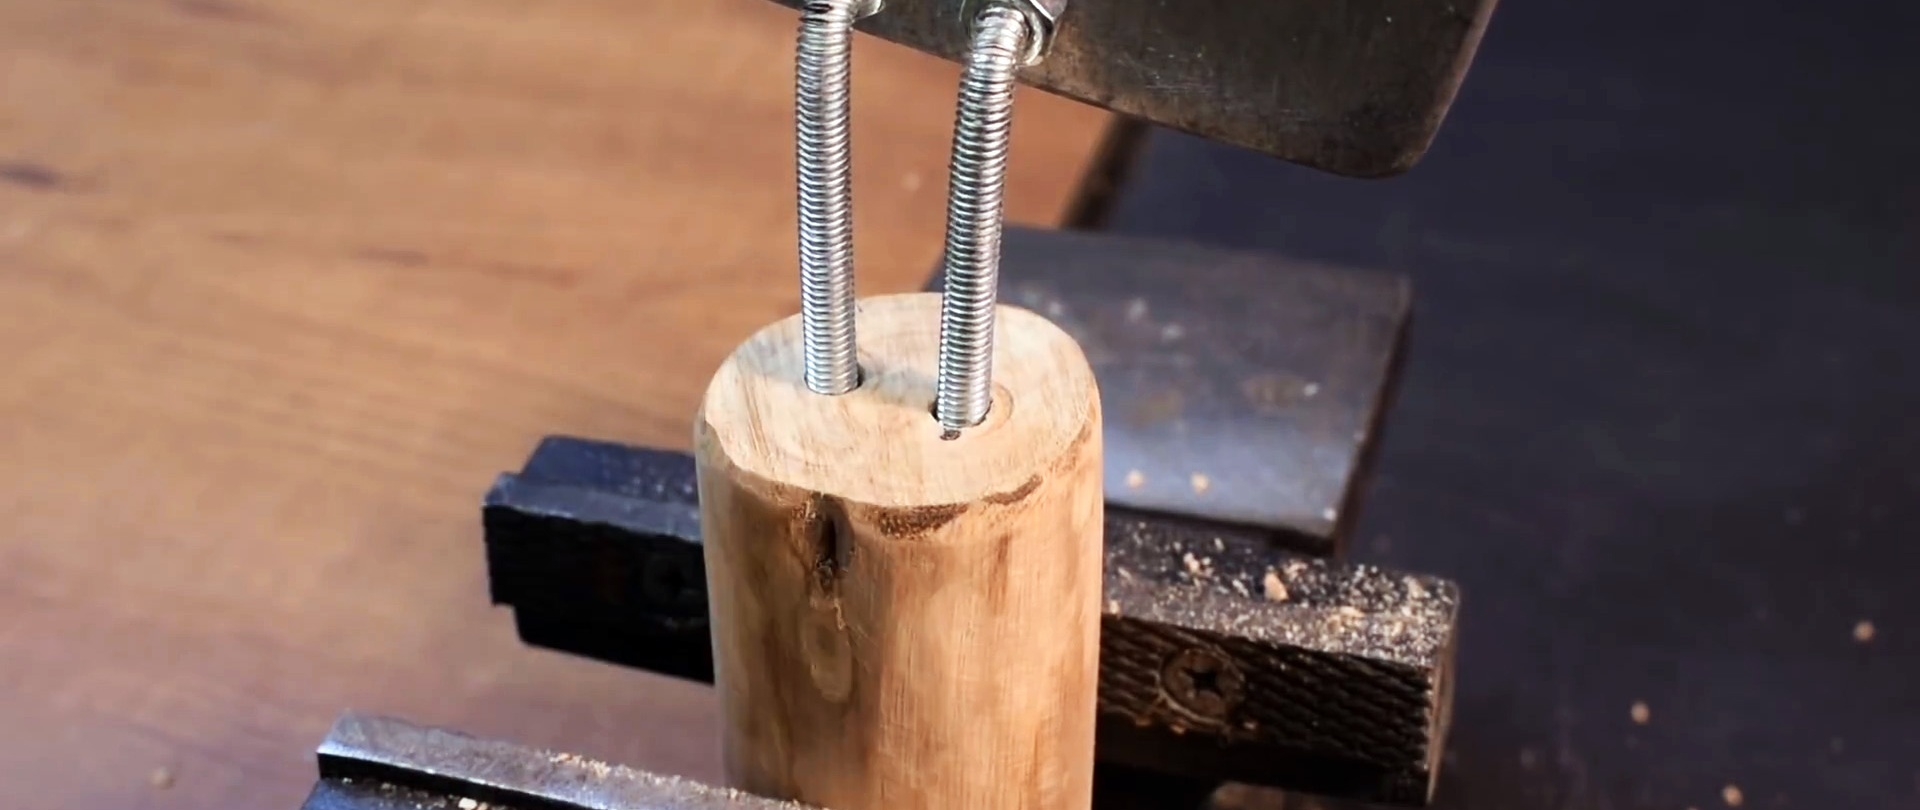
In order to safely hold the device, you need to attach a handle. On the body, 2 x 8 holes are drilled from the back of the head and 2 bent pins are inserted, which are secured with nuts.
Having marked the future place for the studs at the end of the handle, you need to drill an 8 mm hole. Next, the handle is stuffed onto the studs.
In order to prevent the old upper protective housing from interfering with the heating bushings, it is necessary to cut off the excess. Also, new holes for mounting screws must be drilled in the protective housing.

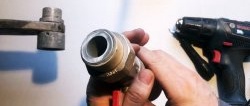
The cord is soldered and insulated by thermal shrinkage.

The device is assembled and the on/off toggle switch is attached.
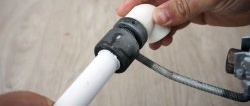
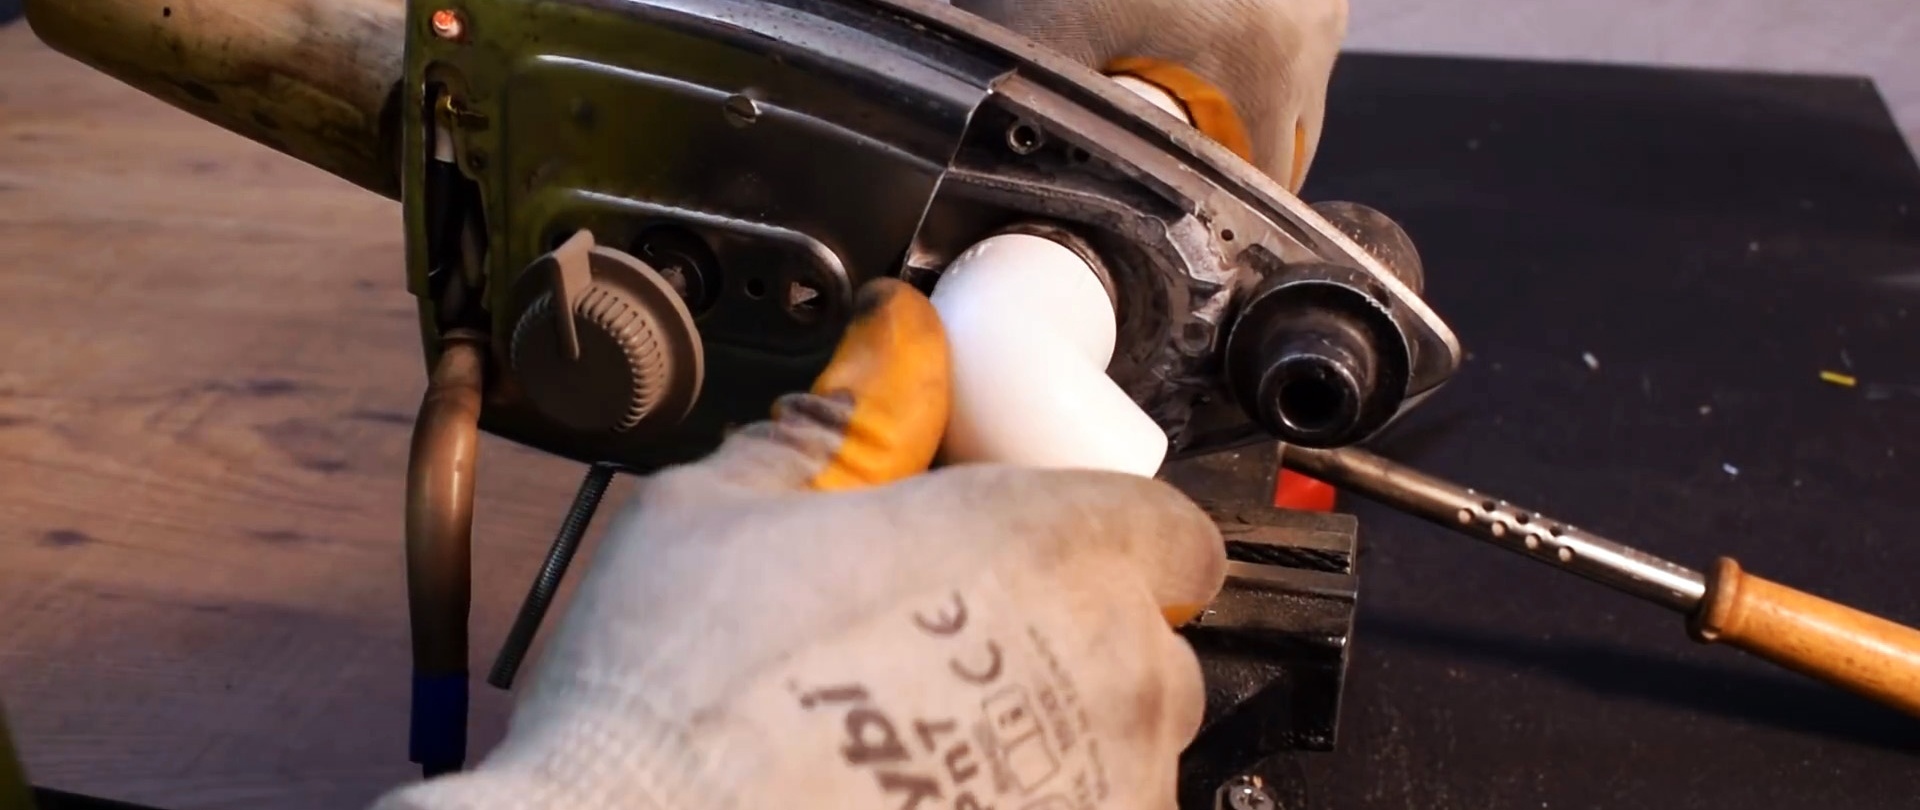
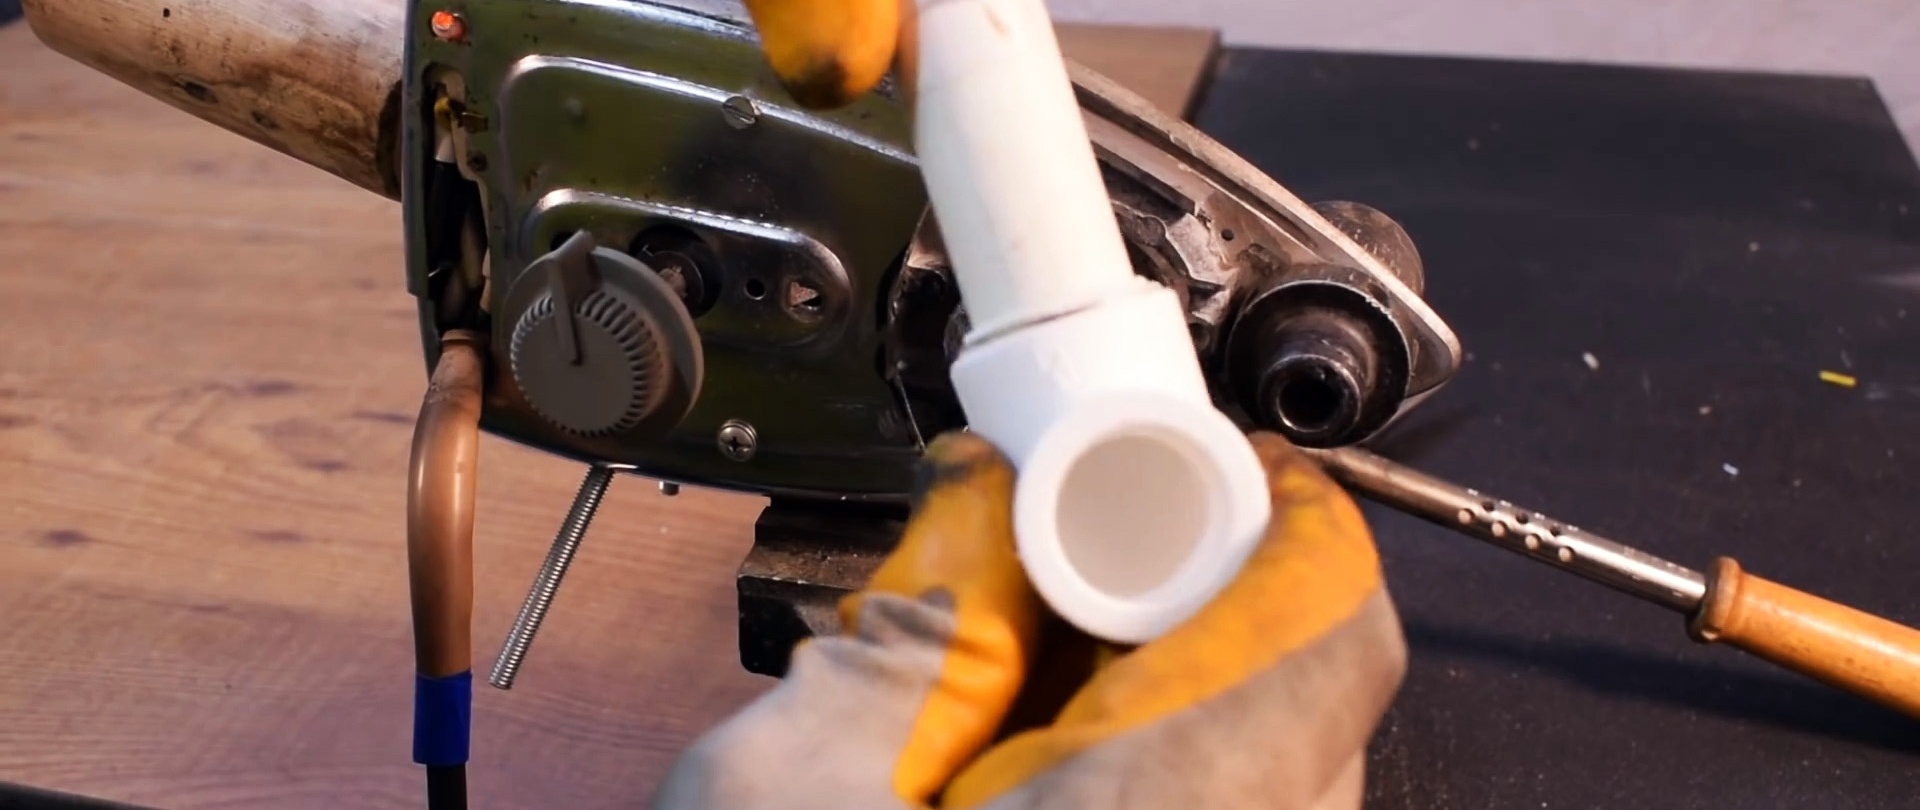
When the device heats up, it is necessary to put the pre-prepared pipe sections onto the heated bushings. You must hold it for at least 5 seconds and remove it.Then you should quickly connect the parts. This soldering allows you to achieve a hermetically sealed connection.
Helpful information
Wear goggles when using an angle grinder or drill. If you are not confident in your electrical skills, it is better to contact a specialist. Otherwise, you may get an electric shock. When using the device, gloves should be worn to avoid burns.