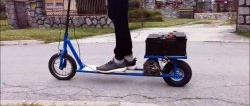
Most electric scooters in stores have a flimsy frame that can hardly withstand riding even on relatively good roads. If you plan to ride not only on asphalt, but also carry loads with you, then perhaps you should think about making an electric scooter yourself. You can weld a frame for it, and buy a powerful engine and battery for it. As a result, such an electric scooter will be cheaper than its commercial counterpart of approximately the same level.

Basic materials:
- Motor 24V 350W - http://alii.pub/5xzq4v
- battery - http://alii.pub/5xzqgj
- throttle handle for electric scooter with controller - http://alii.pub/5xzr4n
- sprockets and roller chain - http://alii.pub/5xzs3n
- odometer - http://alii.pub/5xzskk
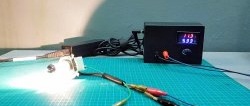
- Charger - http://alii.pub/5xzsuo
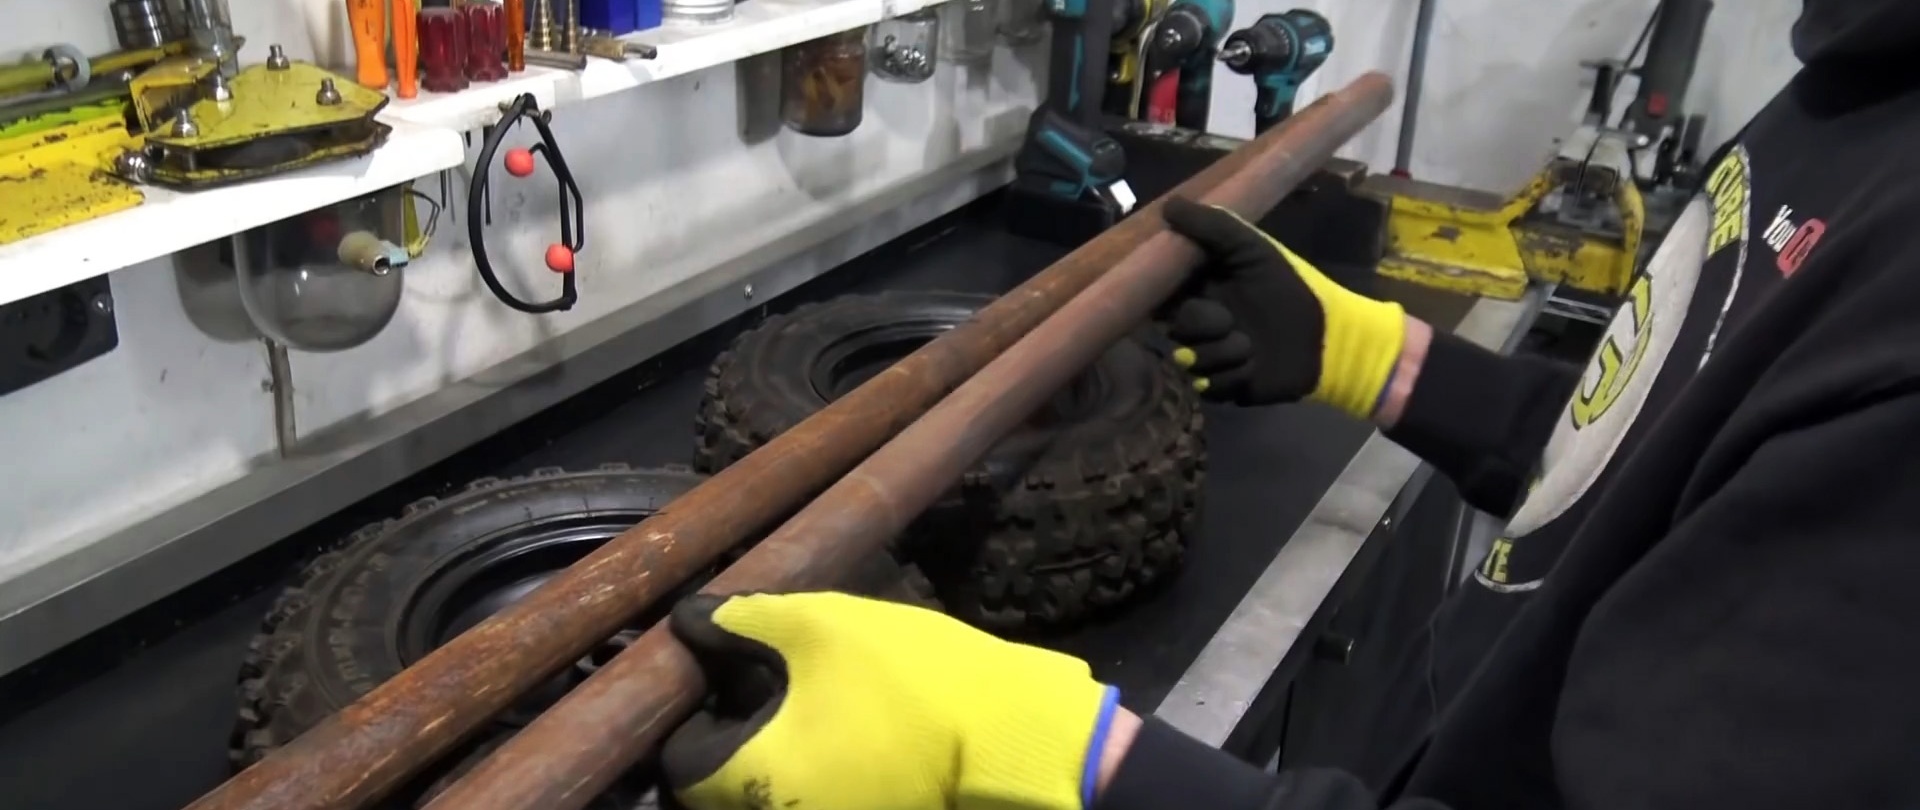
- pipes 25-50 mm;
- sheet steel 2 mm, 8 mm;
- bearings – 6 pcs.;
- wheels – 2 pcs.;
- round timber for turning;
- brakes (caliper, brake disc, brake handle).

Electric scooter manufacturing process
The first thing you need to do is the frame of the scooter. It is welded partially according to the sketch of the drawing proposed in the figure.

Its part for the platform under the feet is made 65 cm, the extension to the wheel is 25 cm, and the lateral displacement under the wheel axle is made 22 cm deep. At the junction points, the pipes will need to be cut at 45 degrees.
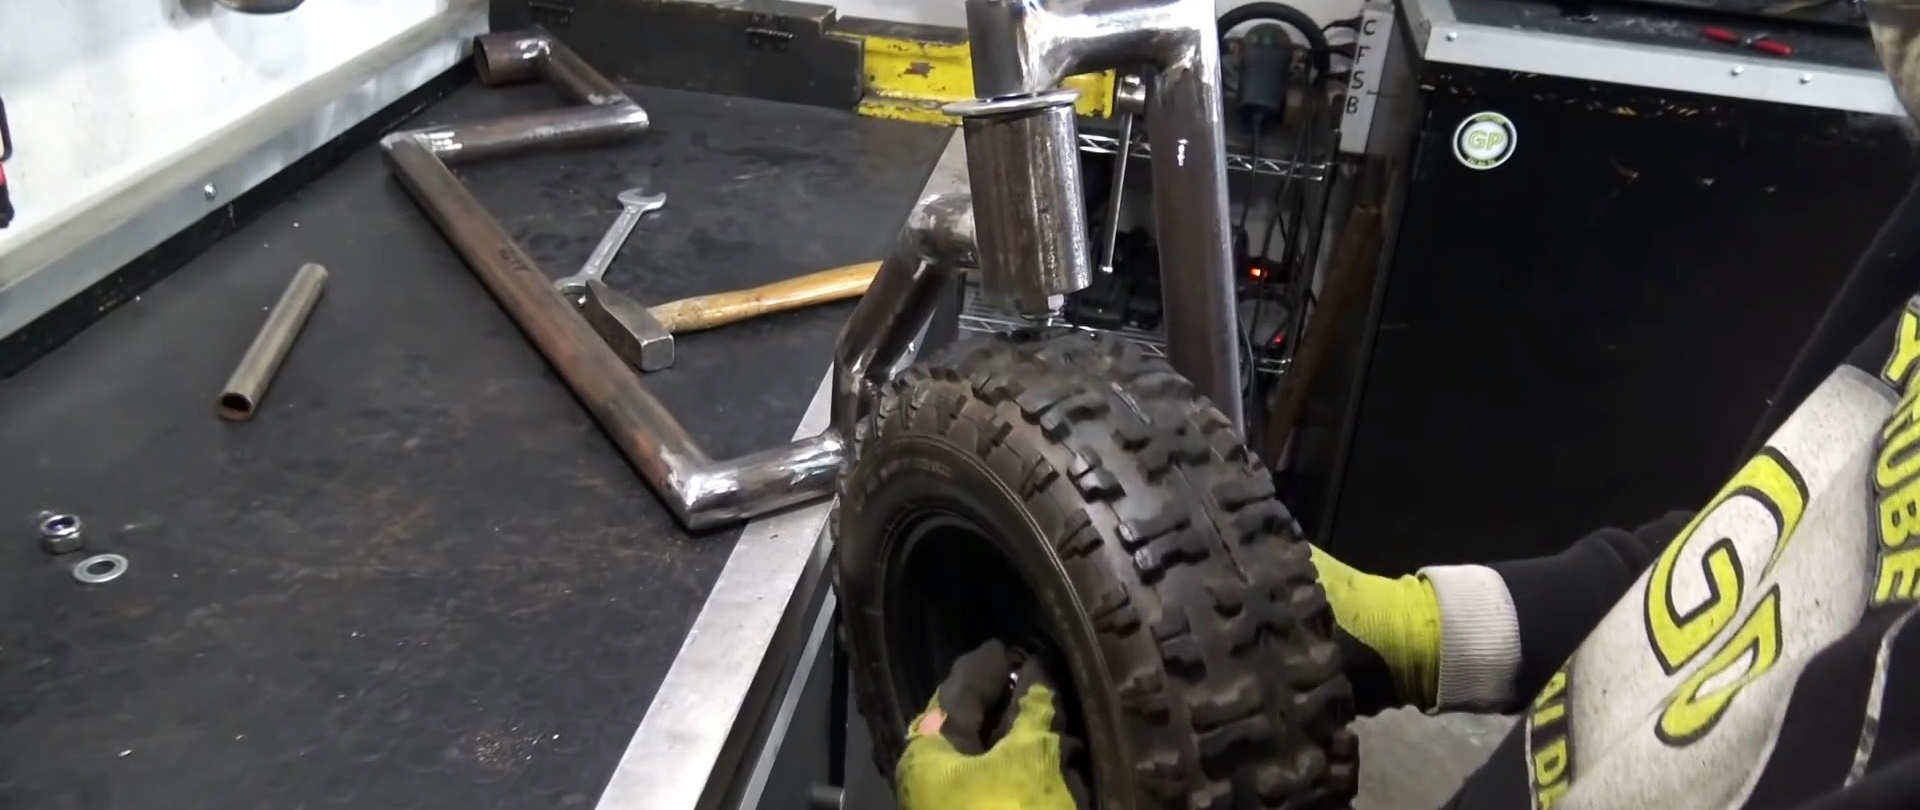
Based on the size of the wheels, an L-shaped blank of the front fork is welded.


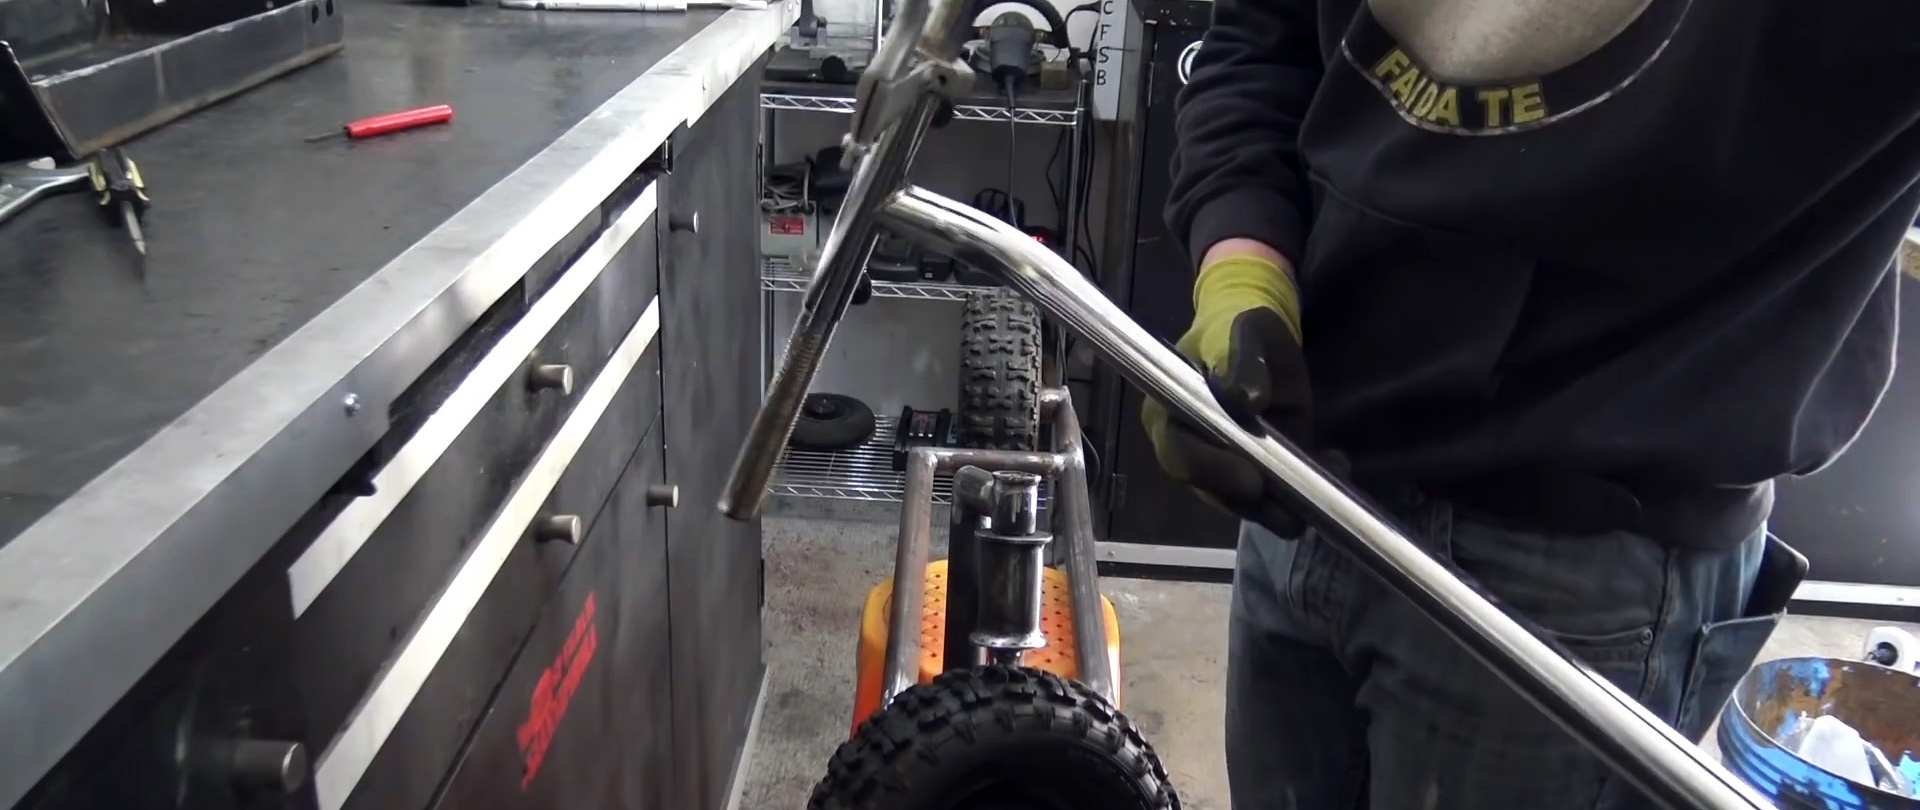
Then the frame and wheels are laid out on a flat base to see how they fit together.
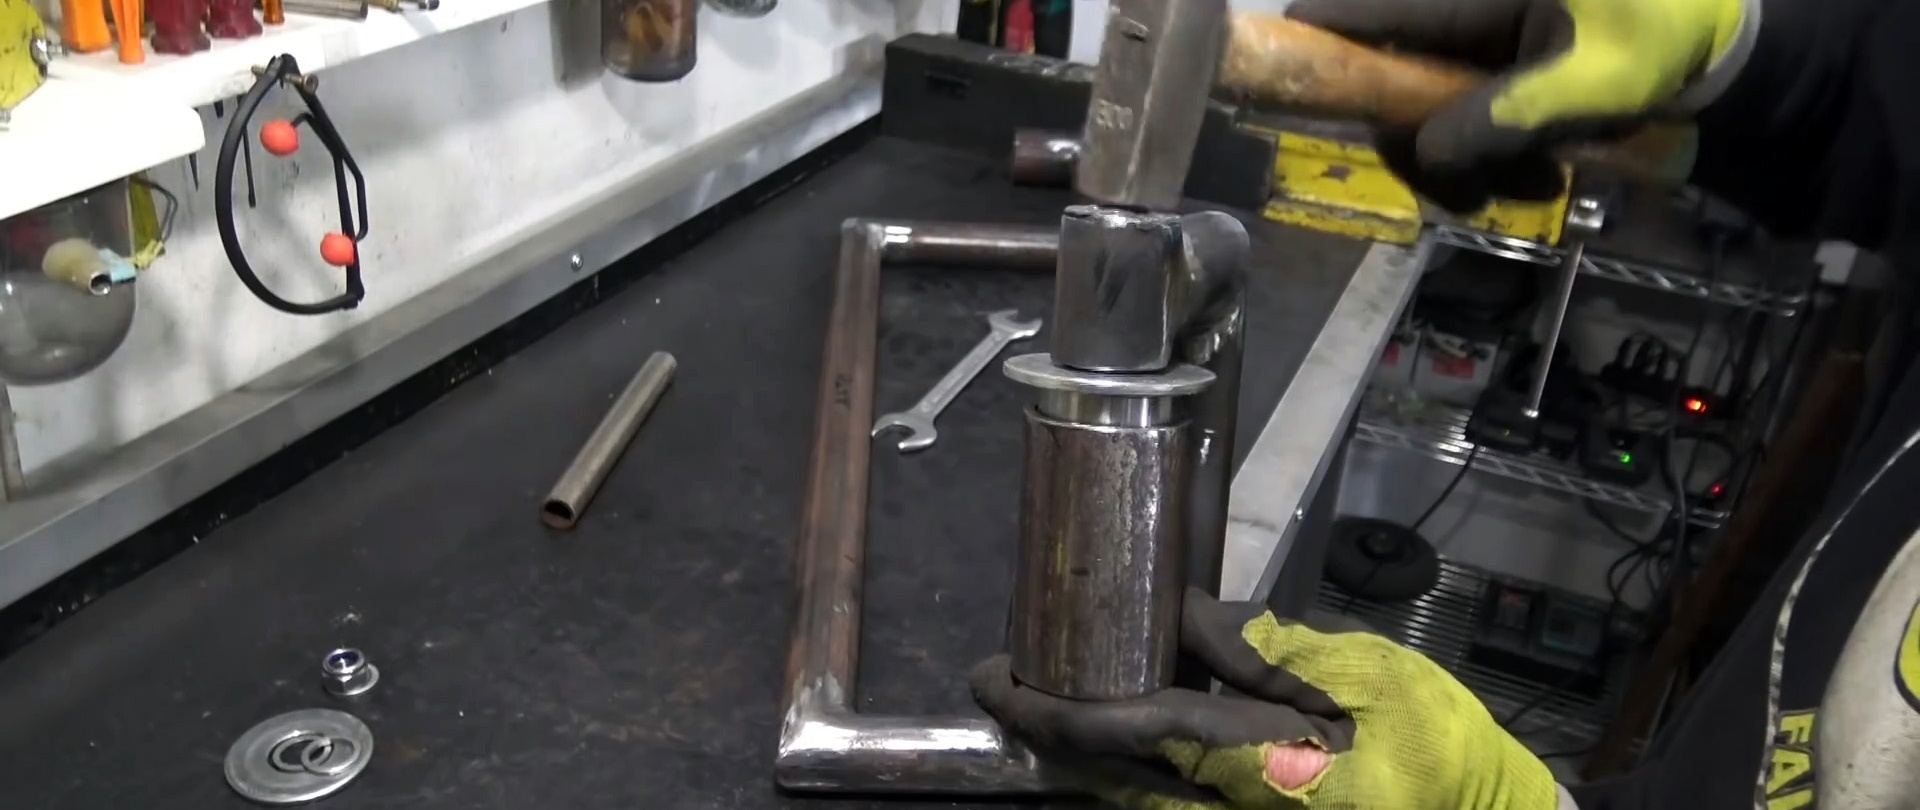
A steering tube blank is sawn off from a larger diameter tube. It needs to be welded to the frame, making an arc-shaped stand from sections of thin pipe.

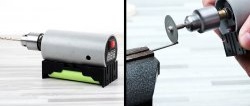
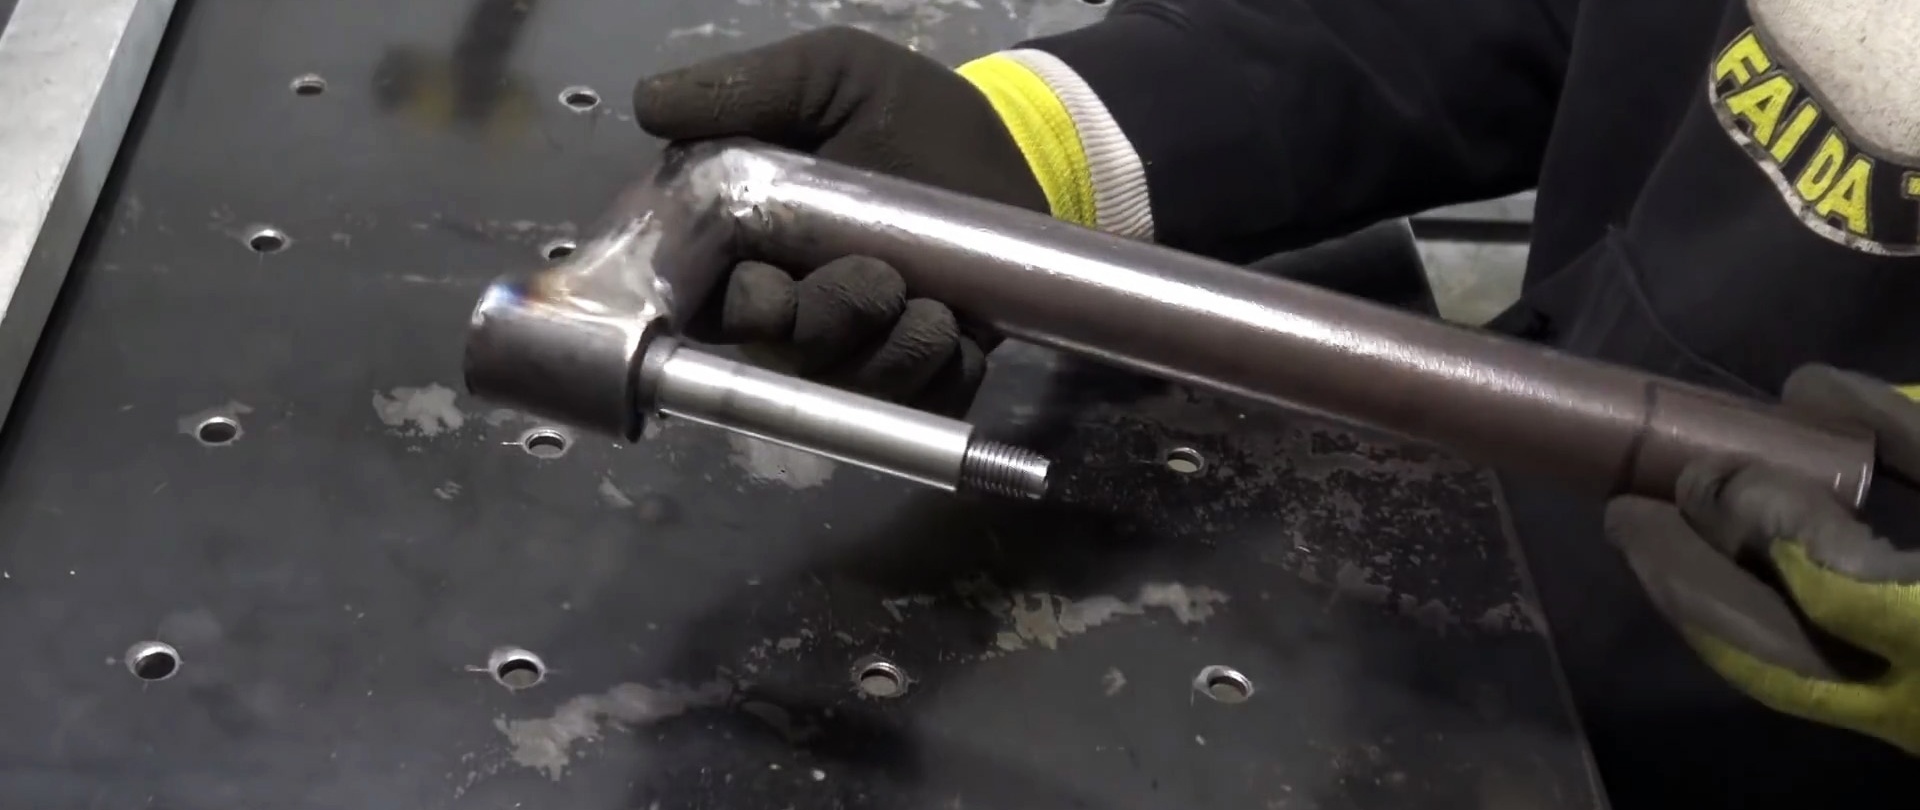
Next, the founder needs to take care of the fork. A piece of tube is welded to it. When making a fork, you can use the proposed drawing. Here you can’t do without turning work. You need to turn 3 axes with threads at the ends. One axle is needed to screw the fork to the steering tube, and the rest are for the wheels.
Bushings are machined under the made axles. They are needed to maintain a space between the bearings that will be placed on top.
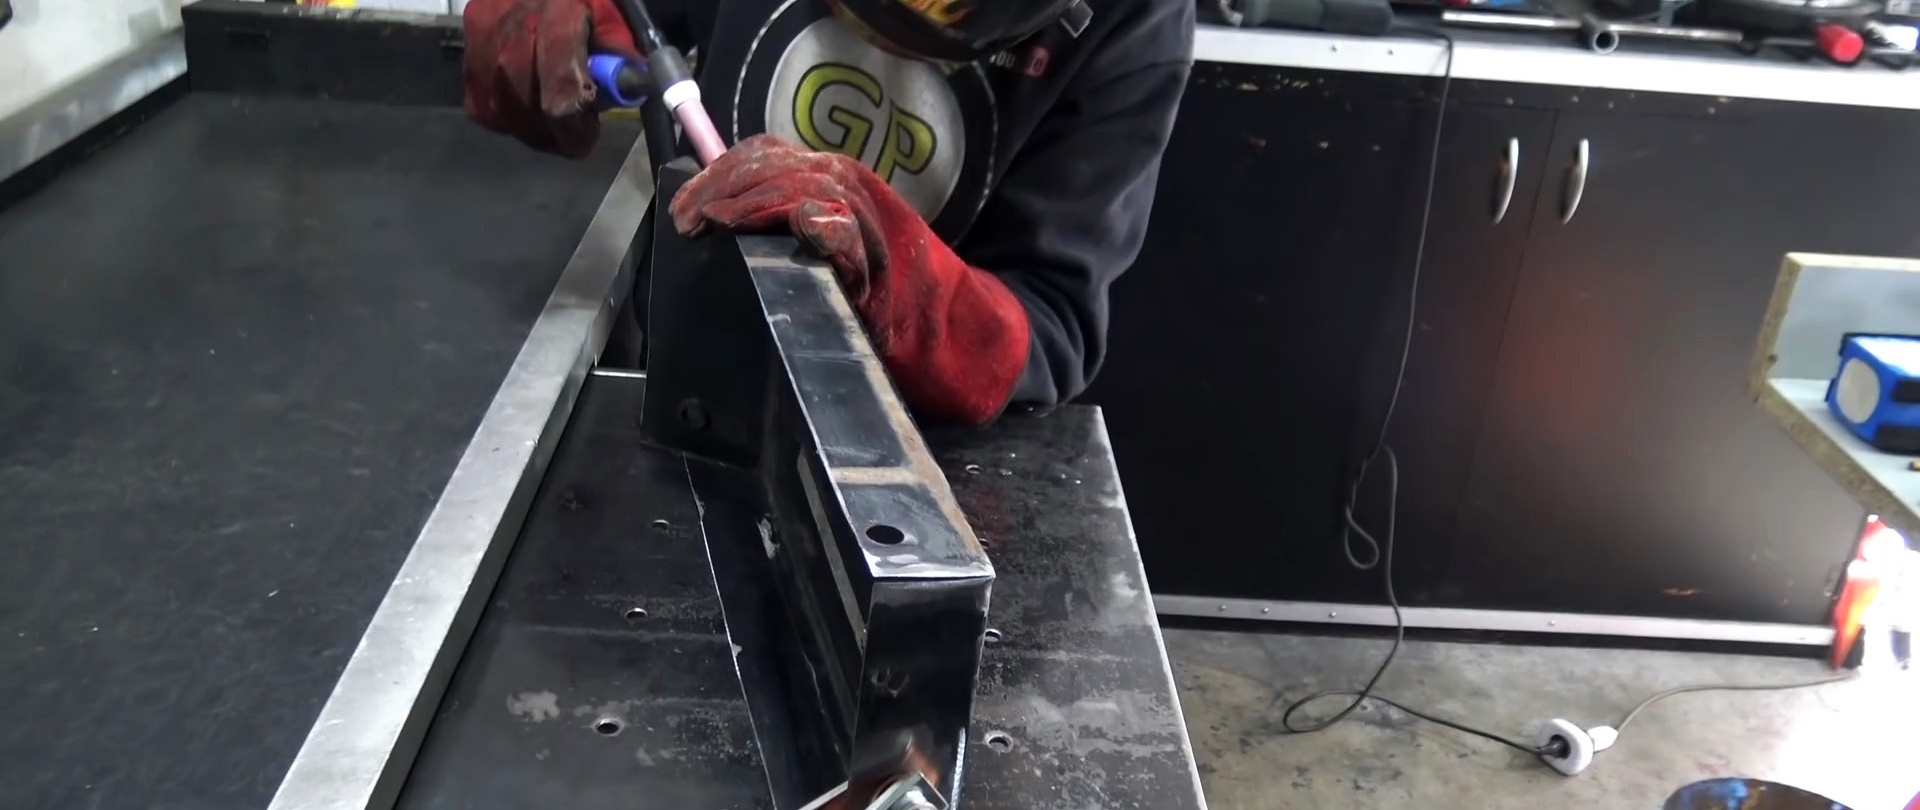
One axle is welded into the fork. The second end of the fork is flattened into a plane.

Please note that the plane must be parallel to the axis. The rear edge of the frame is also compressed. This plane should run parallel to the direction of the steering tube.

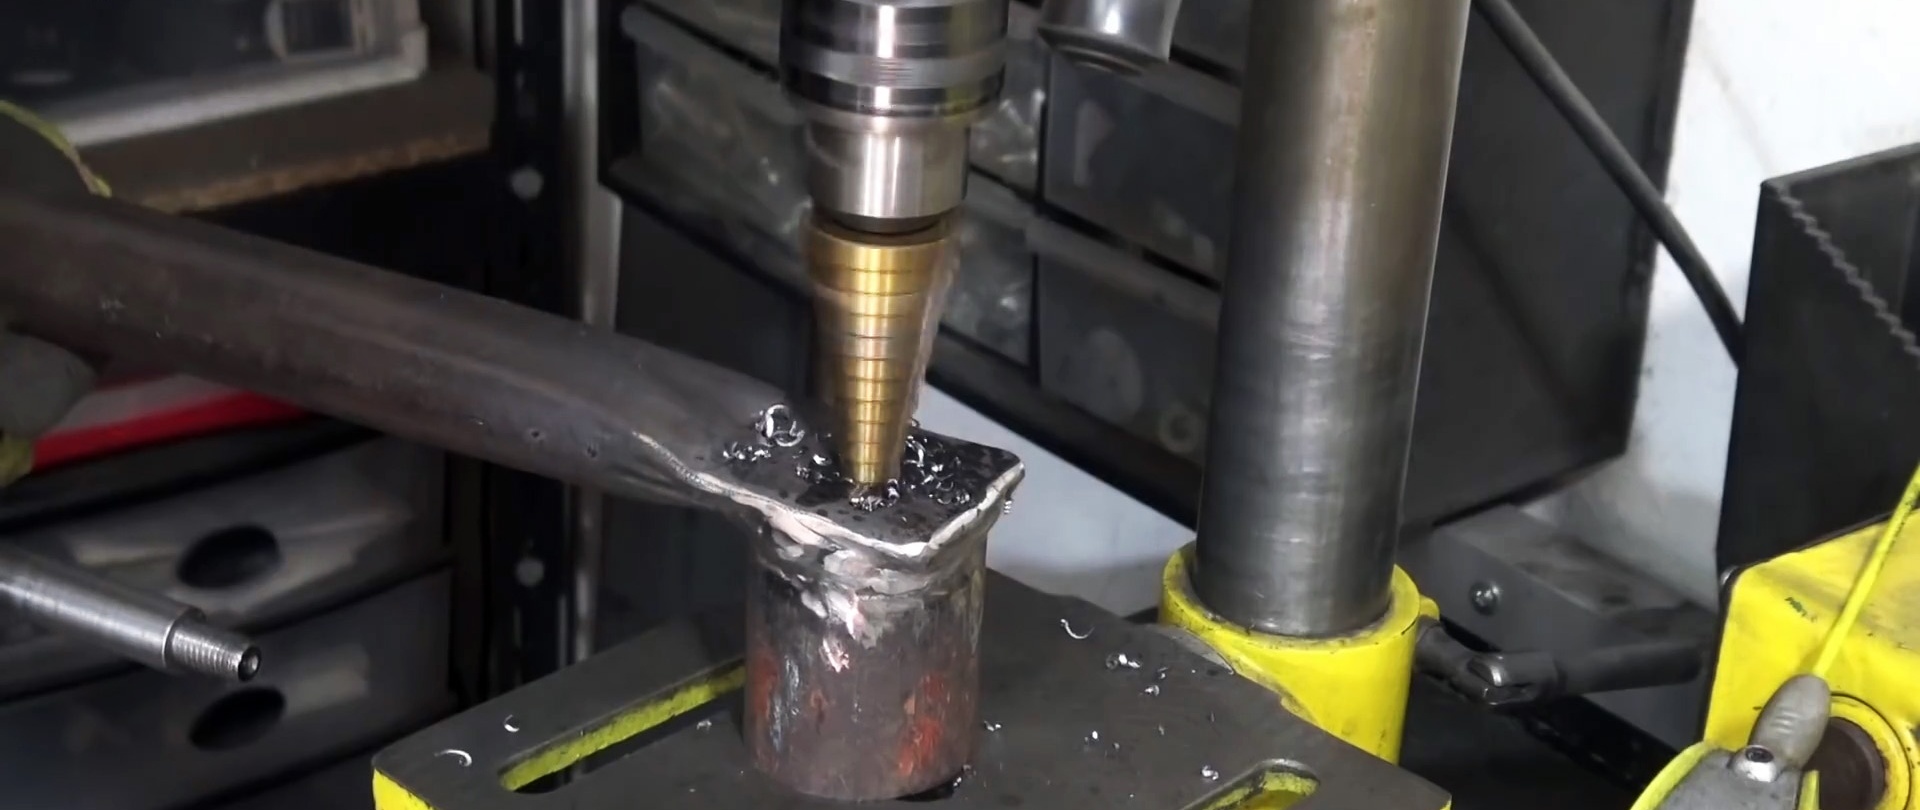
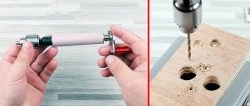
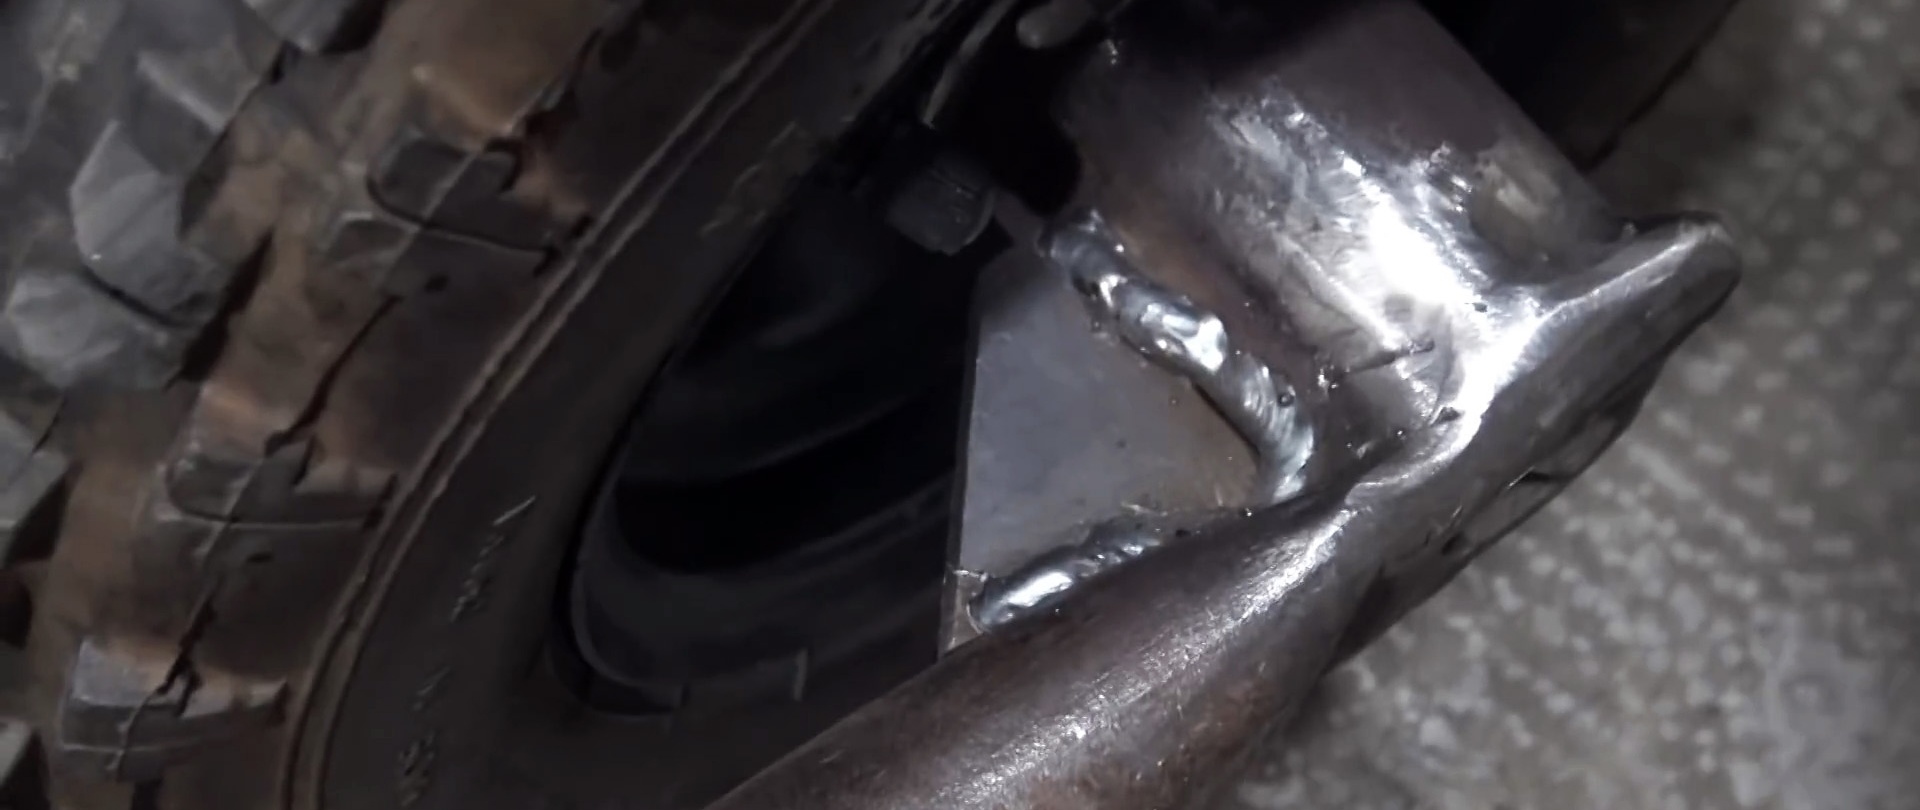
Next, pipe cups are welded onto the formed planes, into which bearings with axles will be pressed. The bottom of the glass on the frame will need to be drilled for the axle.
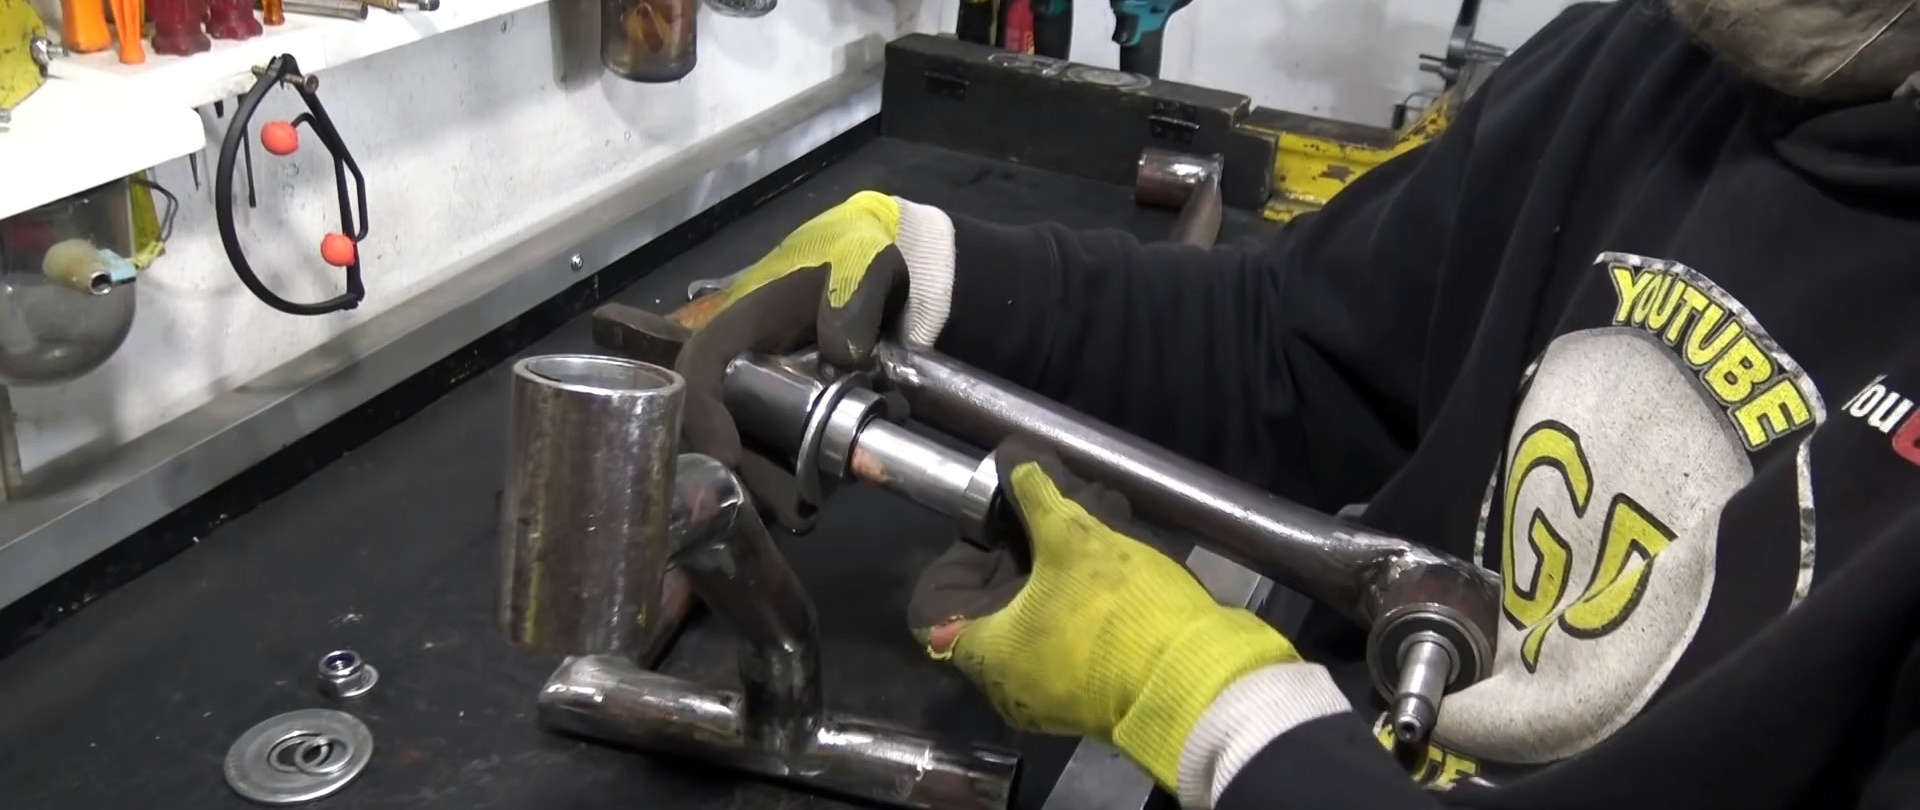
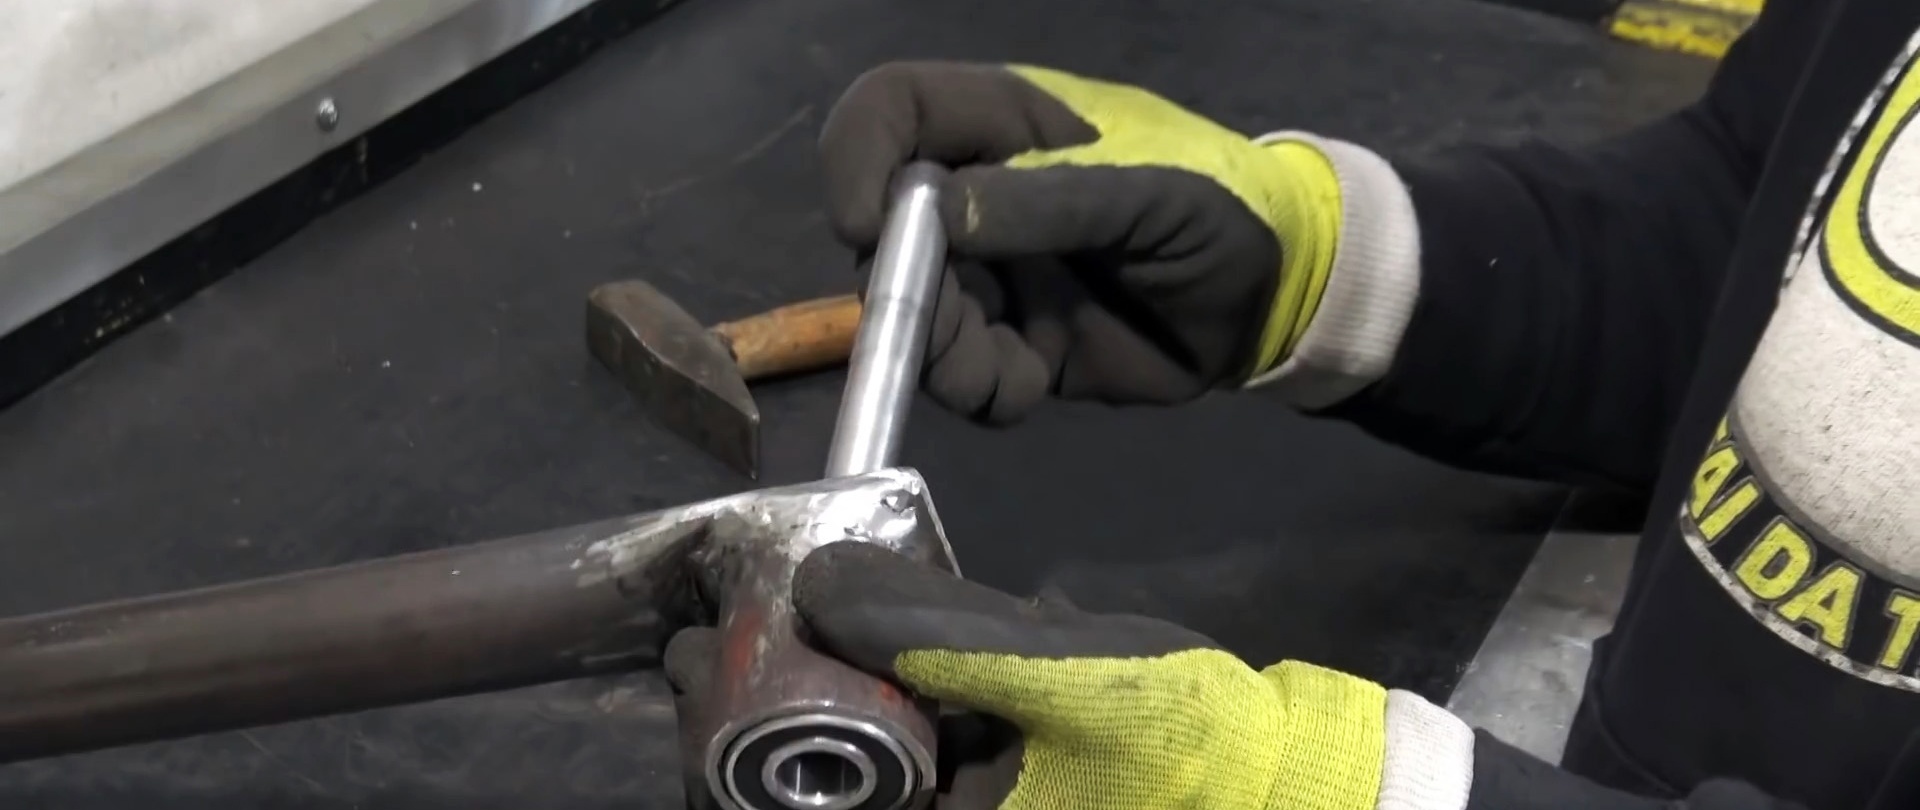
Bearings and a bushing are installed in the cup on the fork. An axle is inserted into the hole on the reverse side, and the wheel is pressed onto it through a washer with a nut.
Then the wheel is temporarily removed to install a fork in the steering tube, onto the axle of which the bearings and bushing are first placed.The cup for installing the rear wheel is assembled in the same way. Everything is checked. After this, it is disassembled and washers are welded onto the cups with bearings.


After that you can work on the frame. It needs to be made tougher by welding another long tube. Be sure to weld a sheet steel gusset onto the rear wheel cup to prevent it from bending.
Next you need to do the steering. It can be made from scratch, or a ready-made one taken from another scooter can be welded to the fork. Grips, gas controls, and brakes are installed on the steering wheel.
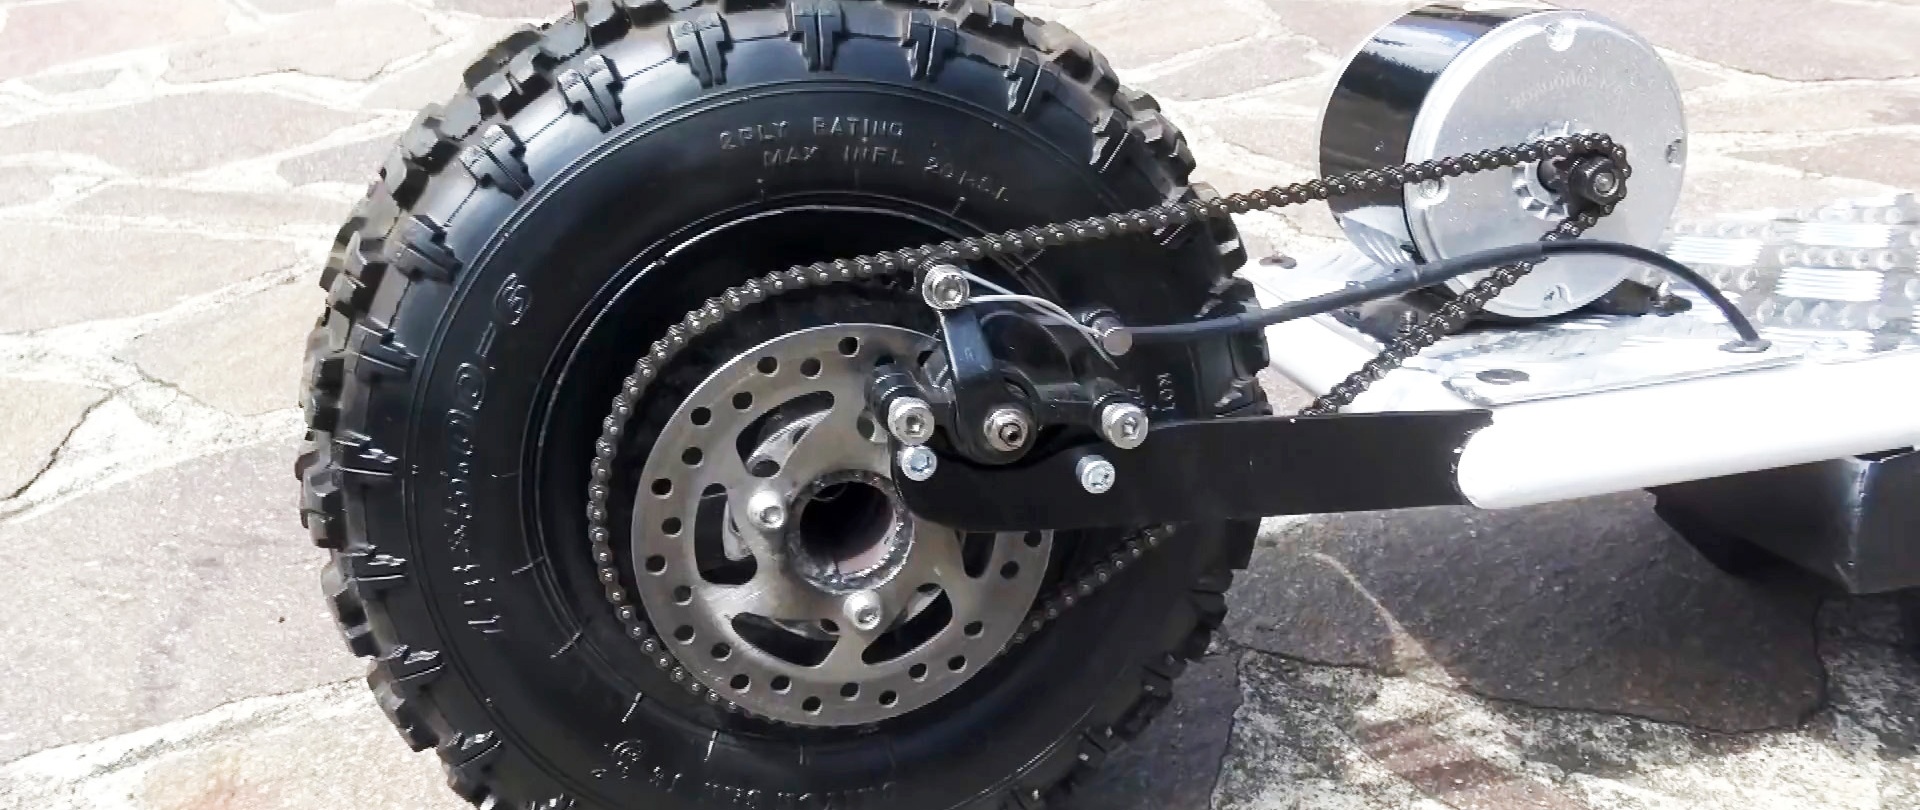
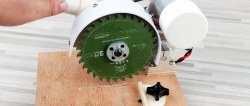
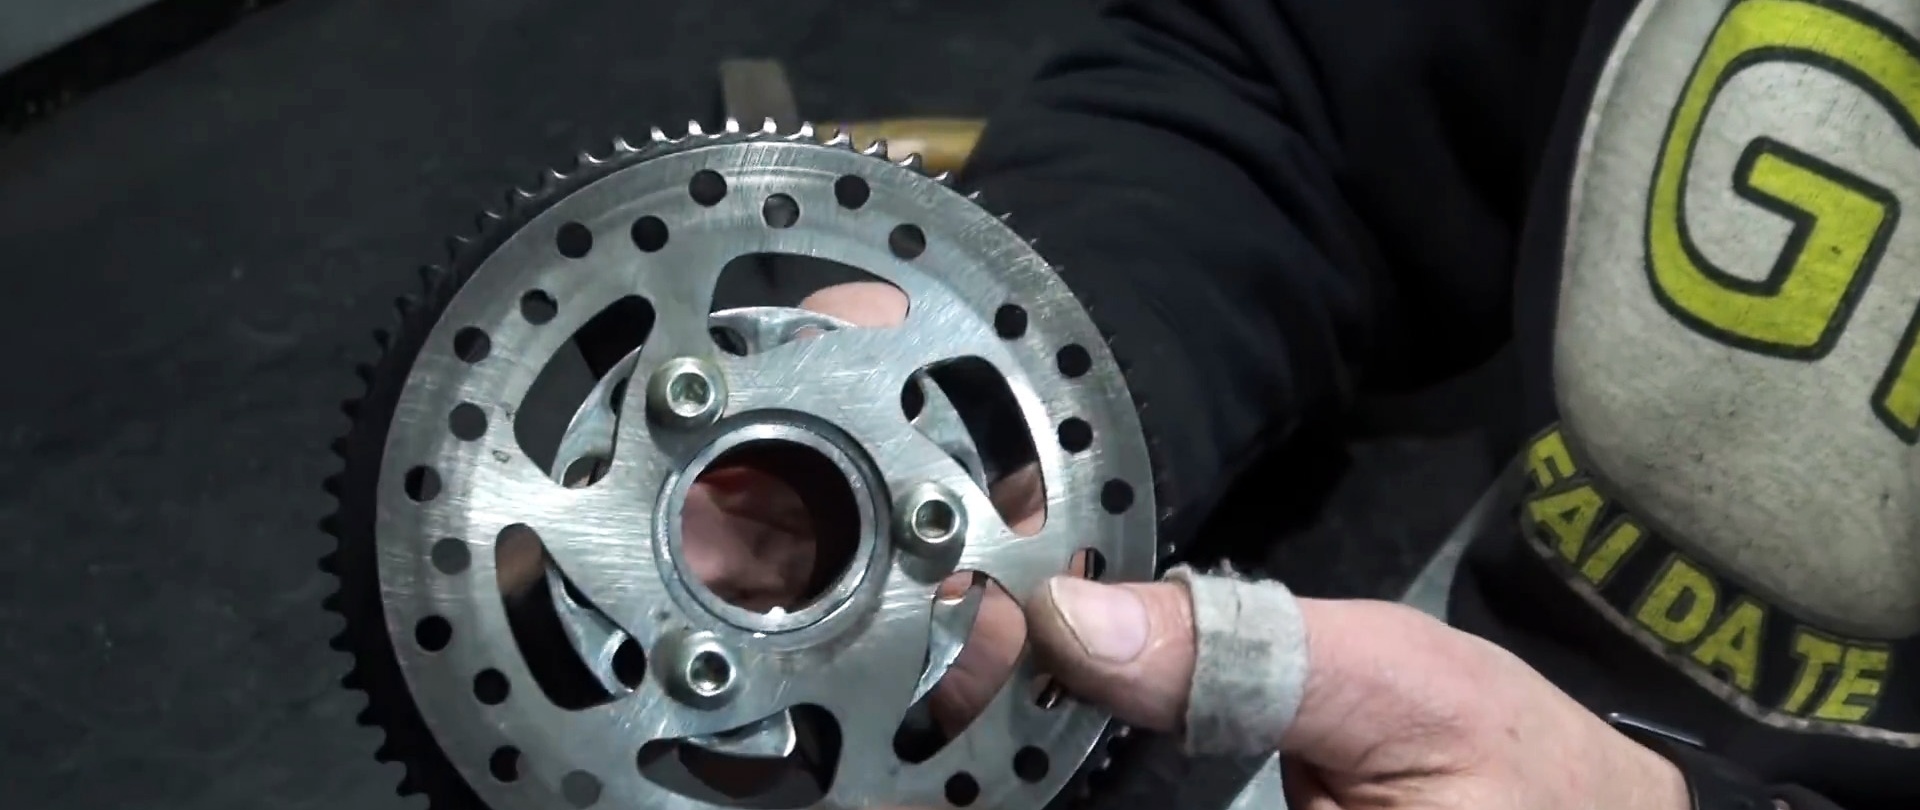
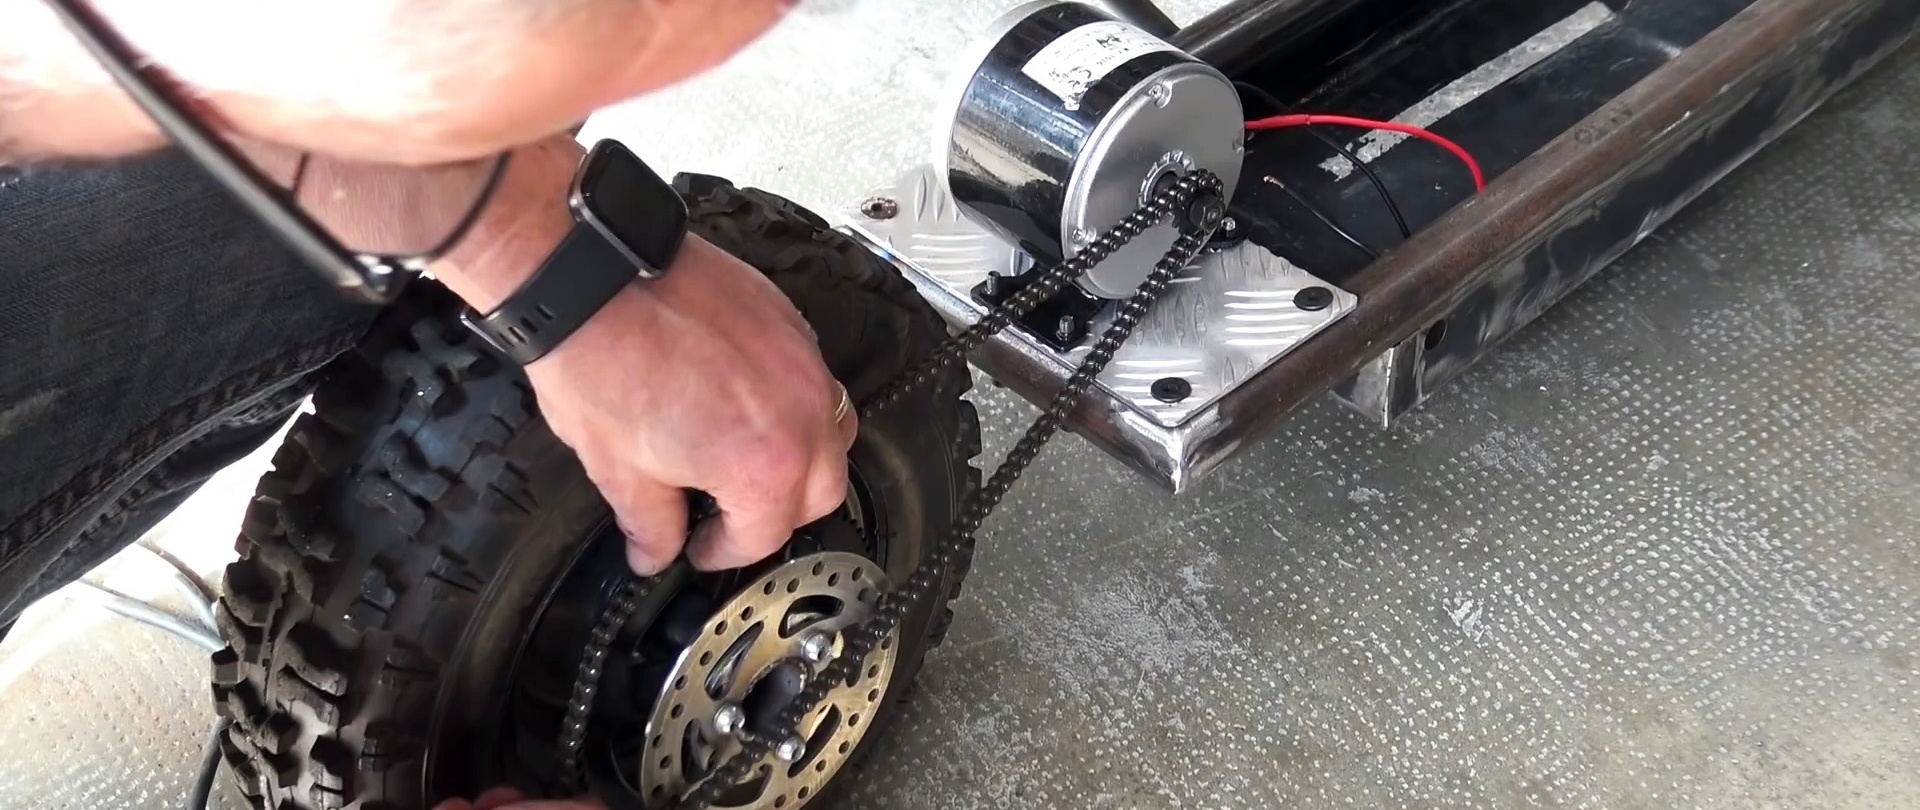
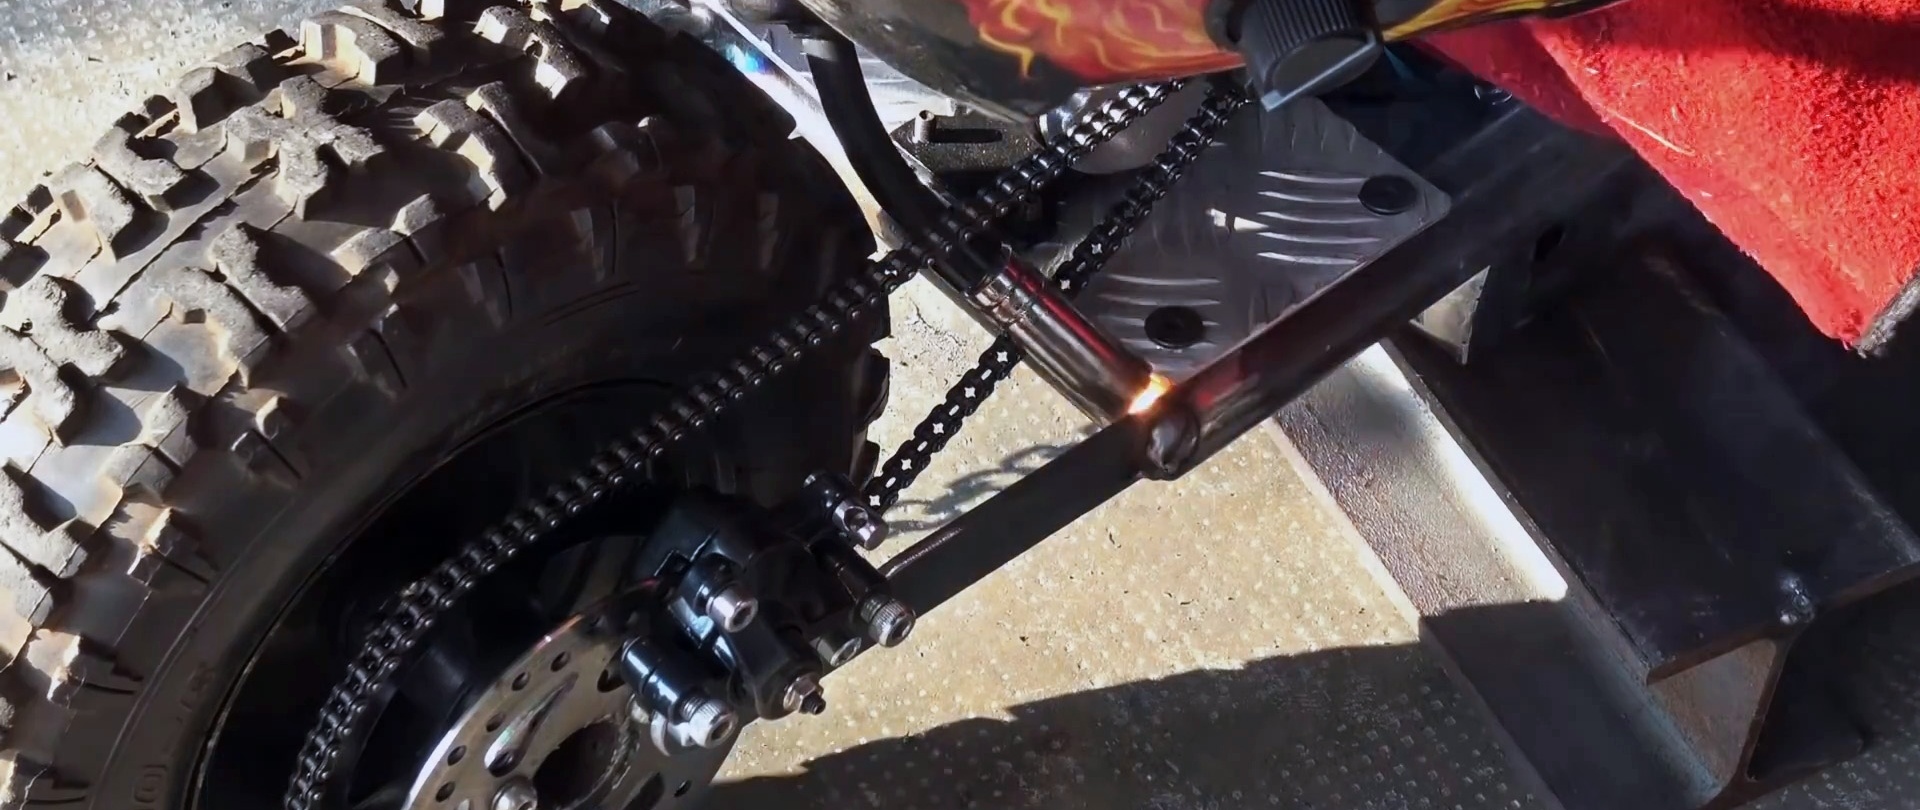
A battery tray is welded under the frame. Next, you need to connect the driven sprocket to the brake disc by turning a sleeve for this. They are welded to it, and then it is welded directly onto the rear wheel disk.

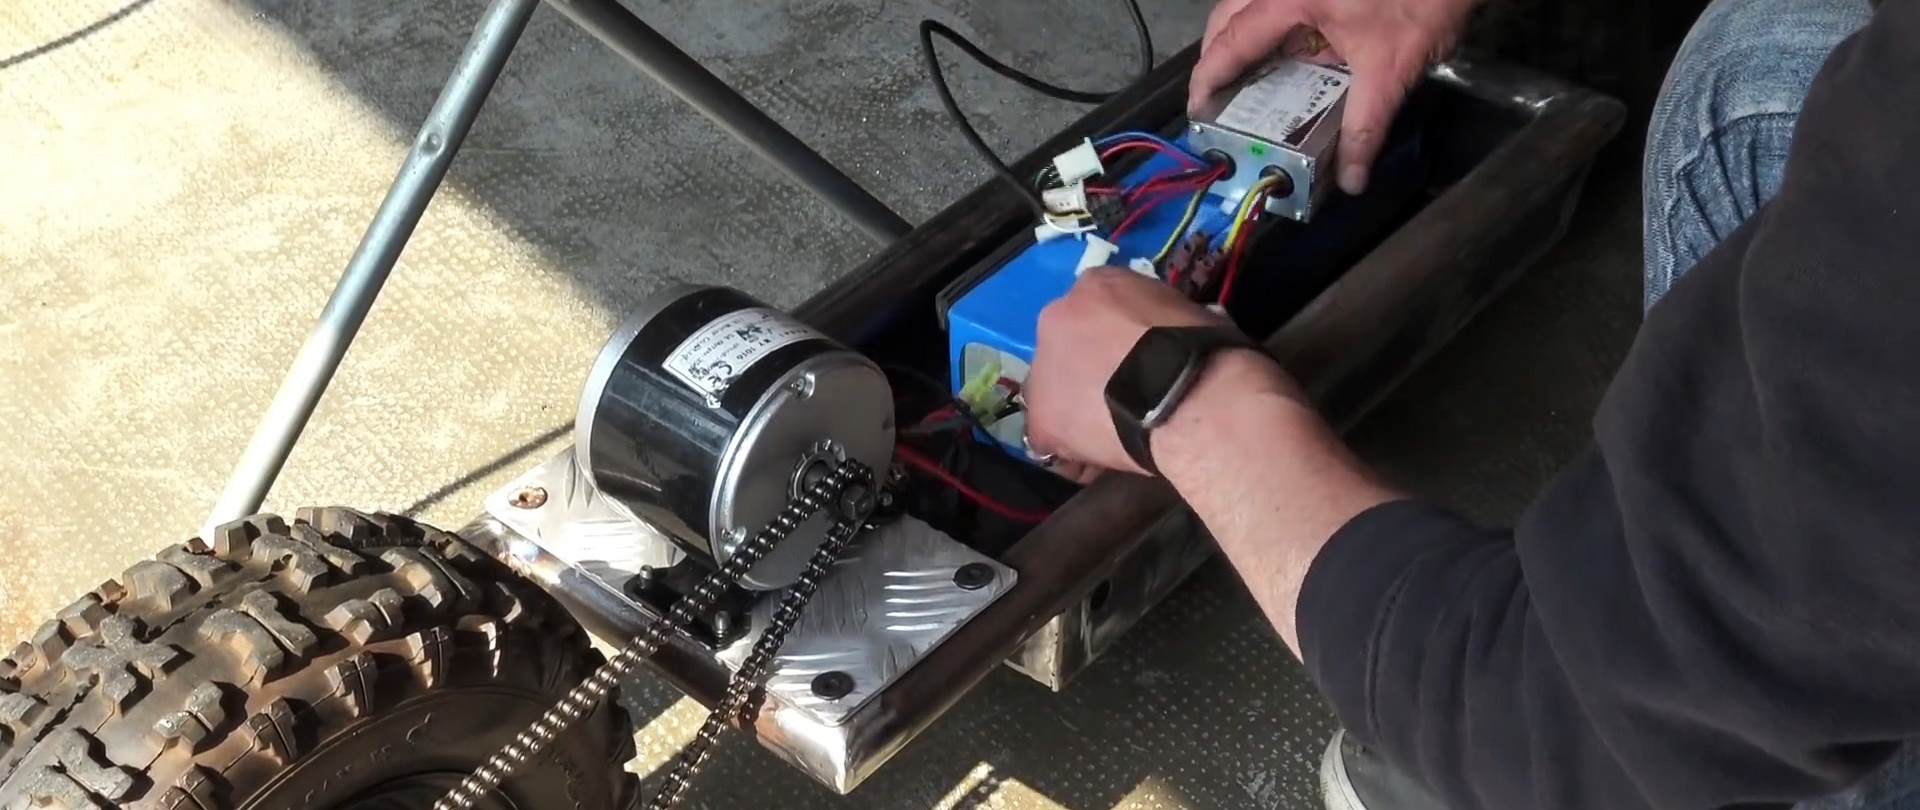
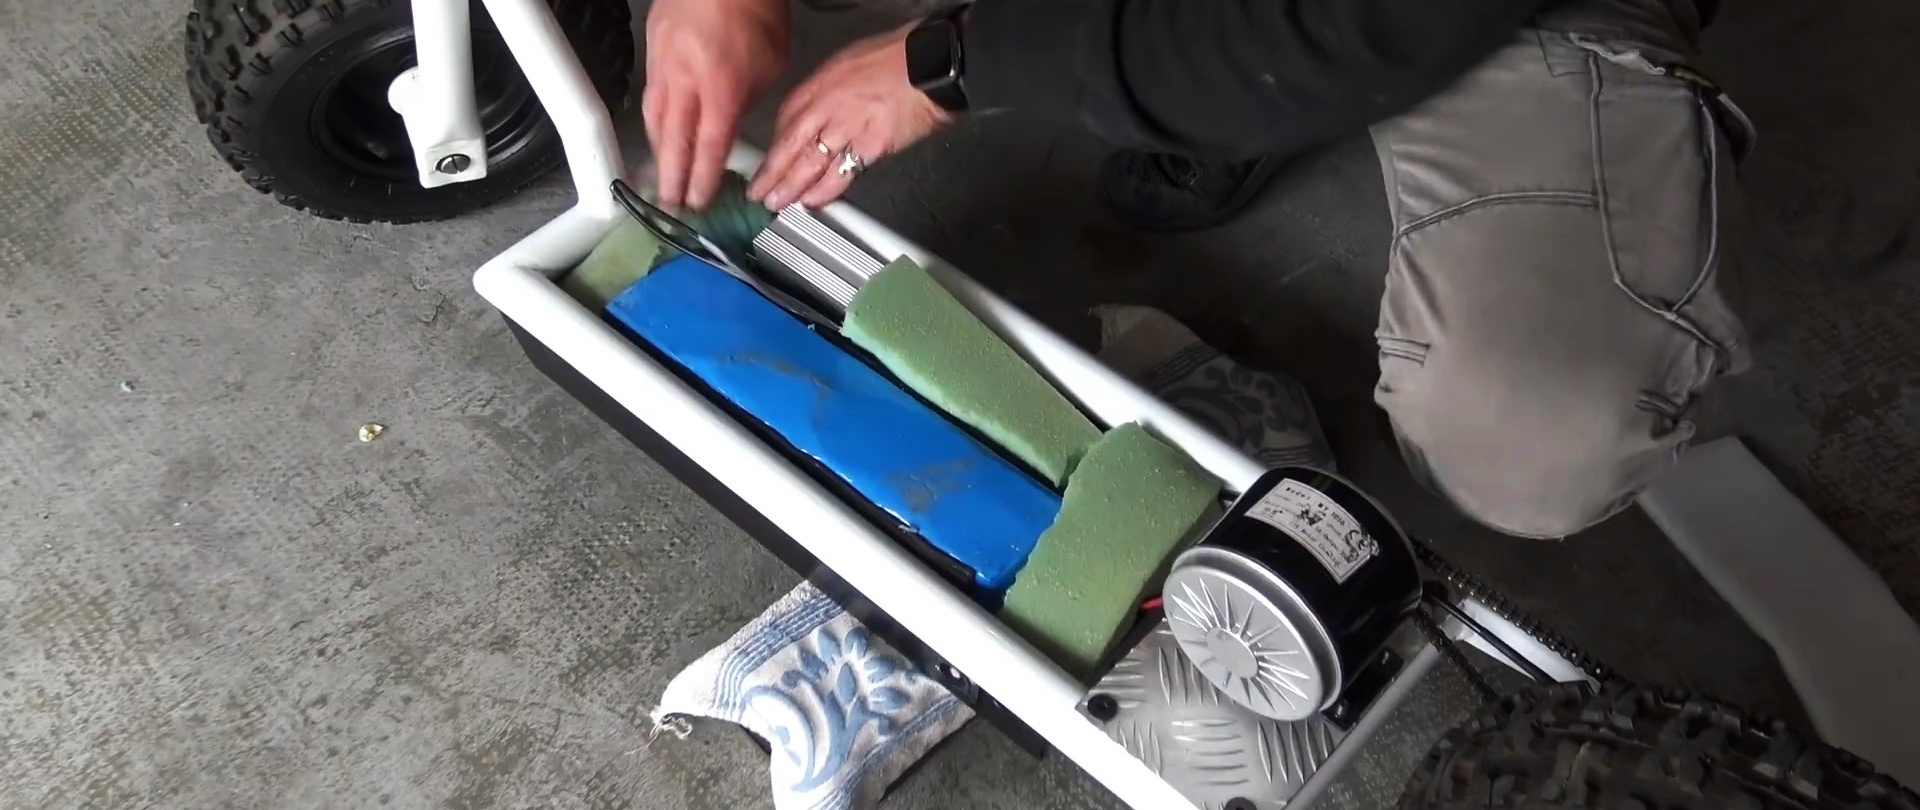
After this, the engine is screwed onto the frame, and a roller chain is pulled between it and the sprocket. The tray holds the battery and controller.

Next you need to install the brake caliper. To do this, a fastening lever is cut out of sheet steel and welded to the frame.
The handlebars and frame need to be drilled to route the brake cable to the caliper, as well as the engine speed control wire. After this, the parts can be painted.

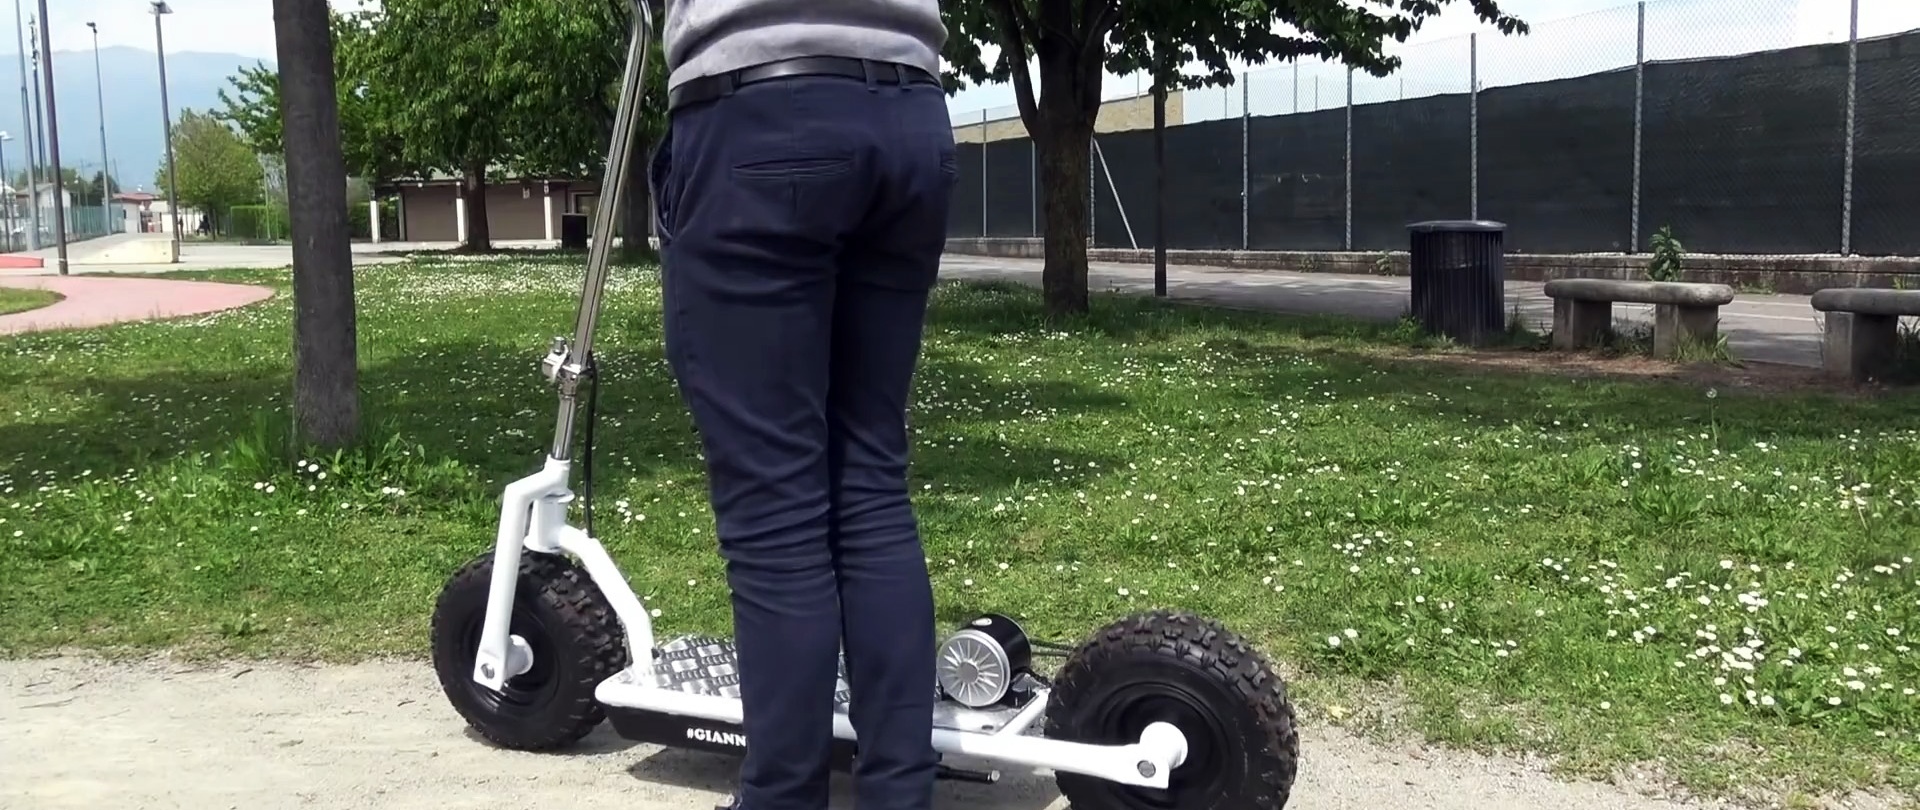
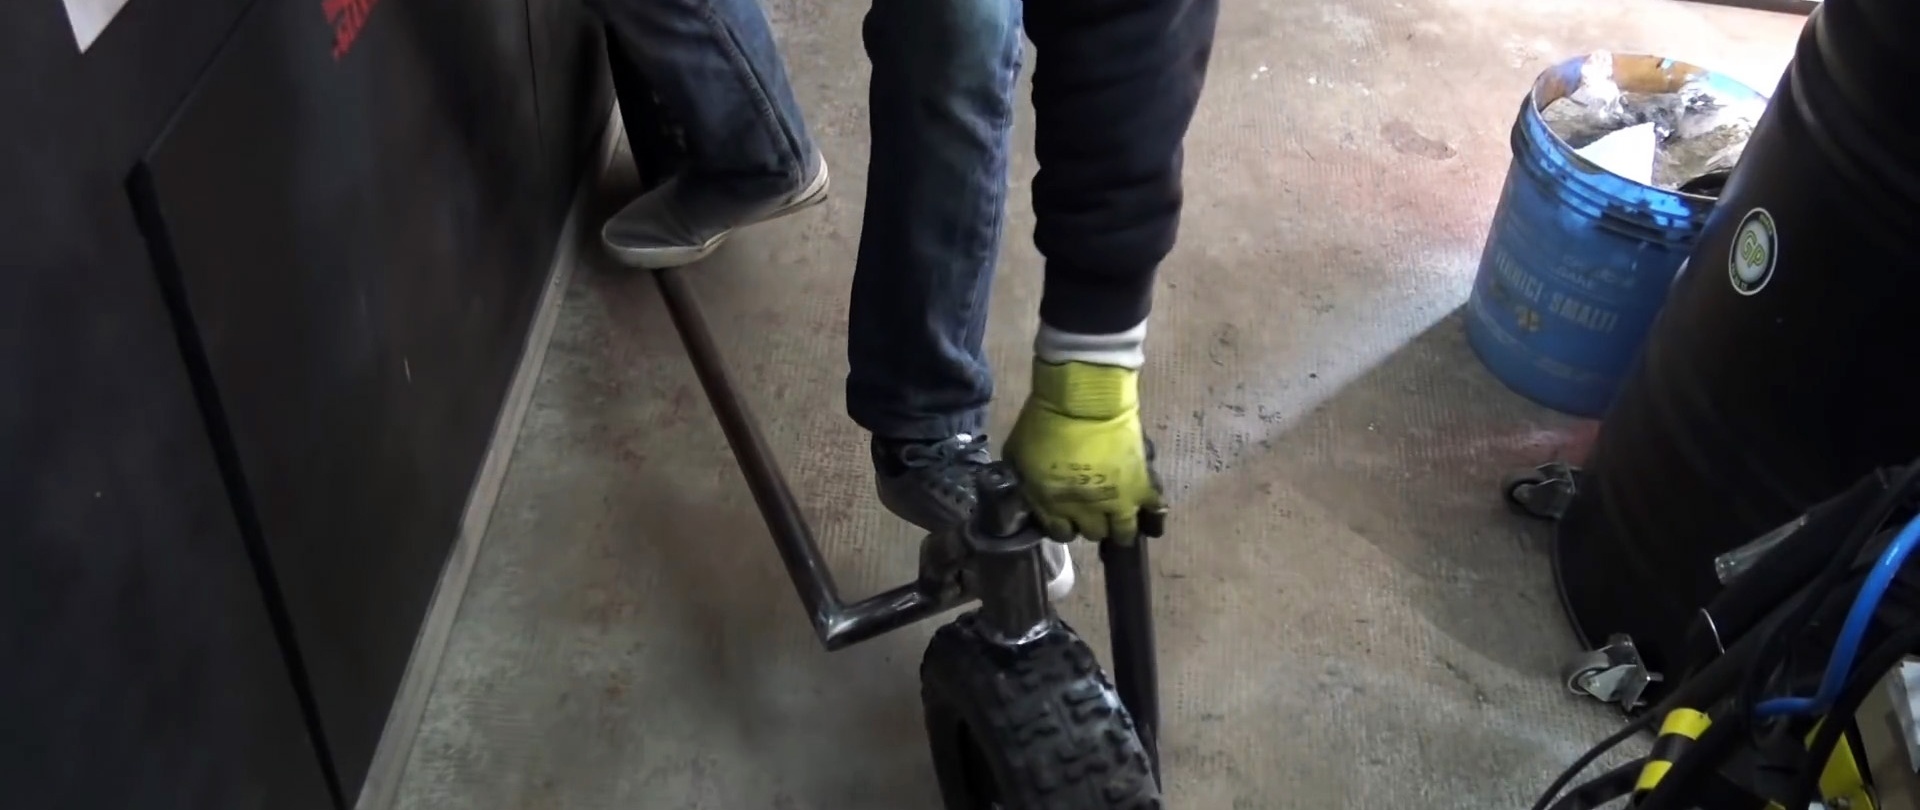
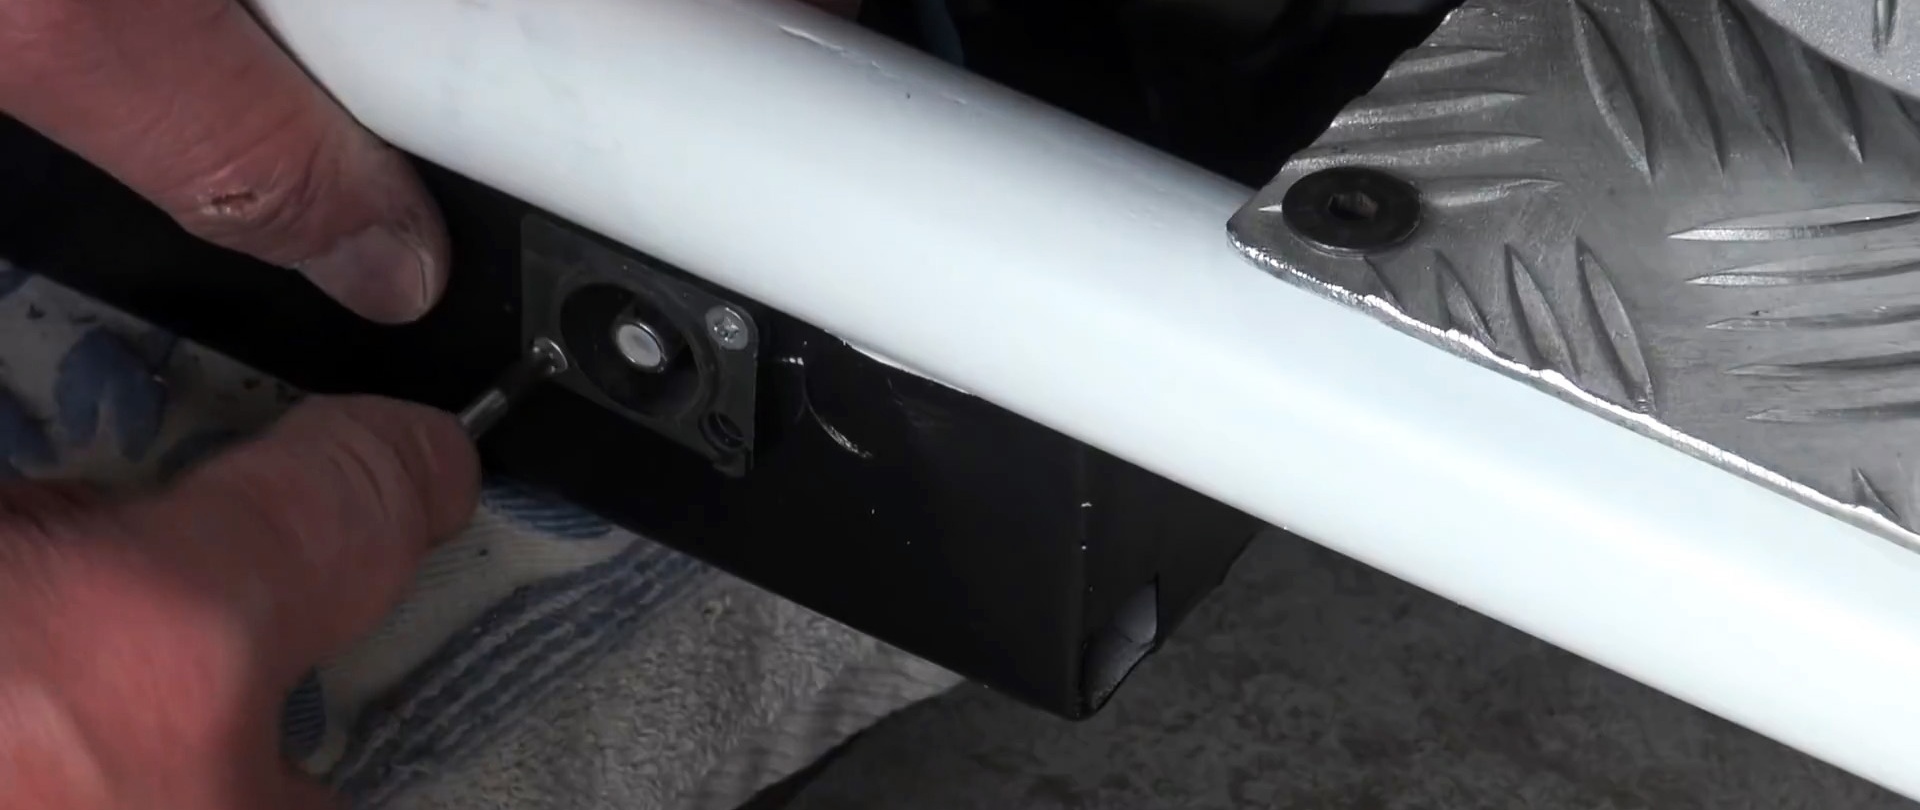
The scooter is being assembled. You need to install wheels, a battery and a controller. The charging connector is embedded in the tray. It is important that the battery does not dangle, so it is better to cover it with foam rubber. The footrest is then cut from embossed sheet steel and screwed onto the frame. The final touch will be installing the footrest.


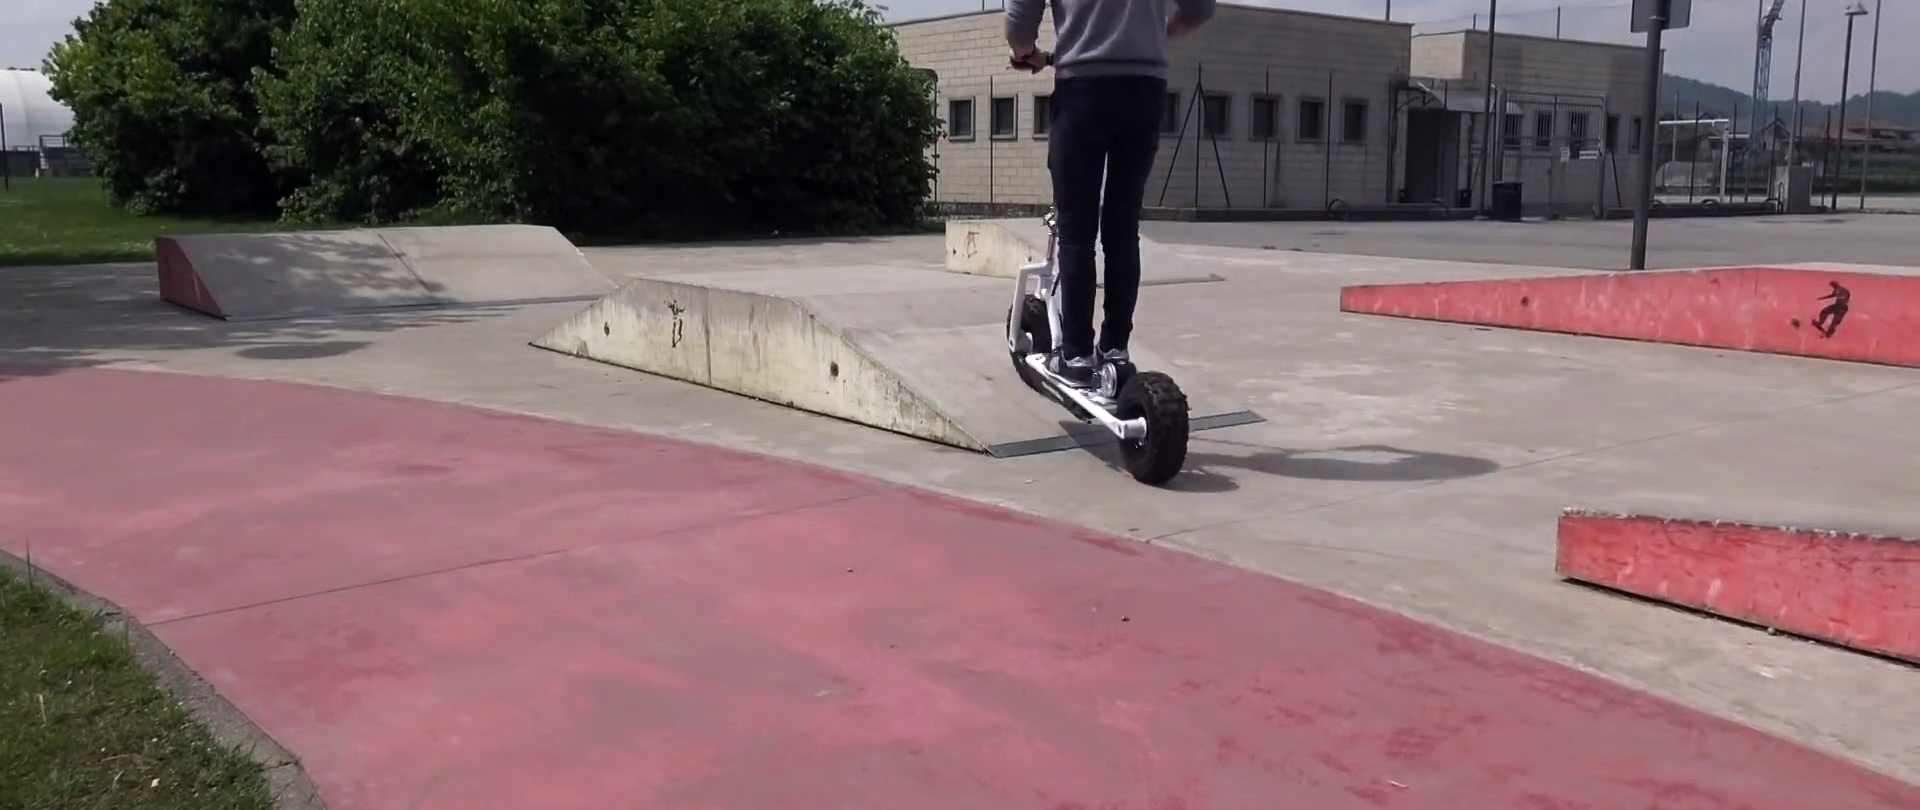
As a result, we get an electric scooter with a powerful frame on industrial bearings with excellent rolling. Due to its size, there is a large tray underneath where you can install a capacious battery.