I decided to make a Powerbank and not just any, but a large one. There are a lot of these in stores. It won’t be difficult to assemble one like this yourself.
What parts are needed for a homemade Powerbank?
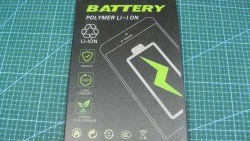
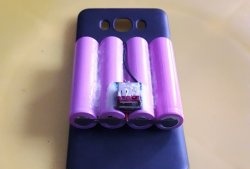
I have an assembly of batteries connected in parallel with 18650. The total capacity of the batteries is 20000 mAh.
I already soldered BMS boards to them once. Each four elements have their own protection board. Each board is designed for a current of about one ampere. I will connect the board outputs in parallel.

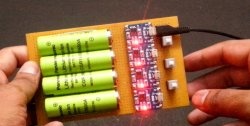
The output requires a standard USB voltage, I will use a Chinese boost module - http://alii.pub/5nl0lm
We need to install our 5 Volts at the output. The module can withstand 2 Amps.

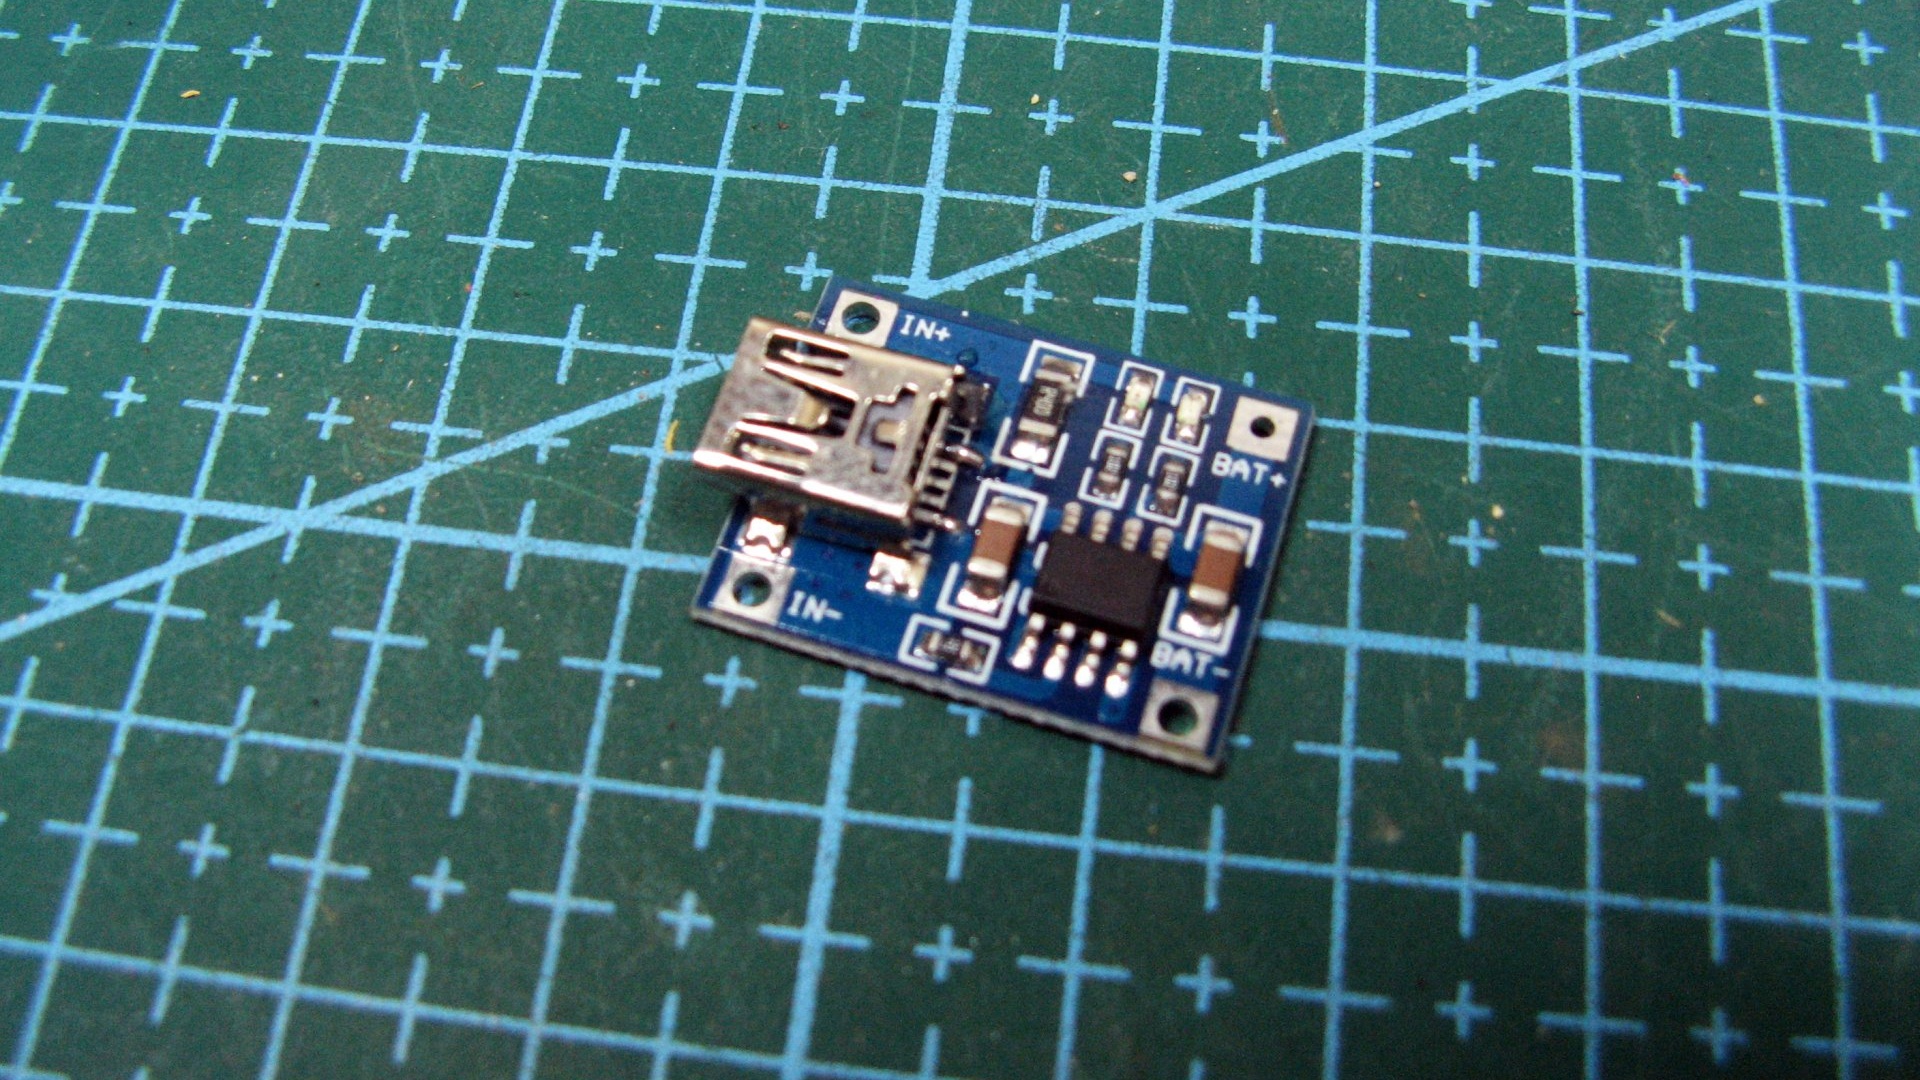
To charge our batteries, we need a charge controller. I will use the standard Chinese module -
True, it has a drawback: the charging current is only one Ampere. Completely discharged batteries will take about a day to charge. If, after using the Powerbank with your phone, you immediately charge it, the time will be significantly shorter.
I will connect devices to our Powerbank using standard USB.

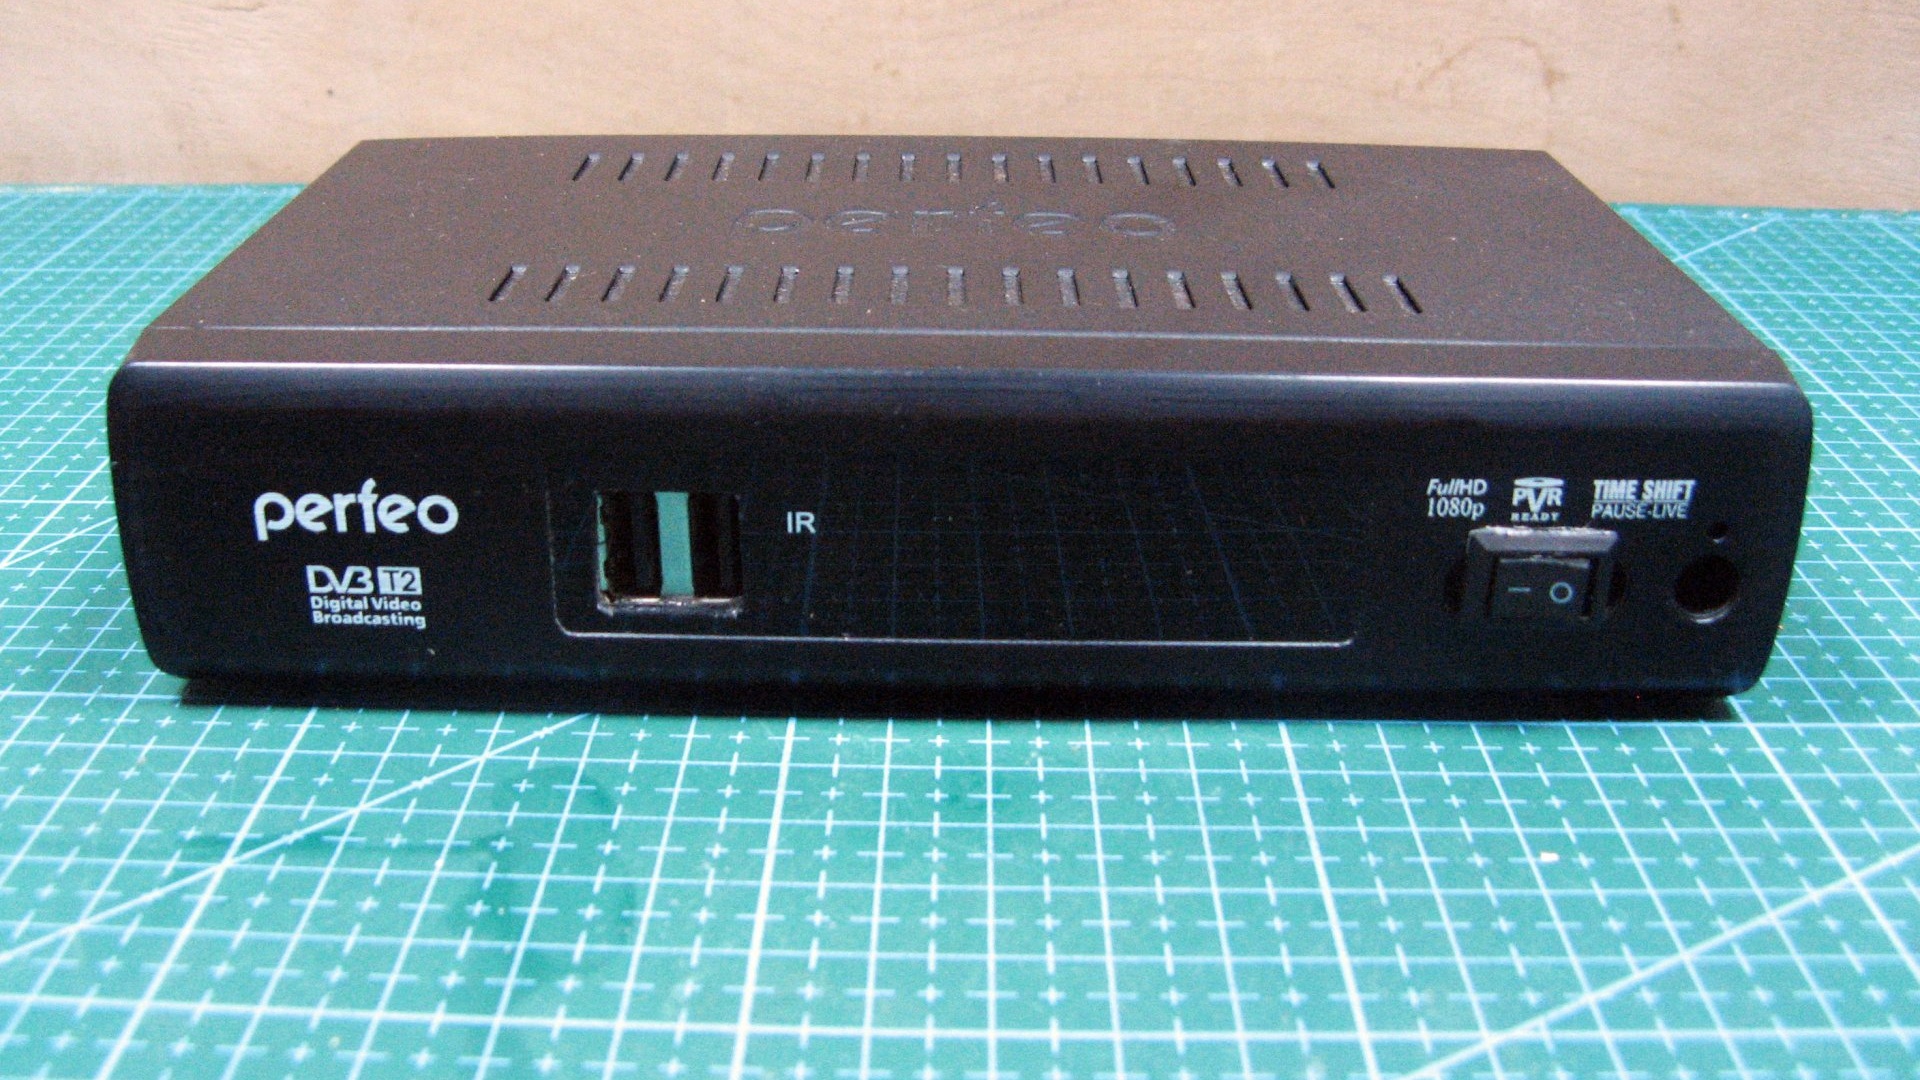
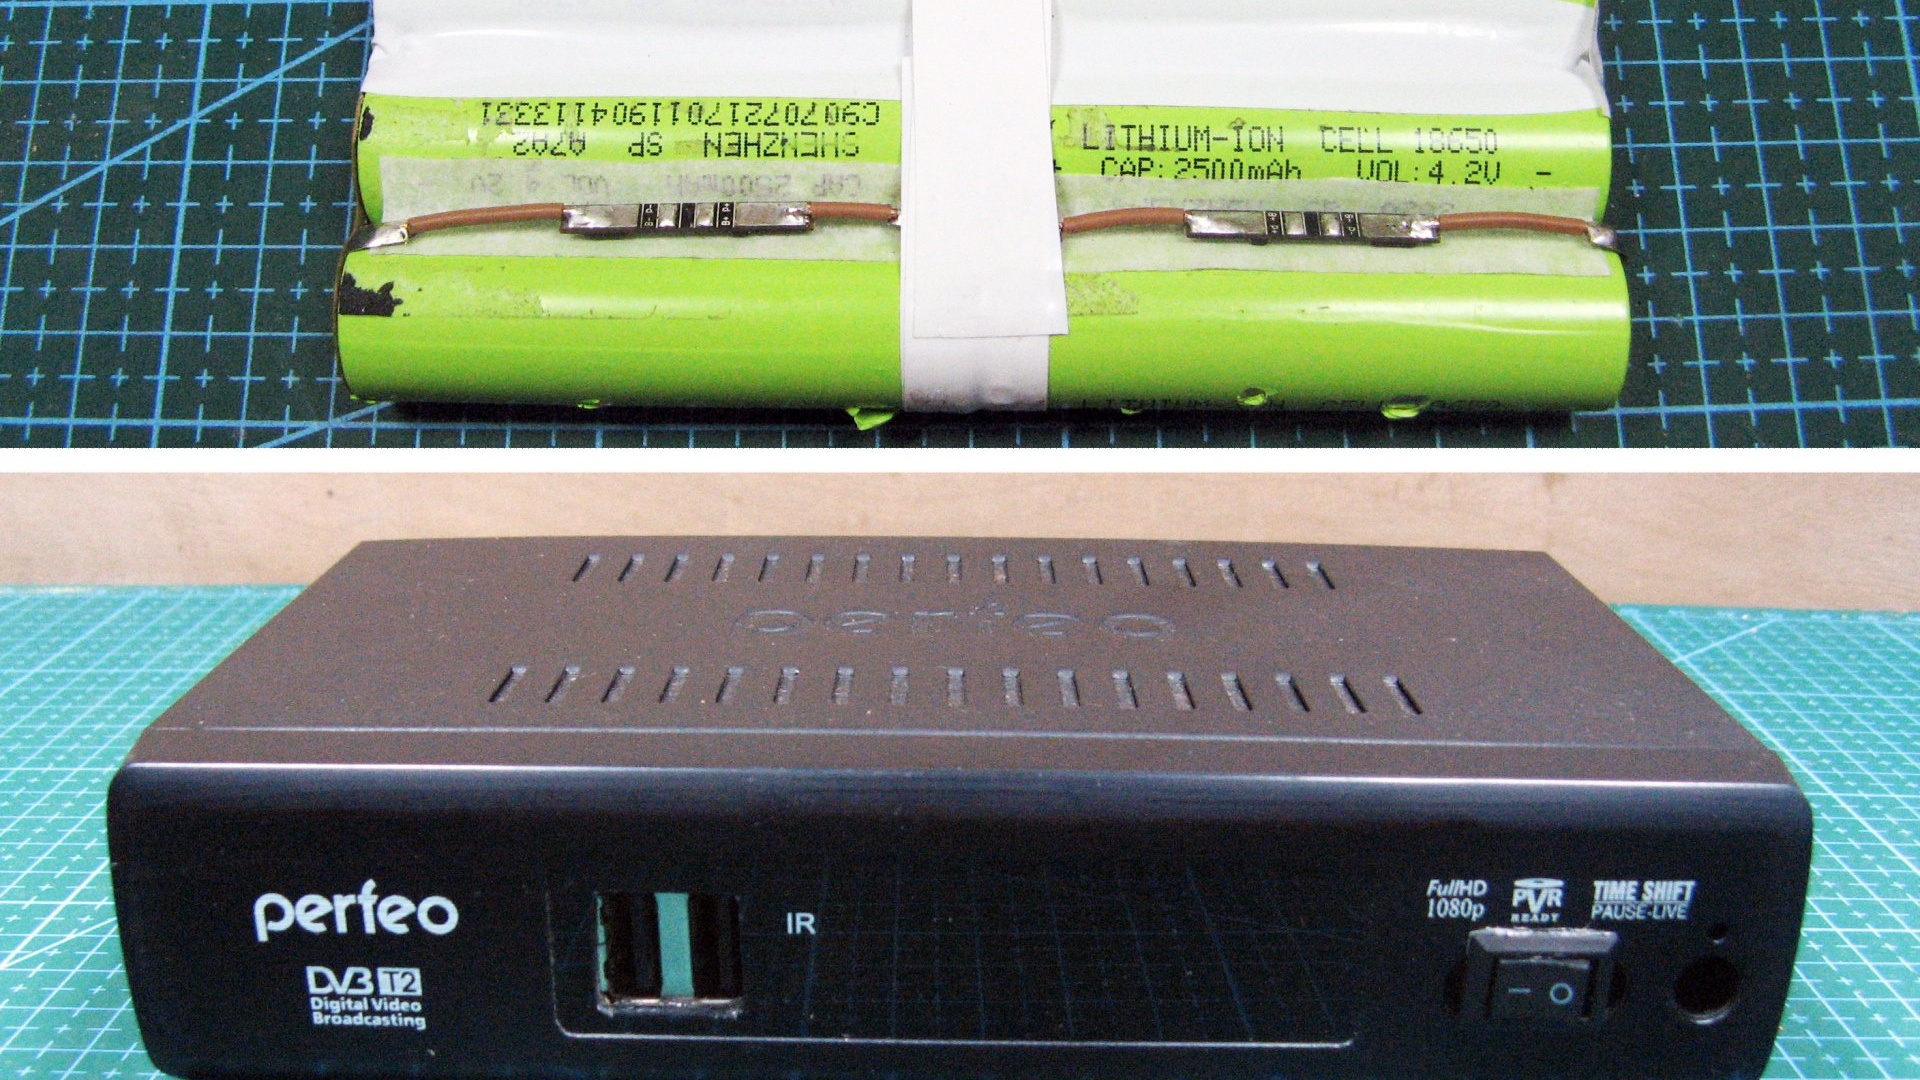
Well, the main thing in our device is, of course, the body. I chose a box from a burnt T2 tuner. Everything will fit perfectly in it.

Making a powerful power bank from junk with your own hands
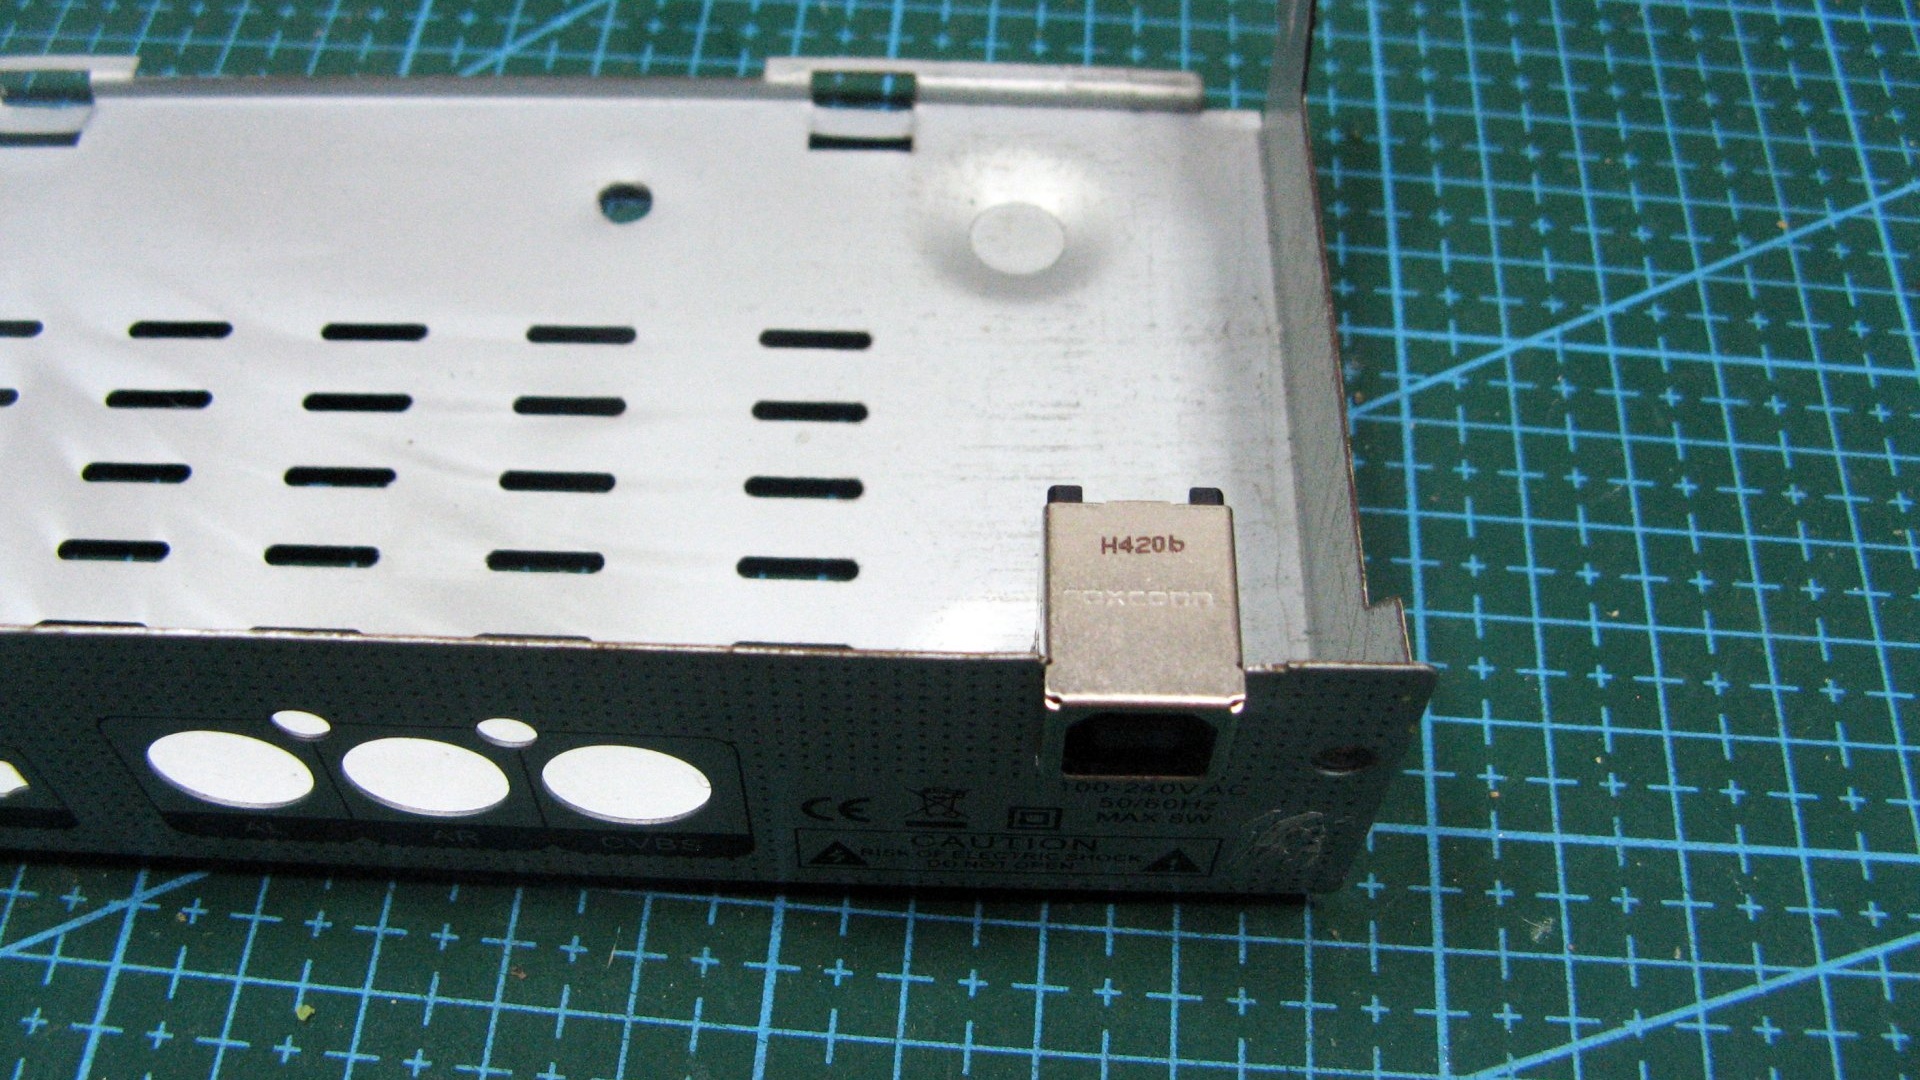
First you need to install USB on the front panel. I decided to use a double connector and unsoldered it from the old motherboard. Use a file to widen the hole. I secured the connector with epoxy glue.

I decided to charge through the printer connector. Fortunately, I sorted them out in quantity. I installed the connector on the hole where the power cord used to be. Having widened the hole slightly, it became excellent.
I installed the charge controller board on the front panel. I secured it to the connector with epoxy glue. I installed the board with LEDs myself. This way you can easily control the charging process. I also installed a switch. I will use it to break the power supply circuit of the booster module.
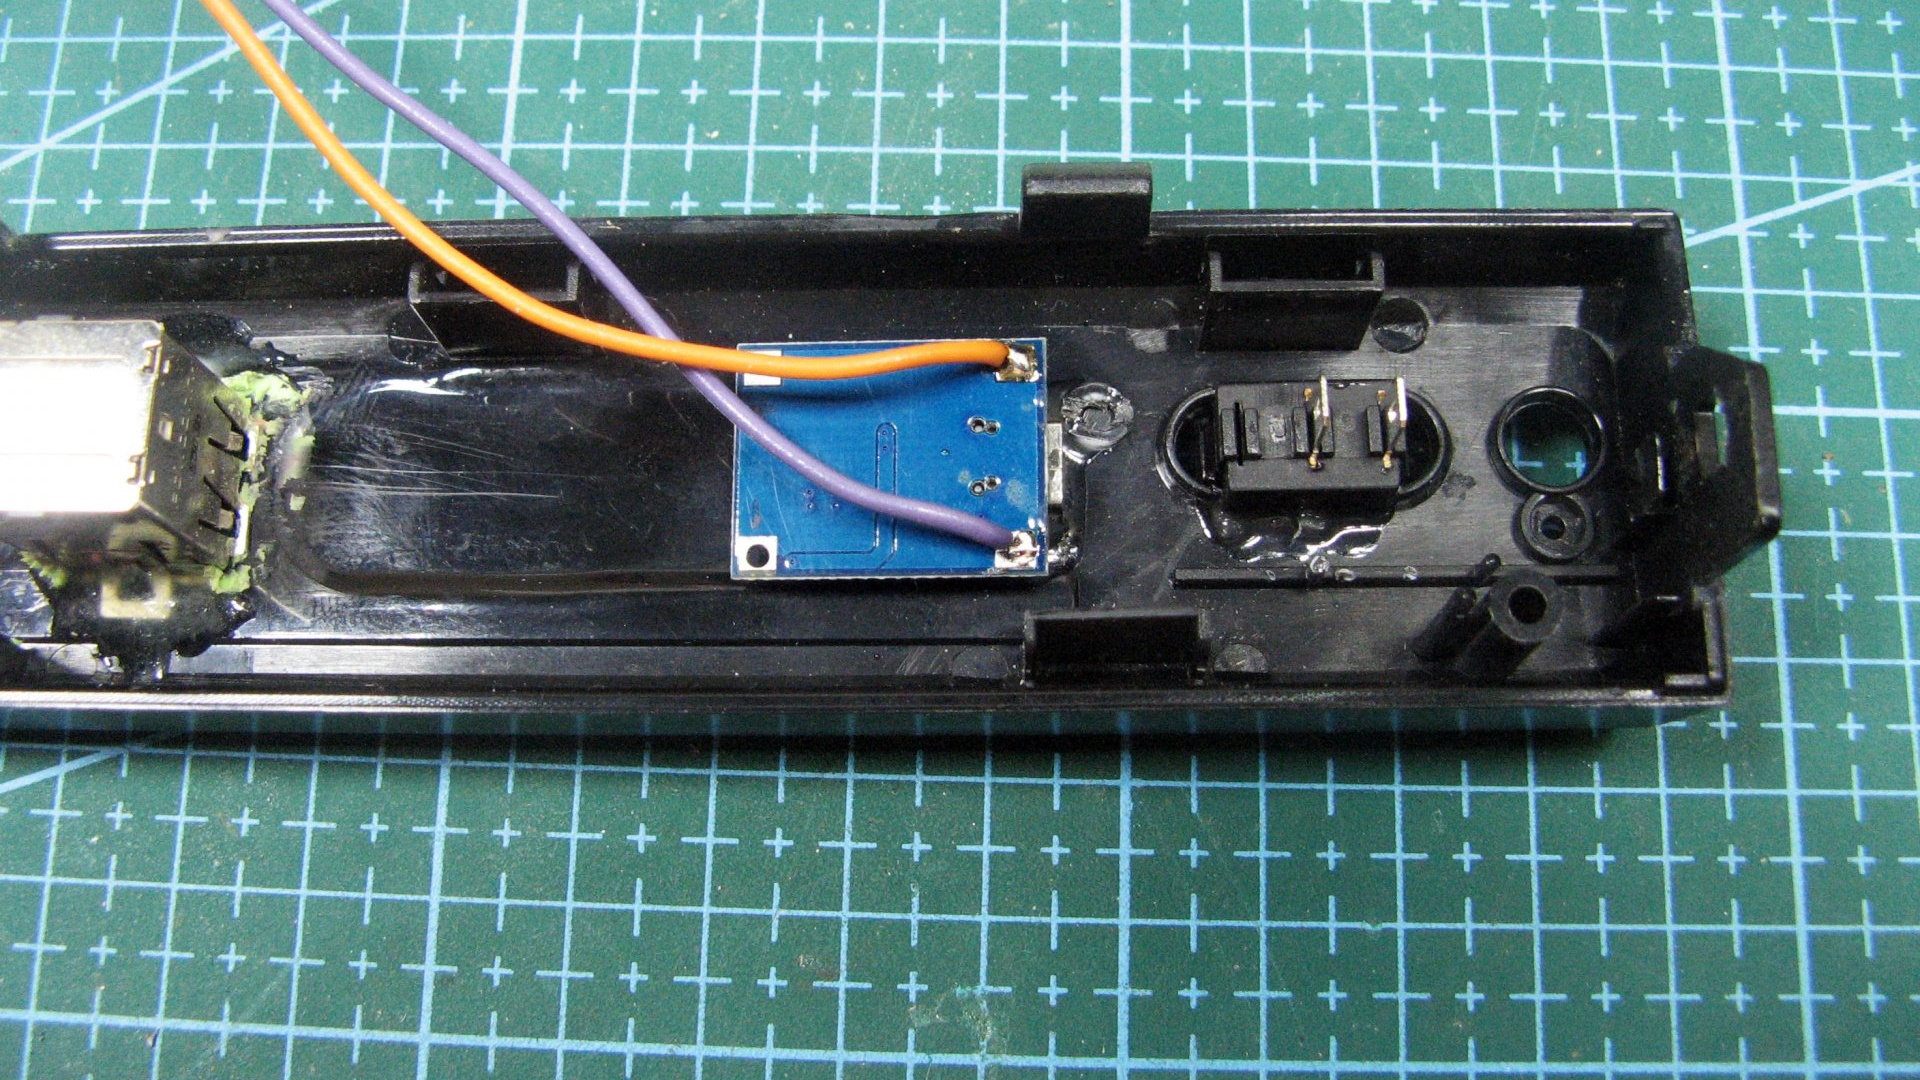
I soldered the wires to the USB and shorted the middle contacts. This is necessary so that the device is charged with a current of more than 0.5 amperes.

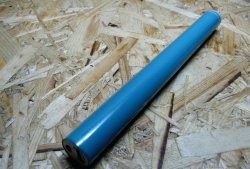
I wrapped the batteries in paper and brought out the wires. A couple of turns of paper and you have good insulation. To secure it, I cut out a strip of metal and glued paper tape as insulation. Holds up great.
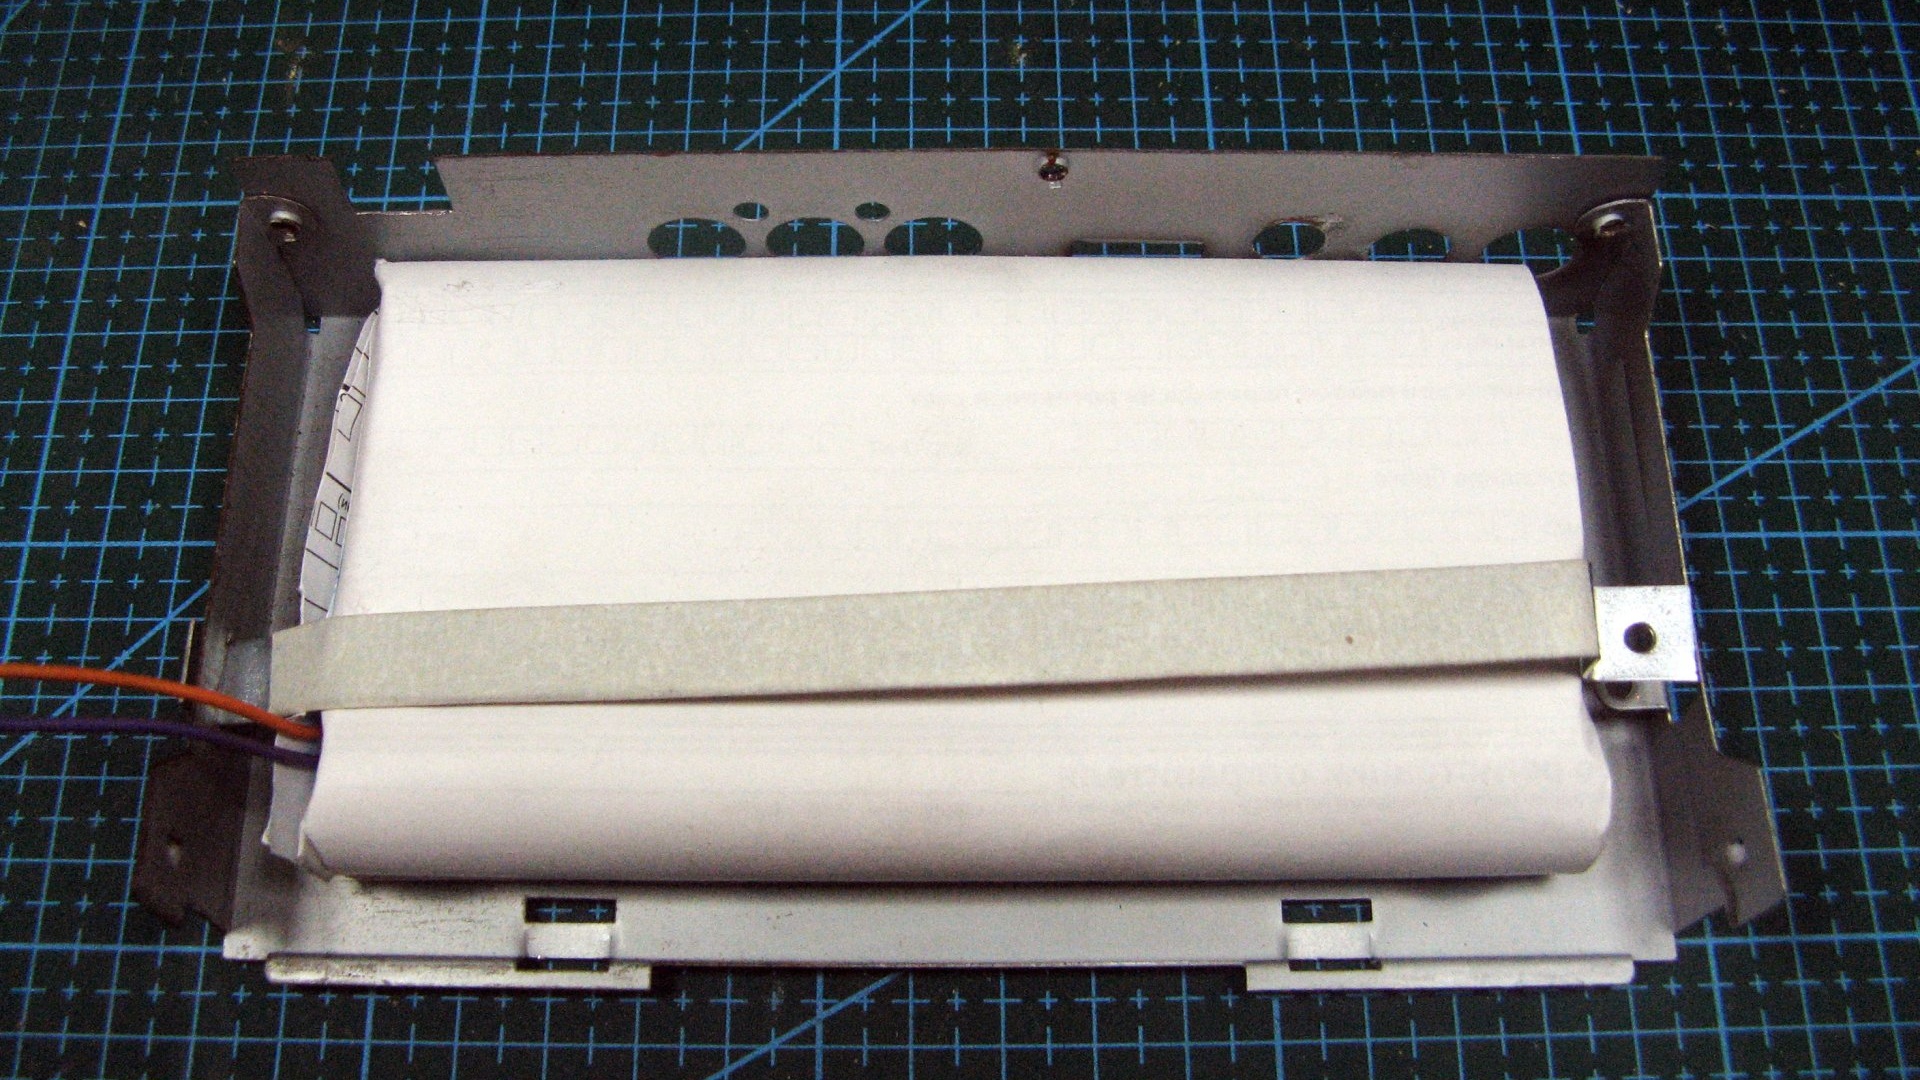
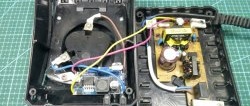
I connect all the modules. From the charging connector to the charge controller. From batteries to charge controller. From the charge controller to the boost module, breaking the circuit with a switch. I will tighten the boost module with a plastic tie to the battery bracket.

We connect power to our Powerbank using the printer cord. The indication is clearly visible. At the end of the charge the blue light will turn on Light-emitting diode.

All measurements of the output capacity showed that the approximate capacity at 5 volts is more than 14,000 mAh. As they say on the factory devices, the capacity is 20,000 mAh.
This is how the Powerbank turned out. Its capacity is enough to charge many devices. I will use it to power the oscilloscope.
“We make things from what we have!”