They asked me to figure out how to charge the batteries of a screwdriver. I wanted to make 3-channel charging on the TP4056, but I still have two of them left.
After studying the question, I realized it could be made simpler. The old charger was assembled according to the type of power supply. The battery has a balancer board. Oh yes, the board from the old charger is missing.
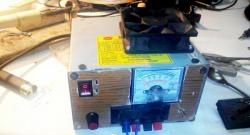
How to make a screwdriver charger from what you had
Such a database is available, without payment, of course.

I had the board set to 18.7 volts.

I set it to 12.6 volts and a current of about 0.5 amperes. The left resistor is the voltage setting, the right resistor is the current setting. Middle resistor - trigger setting LED "charge".

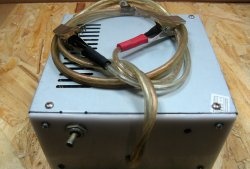
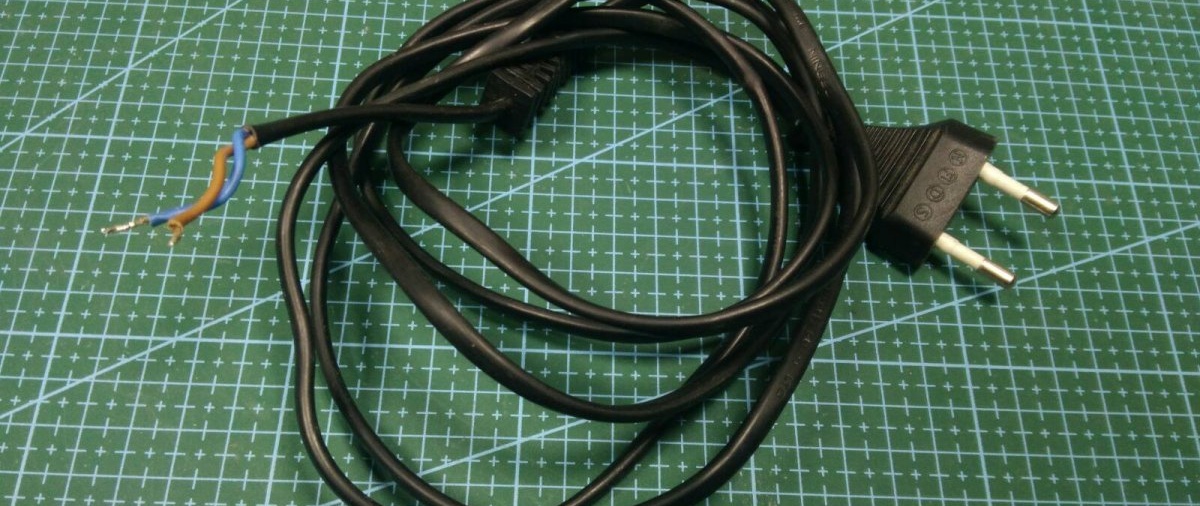
There was also a power cord with a lock in the housing. I'll lengthen it a little.
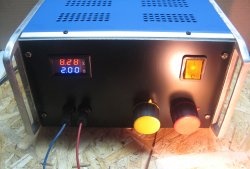
I use the original case with a “socket” for the battery.

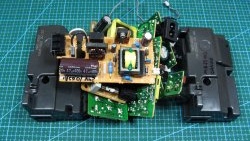
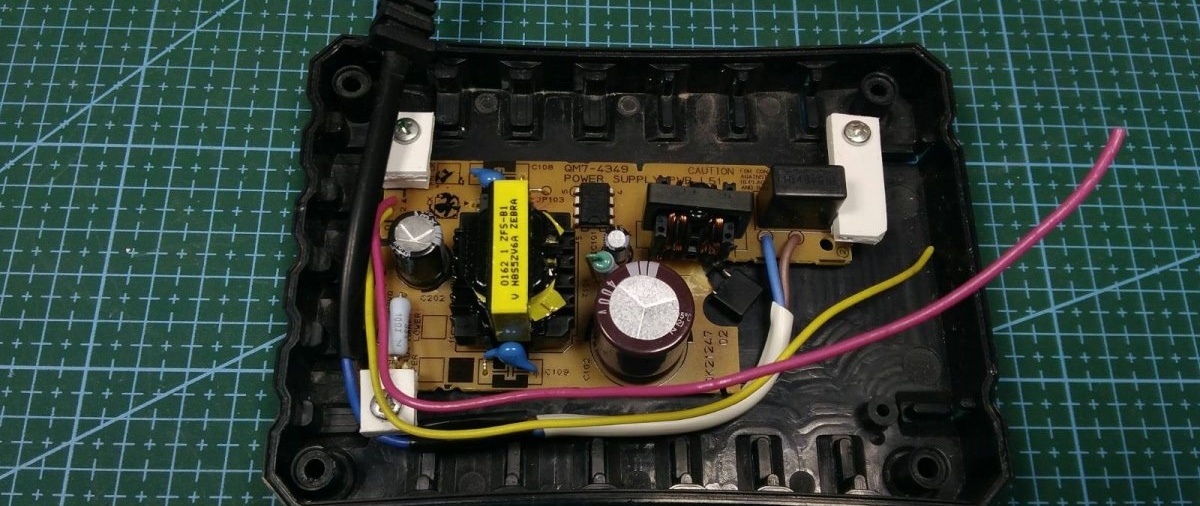
I soldered the wires to the charging module to the power supply board. I also soldered the network wire. The fuse was on a separate board; it was installed in a gap in the track. In the photo it is black, soldered on the solder side.

The charging module was secured with a PVC cut and an aluminum bracket. I immediately soldered the output wires.
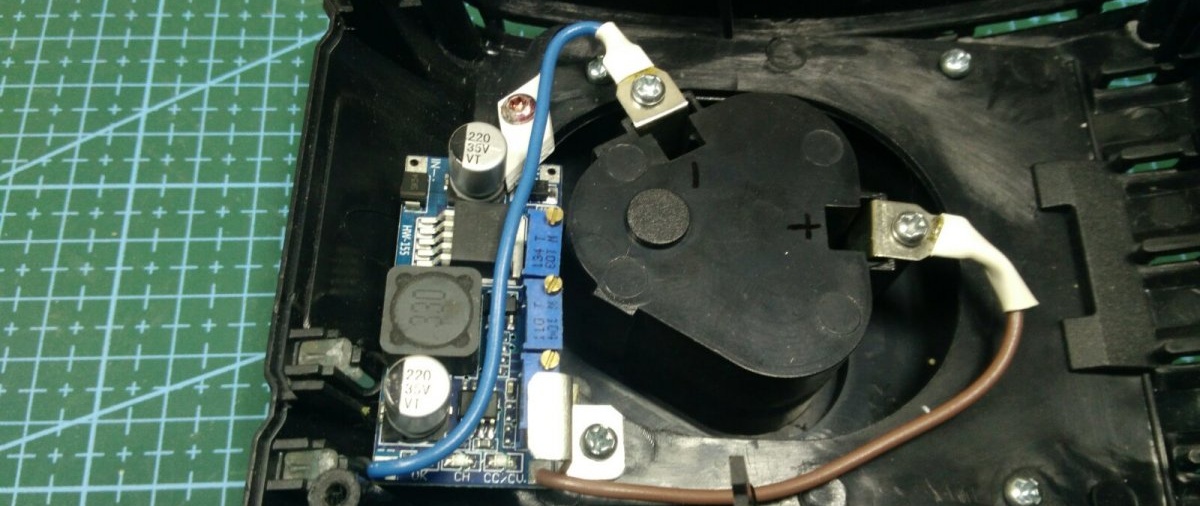
To fix the power supply board, I made PVC fasteners. I made holes and tightened the screws.
I fastened the board using fasteners. Holds tight and doesn't move anywhere. The wire fits neatly into its new places.
I connect the power supply and charging module. The current is about 0.5 ampere, thick wires are not needed.
The wire was secured with a clamp.

Let's check the operation of the device. When the battery is installed, when charging, the blue light is on. Light-emitting diode.

Red Light-emitting diode indicates the end of charging. Also red lights up when the device is plugged in.

Such a charge turned out. Before closing, you need to check the tension of the wires. Also check for contact between the blocks in the housing. In principle, you can charge any screwdriver this way.