You can, of course, buy a factory clamp, but you need to pay money for it. But such a device, no worse than the factory one in terms of functionality, can be made by yourself without special training and at a meager cost.

Will need
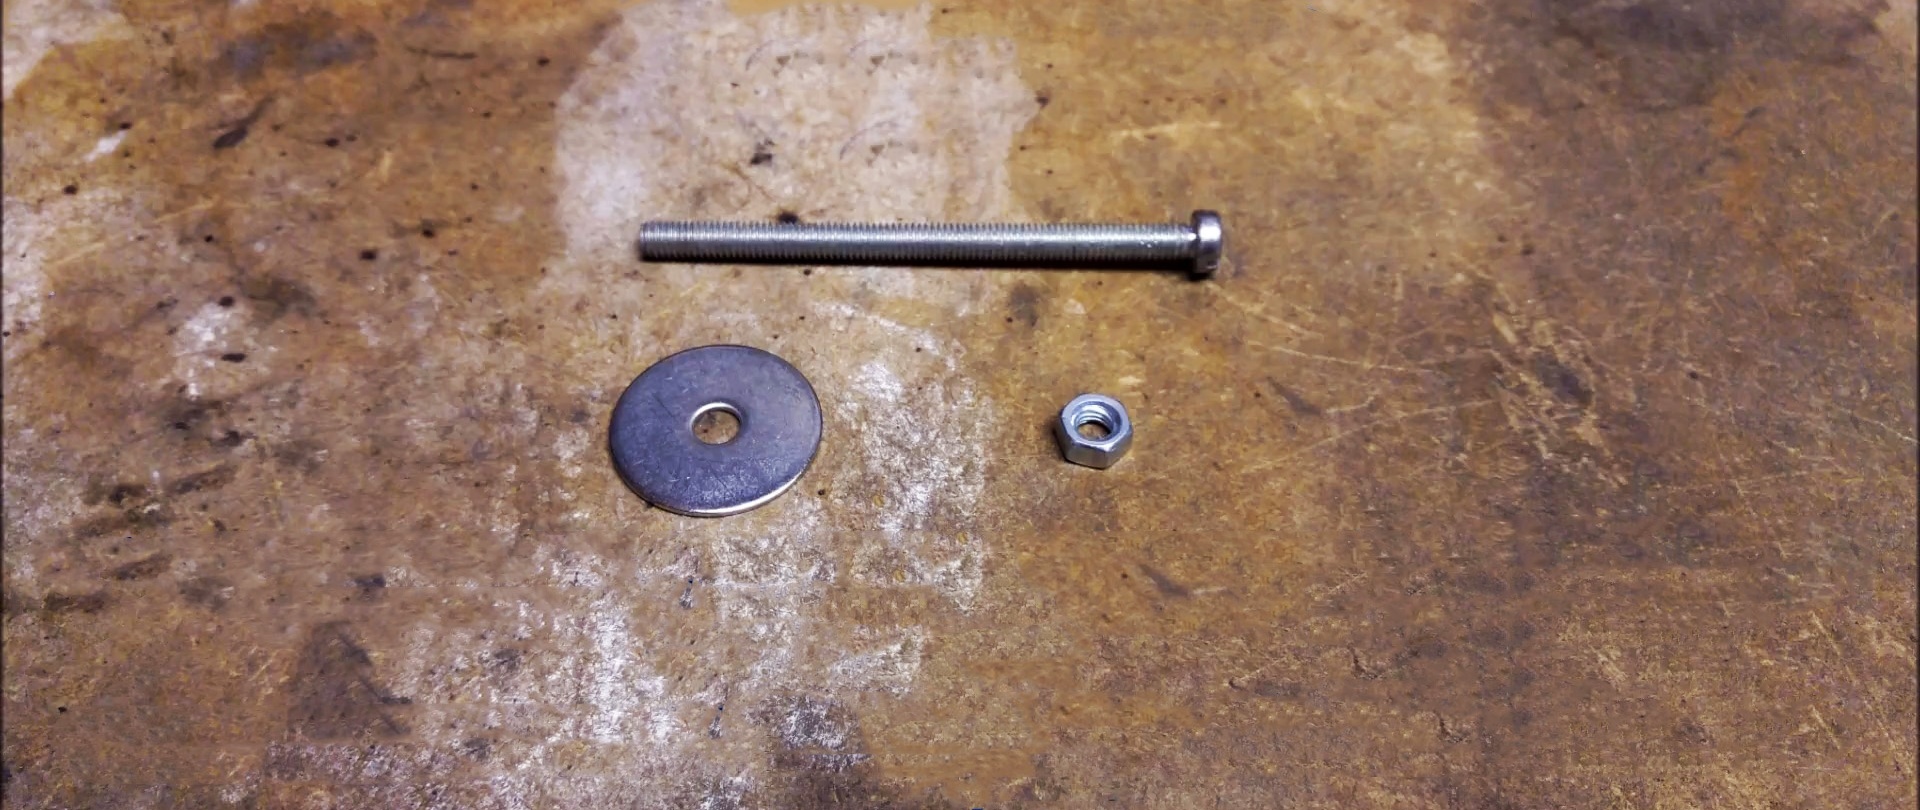
- Set of bolt, nut and washer;
- bench vice;
- hacksaw for metal;
- flat file for metal;
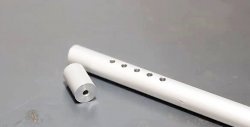
- a piece of hose;
- wire winding;
- wire cutters and wrench.
The process of manufacturing and using a device for clamping wire clamps on a hose
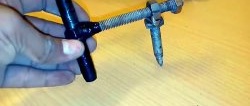
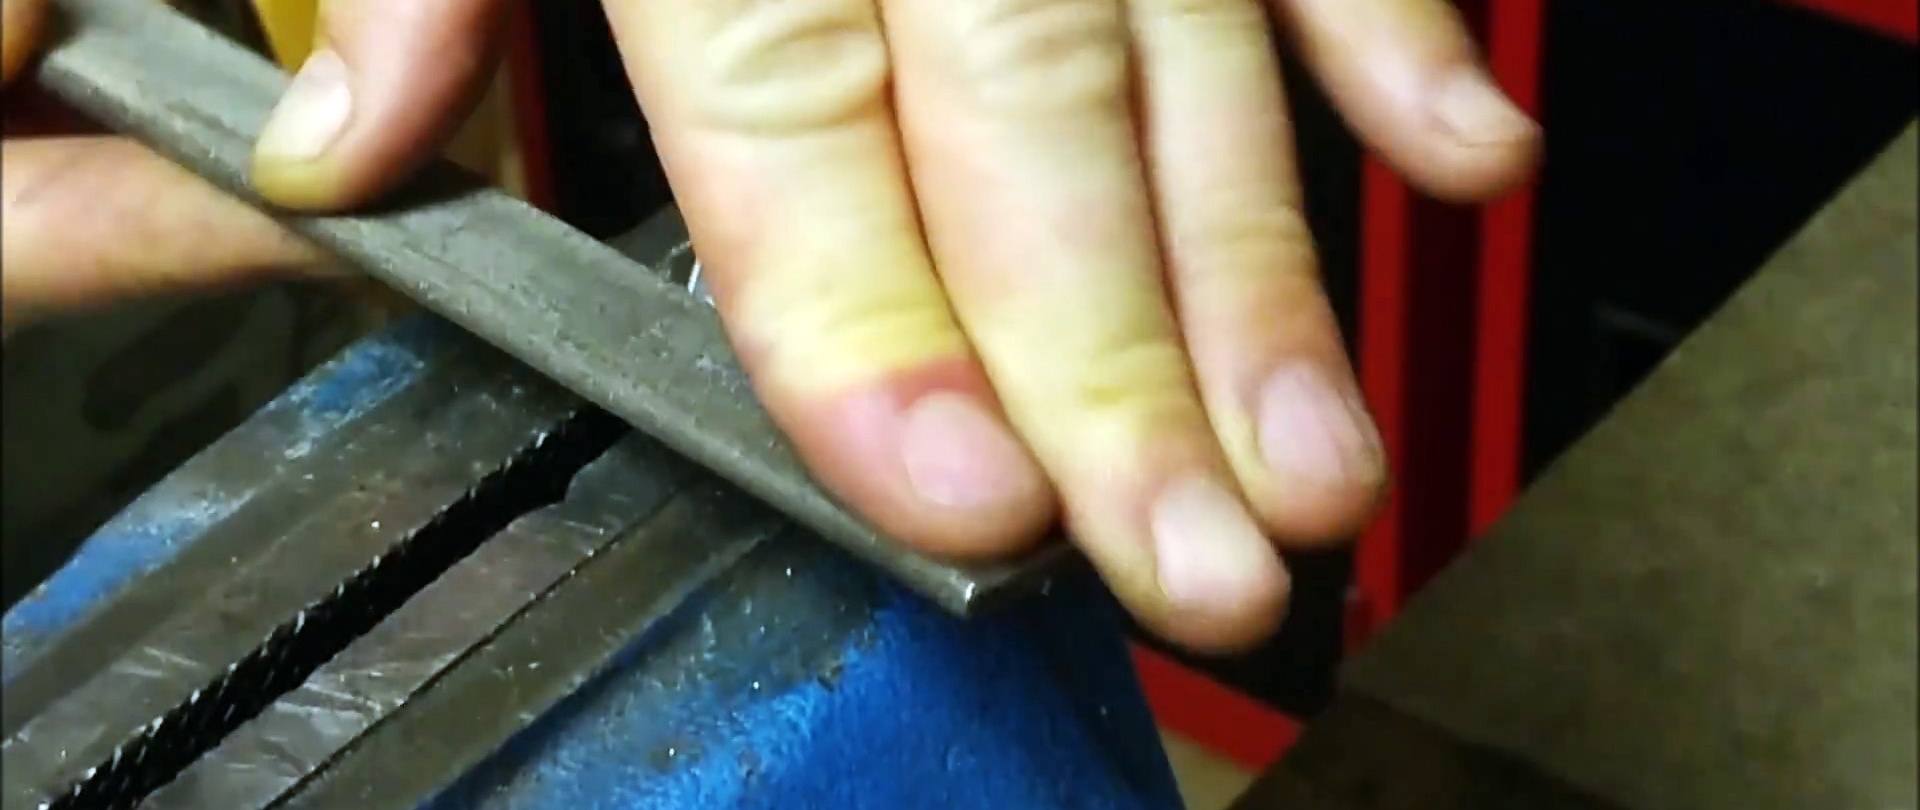
To prevent the bolt from losing its presentation, we clamp it through cardboard paper into a bench vice and at the end of the threaded rod, using a hacksaw for metal, we make a transverse slot without burrs or sharp edges.

Then we clamp the flat washer in a vice and use the same hacksaw to make two cuts on the diametrically opposite sides of the washer, also without burrs or sharp edges.

Again, we clamp the bolt at an angle so that the transverse slot at the end of the threaded rod is located horizontally and on both sides, using a flat file, we make conical flats in the direction of the slot.


If we look at the end of the bolt shaft in the direction of the slot, we should see two protrusions, limited on the outside by conical planes, and on the inside by the sides of the slot.
We put a washer with two diametrically opposite slots on the bolt, screw a nut on top of it, and our device is ready for use.

We wind four turns of wire with small ends onto the hose and separate it from the winding using wire cutters.
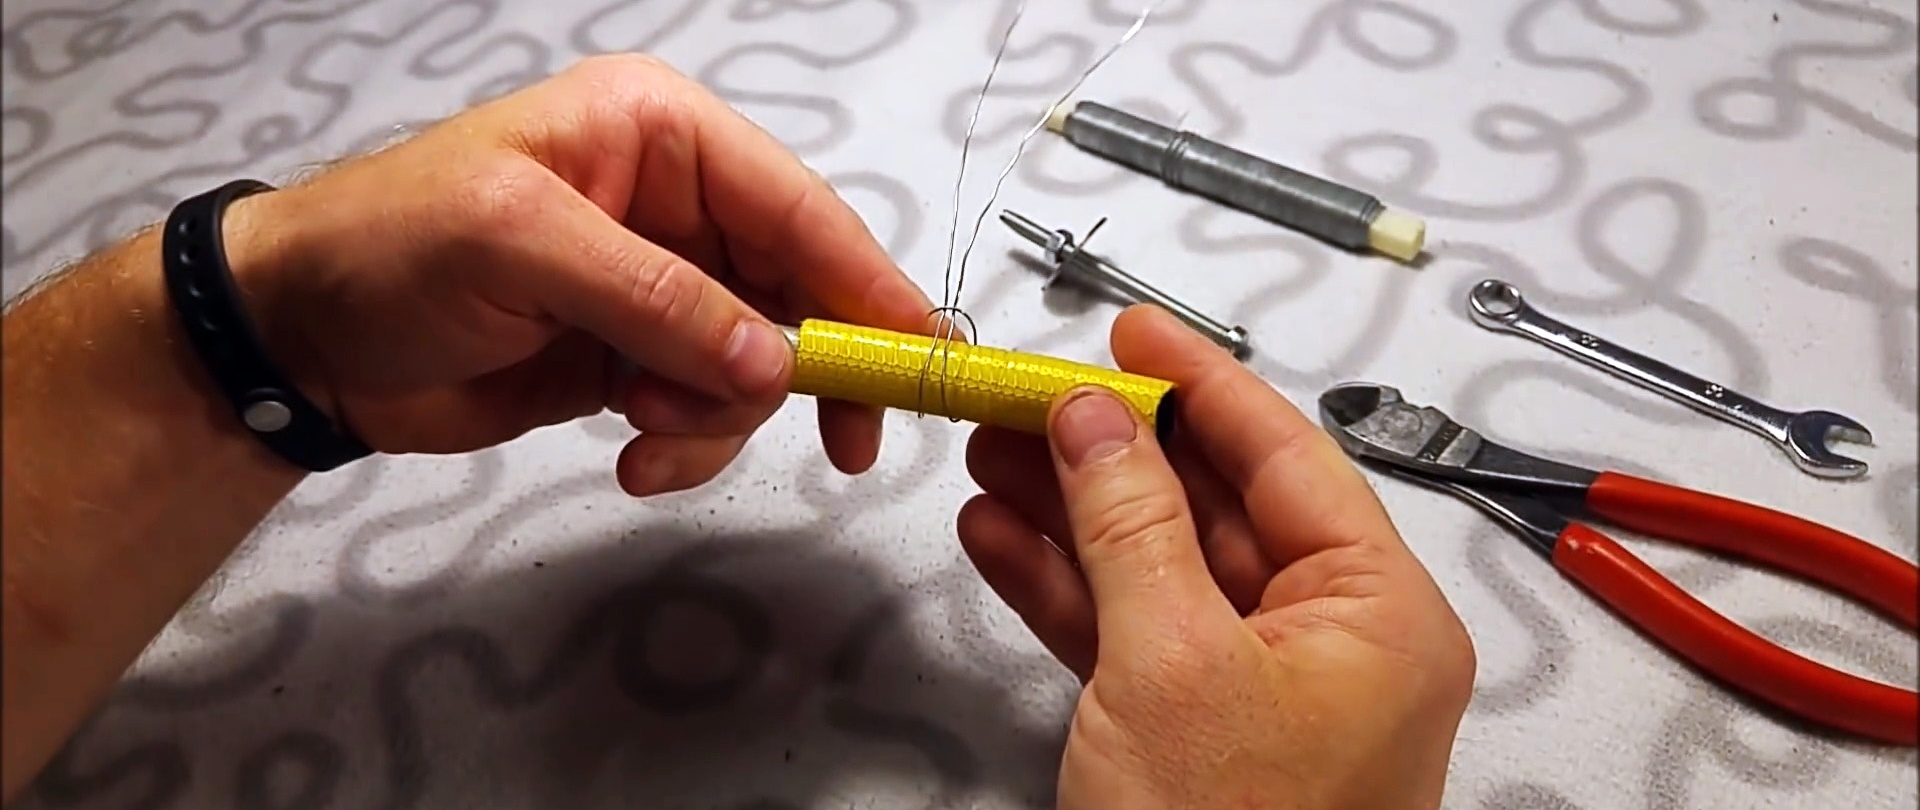
We unwind the wire from the hose and fold it in half. We wrap the double wire around the hoses and thread the free ends into the loop.
Behind the loop, we wrap the free ends around the hose in the opposite direction and put them back into the loop. To make the screed strong and aesthetically pleasing, we divide the wire rings into two and leave a distance between them.
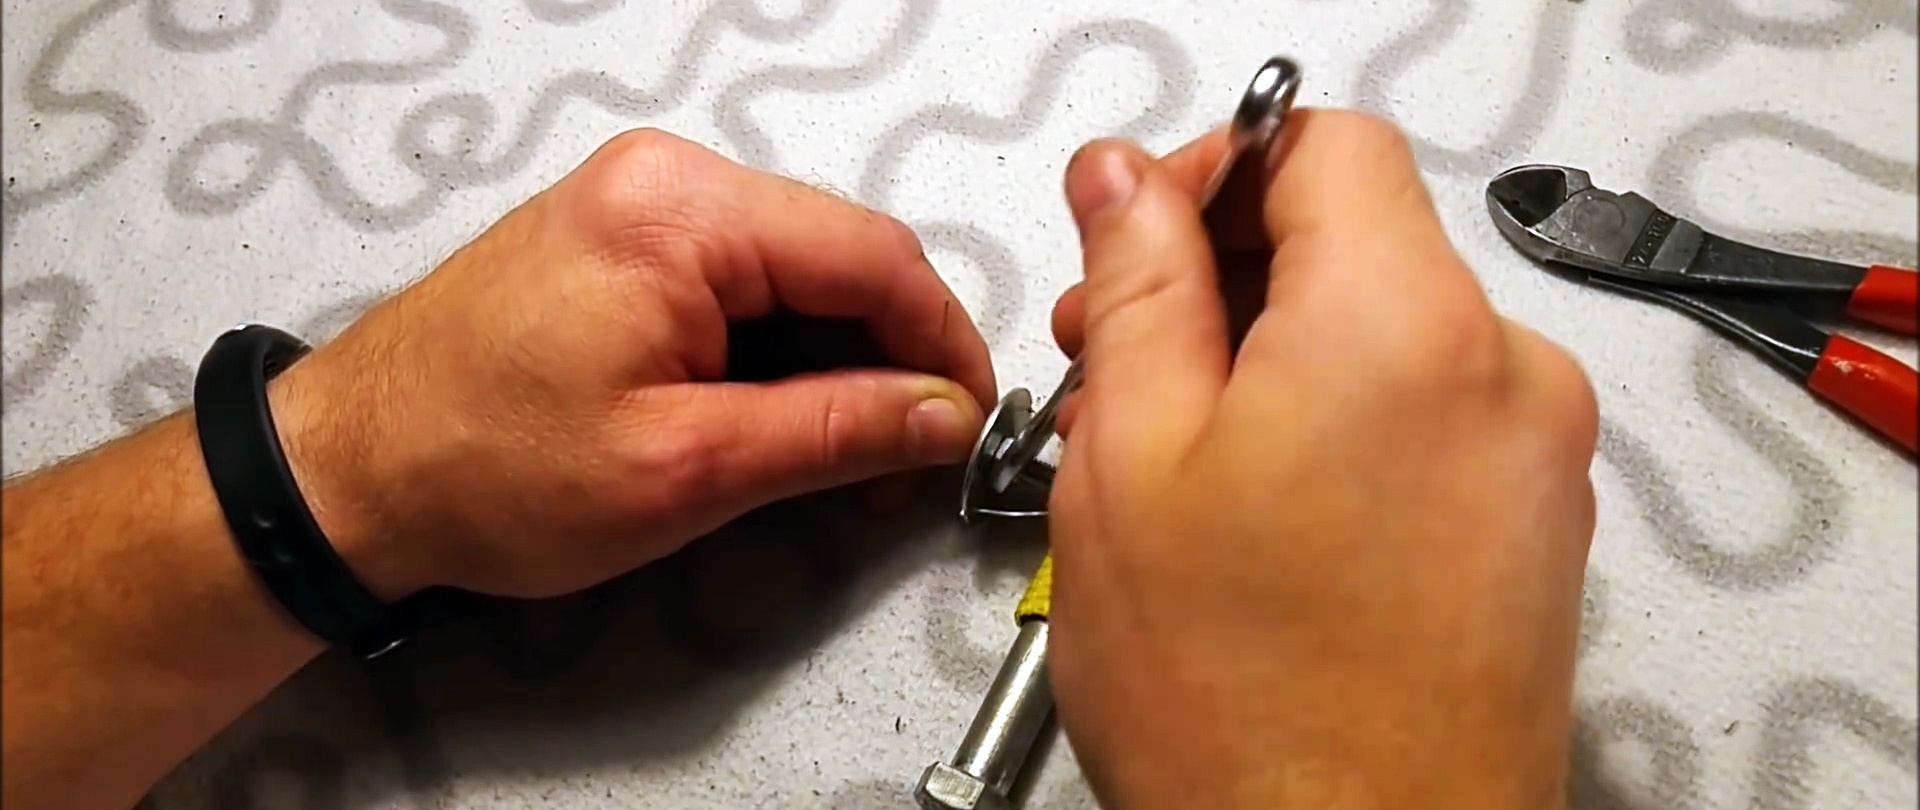
We rest the slot on the bolt rod of the device against the loop in the direction of tension, and insert the ends of the future wire clamp one at a time into the slots on the washer, and grasping the bolt rod, twist them securely over the washer.

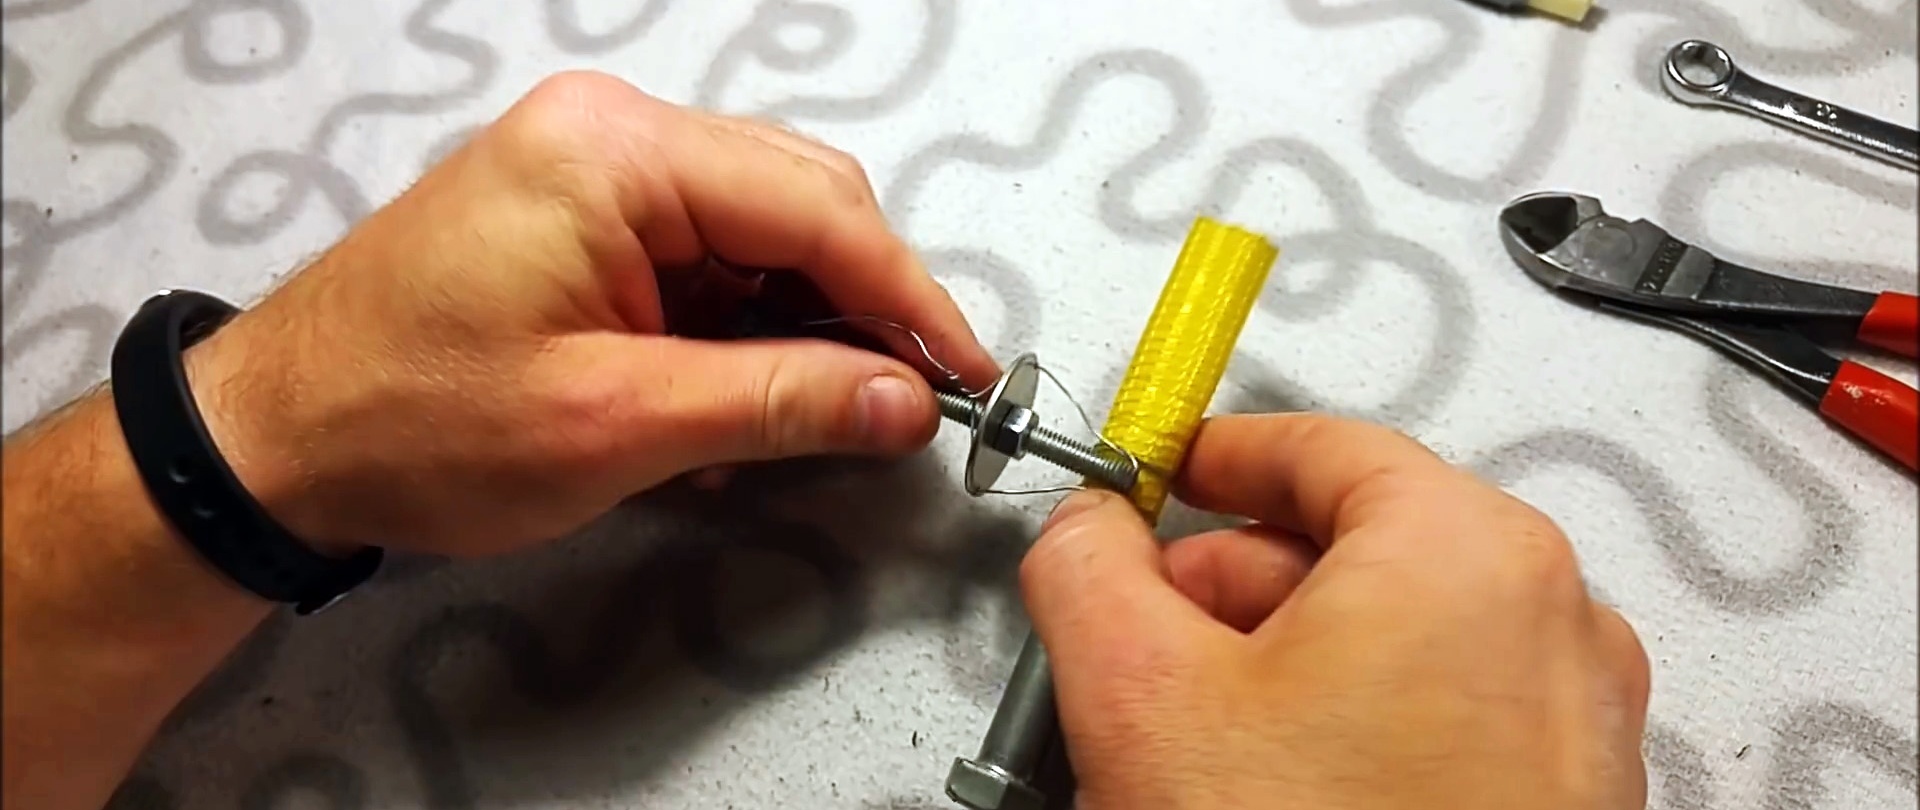
We lift the washer to the bolt head to form an initial tension, and tighten the washer with the nut.
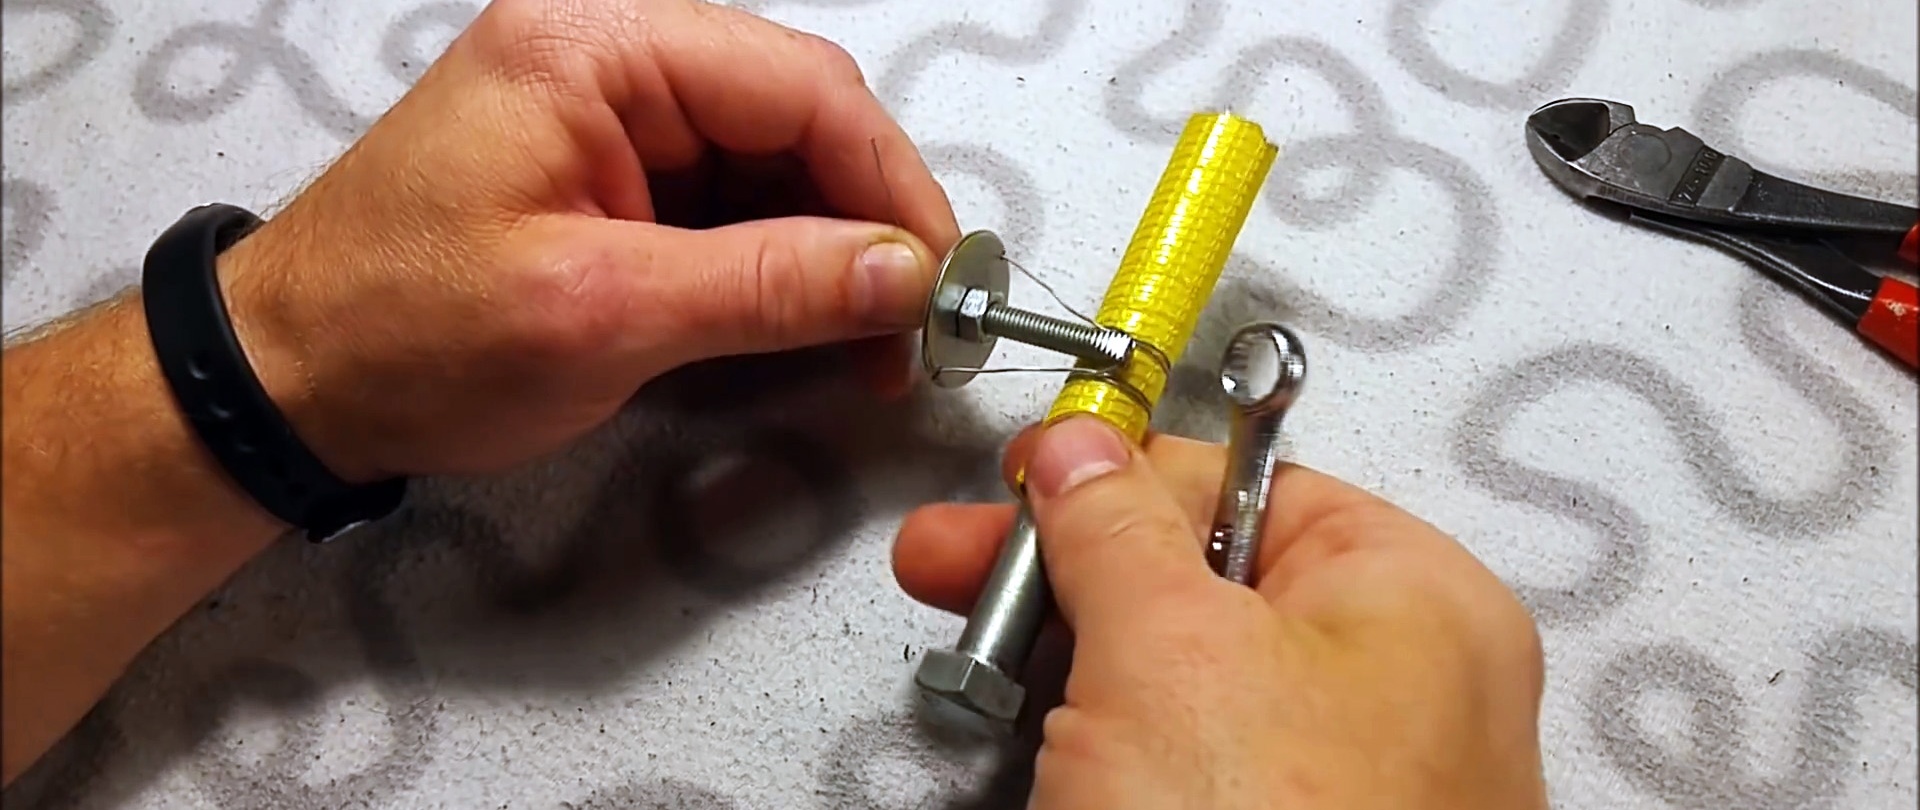
We correct the location of the wire rings on the hose and continue to move the washer to the bolt head using a wrench. We continue this process of tightening the wire clamp until the desired result is achieved. Then we turn the device 180 degrees so that the ends of the wire wrap around the loop.
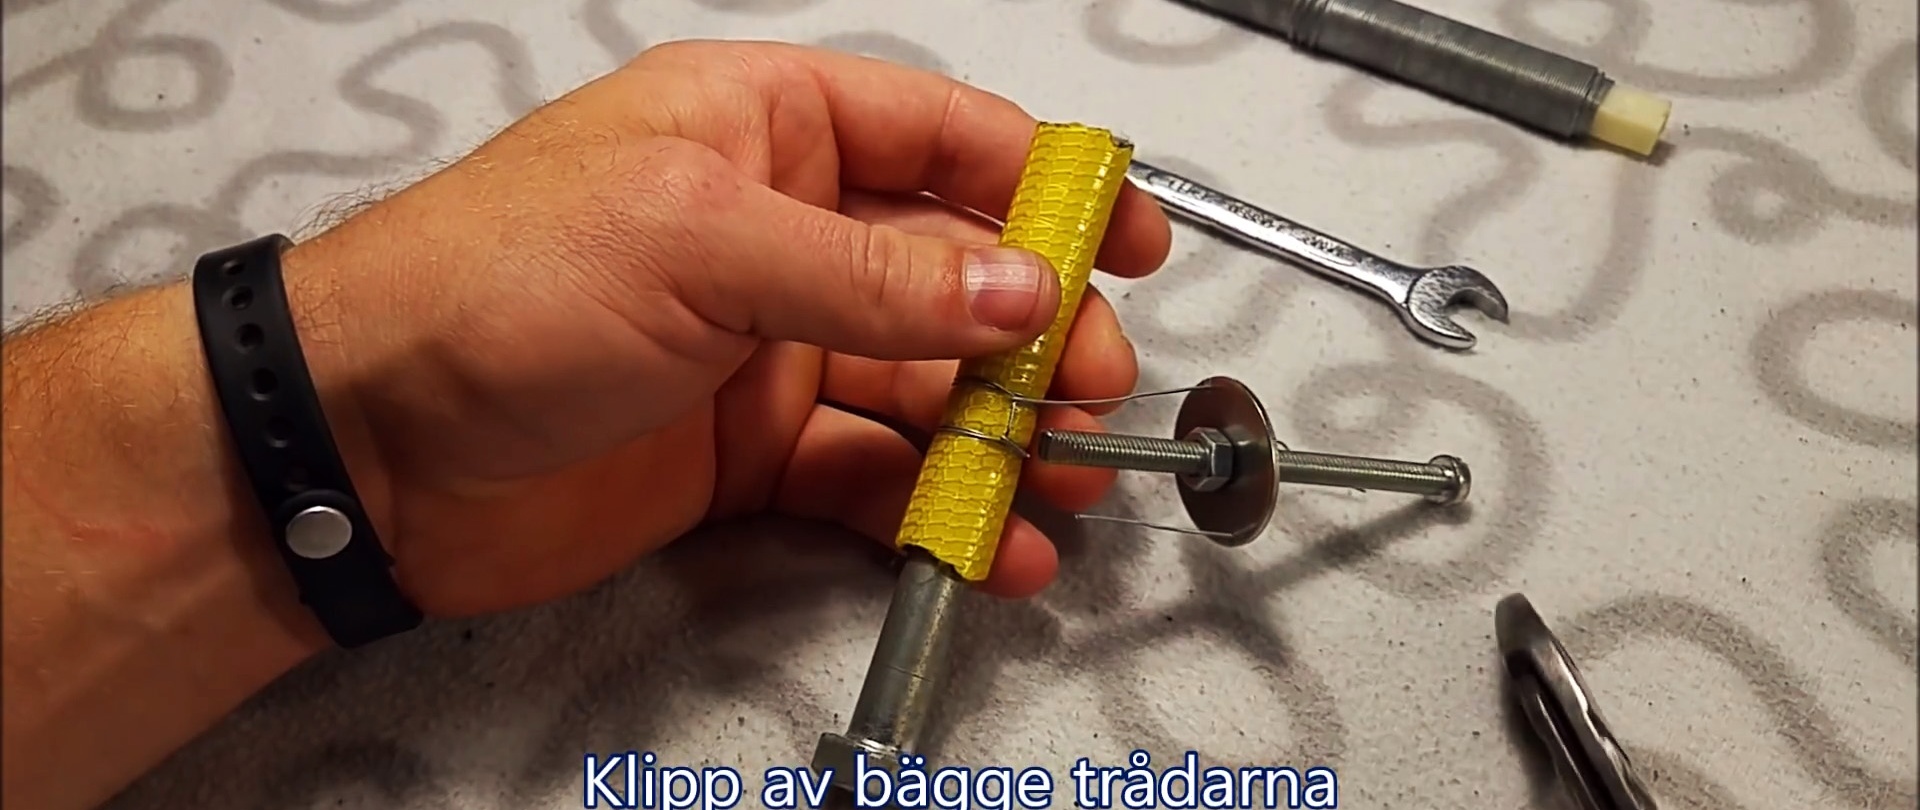
All that remains is to bite off the wires closer to the loop and bend the ends. The reliability and strength of the wire clamp is 100% ensured.