It is very easy to make a small-sized circular saw powered by a battery with your own hands from PVC pipes and a medium-power electric motor of the 775 series. The engine power is quite enough to cut not only plywood, but also boards according to the size of the disc.

Materials for work
Main materials that will be used in the work:- Electric motor series 775, voltage 12-24V -
- steel wide furniture corner;
- PVC pipes 20 mm, corner fitting PVC pipes 20 mm, pipe plugs;
- adapter for connecting the drive to the engine -
- button with wires;
- saw blade;
- plastic food jar;
- a piece of wood or chipboard/fibreboard for the base;
- spray paint;
- screws and nuts for fastening saw parts;
- power supply with connector - http://alii.pub/5nigpc
- protective cover for the engine.

The process of making a homemade saw
The first step is to prepare the base for the engine.To do this, we try on the parts on a wooden sheet and cut out the required piece of material.

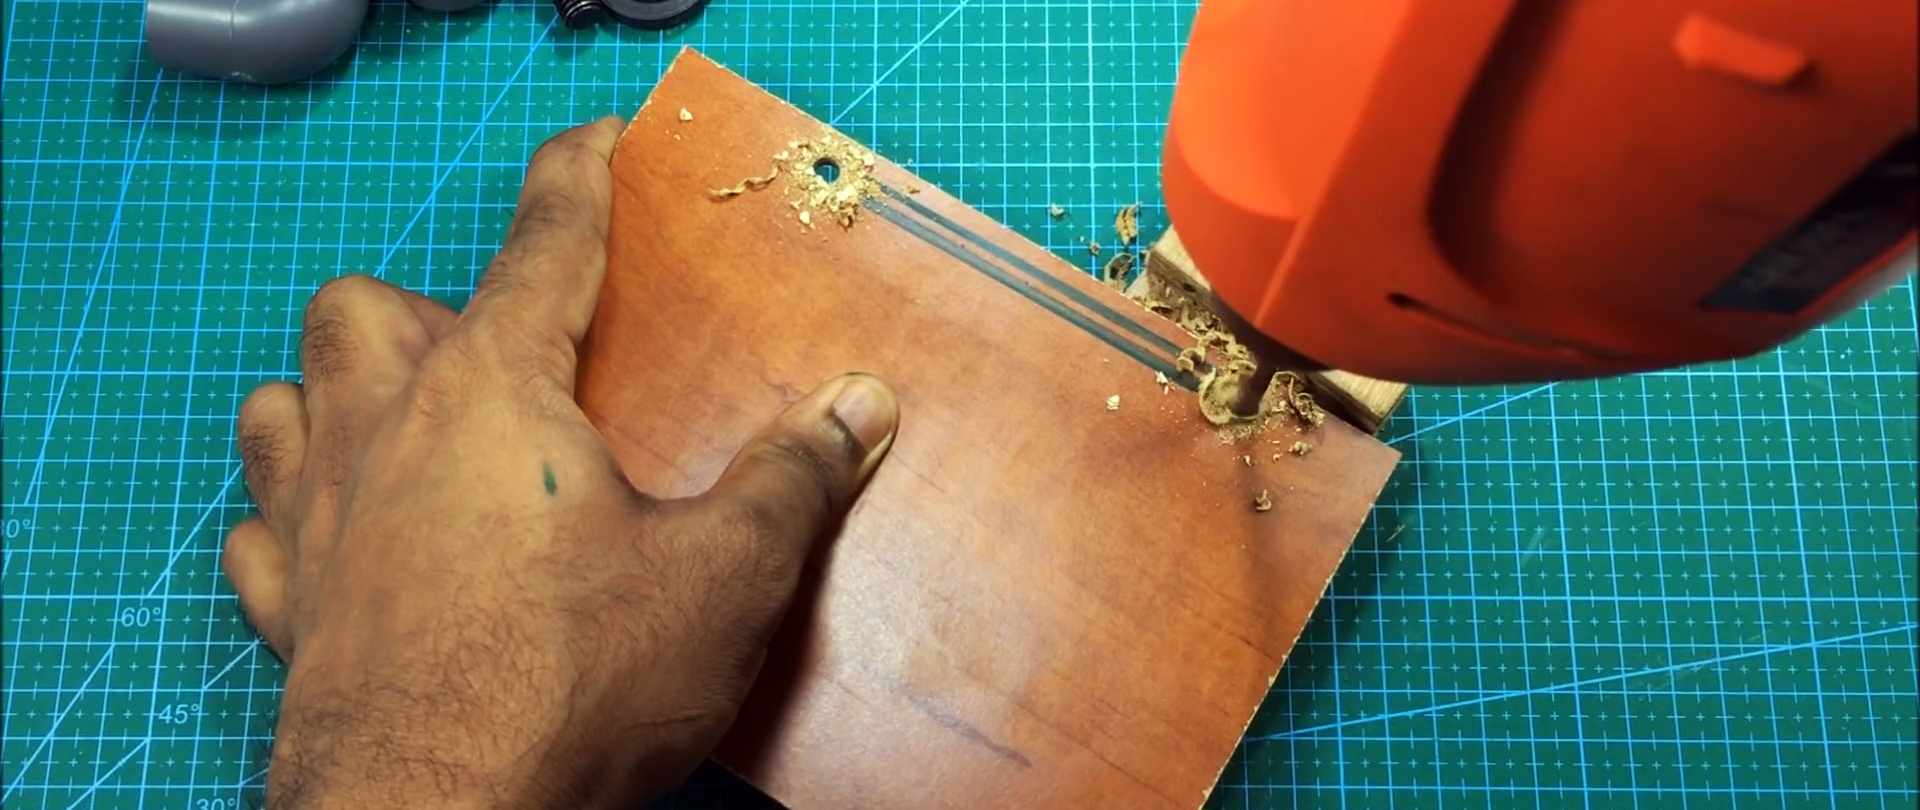
You need to make a slot on the base. The disk is fitted to the base, the boundaries are marked and a slot is made using a drill and a hacksaw blade. The edges of the cut hole are processed with a file.

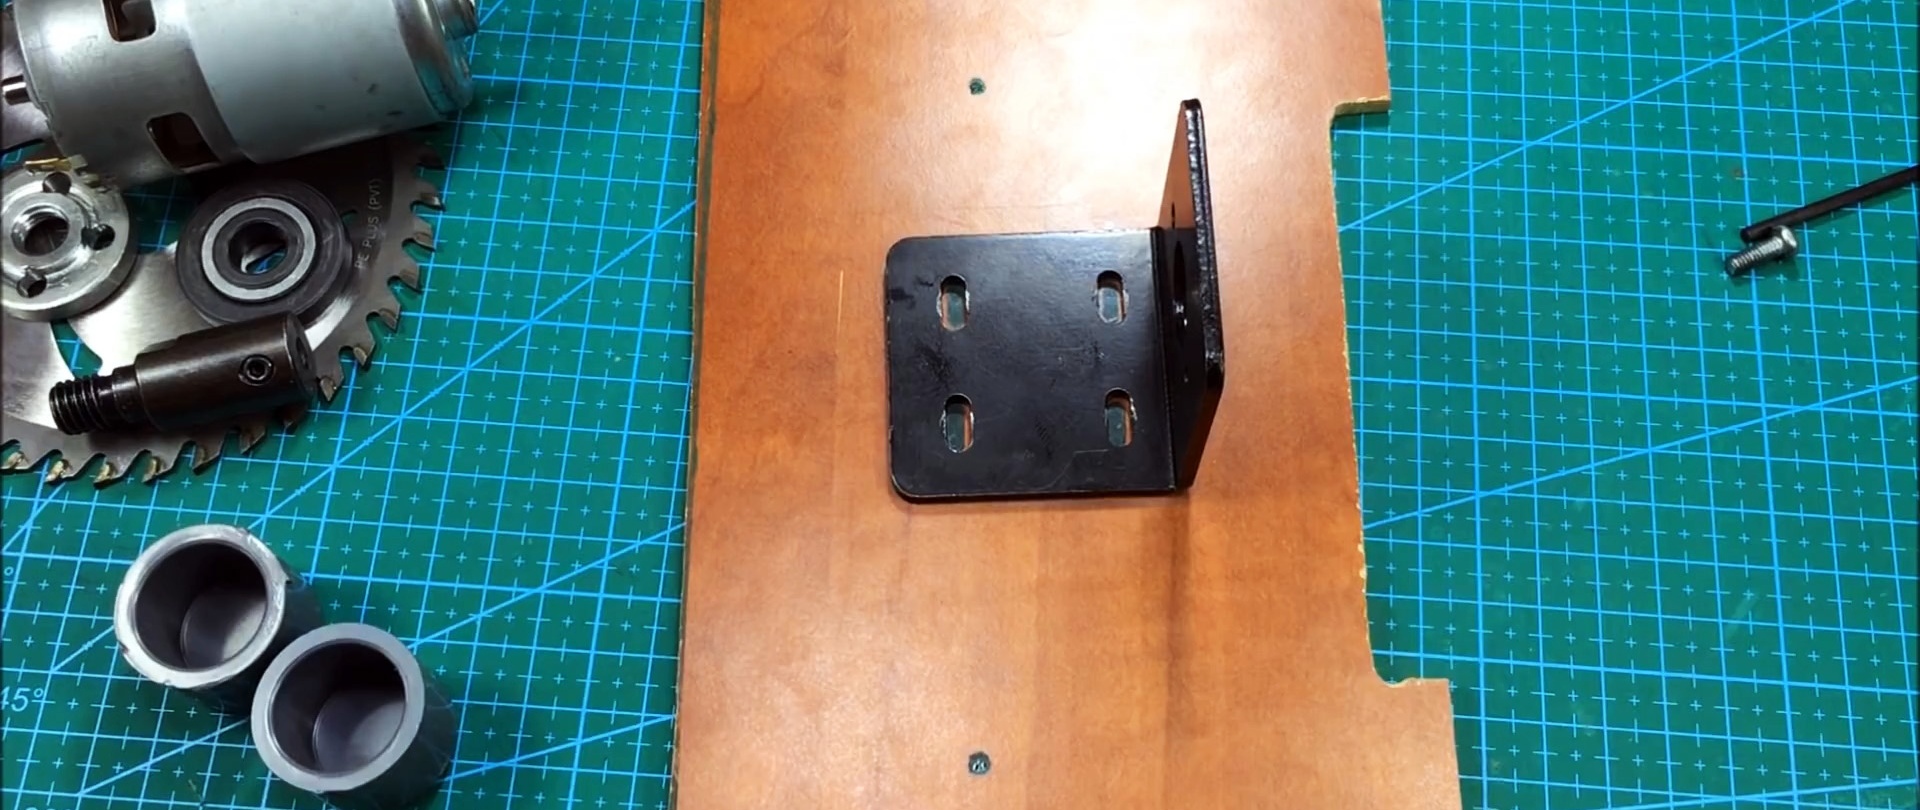
The engine is tried on a steel furniture corner with a saw blade installed, and the place where the steel corner will be attached together with the engine is marked.
In the wooden base, holes are drilled for the corner and for PVC plugs along the edges. The holes must be additionally drilled to a shallow depth with a large-diameter drill to hide the bolt heads.

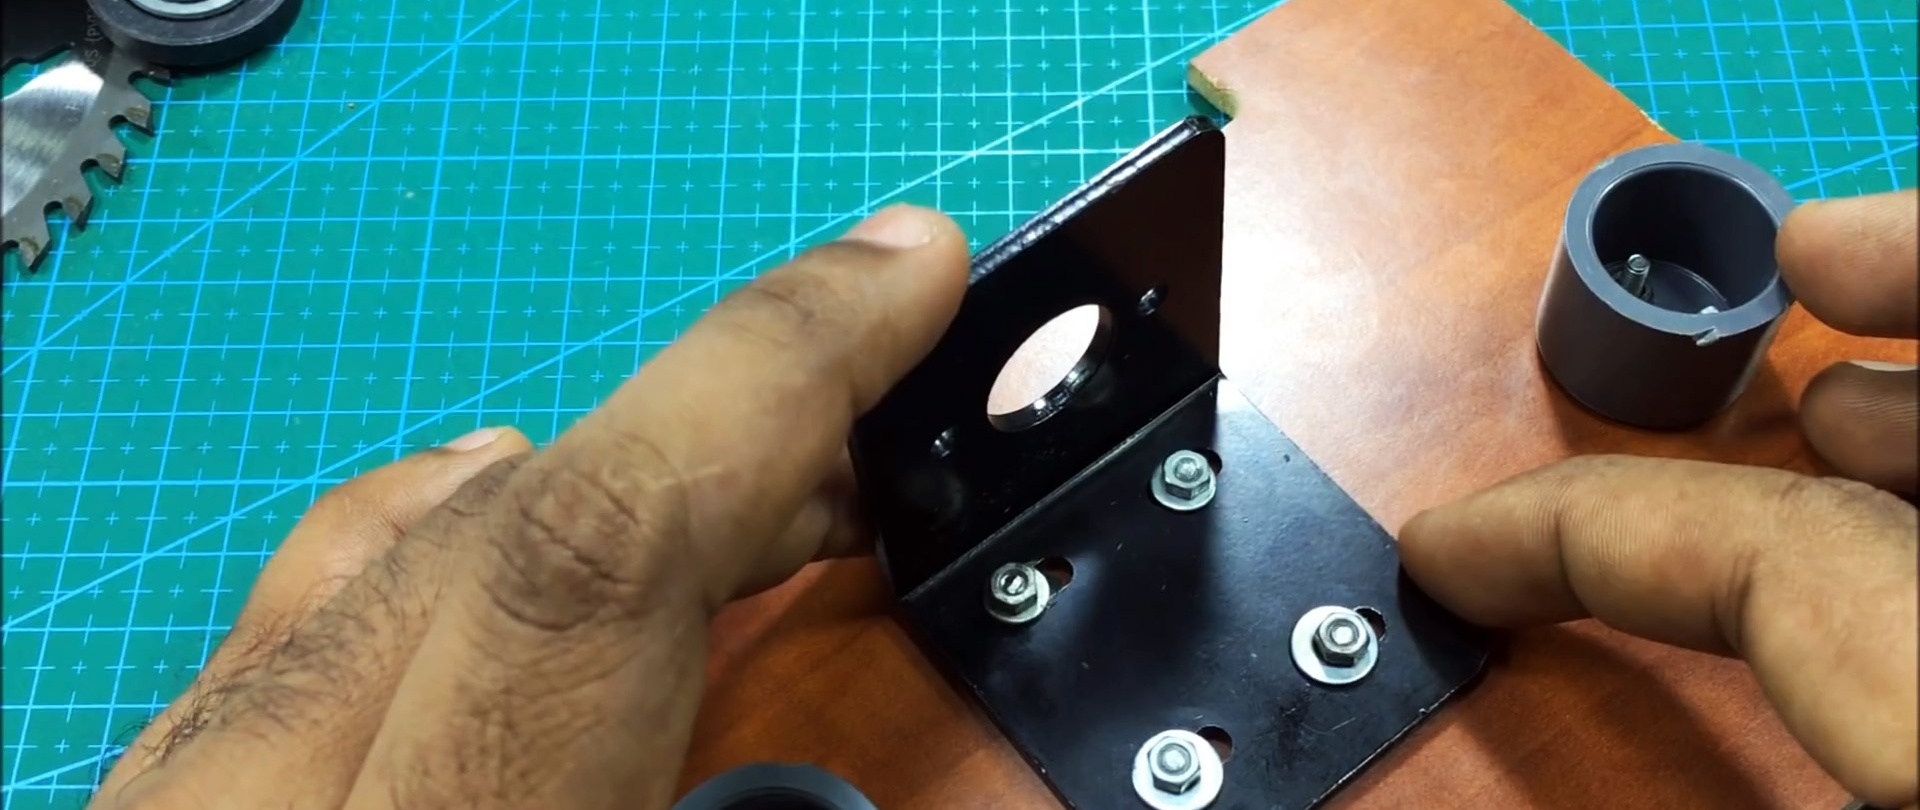
PVC plugs with holes pre-drilled in them are attached, then a steel corner on which the motor and saw blade assembly will be fixed.


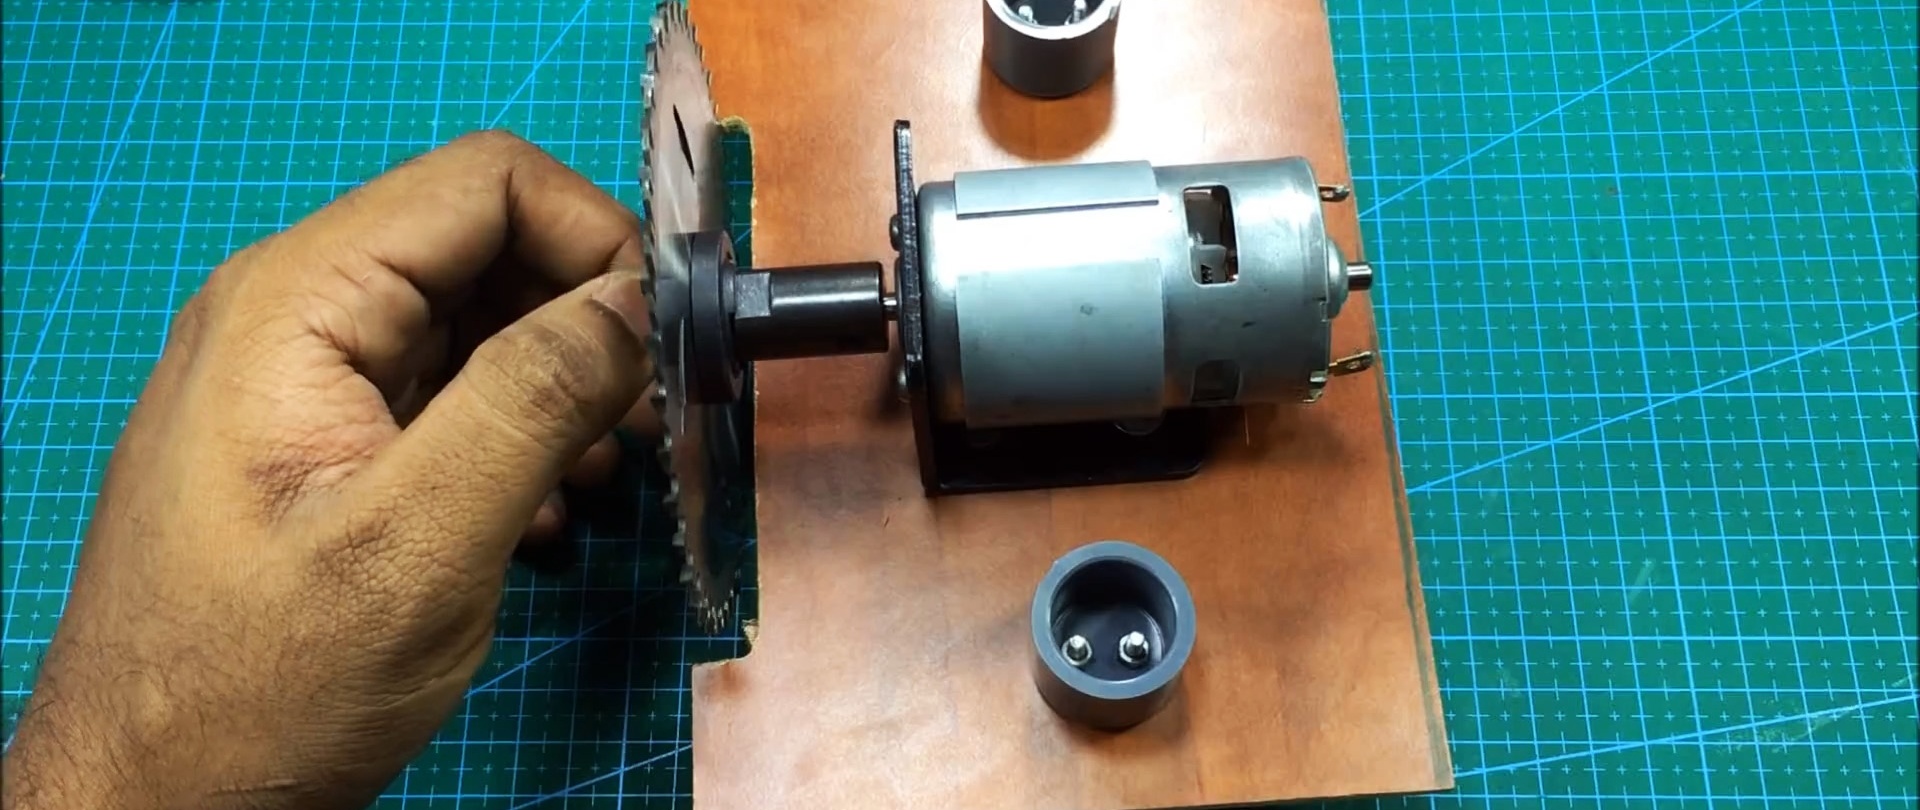
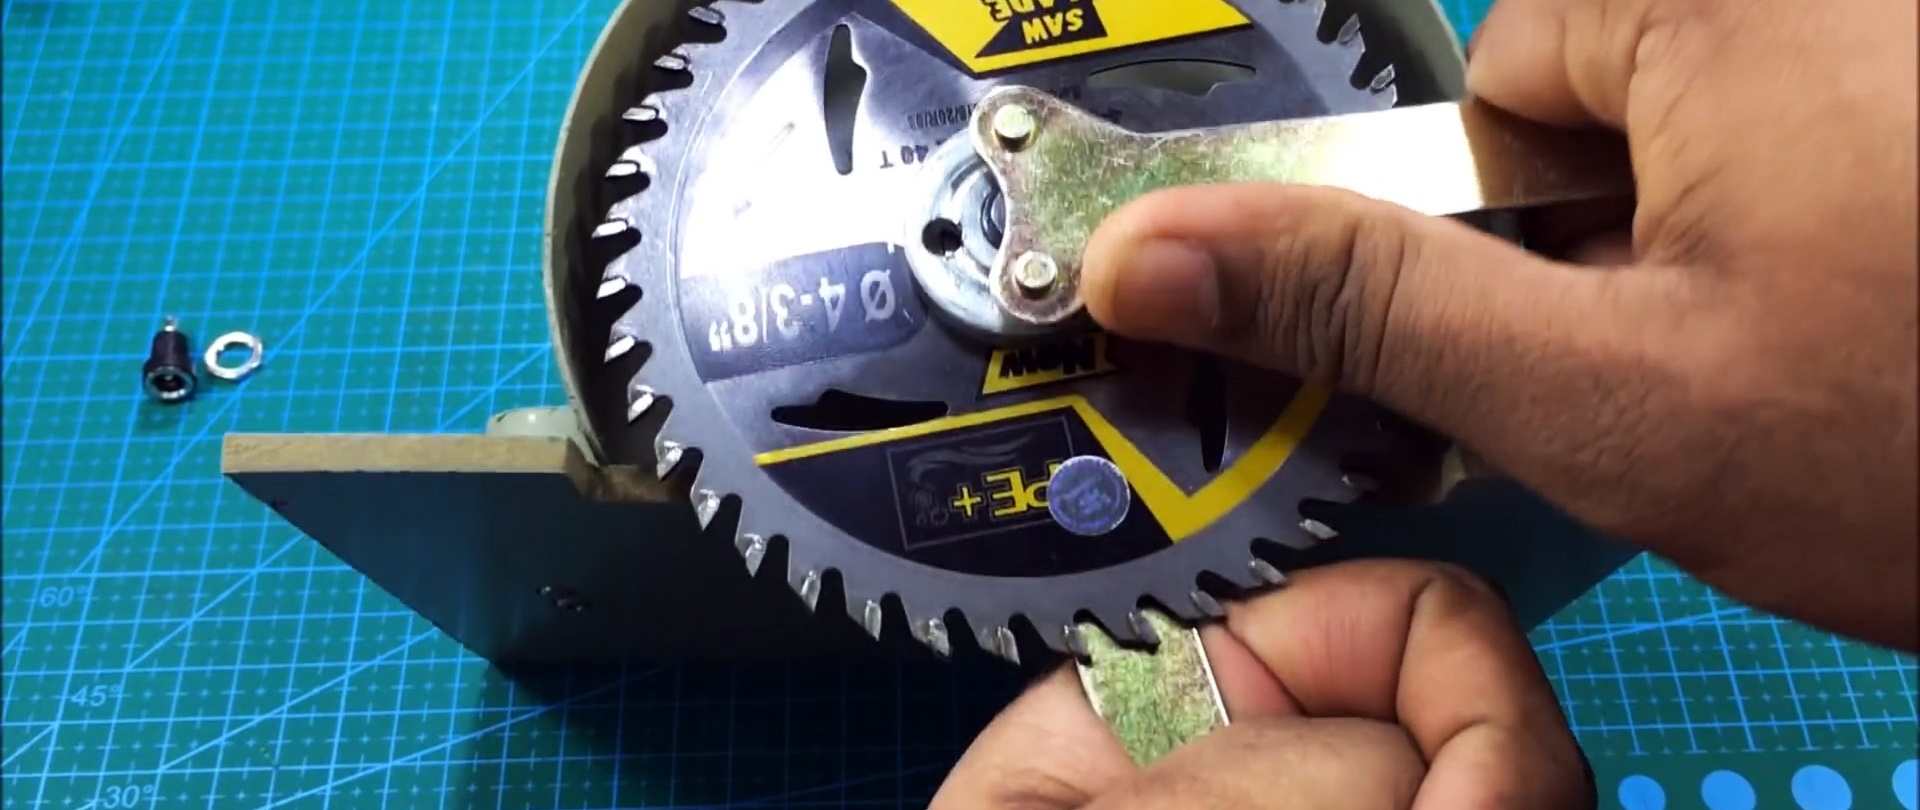
The engine is installed on a steel platform, fixation occurs due to the adapter for the saw blade.
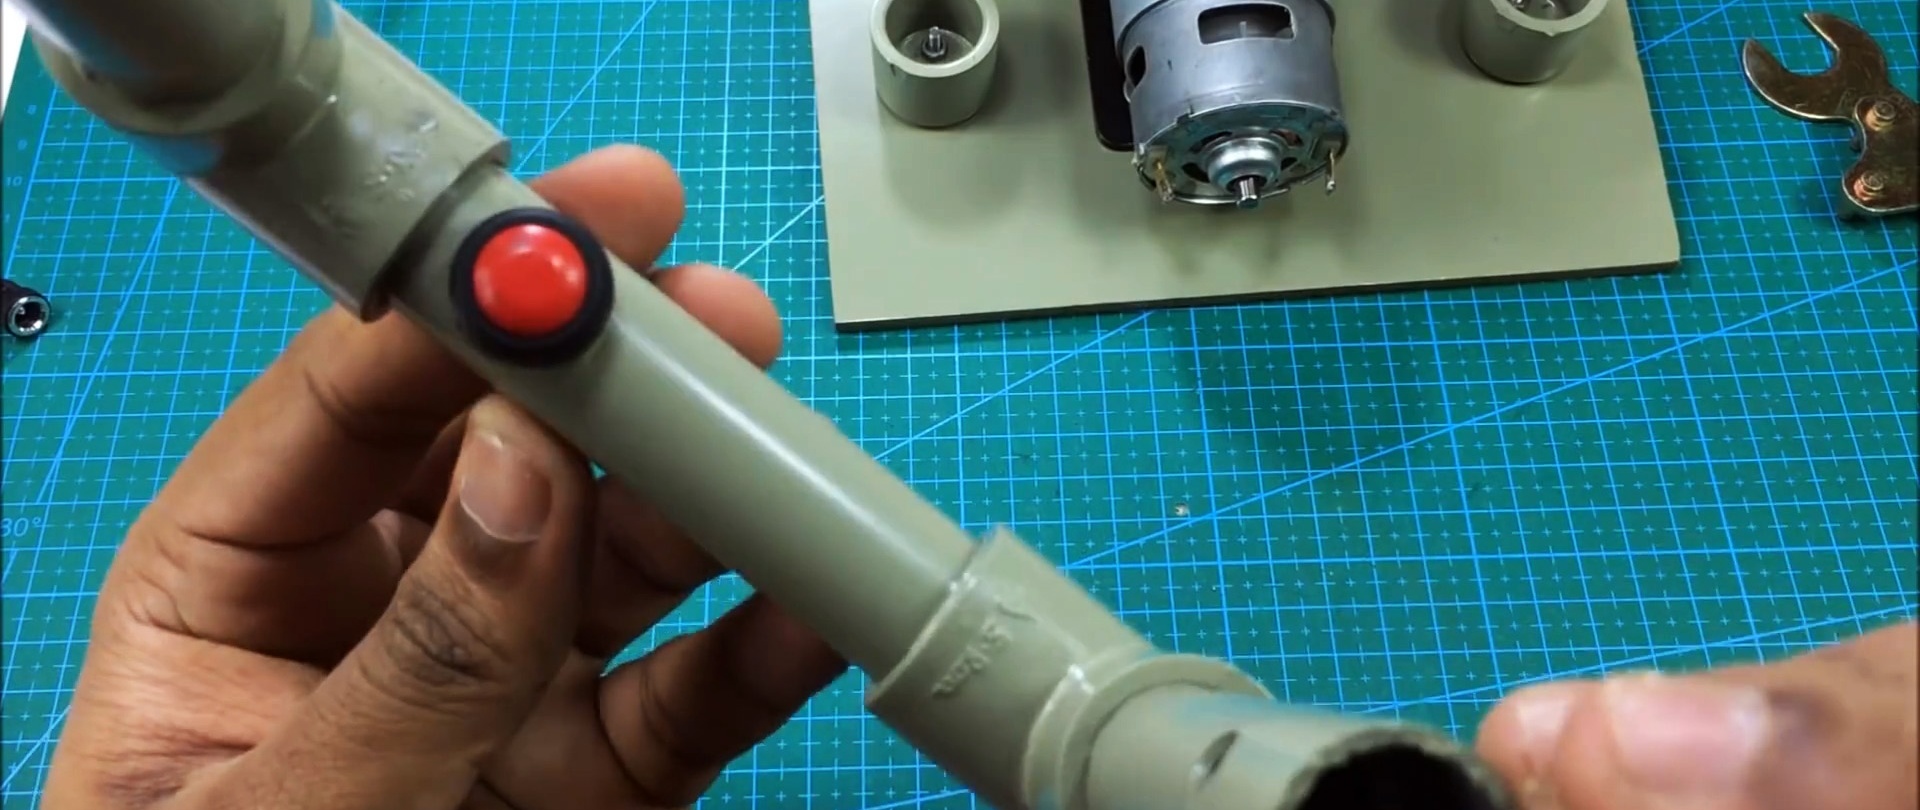
PVC pipes are installed in the plugs in such a way as to create a handle. The pipes are cut to size with a hacksaw, adjusted and connected with PVC bends.
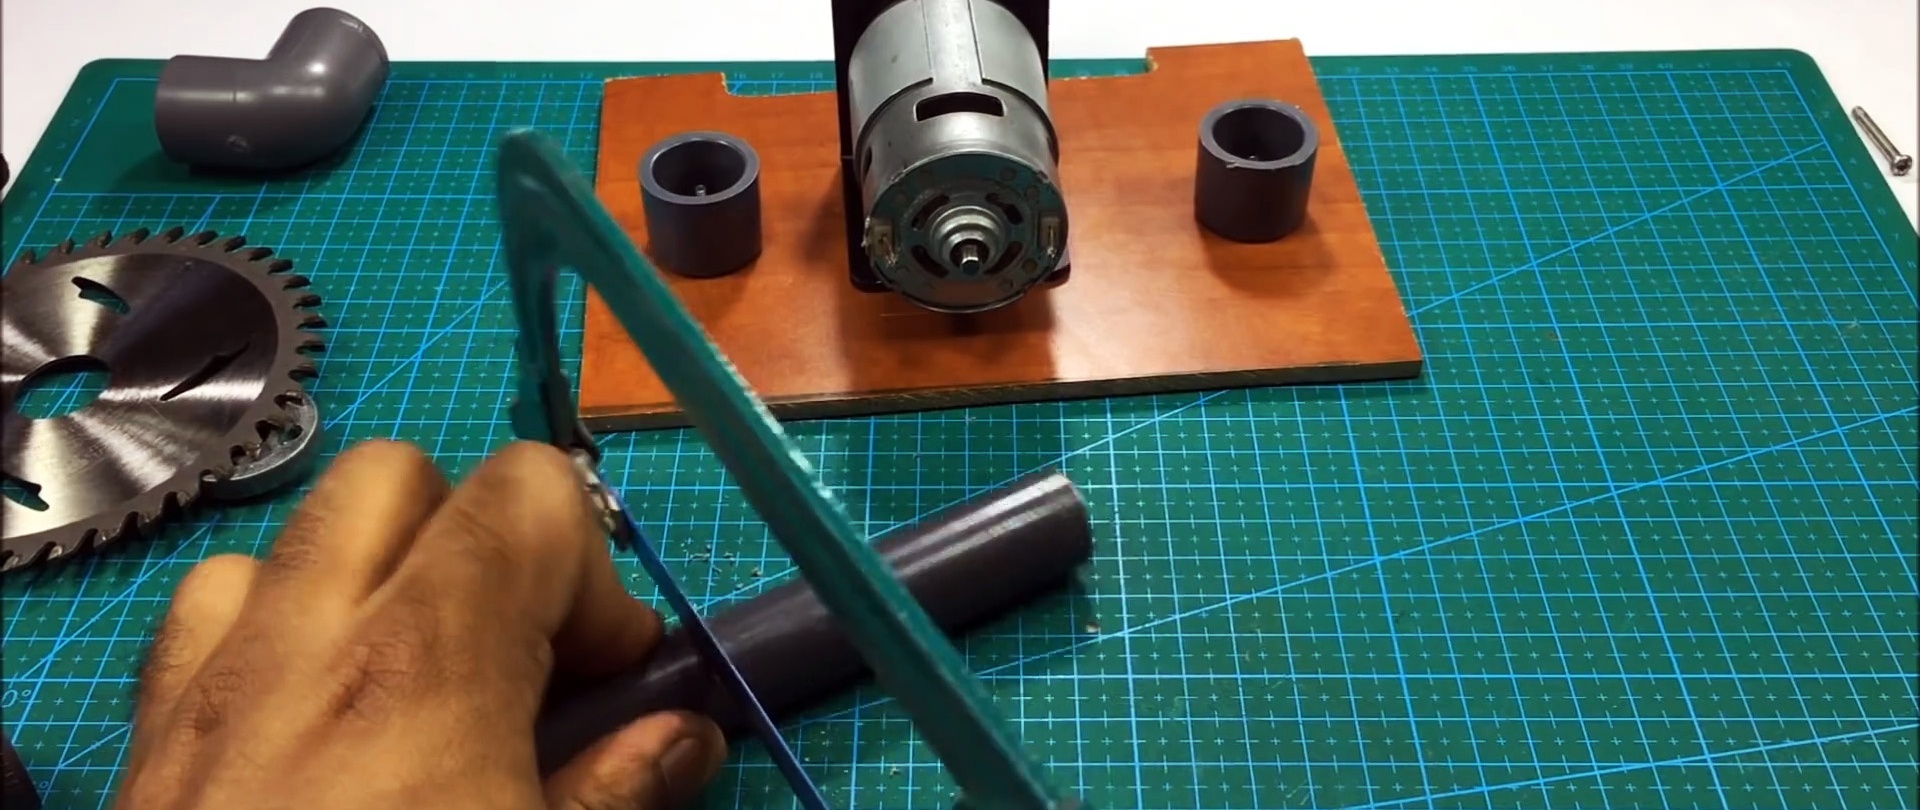

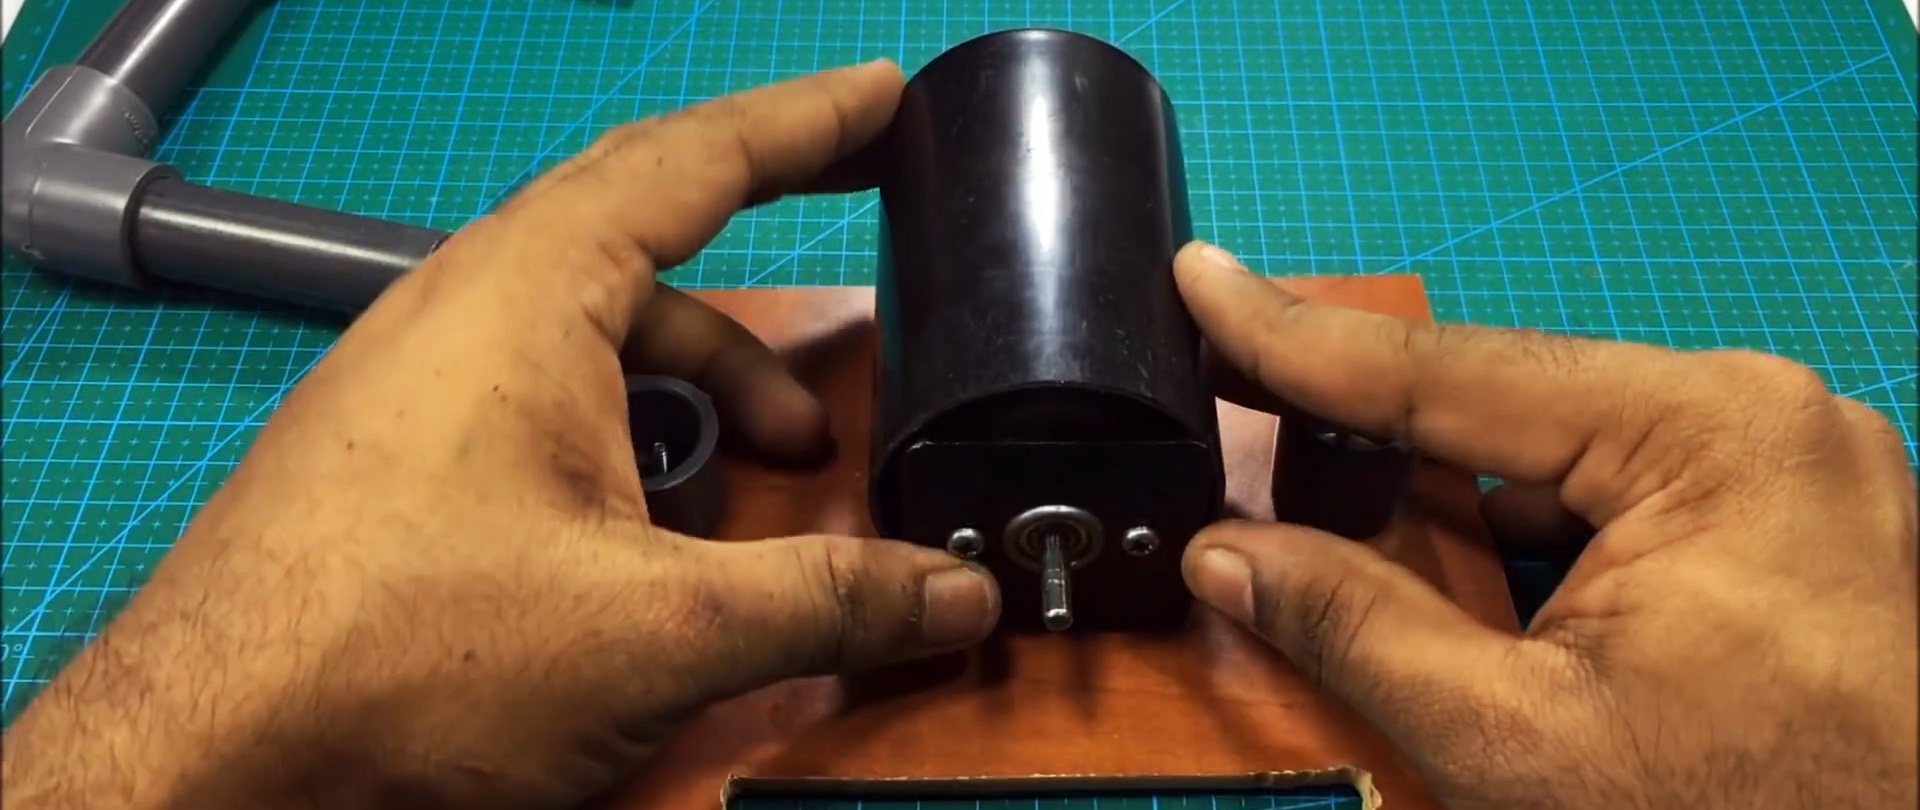
Protective covers for the engine and saw blade are manufactured. For the engine, a pipe of a suitable diameter is taken - in this particular case, it is a part from the car's shock absorbers, the rod protection is plastic.
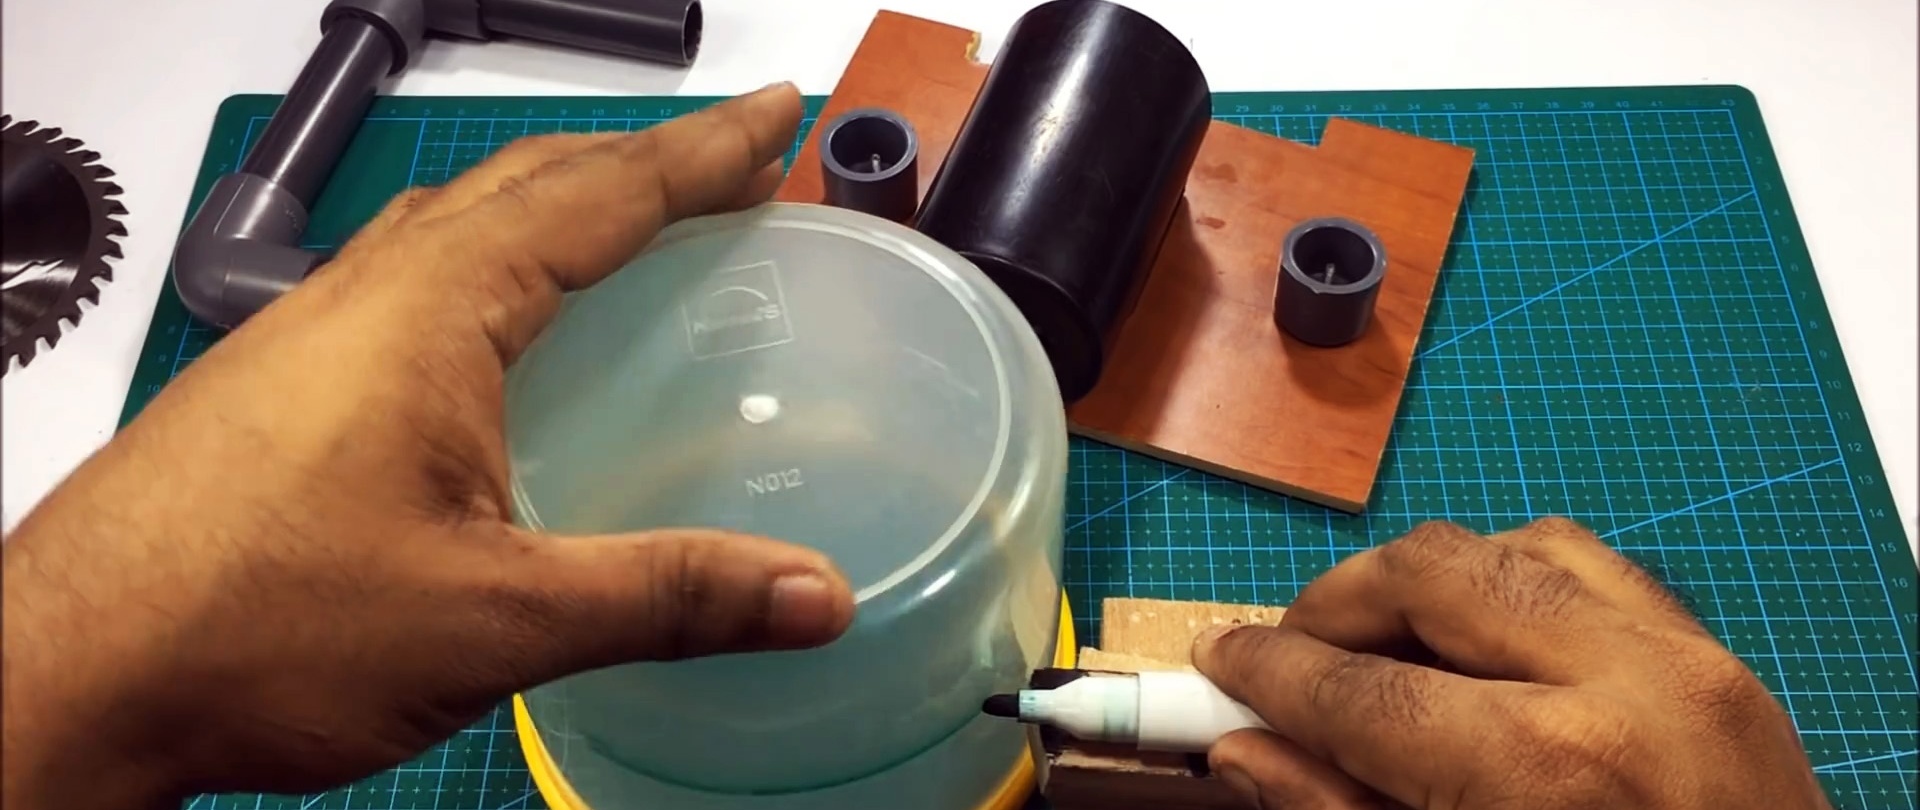
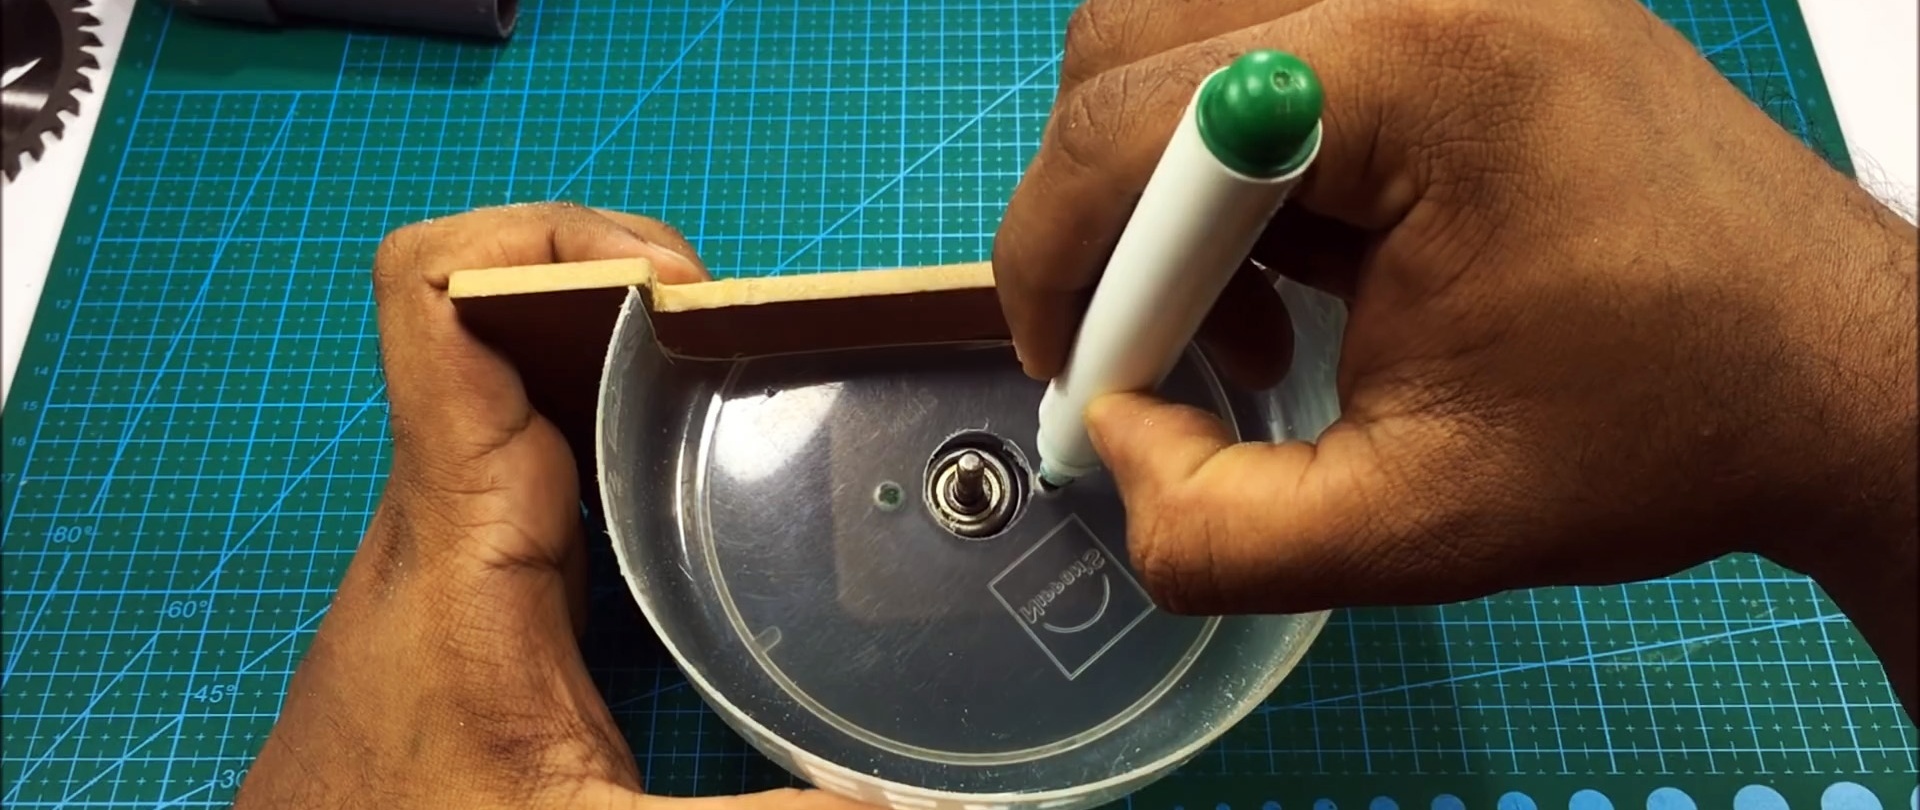
To make a casing for the disk, you will need to cut and saw off a piece with the bottom from a plastic can. A casing is cut out of the workpiece, holes are drilled in it in the places necessary for fixation.

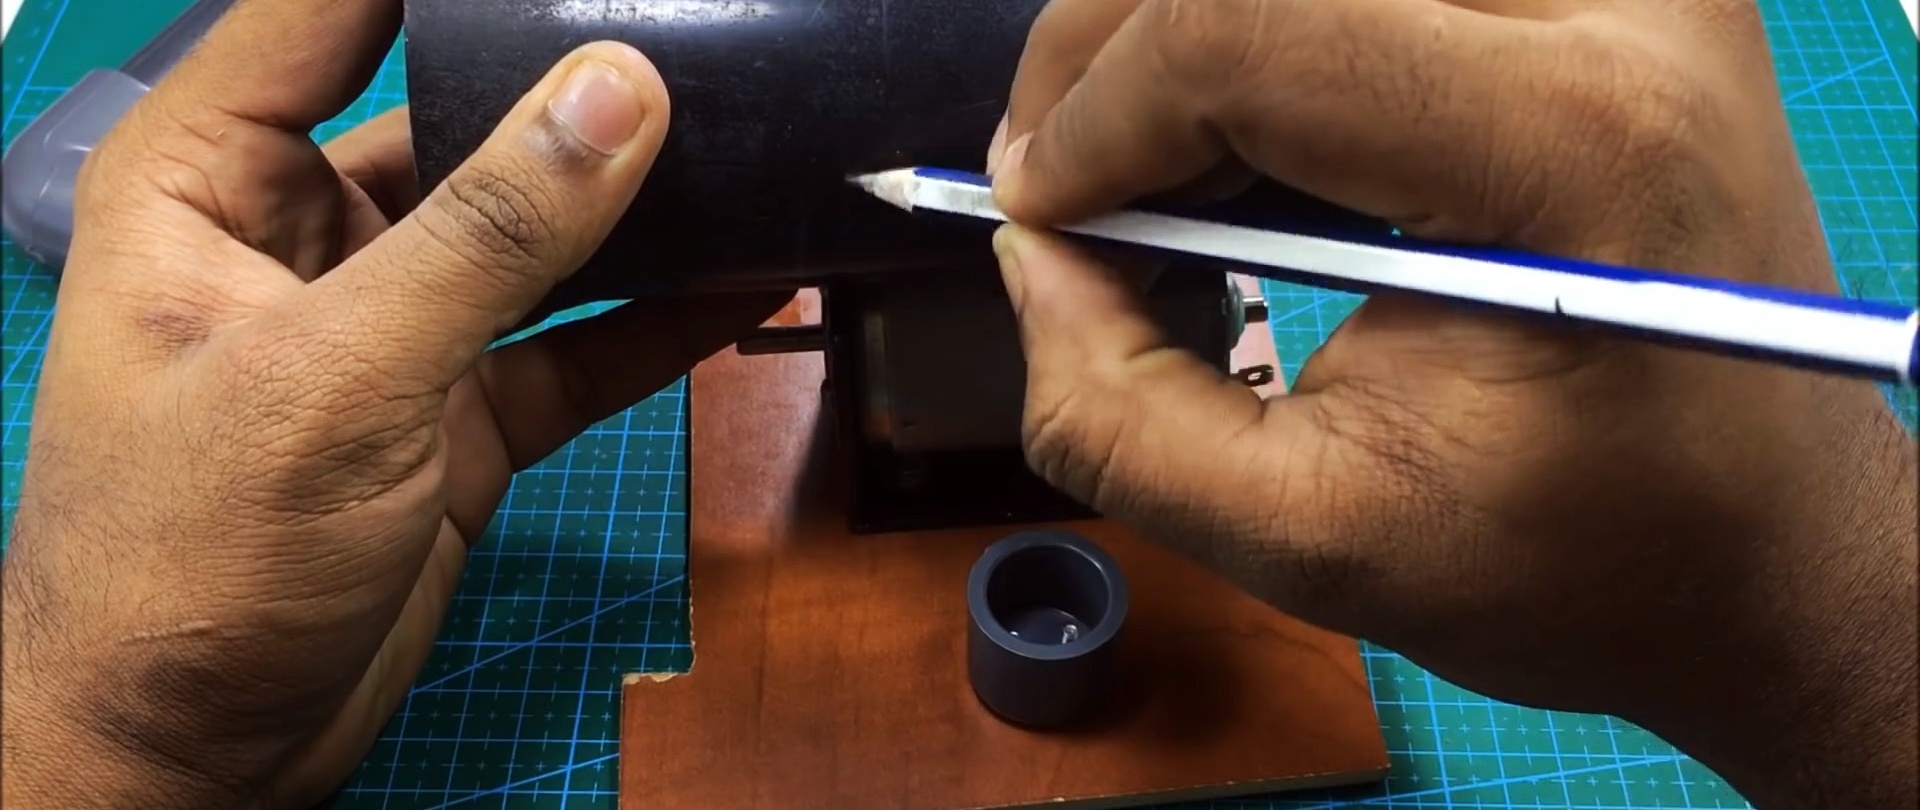
A hole for the wires is drilled on one of the side pipes of the handle. The power connector is placed in the motor protective casing; holes for fastenings must also be drilled in the casing.

When all the parts are fitted, the unit is disassembled before assembly; all parts that will be visible are spray painted.

The start button is installed on the handle in a place where it is convenient to press with a finger.

When everything is dry, the saw is assembled, the parts are securely fixed - the base is ready, all that remains is to figure out the connection!
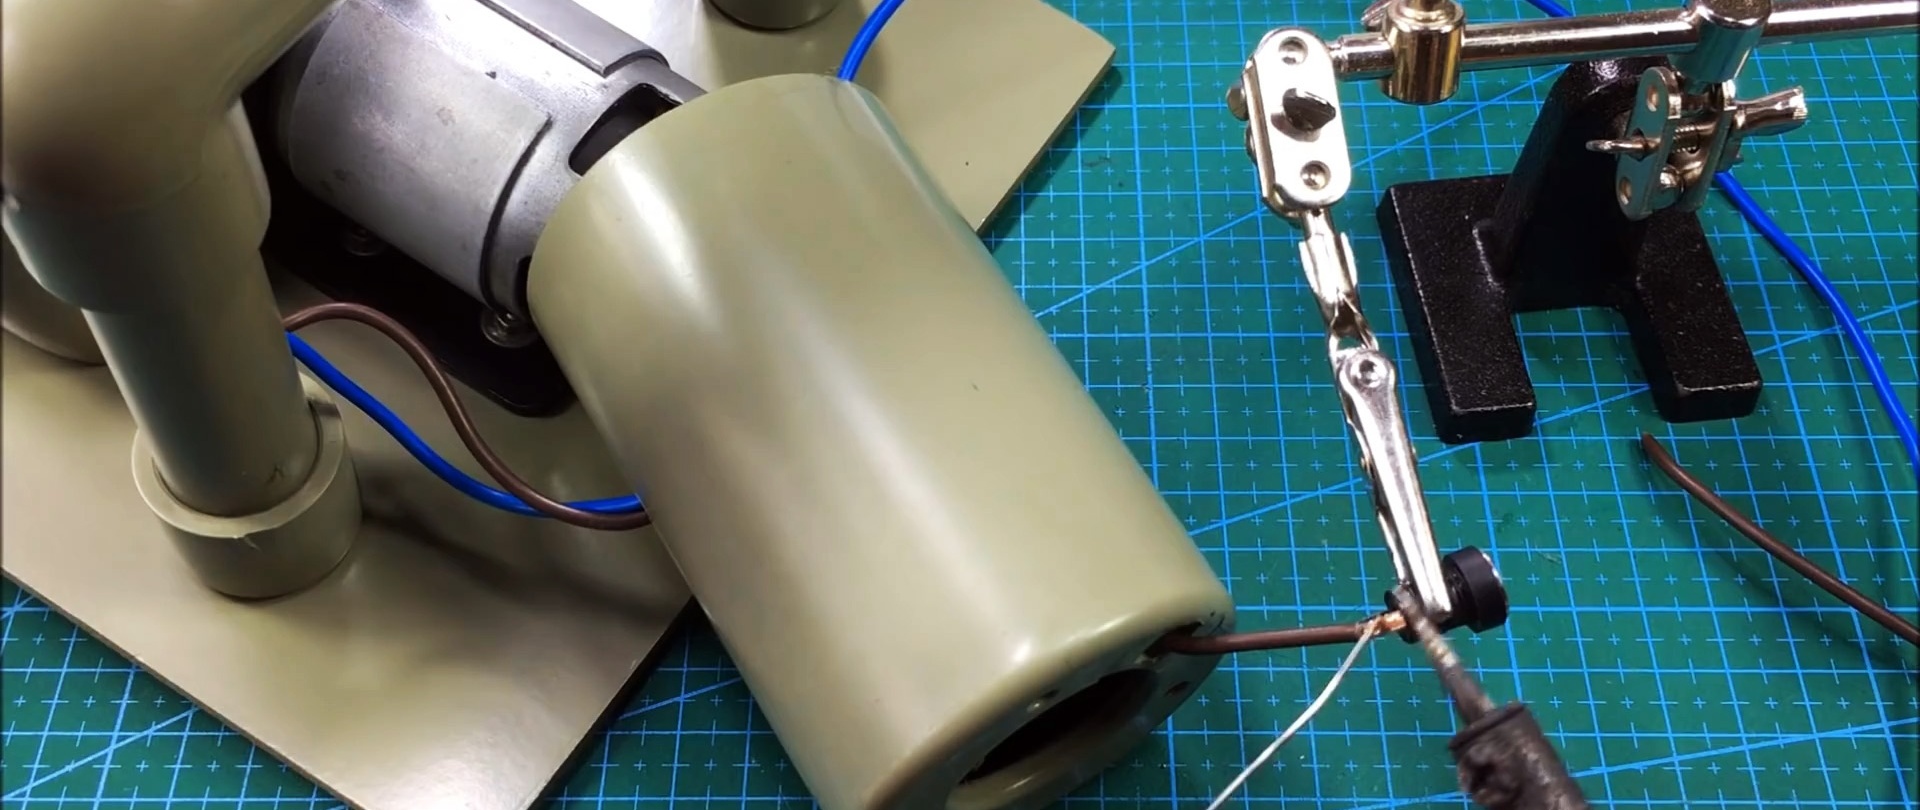
First, the wires are soldered with tin using a soldering iron to the button on the handle. Then you need to connect the wiring to the connector on the motor casing and to the motor terminals.


The main thing when soldering is to initially connect the wires well to each other, and then not to spare the tin. To ensure reliable and durable connections, heat-shrinkable tubing is used rather than electrical tape.

The operation of the engine is checked using a frequency converter set to 12 V - everything works.

The casing is put on the saw motor, the power source is connected through the connector - the power tool is ready for work!