Budget extension cords do not differ in quality, and branded extension cords are expensive. It’s better to make it yourself, and from inexpensive materials and components. If you are careful, such a product will turn out to be quite reliable and durable. Any adult familiar with the basics of electrical engineering and assembly can make an extension cord.

Will need
Materials:- PVC pipe with a diameter of 110 mm;
- electrical outlets;
- removable plug;
- indicator switch;
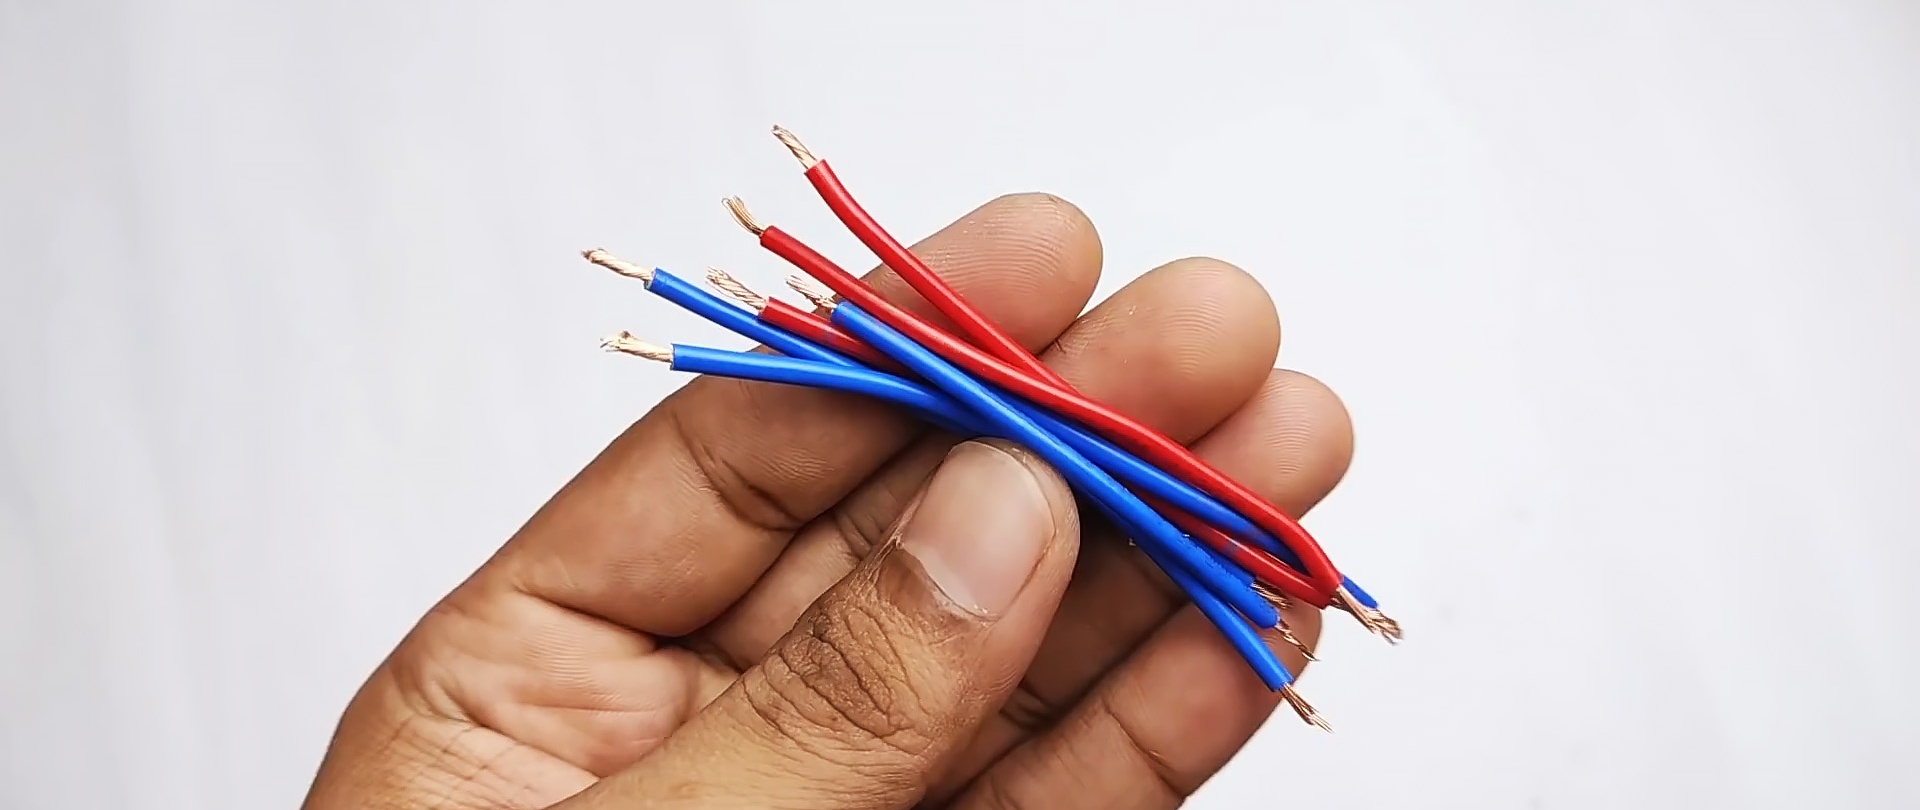
- insulated wires;
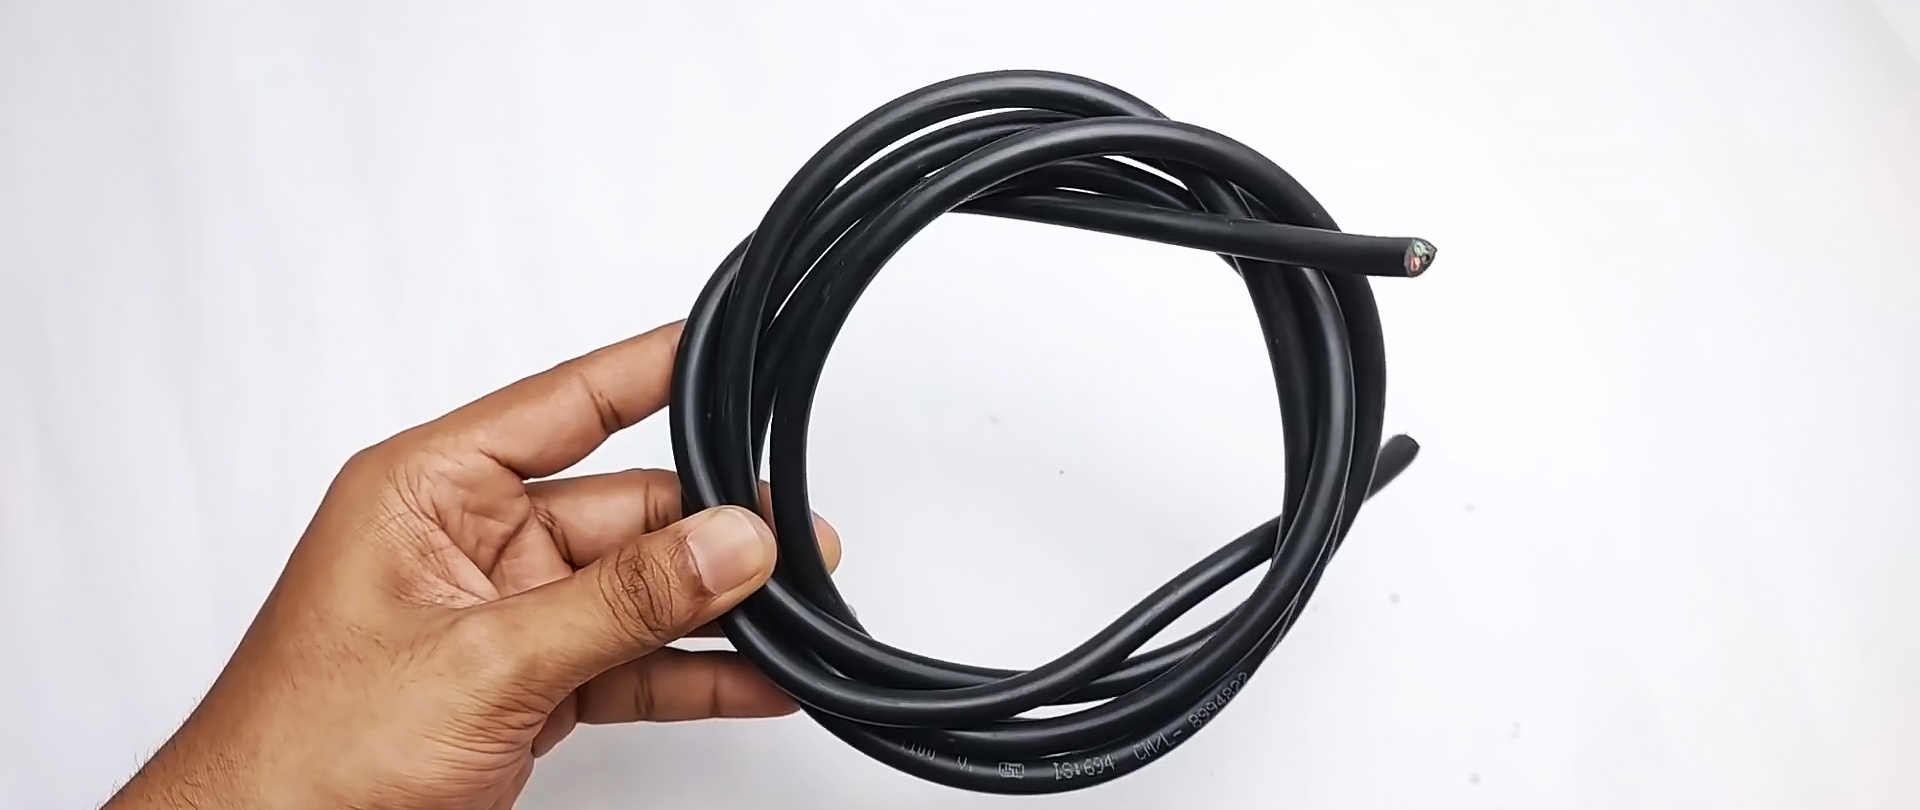
- three-core cable;
- paint on plastic;
- screws and nuts;
- plastic clamp;
- Super glue.
The process of making an electrical extension cord from PVC pipe
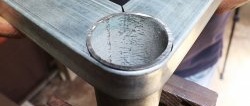
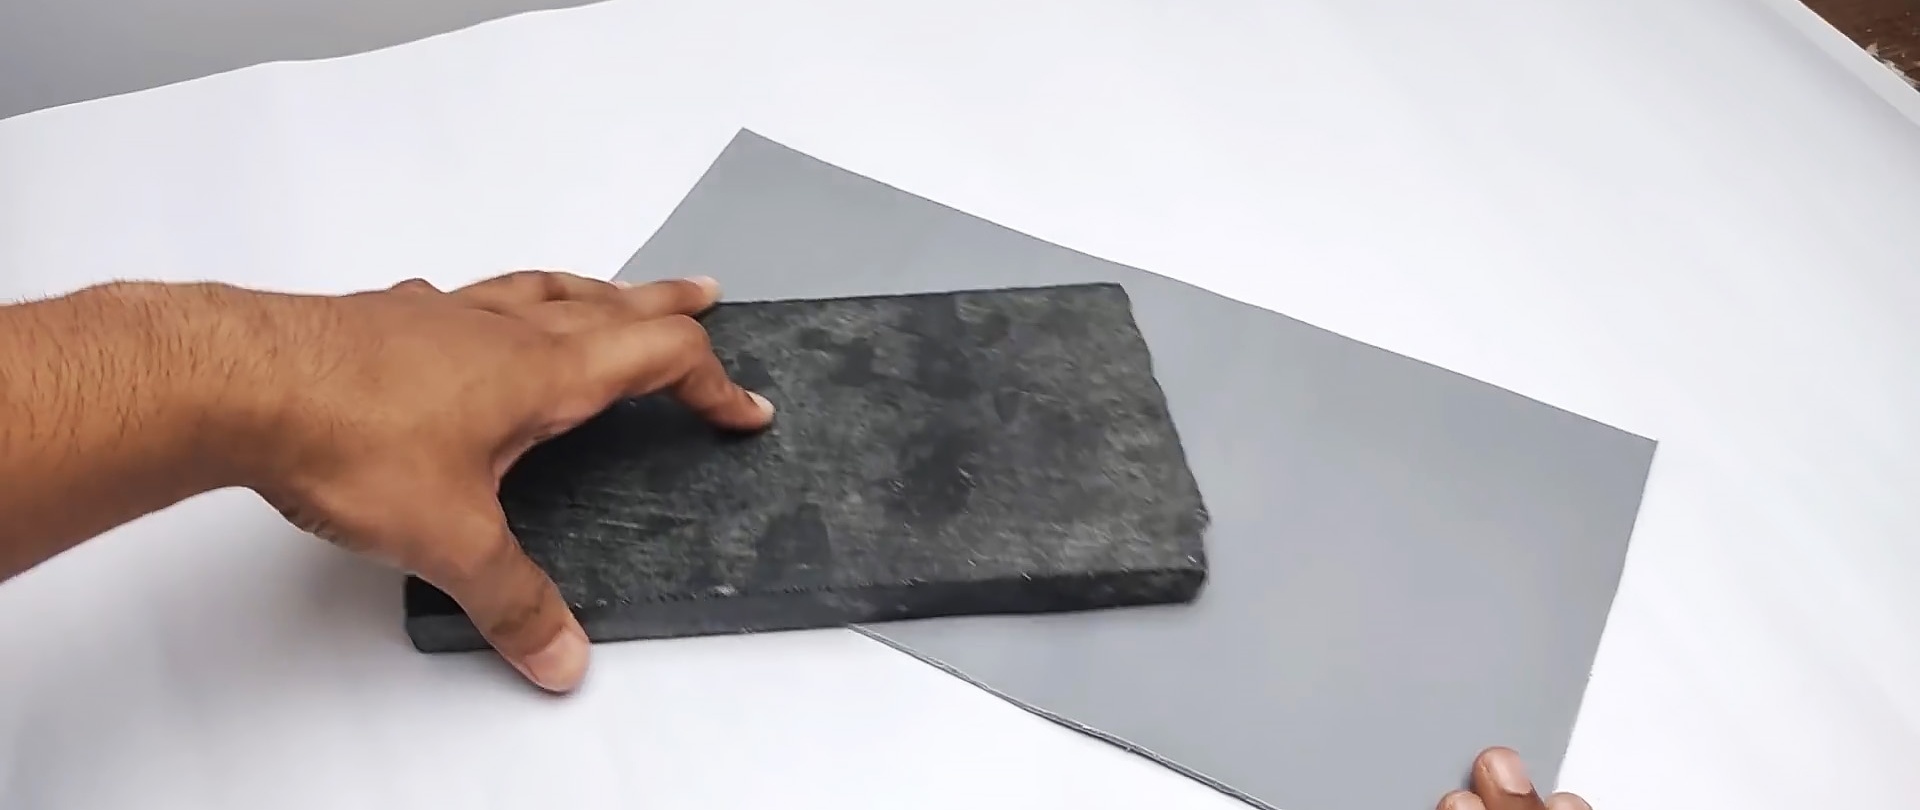
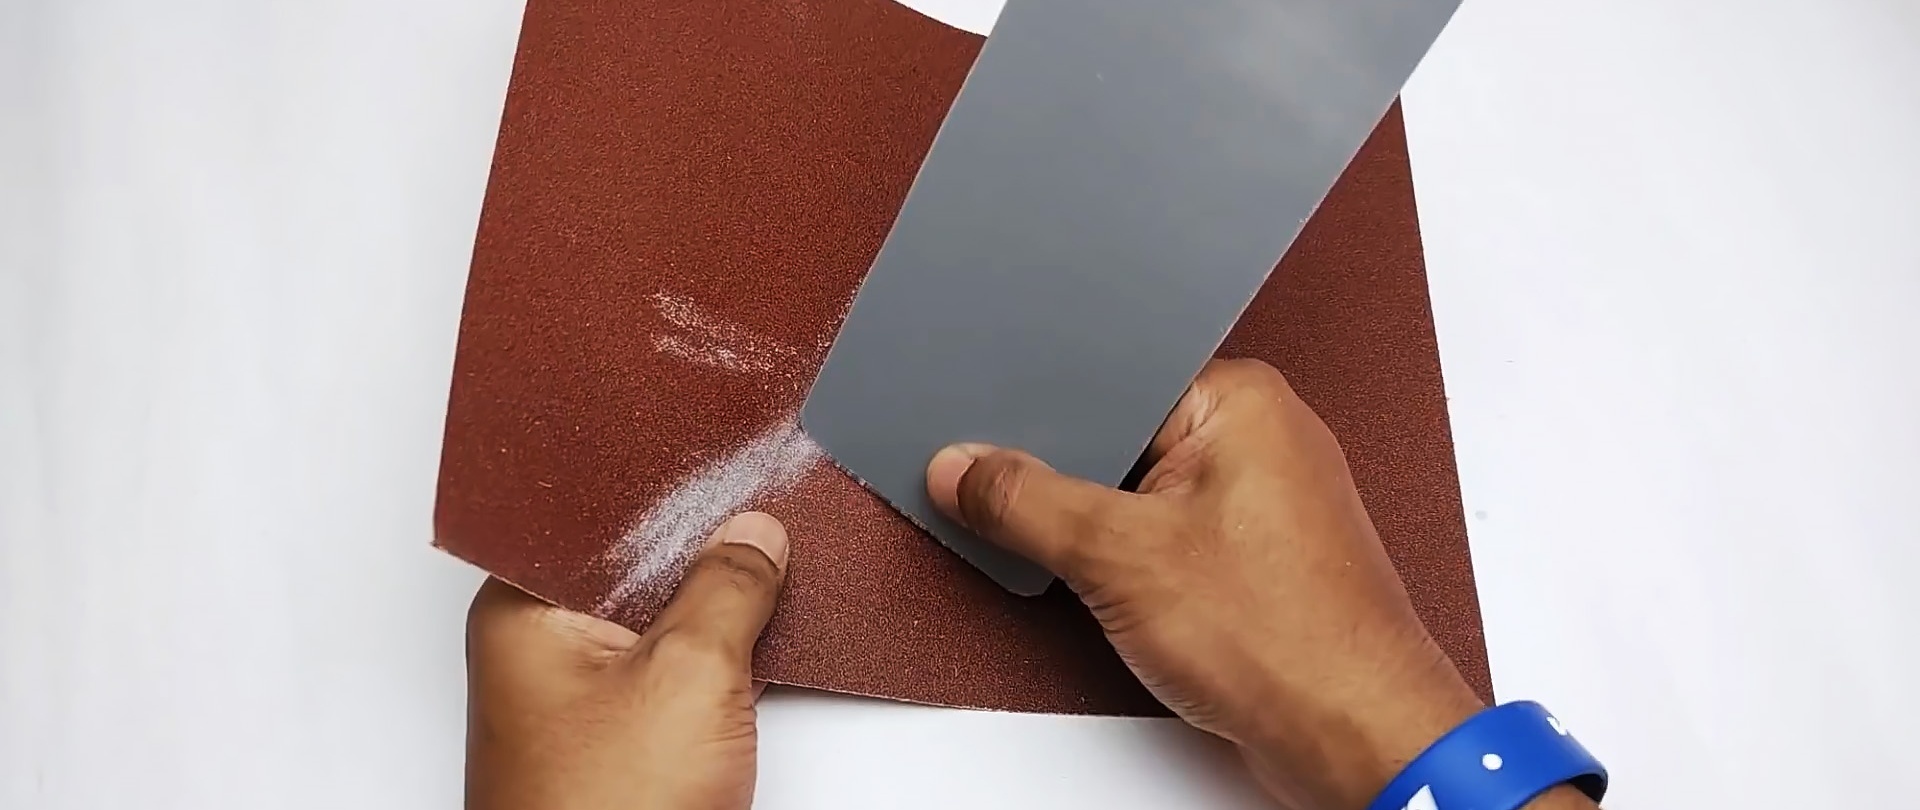
We draw a line on the surface of the PVC pipe section, perpendicular to the ends, and saw it along it. We begin to heat the pipe material from the cut line and then evenly over the entire surface, straightening the plastic using a stone slab.


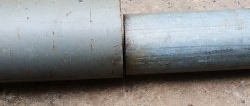
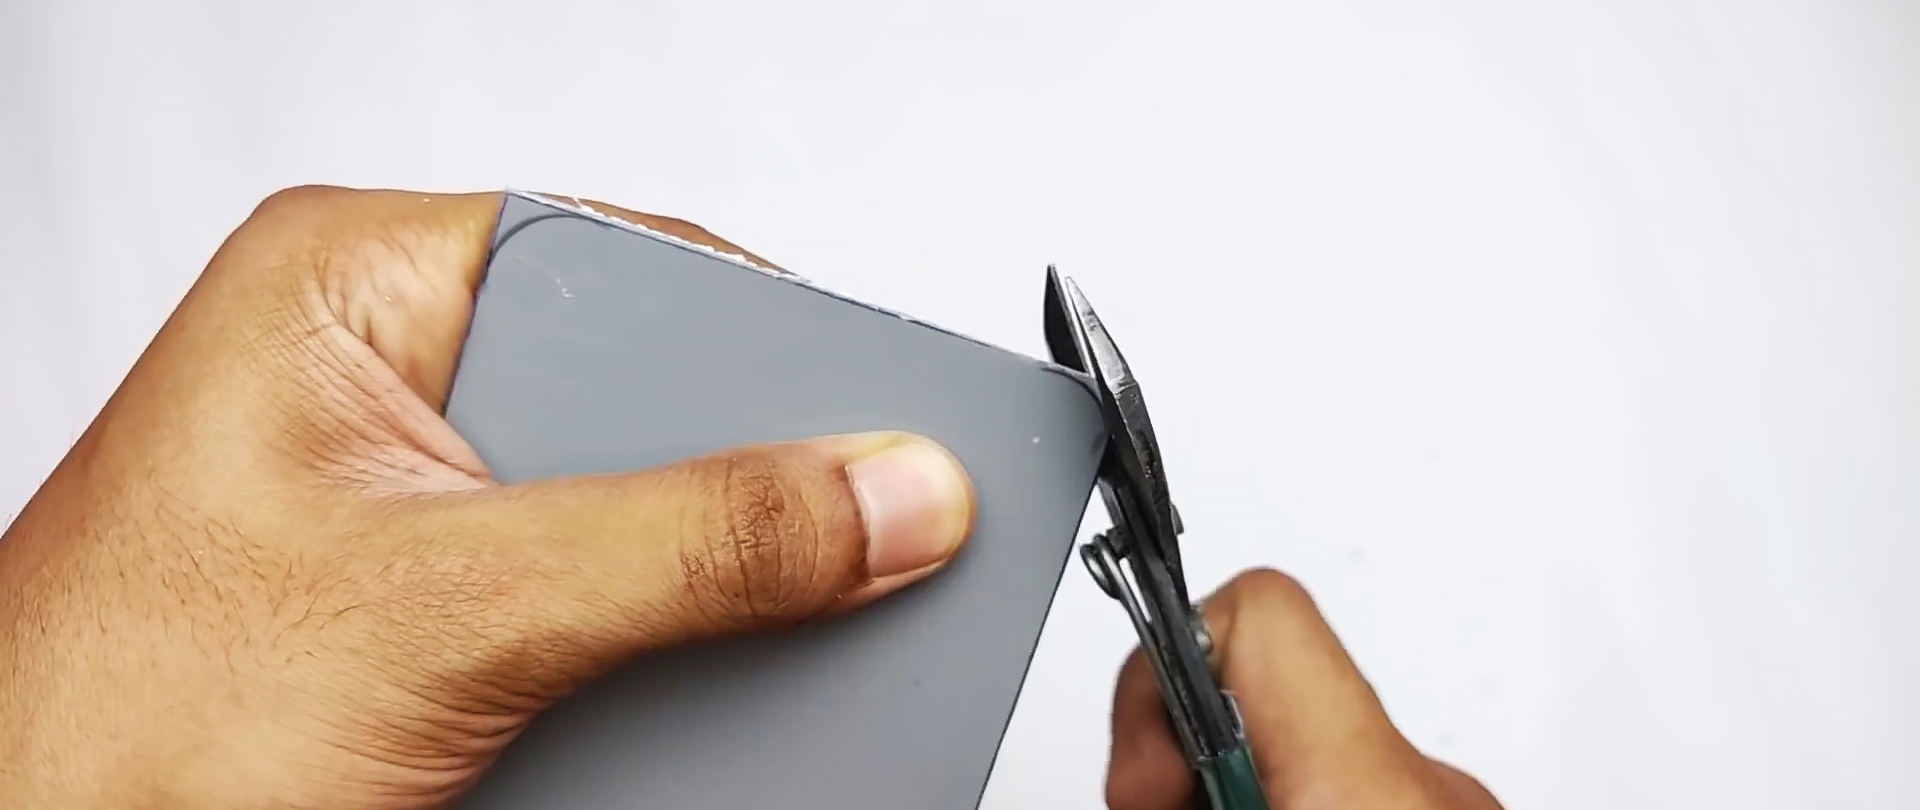
We mark the PVC pipe into pieces and cut it with a hand saw.The result was two plates 210×80 mm and 210×35 mm (other sizes are possible).

We draw circular arcs with a compass and round them along the corners of the wide plates with scissors and sandpaper.

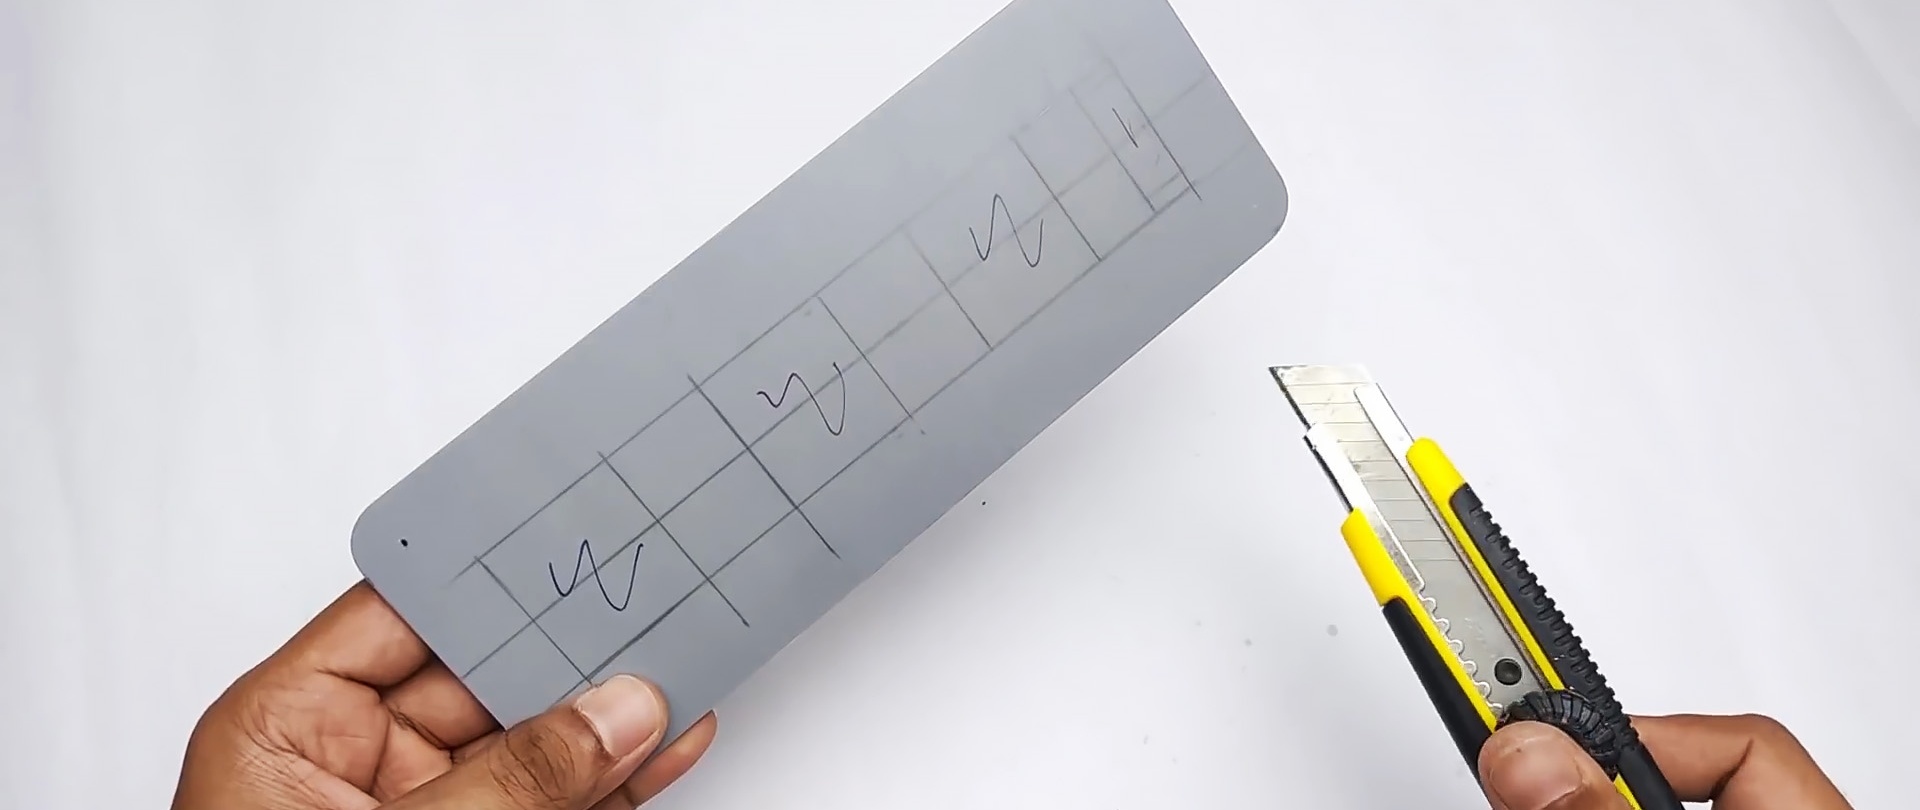
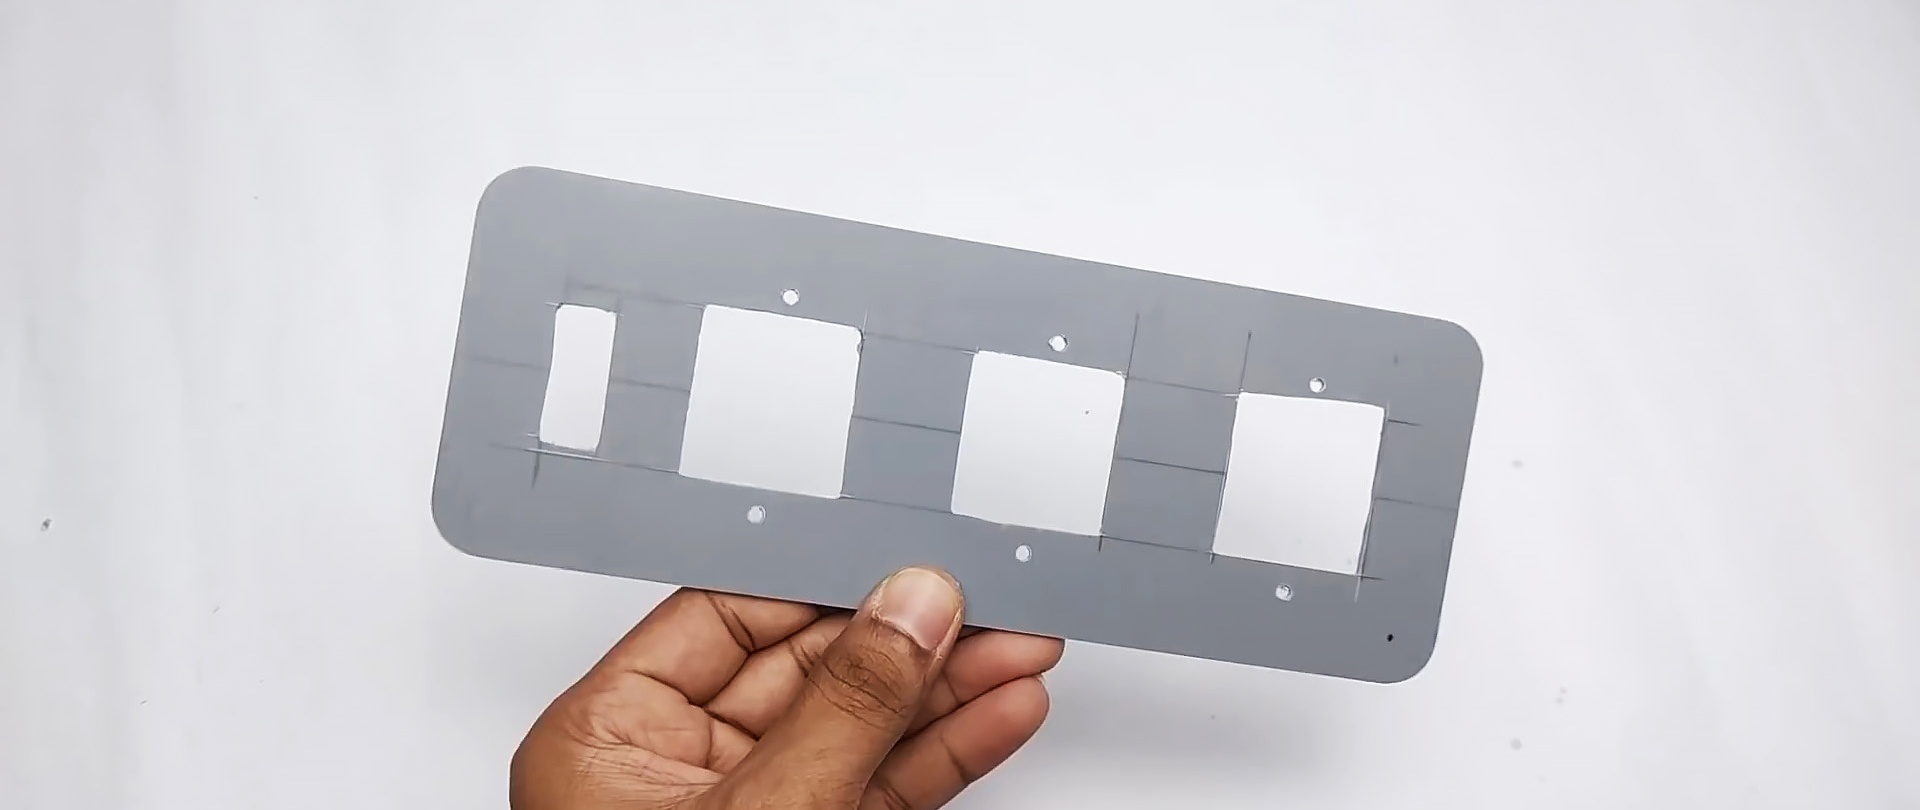
We mark one of the wide plates for the installation of three sockets and one indicator switch. We make the openings with a knife and paint the front side with spray paint.


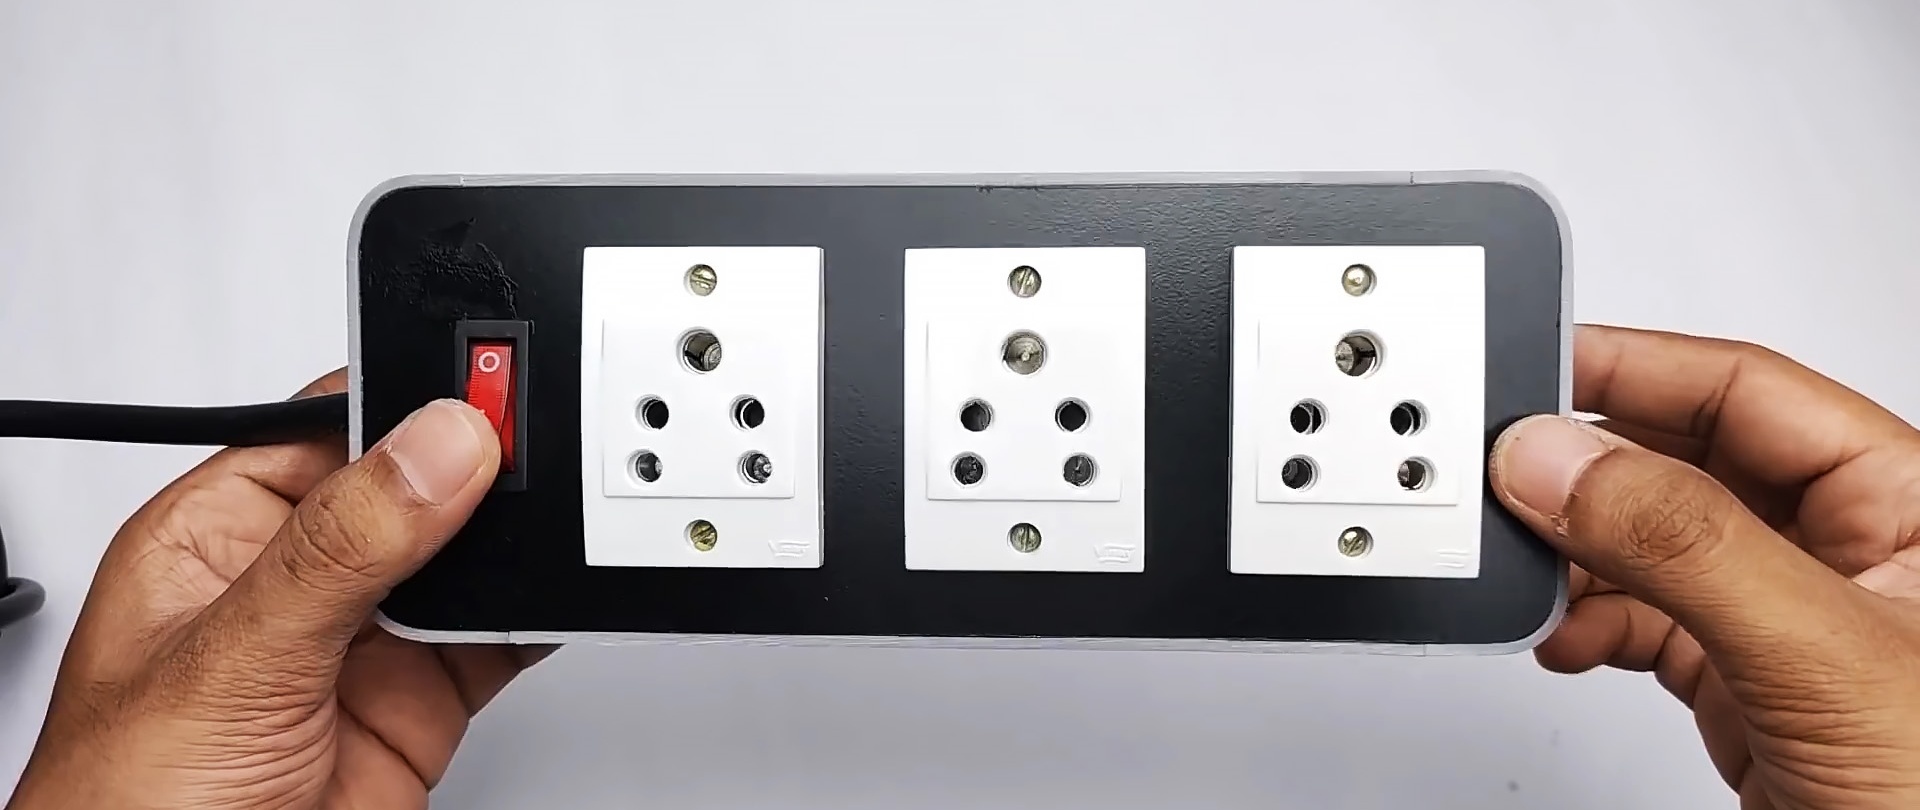
We insert the sockets into the openings and secure them with screws and nuts.

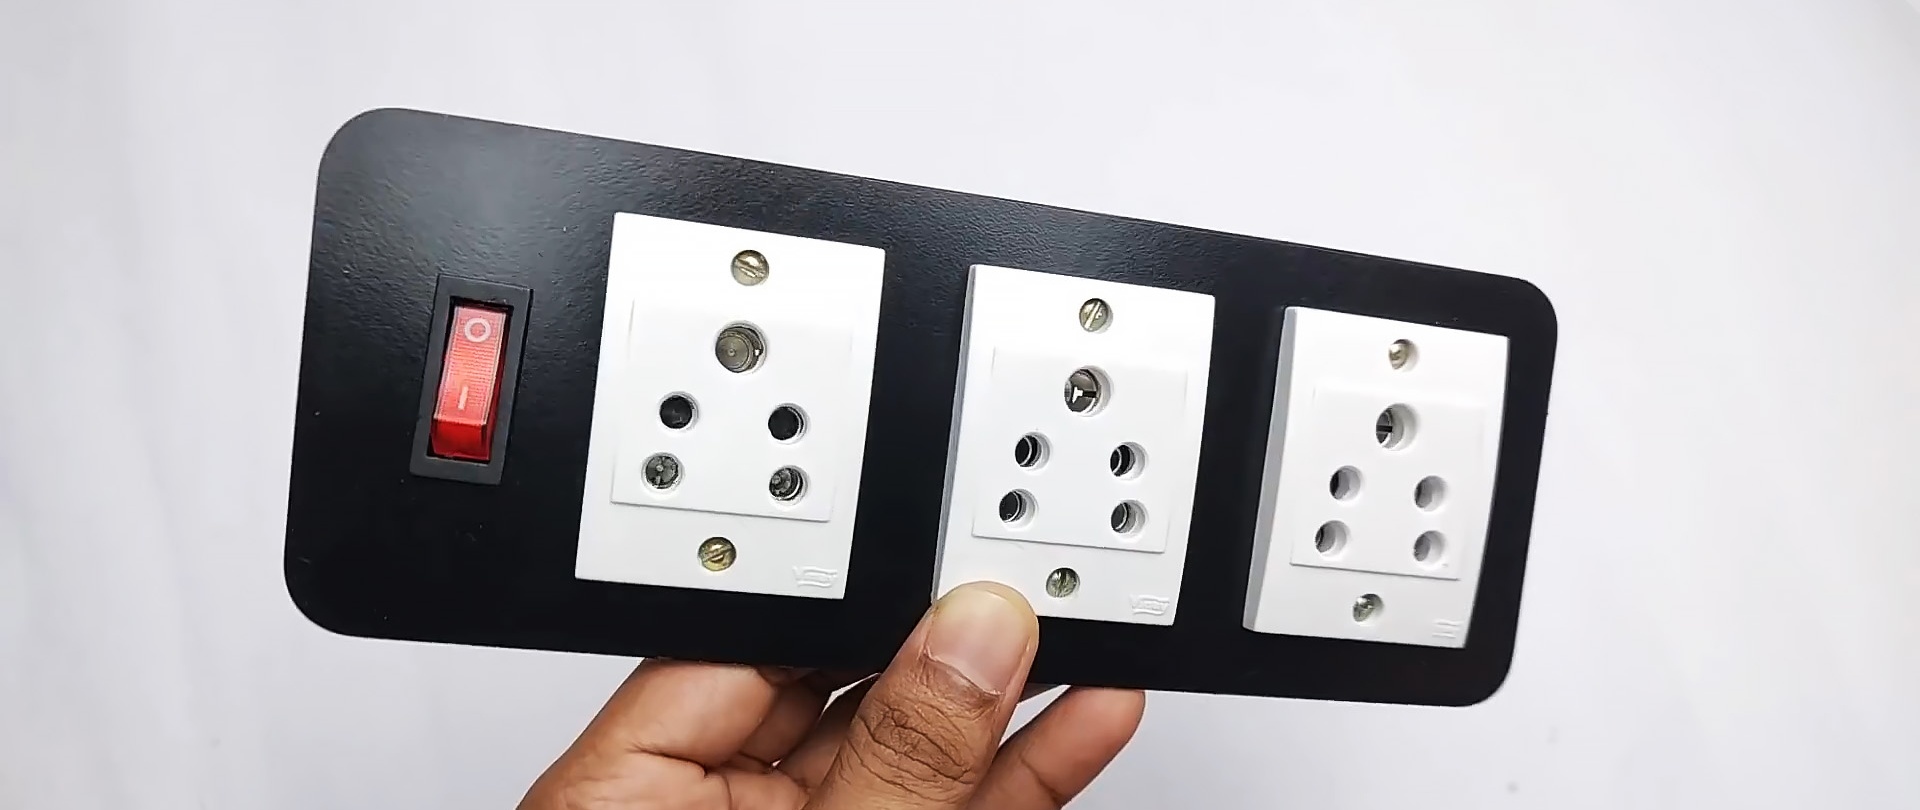
The switch is secured in the opening using elastic clamps on its sides.
We connect with two pieces of wire the three left terminals of the sockets (phases) and separately the right terminals (zero) with the middle terminal of the switch. We connect the three upper terminals (ground) in the same way.

We connect the extension cable with one core to the phase, the second to the ground, and the third to the upper terminal of the switch with soldering.

We heat the ends of narrow strips of plastic with a hairdryer, bend them along the rounded corners of the wide strip and connect them with strips of superglue.
Drill a hole in the center of the narrow side of the resulting frame. We use a plastic clamp to strengthen the outer insulation of the cable, pressing it against the cores.


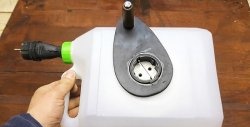
We pass the cable through the hole in the frame, and install the plate with sockets and switch at the level of the top of the frame and secure it from the inside with superglue.
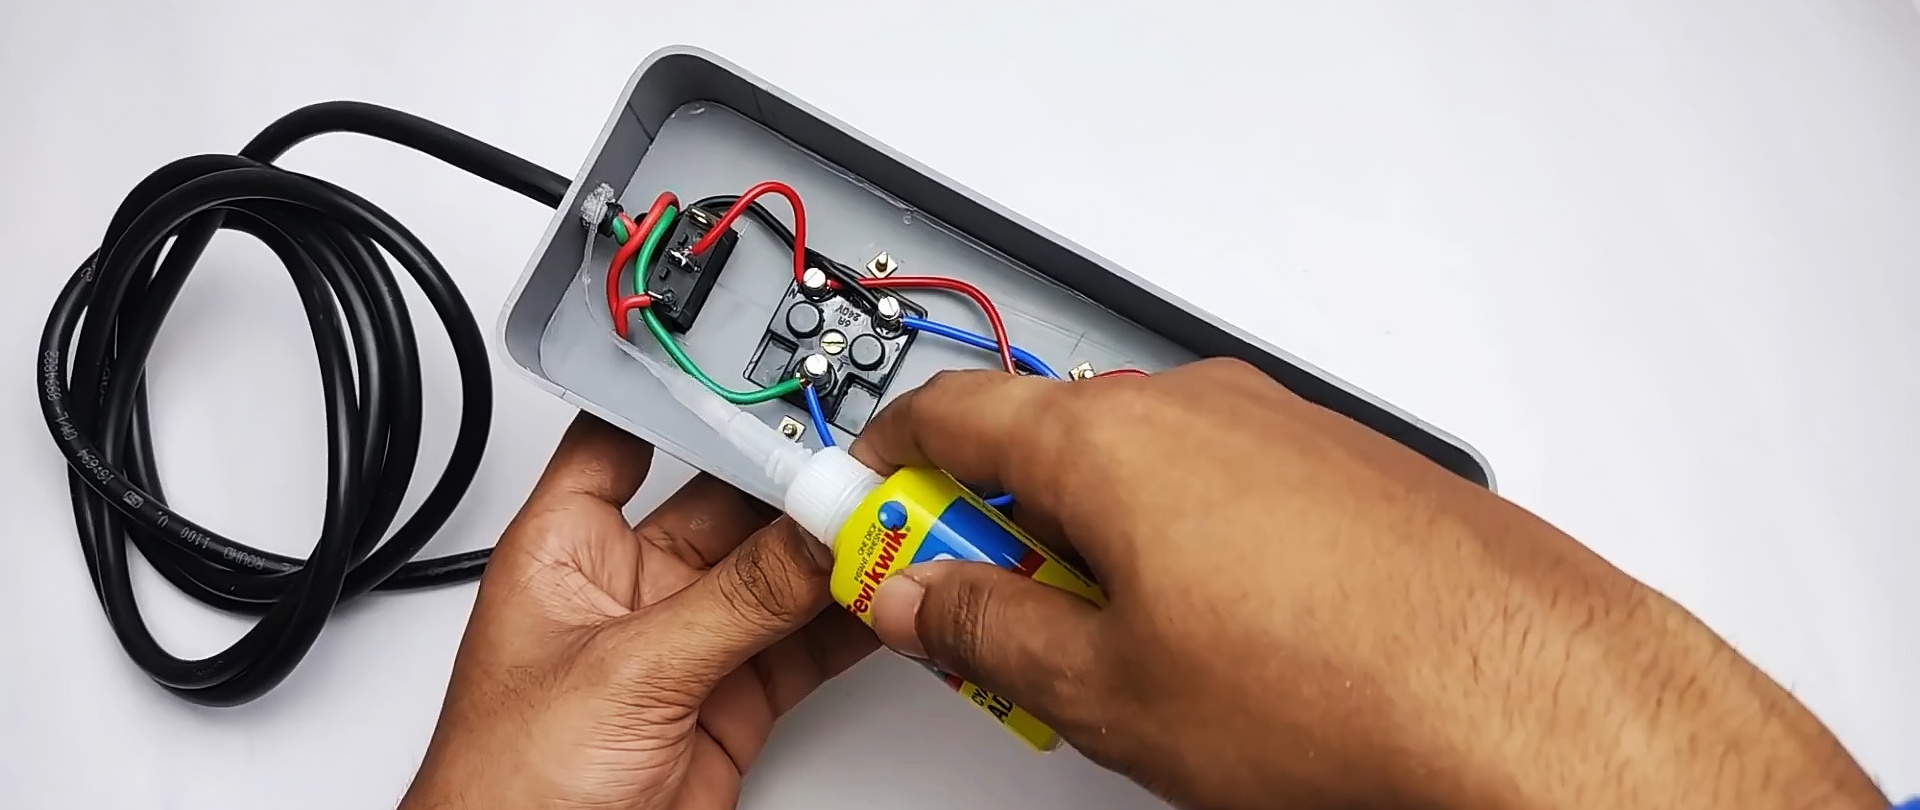
We connect the zero terminals of the sockets to the bottom terminal of the switch and cover the back side with a second wide strip, also using superglue.

We remove the outer insulation at the free end of the cable, disassemble the plug and connect the wires to the pins of the plug, respectively, phase, neutral and ground. After which we assemble the fork.
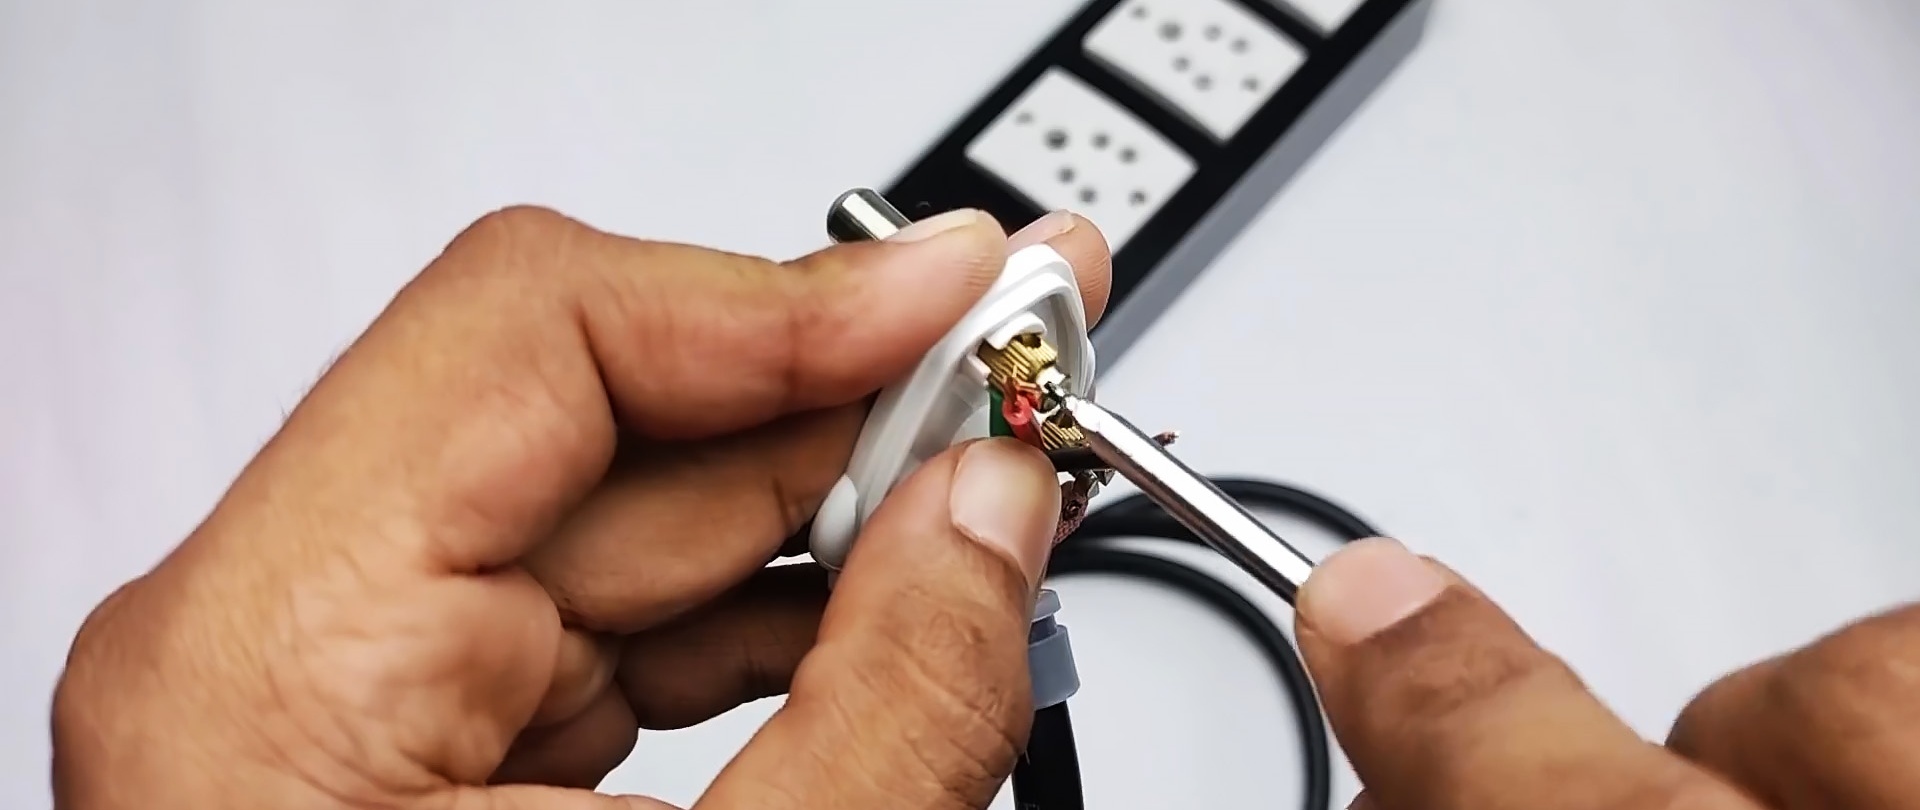
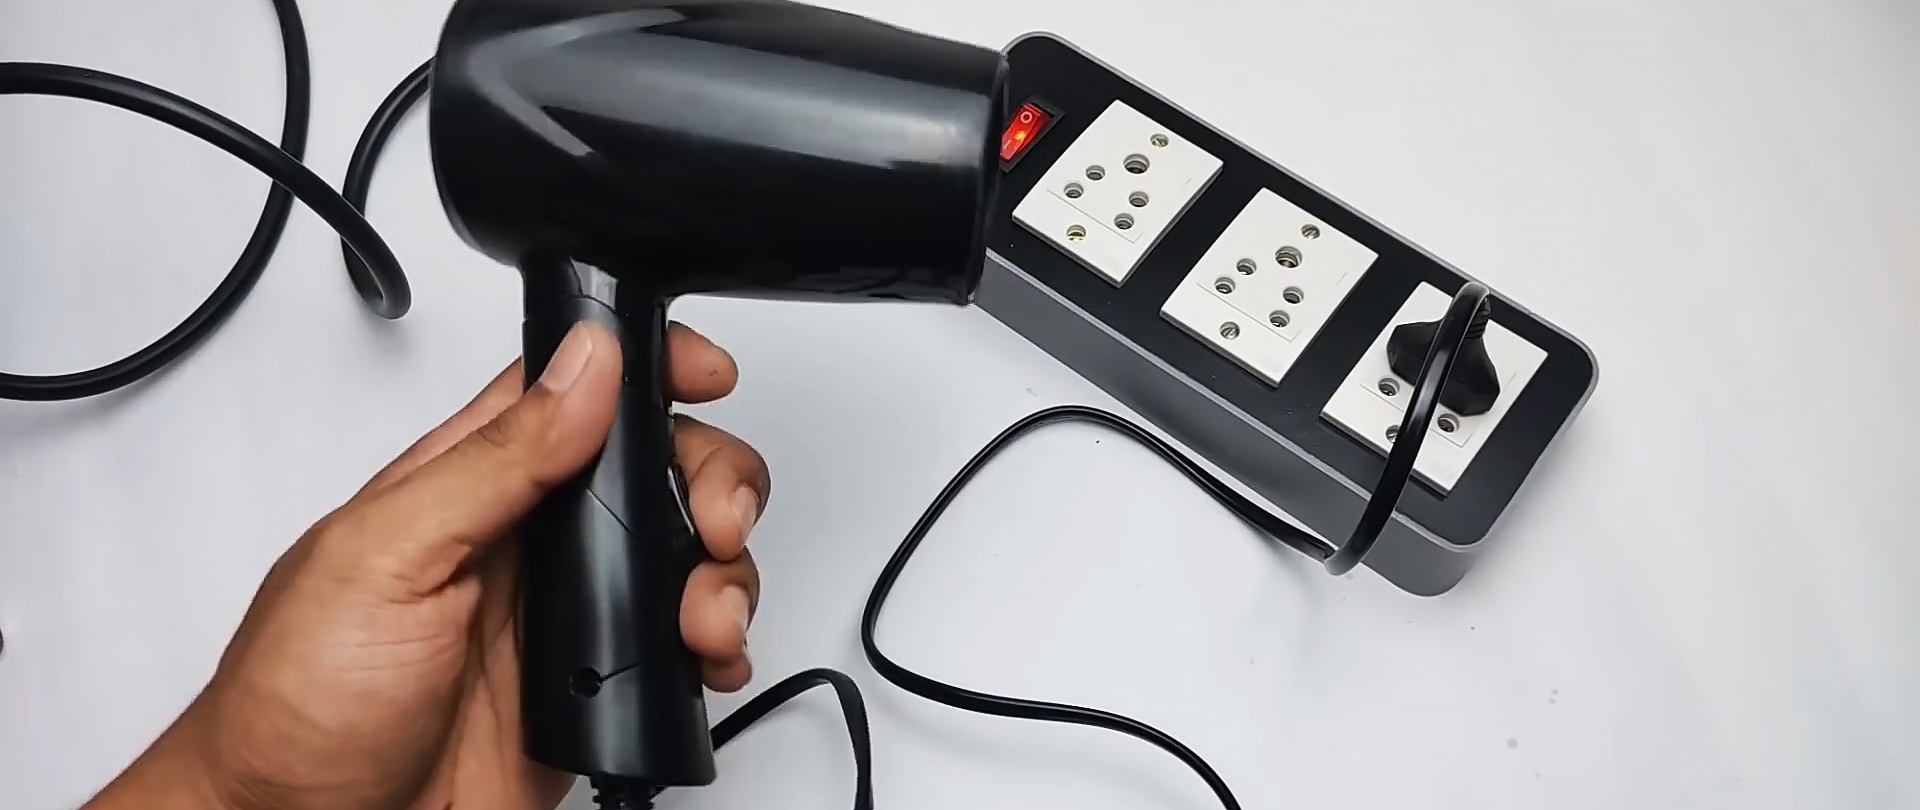
We connect the plug to the power supply, turn on the switch and use an indicator screwdriver to make sure there is voltage in each socket.