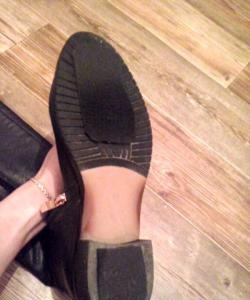
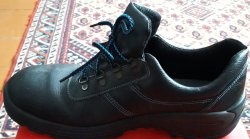
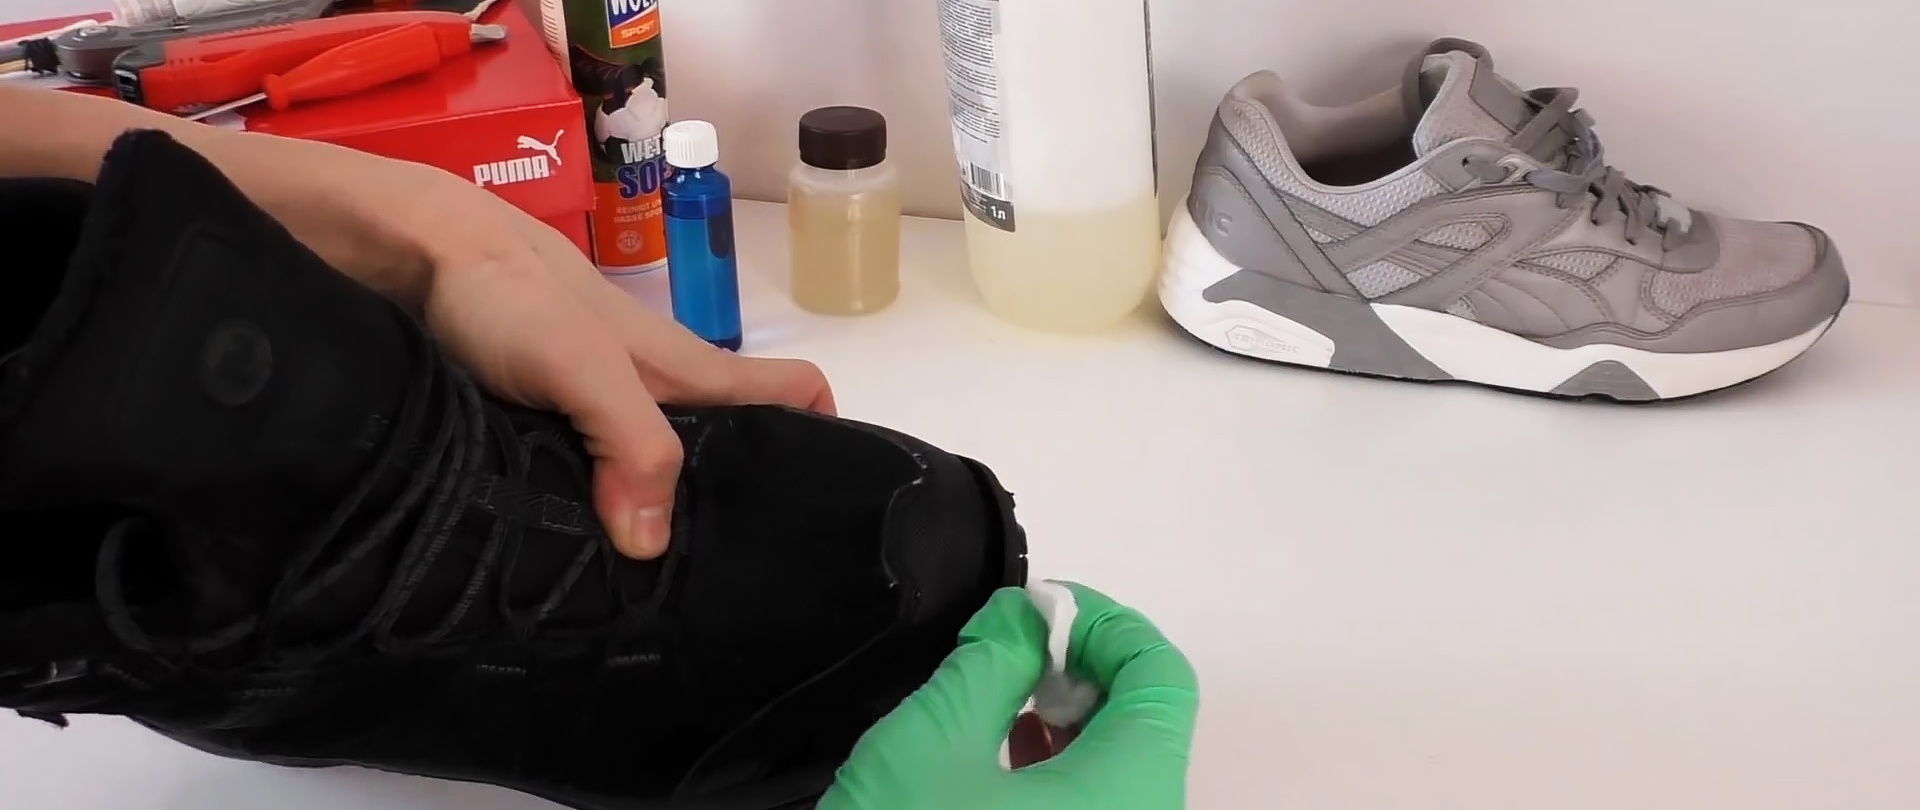
Typically, shoes become unusable due to manufacturing defects, anti-icing agents in winter, and improper care. If the side of the sole lags behind the side surface of the shoe or its bend at the toe, then such damage can be repaired yourself, saving the family budget. You just need to choose the appropriate glue and follow the prescribed algorithm of actions.
Will need
Materials:- glued shoes;
- any polyurethane glue;
- universal waterproof glue “88-Metal”;
- hardener (optional).
The process of repairing shoes using polyurethane glue
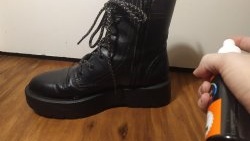
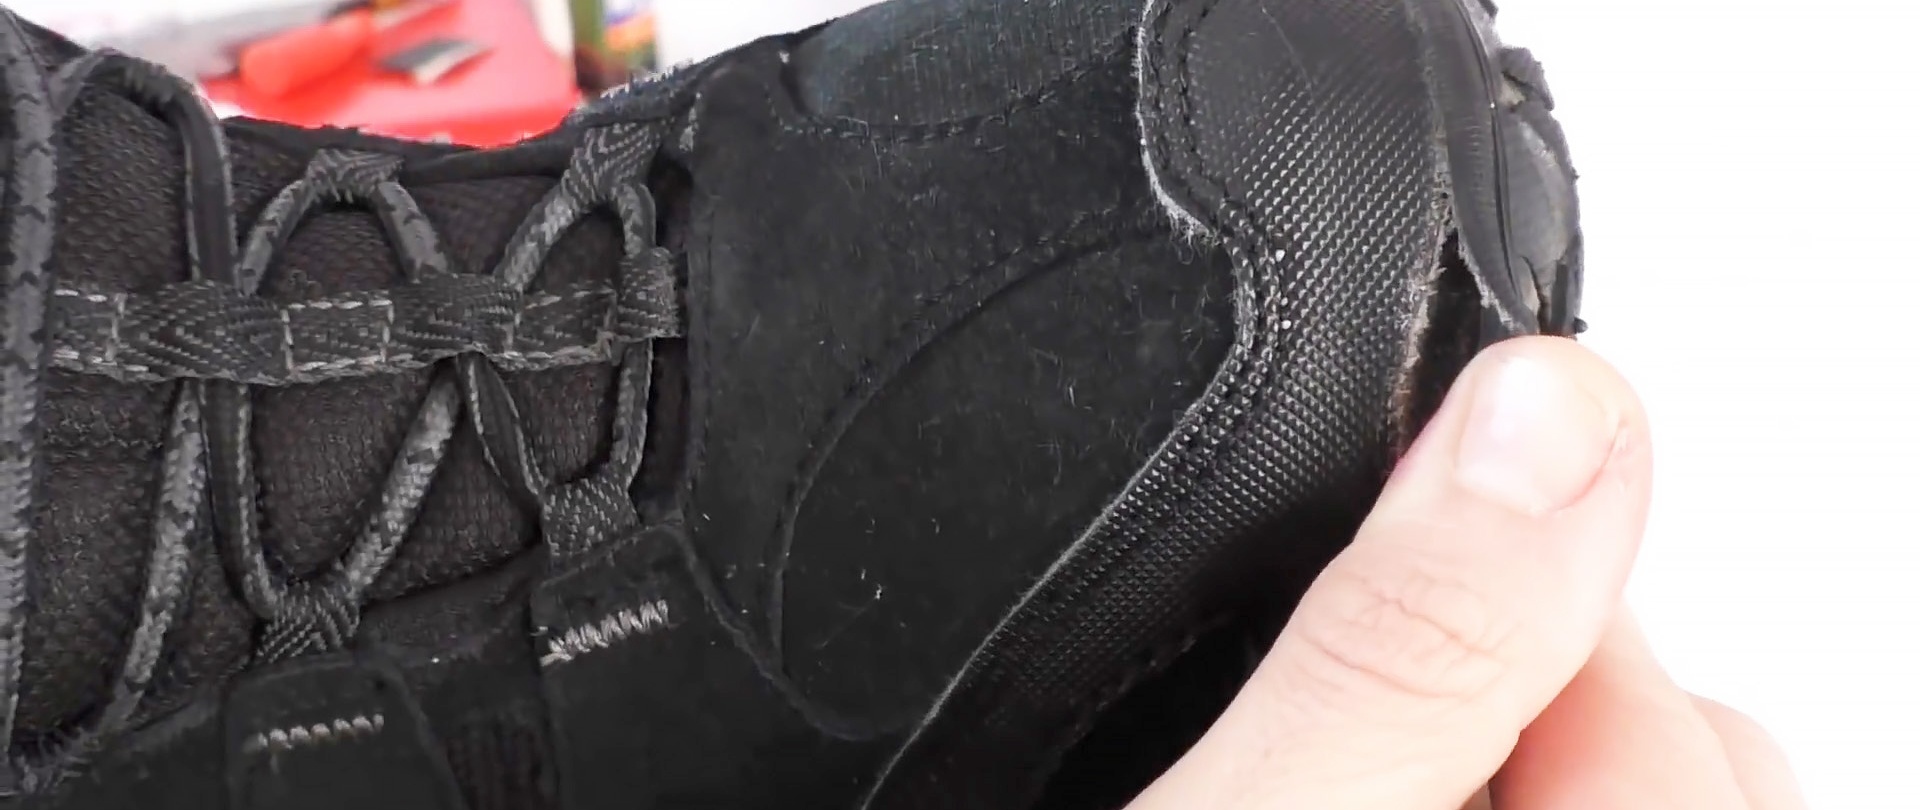
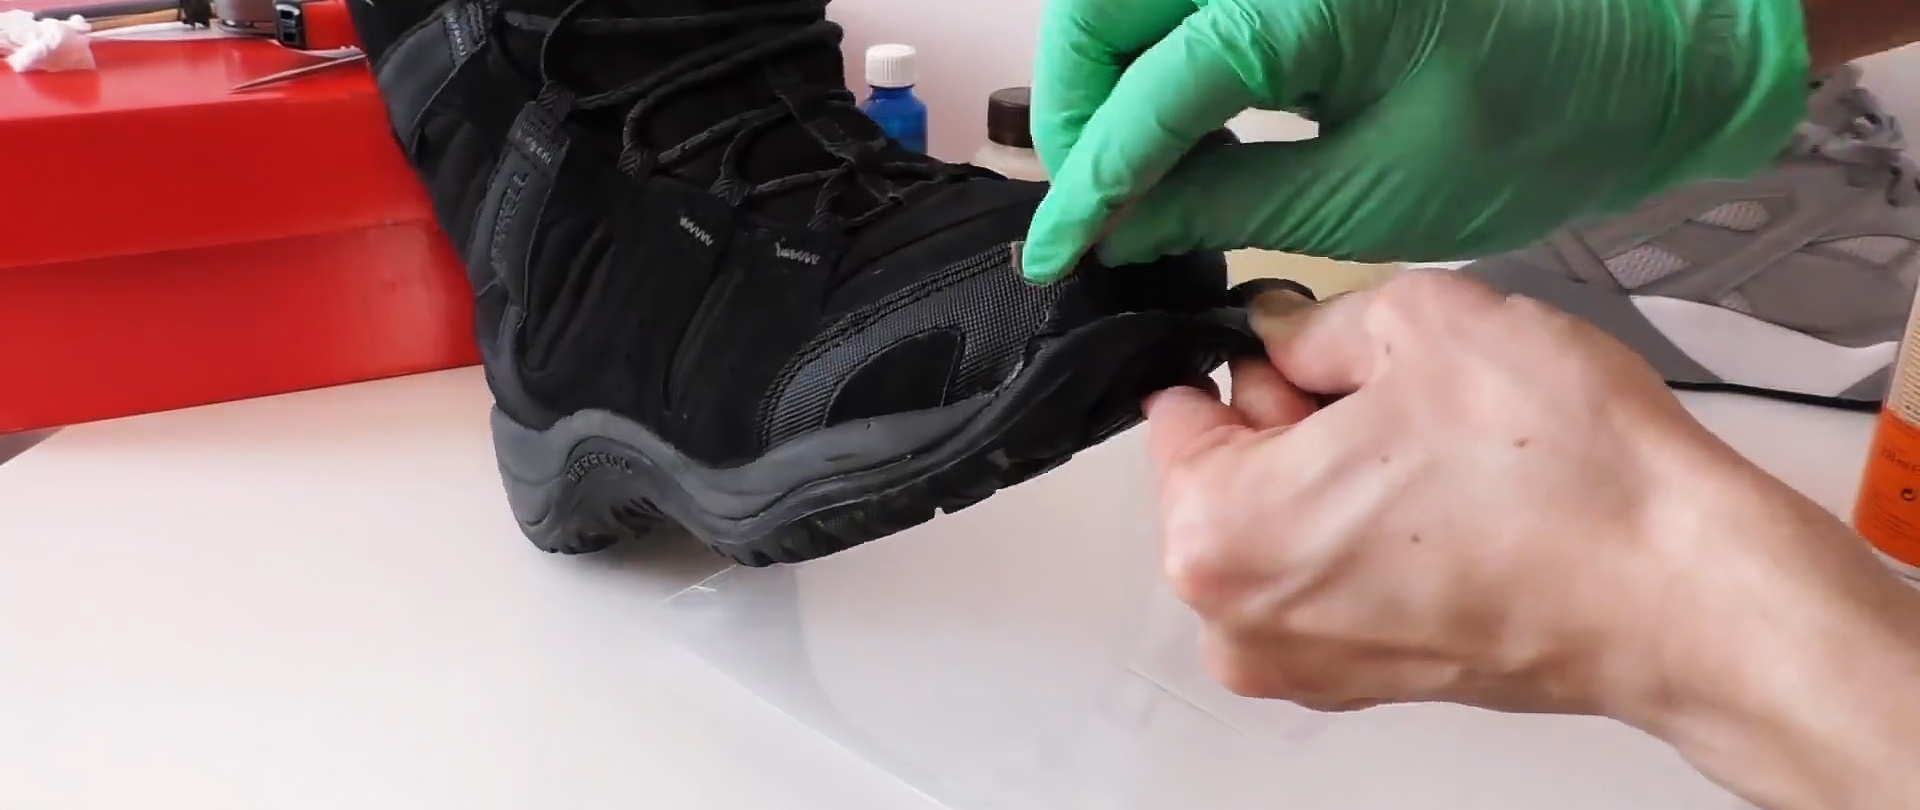
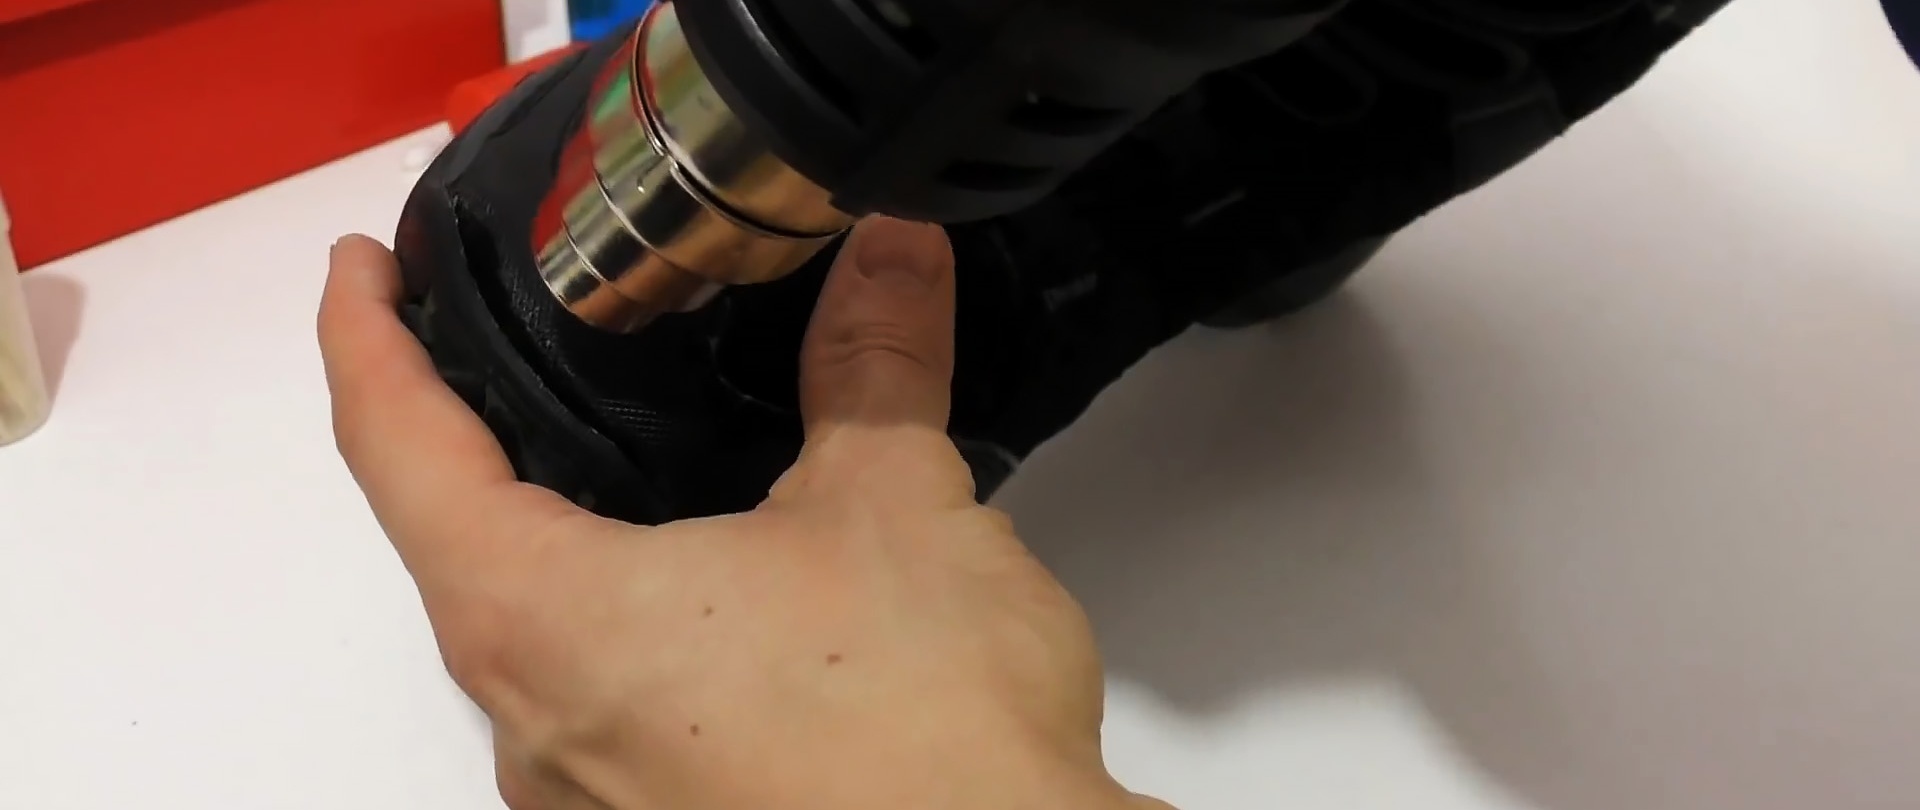
First, wash and dry the area where the glue does not hold. Then we heat it with a hair dryer at a temperature of about 90 degrees Celsius, if the glue does not contain a hardener. If available, raise the warm-up temperature to 110-120 degrees Celsius.

We remove the remaining glue with a cotton pad soaked in a solvent (pure alcohol, acetone or ethyl acetate).We will not use ordinary cotton wool, since fibers impair the quality of gluing.
When adding a hardener to the glue, apply the mixture within 30 minutes, otherwise the mixture will set and become unusable. The hardener accelerates drying, allows shoes to heat up to 120 degrees Celsius and can withstand very low temperatures.
For even greater reliability, after degreasing, we treat the area to be glued with sandpaper P800, P1000 or an engraver. After cleaning, you need to go through the solvent again.
We make sure that the polyurethane adhesive is suitable. If it thickens, then dilute it with high-quality acetone or ethyl acetate. The glue also comes in the form of solid granules, then we dilute it with the above-mentioned solvents.
There are three ways to apply polyurethane glue:
- If it is old and has already thickened greatly, then after application we immediately press the gluing area and repeat this operation every 5-10 minutes for half an hour.
- If we use fresh glue, then after applying it, wait 5-10 minutes, heat it with a hairdryer to 70-80 degrees Celsius and only then press it.
- In the third case, we apply glue, wait for it to dry completely, apply another layer of glue on top, wait for a while, heat it up and only then press the materials to be glued.
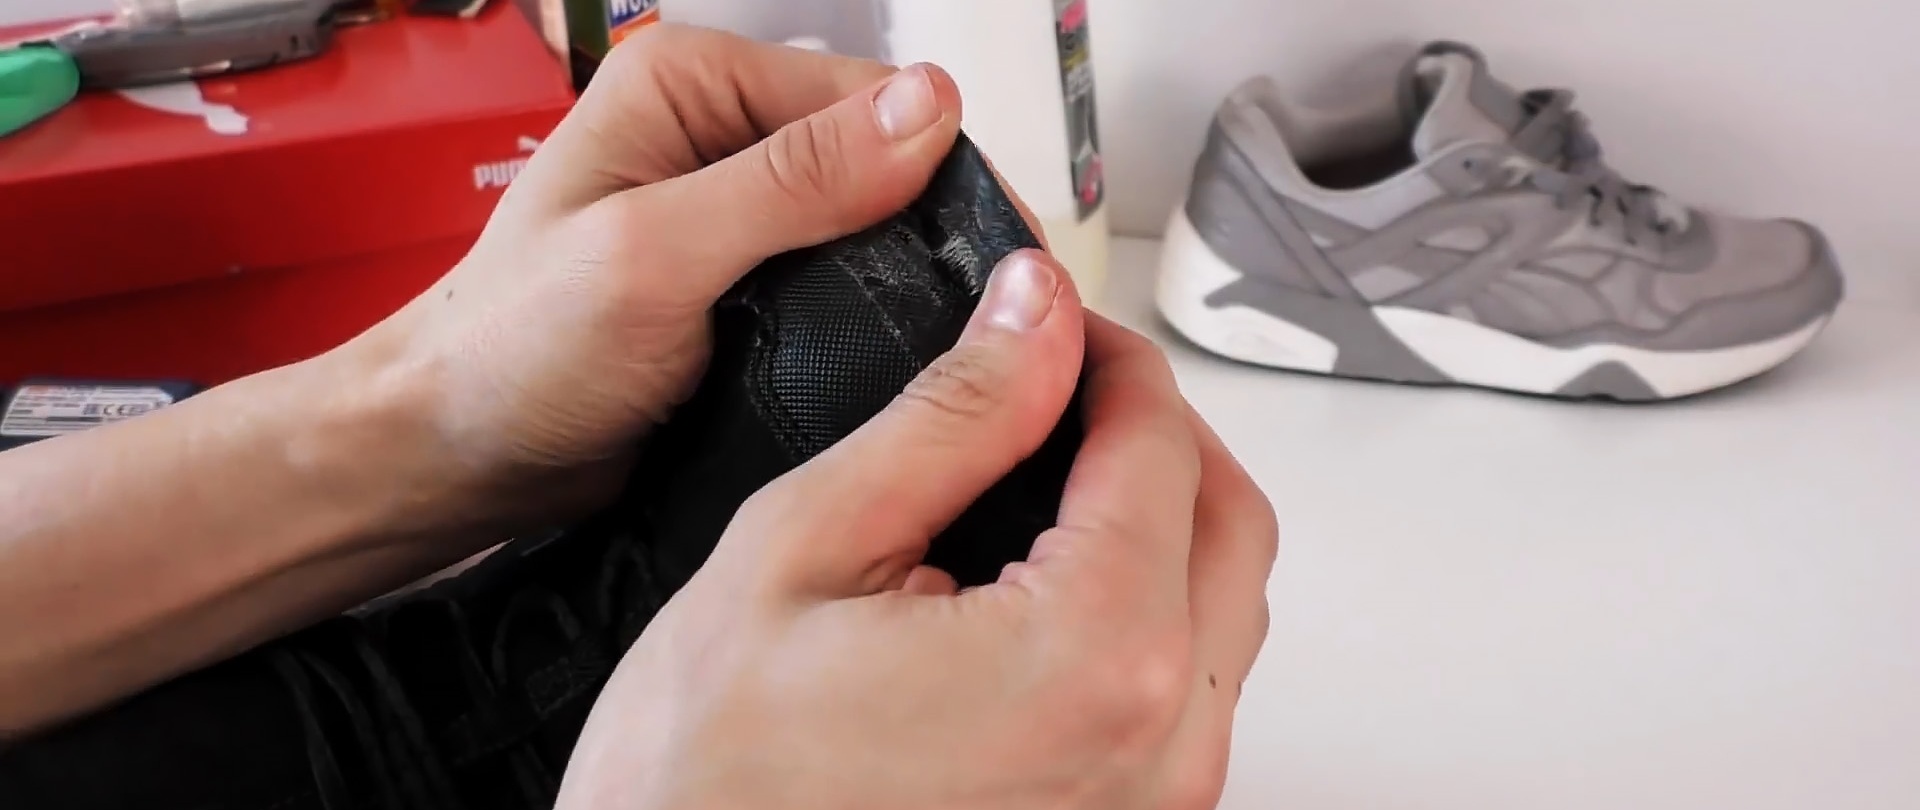
Apply glue to the grease-free area with a watercolor brush, let it sit for a while and press the parts of the shoes to be glued for a while. The confidence that the glued area will not come unglued again is very high.
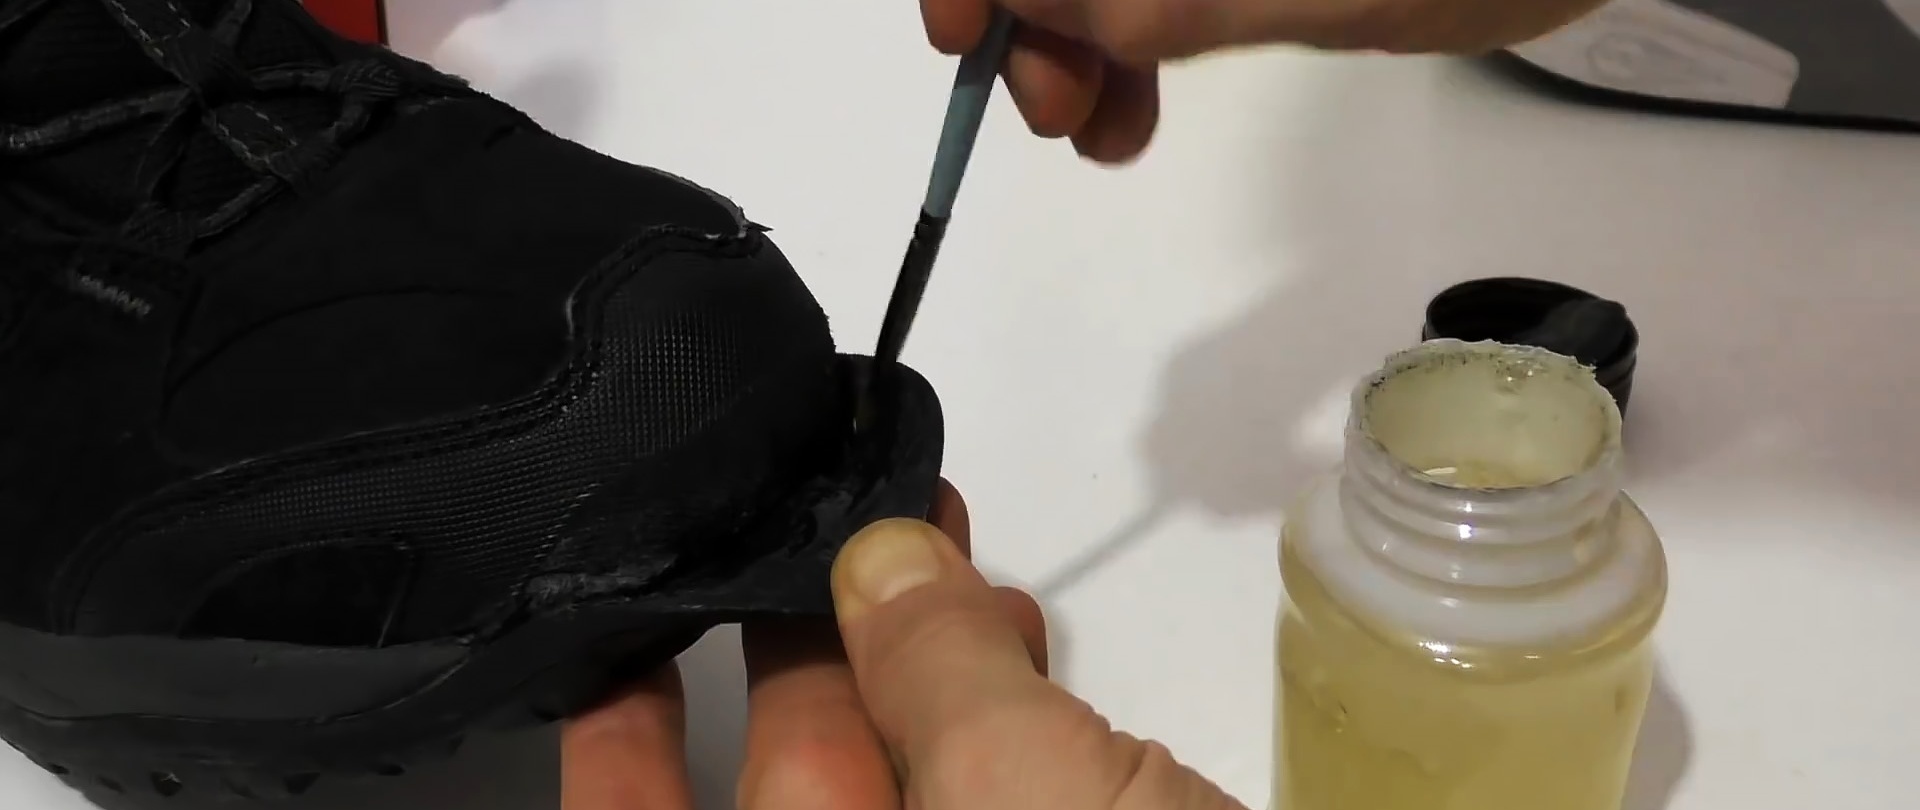
When applying glue, too much is better than too little. If there is a small gap between the parts of the shoes to be glued together, use a cotton swab to degrease and clean.Apply the glue with a toothpick, let it sit, heat it with a hairdryer and squeeze the gluing area with your fingers for 1-2 minutes.
When gluing boots, we use one of three methods of applying glue, not forgetting about warming up. But it is better to press the bend of the sole to the base, resting the gluing point against the wall, and periodically perform vertical oscillations around the gluing point along the entire length to be glued.

We evaluate the quality of gluing after one day and make sure that the shoes are in full working order. If glue appears somewhere, then paint it over with a permanent marker or a black wax pencil. We remove the shine with matte varnish.