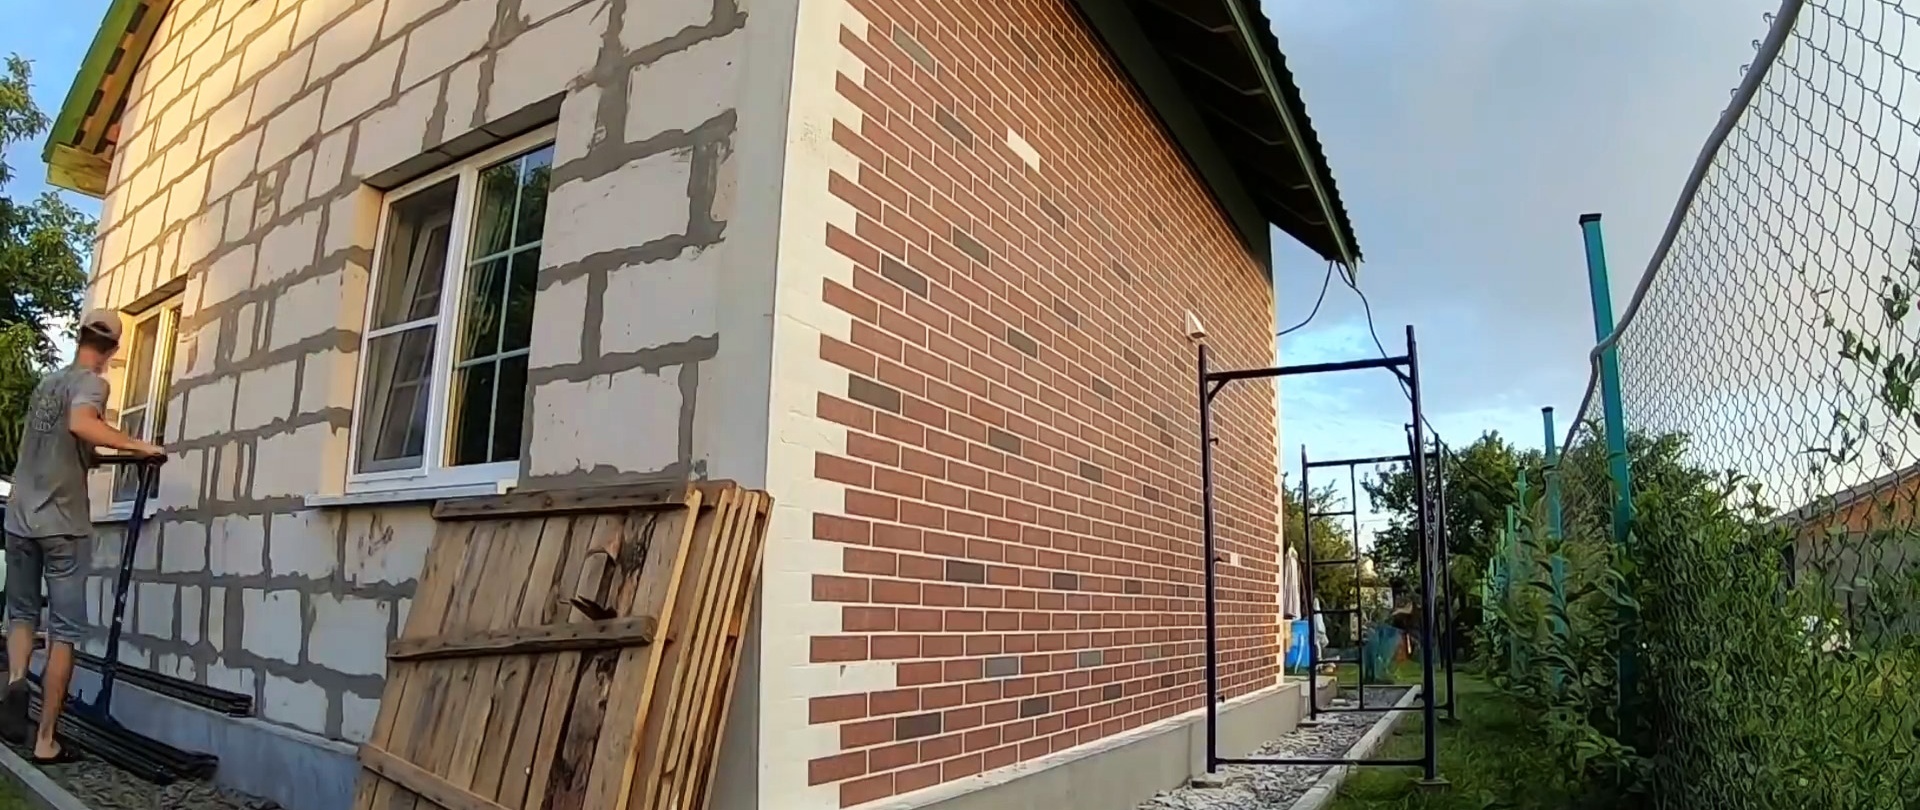
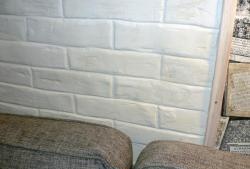
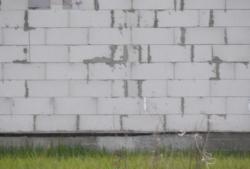
A facade made of aerated concrete usually presents a gray, dull picture, separated by seams rubbed with cement mortar of a darker, but also gray color. The facade will sparkle with new colors if it is covered with an inexpensive but effective brick imitation. Any adult with at least a little knowledge of construction can handle this work.

Will need
Materials:
- aerated concrete facade;
- facade system "AMK" for brick;
- penetrating primer;
- corners with mesh;
- white glue for porcelain tiles.
Tools: scaffolding, various spatulas, a paint roller and brush, a wallpaper knife, a drill with a stirrer, a container for diluting glue, a hose with a sprayer, etc.
The process of facade finishing of aerated concrete to look like brick
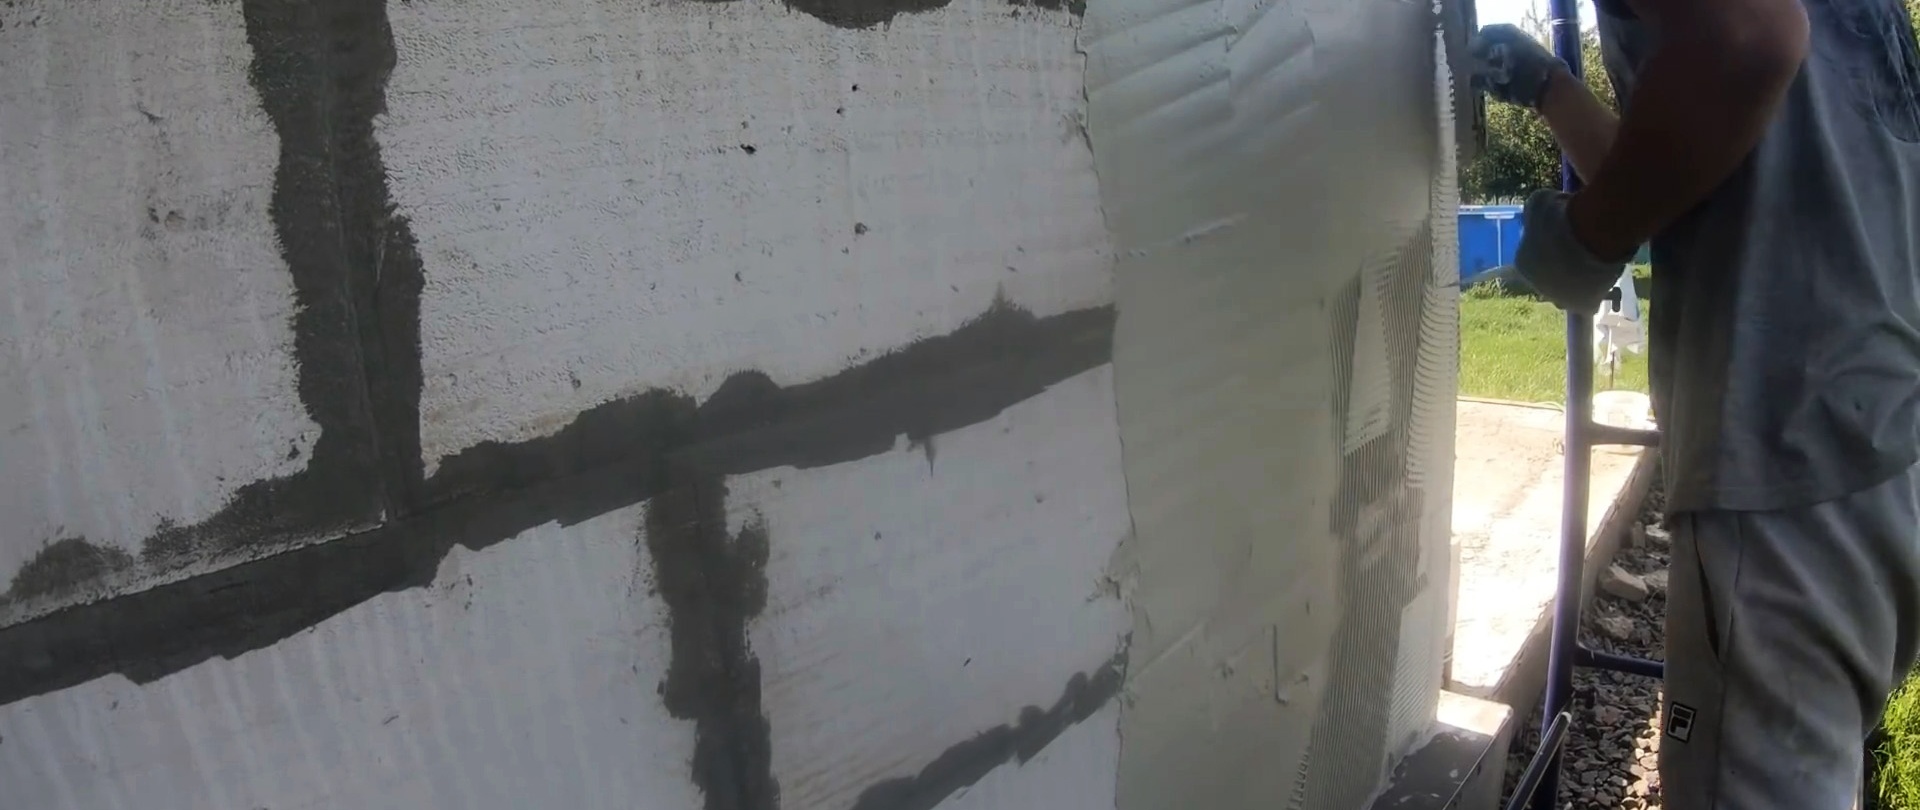
We start by installing scaffolding and removing all sagging on the walls using a construction spatula. Then we coat the wall with a penetrating primer using a roller in flat areas and a paint brush in hard-to-reach places.

After the primer has dried on the corners, we install the corners with a mesh using white glue for porcelain tiles. We will mount the entire AMK system using the same glue.


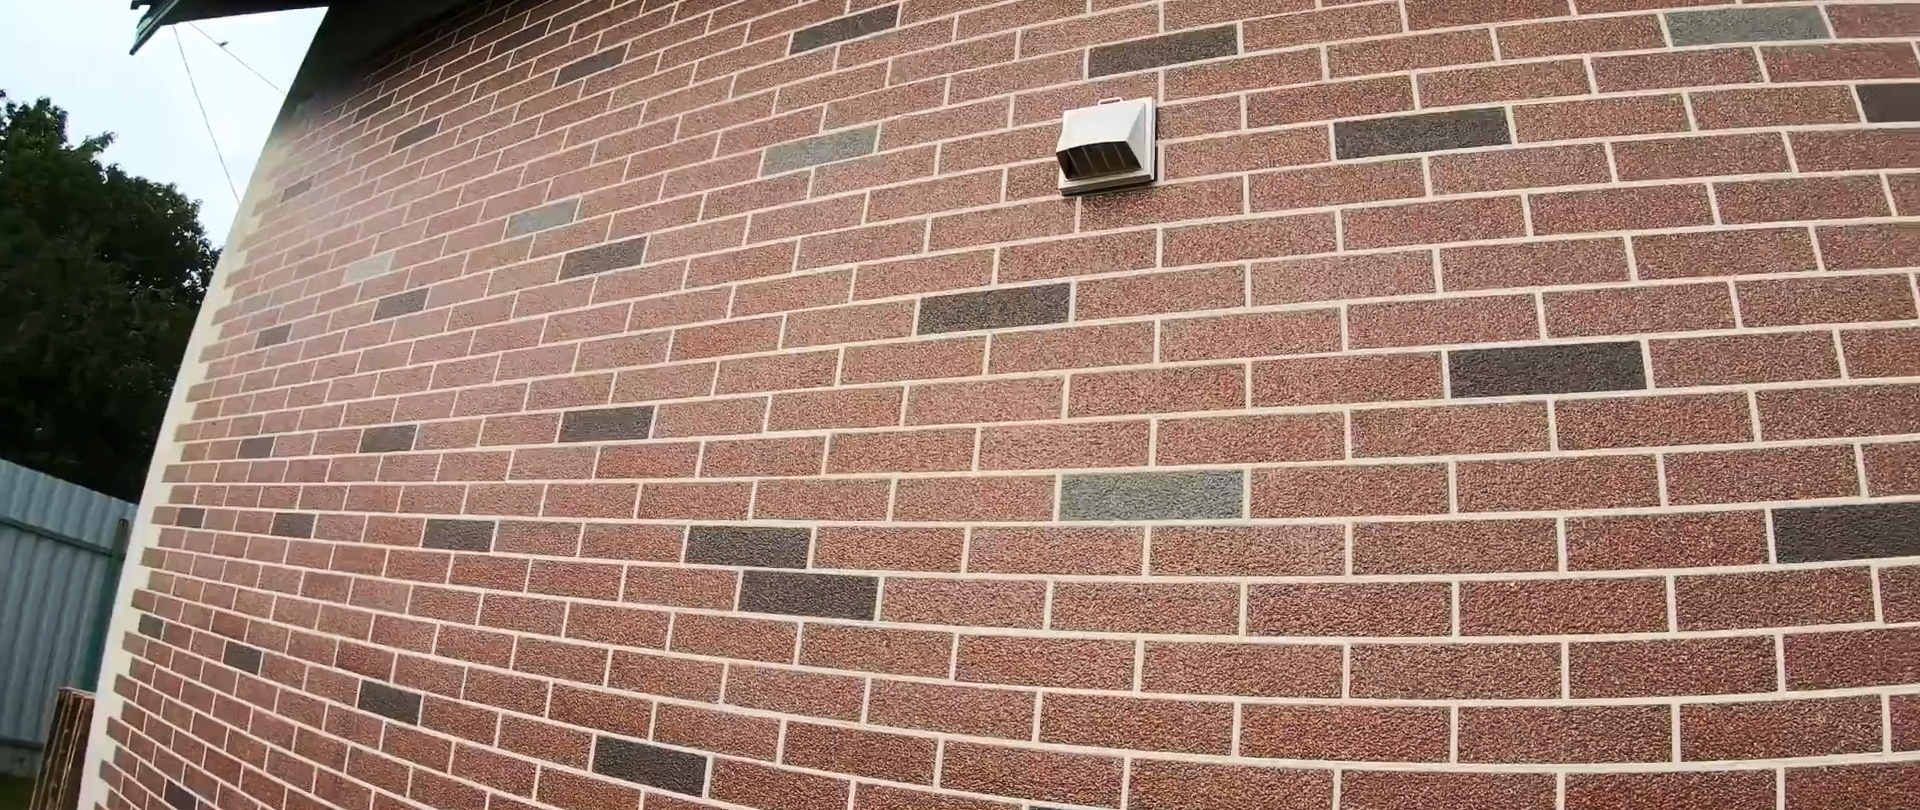
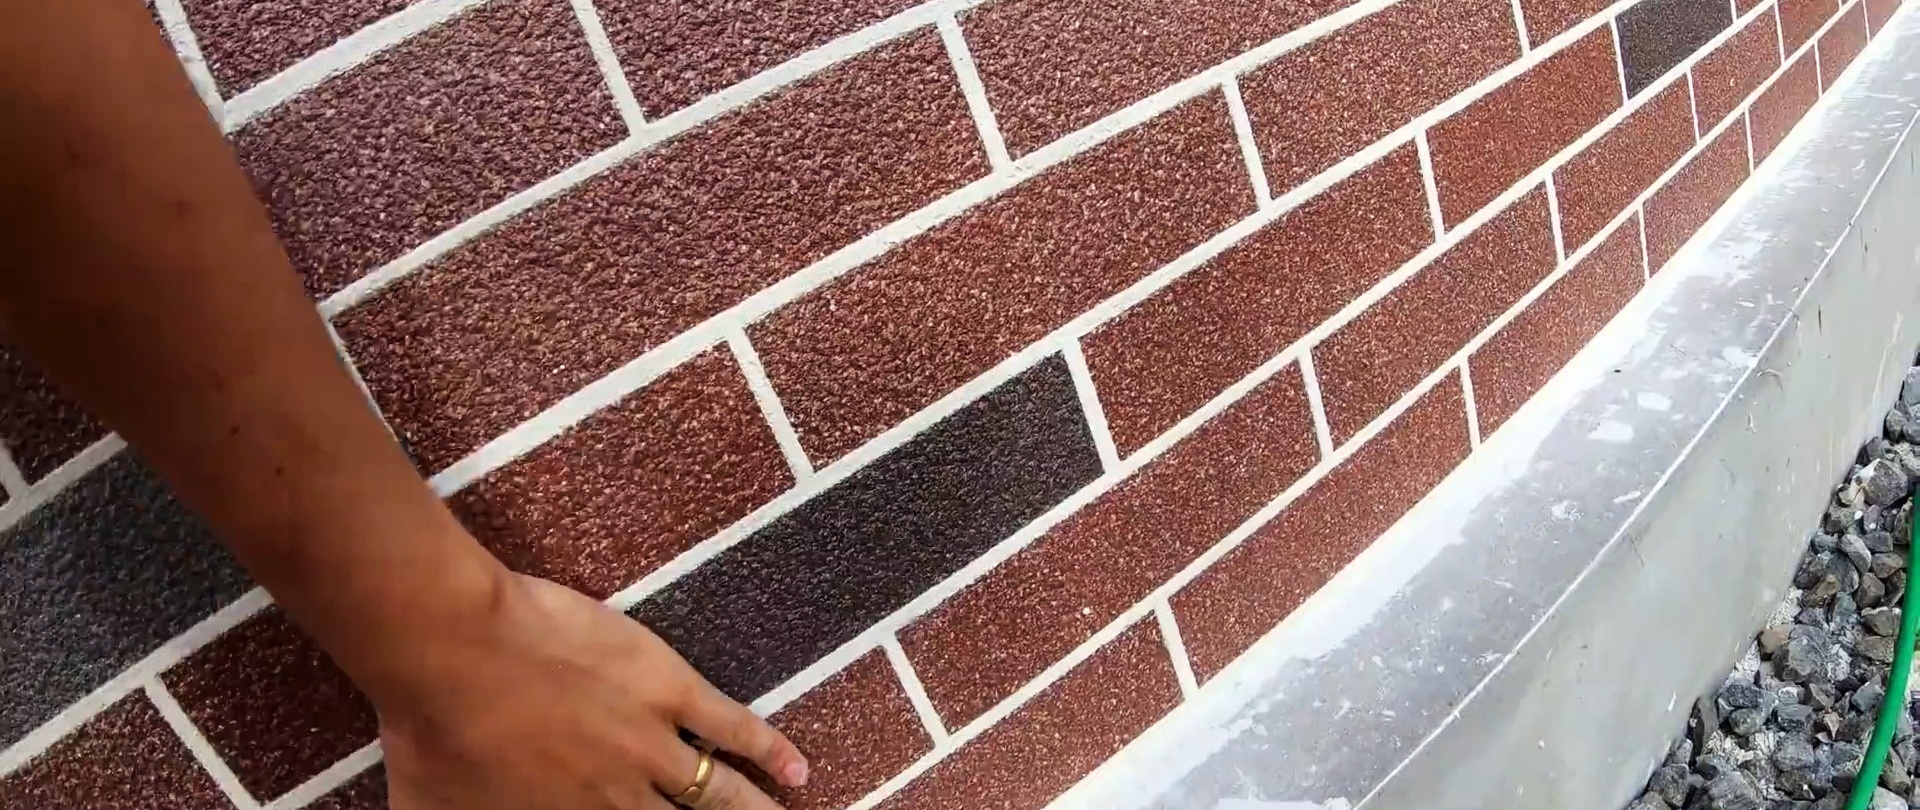
Series 432 of the AMK facade system was chosen at a price of 682 rubles per sq. m. m. It consists of 85% red-brown brick and 15% darker shade of two types. The bricks consist of marble chips and acrylic, applied to a high-quality mesh.

We start installation from right to left. To do this, we cut off the lower part of the mesh and the protruding bricks, which we remove only on the first sheet of each linear line.

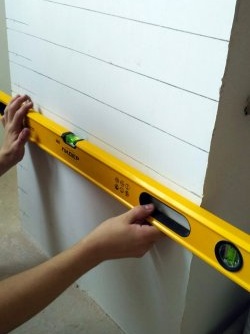
We make horizontal markings on the wall. To do this, measure the height of the sheet along the edges of the brick and add 1 cm as a gap from the base. We transfer this size to the walls from two edges. We tighten a screw on each side and pull the cord between them.

We dilute white glue without saving it, since the durability of the system will depend on this. The glue should be mobile, but not flow off the walls during application.

We make markings for applying glue for one sheet. Apply the glue with a flat spatula, and remove the excess with a 6 mm notched spatula.
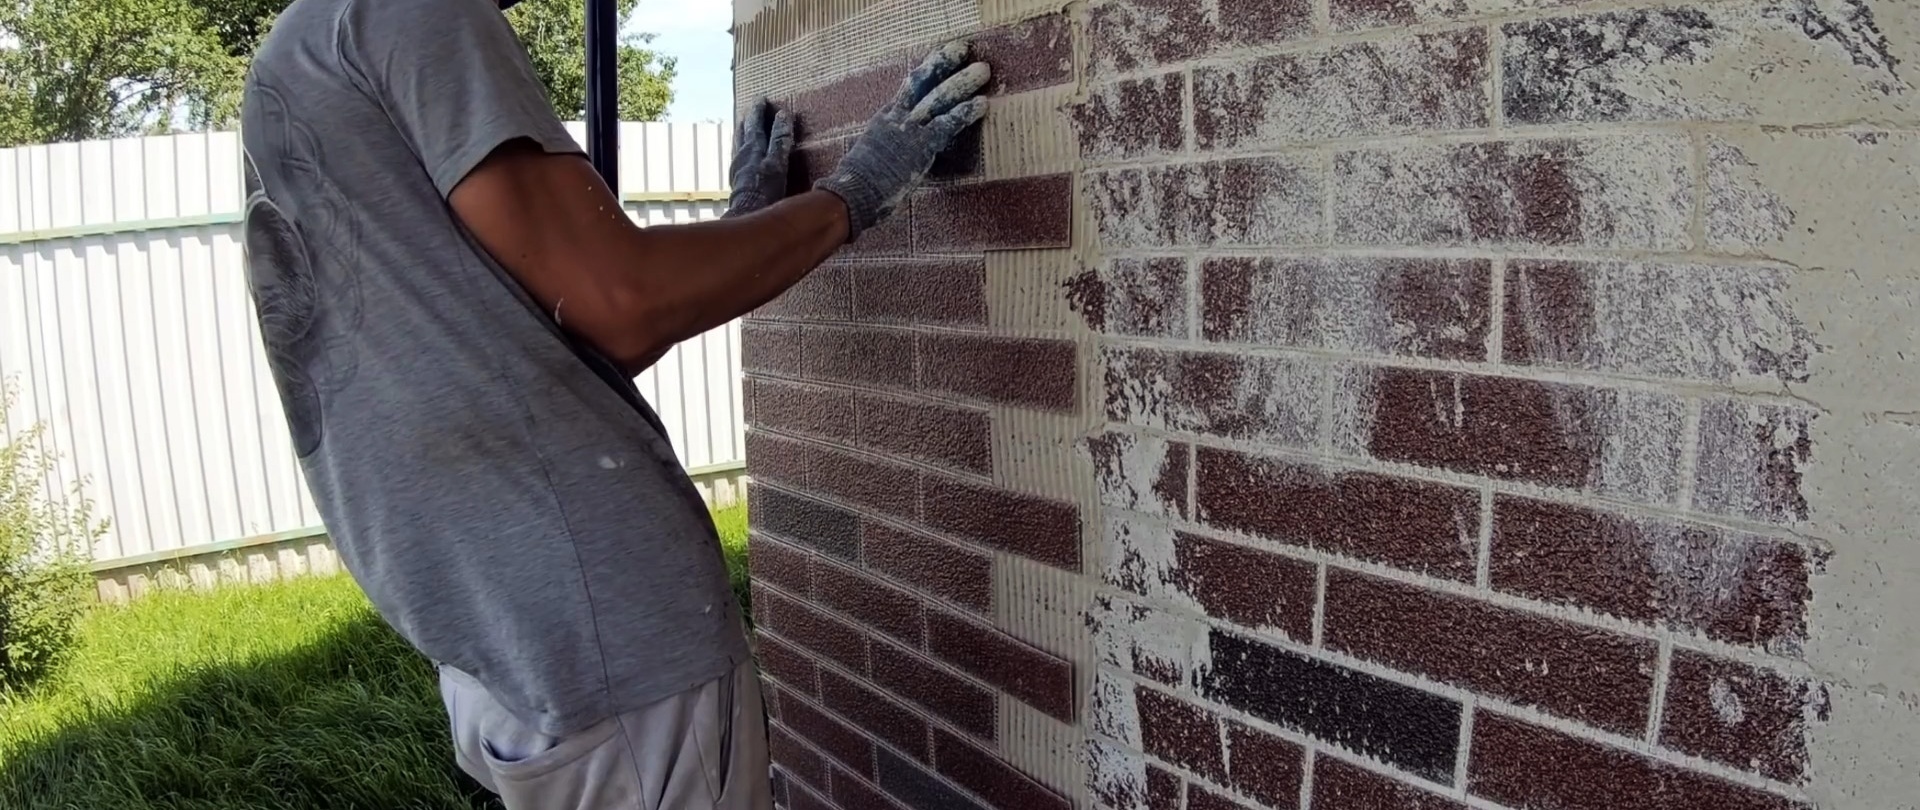
We apply the starting sheet with the top edge of the brick to the cord and gently smooth it with our hands. We make the adhesive gap between the corner of the house and the system 7 mm wide. Then smooth the sheet with a wide spatula.

After installing each sheet, remove excess glue from the open mesh. This will give an even, bump-free installation of subsequent sheets. On the second and subsequent sheets, remove only the lower part of the mesh and repeat the process. It is better to work in the shade so that the glue does not dry out.
Before installing the last sheet, we trim it by measuring the distance from the line of bricks to the corner of the house. Do not forget about the gap between the sheet and the corner of the house of 7 mm.
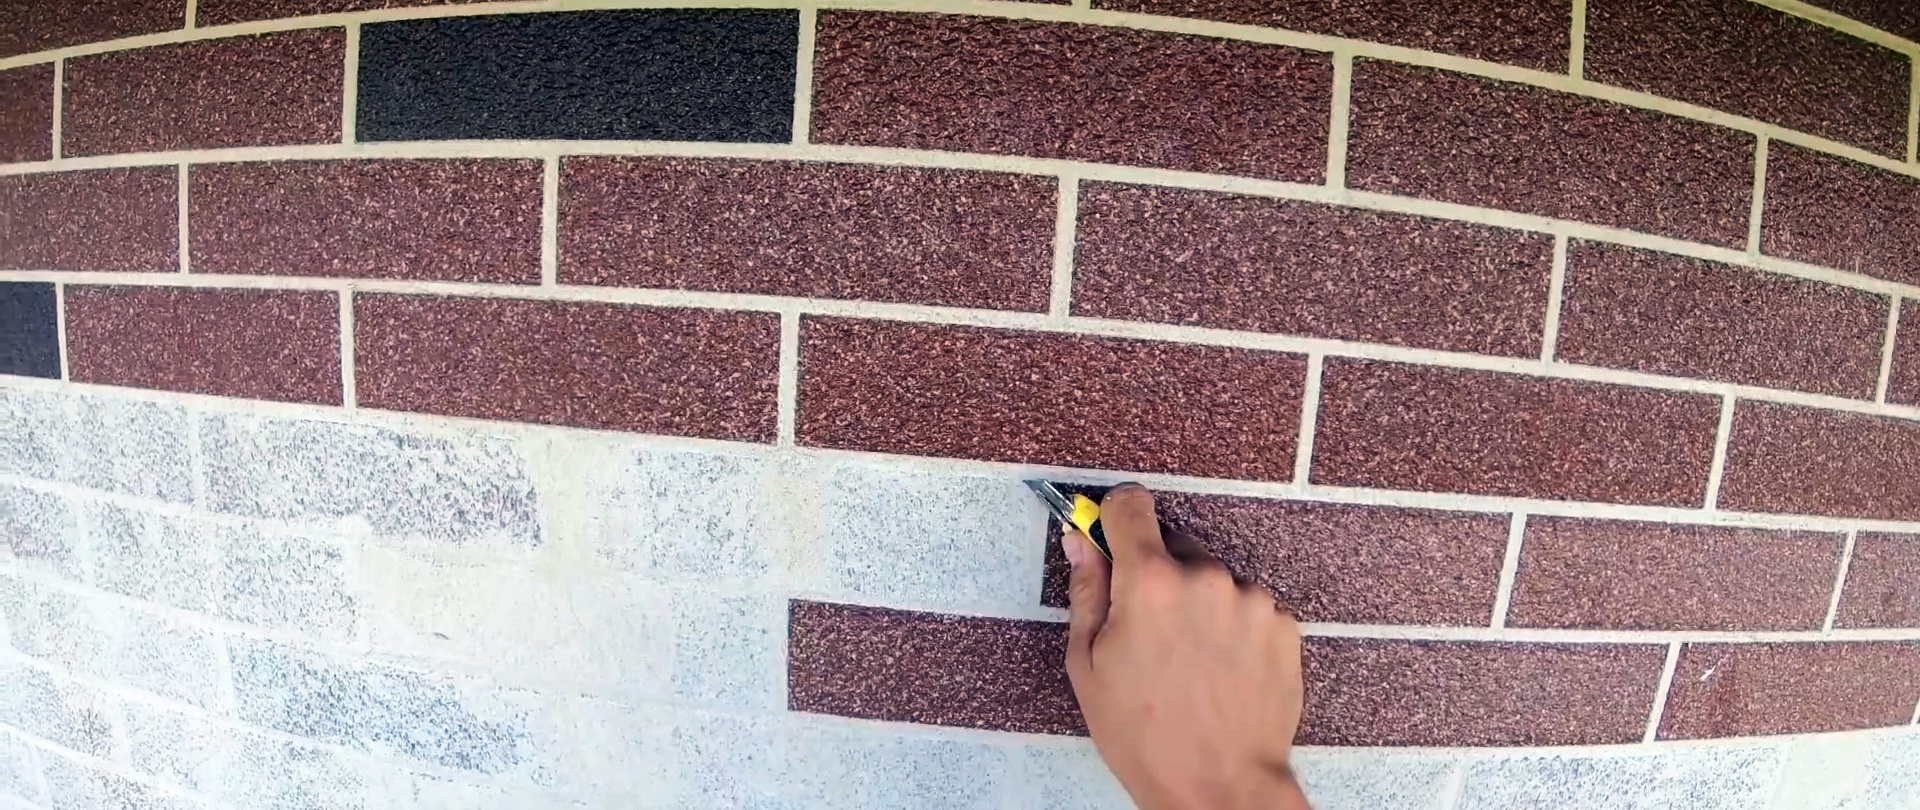
Let's start marking the second row. To do this, we will use a template rail with a length equal to the height of the system plus a gap of 7-8 mm. We also mark on it the width of glue application for one sheet.According to the markings, we tighten the screws, tighten the cord and repeat all the operations as when installing the first row. Apply the remaining glue to the seams with a wide spatula, and remove the excess with a wallpaper spatula. As a result, the seams are thin and do not stick out beyond the bricks after removing the protective film.
Using the same scheme, we install the third and subsequent rows. The last row in height may require trimming the sheet to height. To grout the joints, we use glue that is a little thinner than during installation.


We leave the system for 48 hours and begin to remove the protective film. To make it easier to remove, moisten the wall with water. To remove it, pry each fragment with a knife and then remove it.
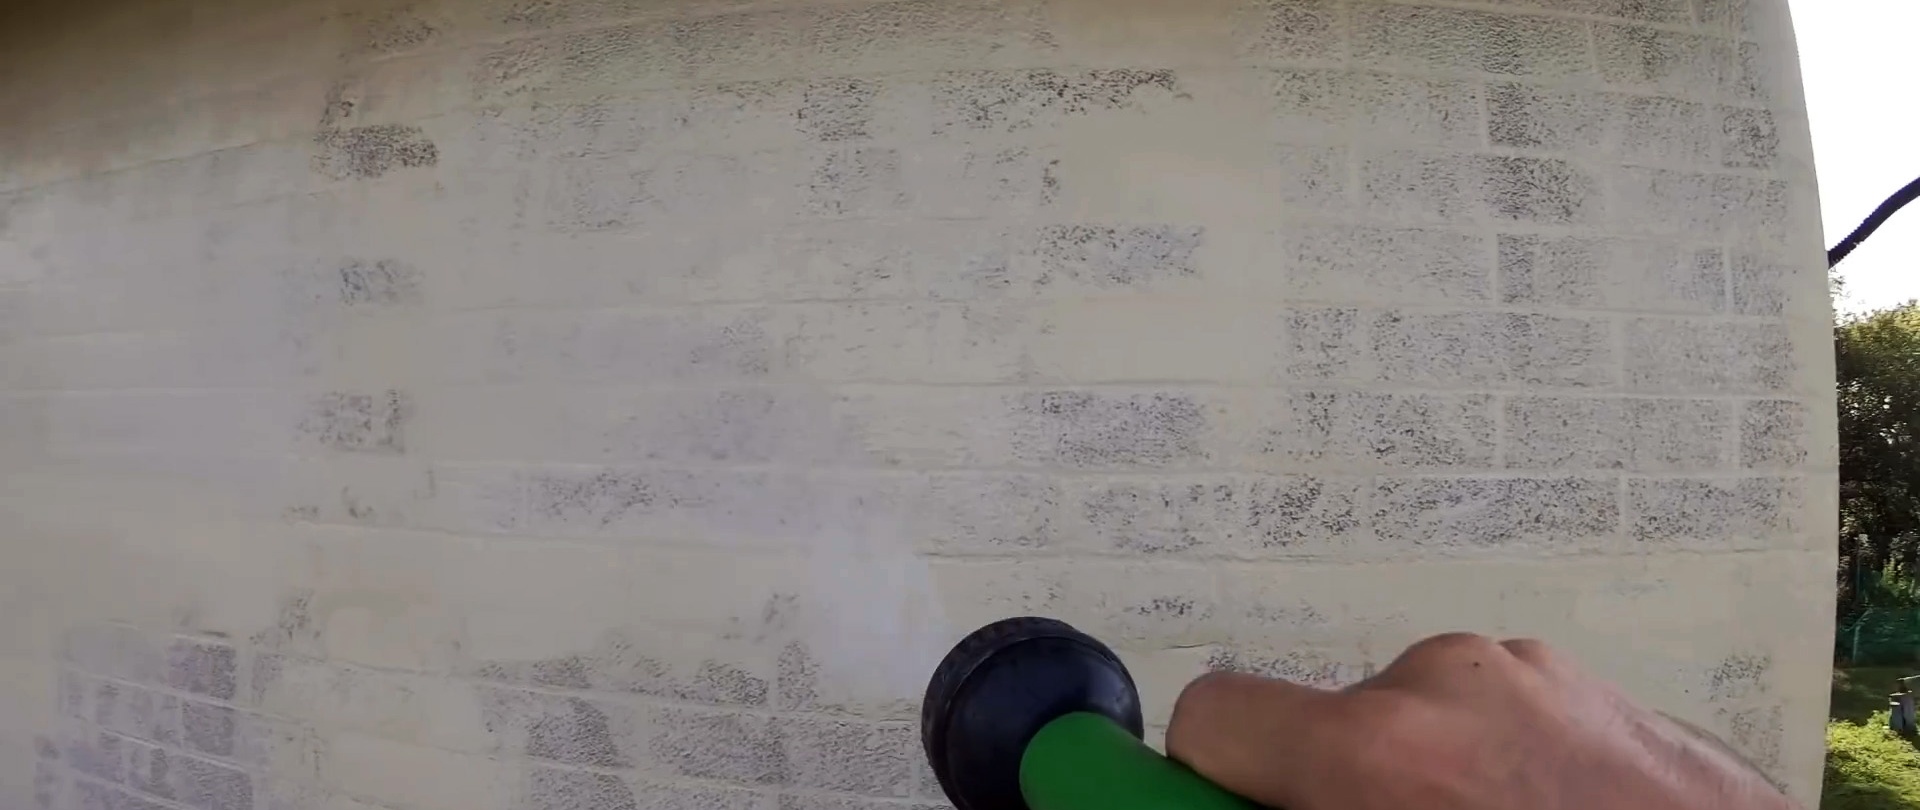
While the rest of the walls are not covered, we do not remove the film from the corners so as not to stain the finished brick imitation.