Surface preparation
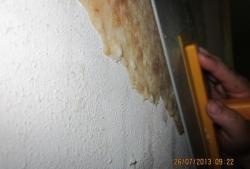
You can create bricks in the kitchen, hallway or bathroom on any wall by preparing it correctly. The main thing is that it is strong and dry. First, the decorative covering (wallpaper, whitewash) is removed, and large cracks and potholes are sealed with cement mortar. Areas with loose, crumbling plaster are cleaned to a solid slab and plastered. It should be noted that small irregularities will not interfere, as they will disappear during the application of putty. Only obvious and too noticeable differences should be leveled.
After the cement mortar has hardened, the entire surface is hidden with a deep-penetrating primer and left to dry.
Advice. It is not necessary to remove a layer of paint from a base painted with enamel, as this is too labor-intensive work. It is enough to sand it with coarse sandpaper and coat it with primer.
Marking bricks
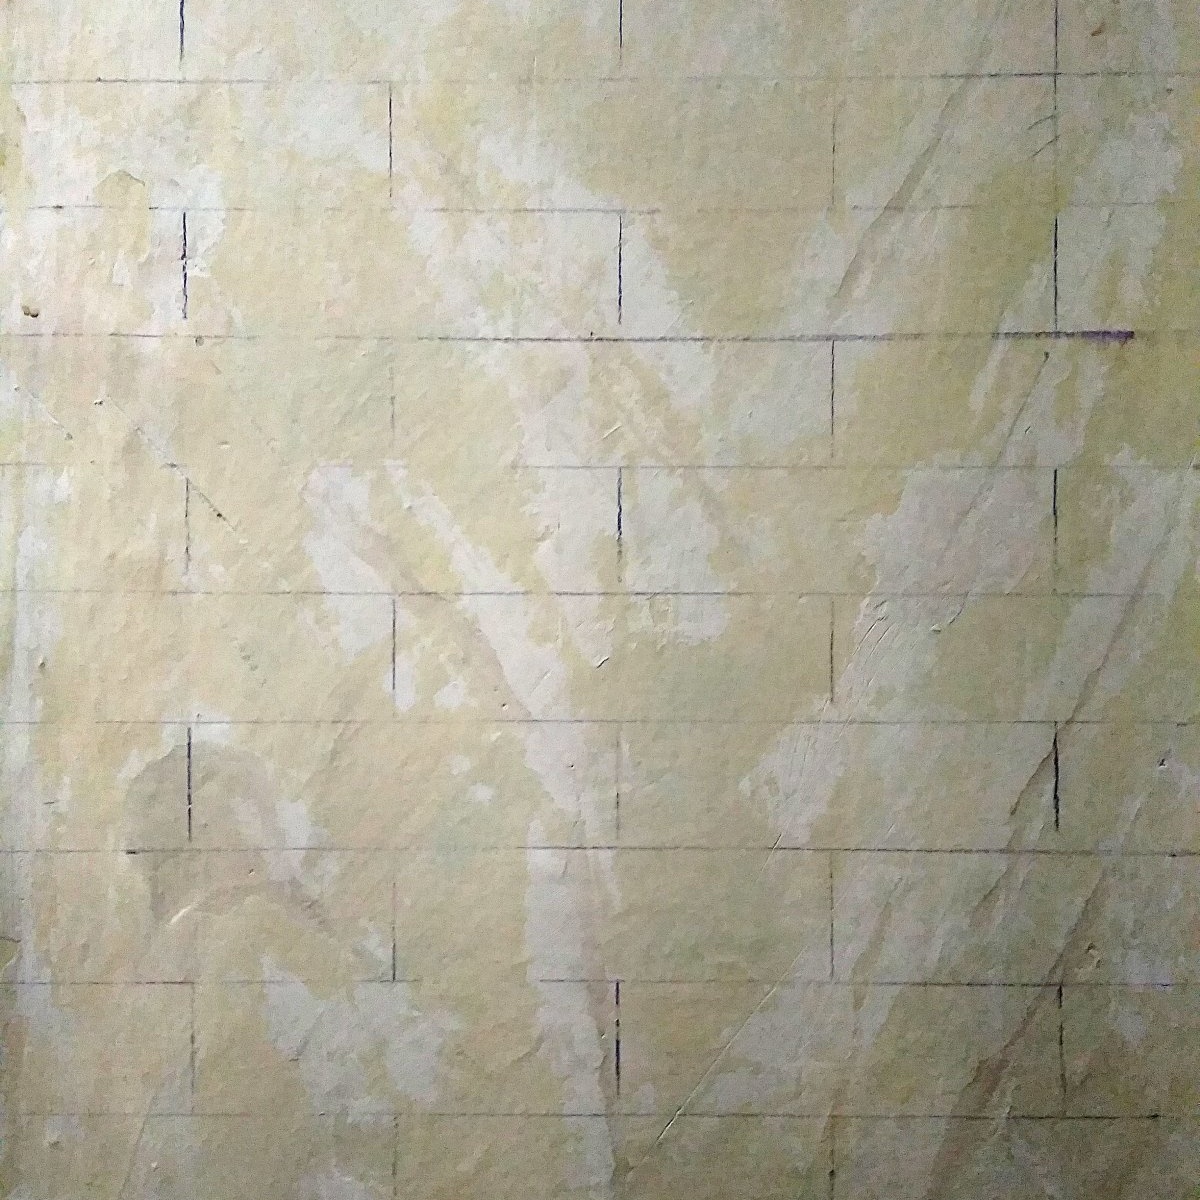
To make the markings you will need a long level and a pencil. With their help, the base is laid out into bricks. First, longitudinal lines are drawn. The usual brick height is 65 mm. By adding a seam width of 7 mm, we get 67 mm - this is exactly the distance that should be between the horizontal lines.

Now you should draw the transverse seams. They are located every 25-26 cm. It is necessary to ensure that in each subsequent row the vertical seams are clearly above the middle of the bottom brick.
Advice. Since the plaster is decorative, you don’t have to adhere to the standards and maintain your dimensions between the seams. In a small hallway, large bricks look more beautiful, for example, 8 x 29 or 10 x 30 centimeters. This rule also applies to the width of the seams.

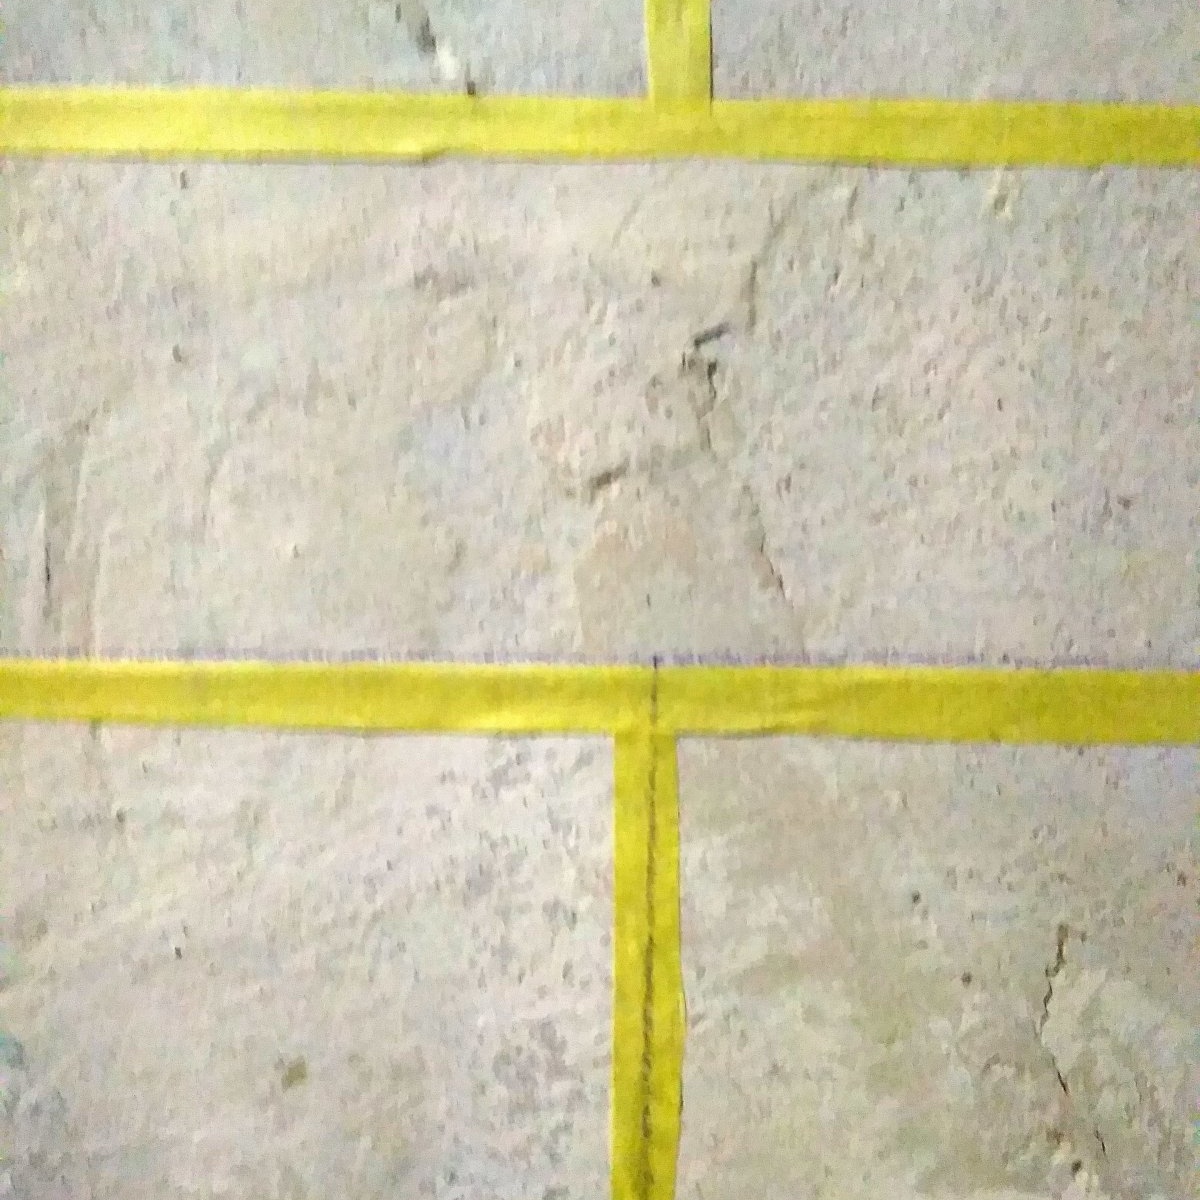
Next, take construction tape and carefully stick it to all the lines. If you cannot buy tape of a suitable width, narrow strips are cut from wide rolls. A straight line is drawn along the circumference with a pencil, a deep cut is made along it with a wallpaper knife, and the ribbon of the required width is easily peeled off.
Applying putty
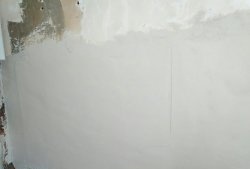
Using a wide spatula, apply starting putty to the wall. The thickness of the layer ranges from 3 to 5 mm: the thicker, the deeper the seam will be, and the thinner, on the contrary, the shallower. The entire surface covered with tape should be puttied at one time.This is not difficult to do, since it is not necessary to achieve perfect smoothness of the coating. Small roughnesses, trowel marks and other defects look like natural brick defects.

When the putty hardens slightly, and this will happen in 10 - 20 minutes, it is time to remove the strips of tape. They come off the base along with the mortar adhering to them, leaving behind narrow seam grooves. After this, minor defects are corrected: the mortar stuck in the seams is removed, and if necessary, the edges of the “bricks” are smoothed. Decorative brick plaster is left until the putty is completely dry.
Painting

The wall is painted with water-based paint, and this is done in two steps. The seams are painted over first. Using a thin brush, the water-based emulsion is carefully applied, covering all the corners of the seams. It’s not scary if the front surface of the bricks gets dirty, as they will also be painted.

When the seams are dry, paint is applied to the rest of the part with a brush 4–6 cm wide or with a small roller. You need to try not to stain the seam, but if this happens by accident, it’s okay. Errors can be corrected after finishing the work.

The color of the paint is selected as desired, the main thing is that the color of the seams does not merge with the main background. For example, with dark bricks, seams in light gray, yellow, and golden colors look good. Light bricks are set off by darker joints.
Varnish coating
Water-soluble paints are easily washed off with water, so it is recommended to varnish the surface. In this case, the walls will be easier to maintain. The varnish used is acrylic matte or glossy, depending on the effect you want to achieve. It is applied with a roller or brush to both the bricks and the seams at the same time.After the surface has dried, the procedure is repeated again.
Advice. There is one secret for applying varnish over water-based paint. When it comes into contact with a painted wall, traces of paint remain on the bristles of the brush and, getting into the varnish, change its color. To avoid this, the varnish should be poured into a small container and added as needed.
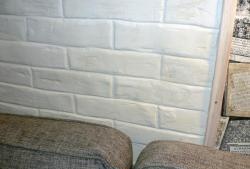
That's it, the wall with decorative plaster is ready. It does not require repairs until the need arises to change the design of the room. It is easy to repaint it completely in a different color, just the seams or just the bricks. In any case, the update will not require much time and money.

In this way, the entire room or just one wall is finished. Decorative bricks go well with other types of decorative plaster and with regular solid wall painting.