For outdoor cooking, you can make a small wood-burning oven out of concrete. It is compact, economical and very convenient. At the same time, it can be easily carried around the site by hand without a cart.

Materials:
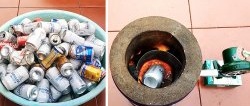
- Plastic buckets 20 l, 5 l;
- concrete;
- Styrofoam;
- working off;
- steel bars 6-10 mm;
- wire;
- pipe 50-60 mm.
Stove manufacturing process
First of all, take a large plastic bucket and lubricate it from the inside with waste.
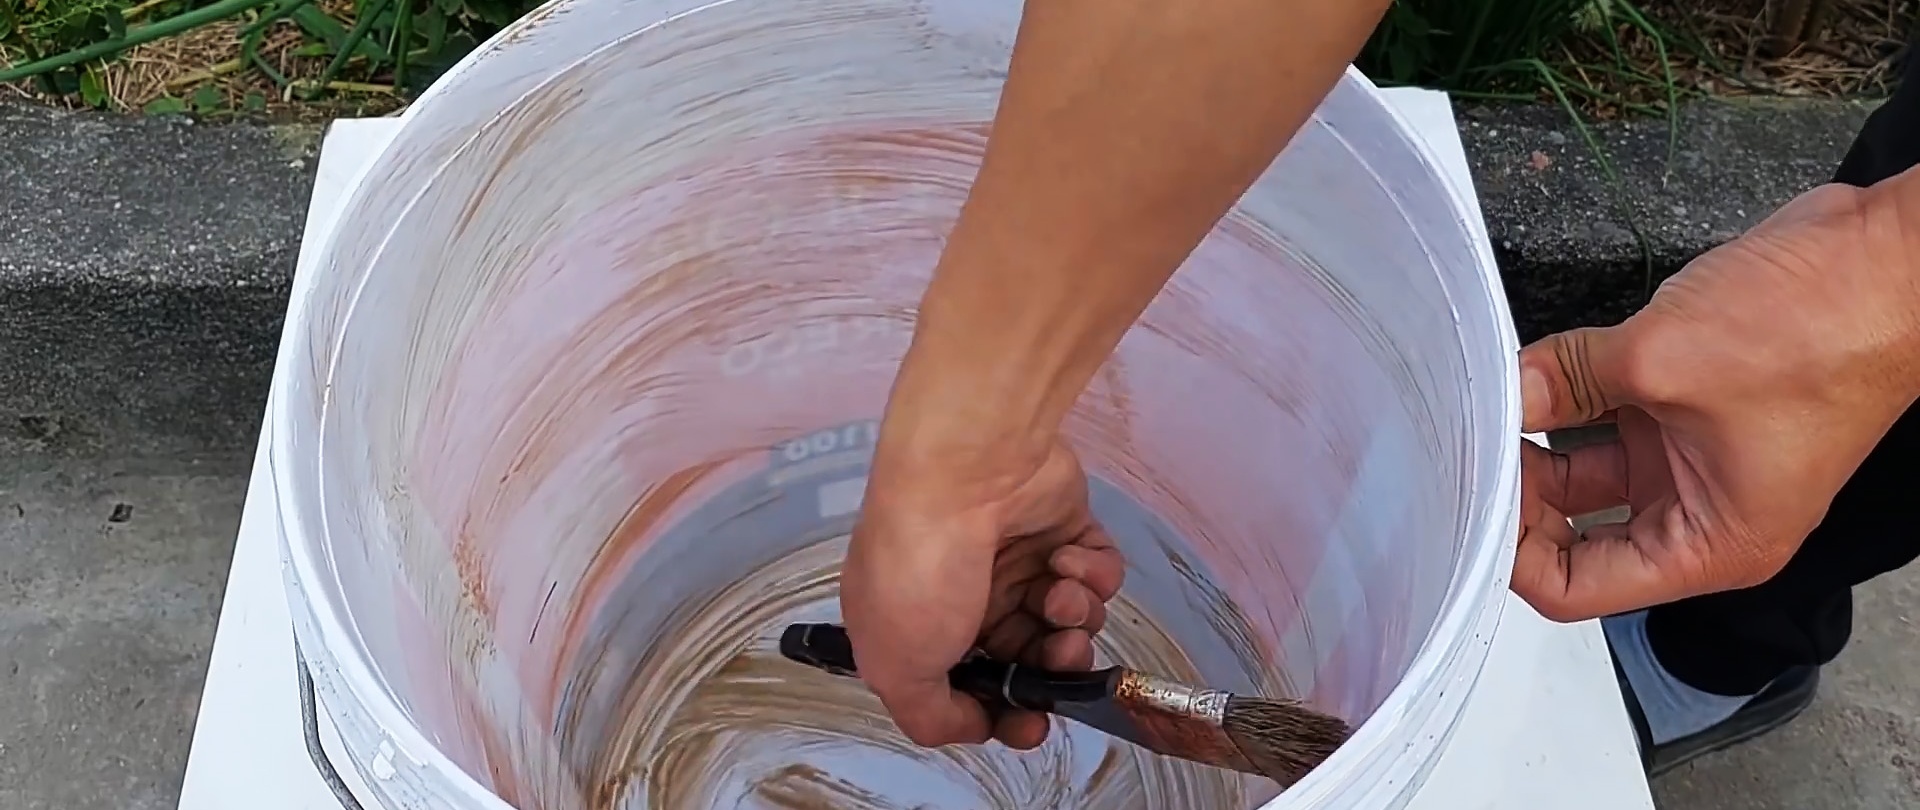
Next, pour concrete into the bottom. To save mortar, you can put some broken brick inside.

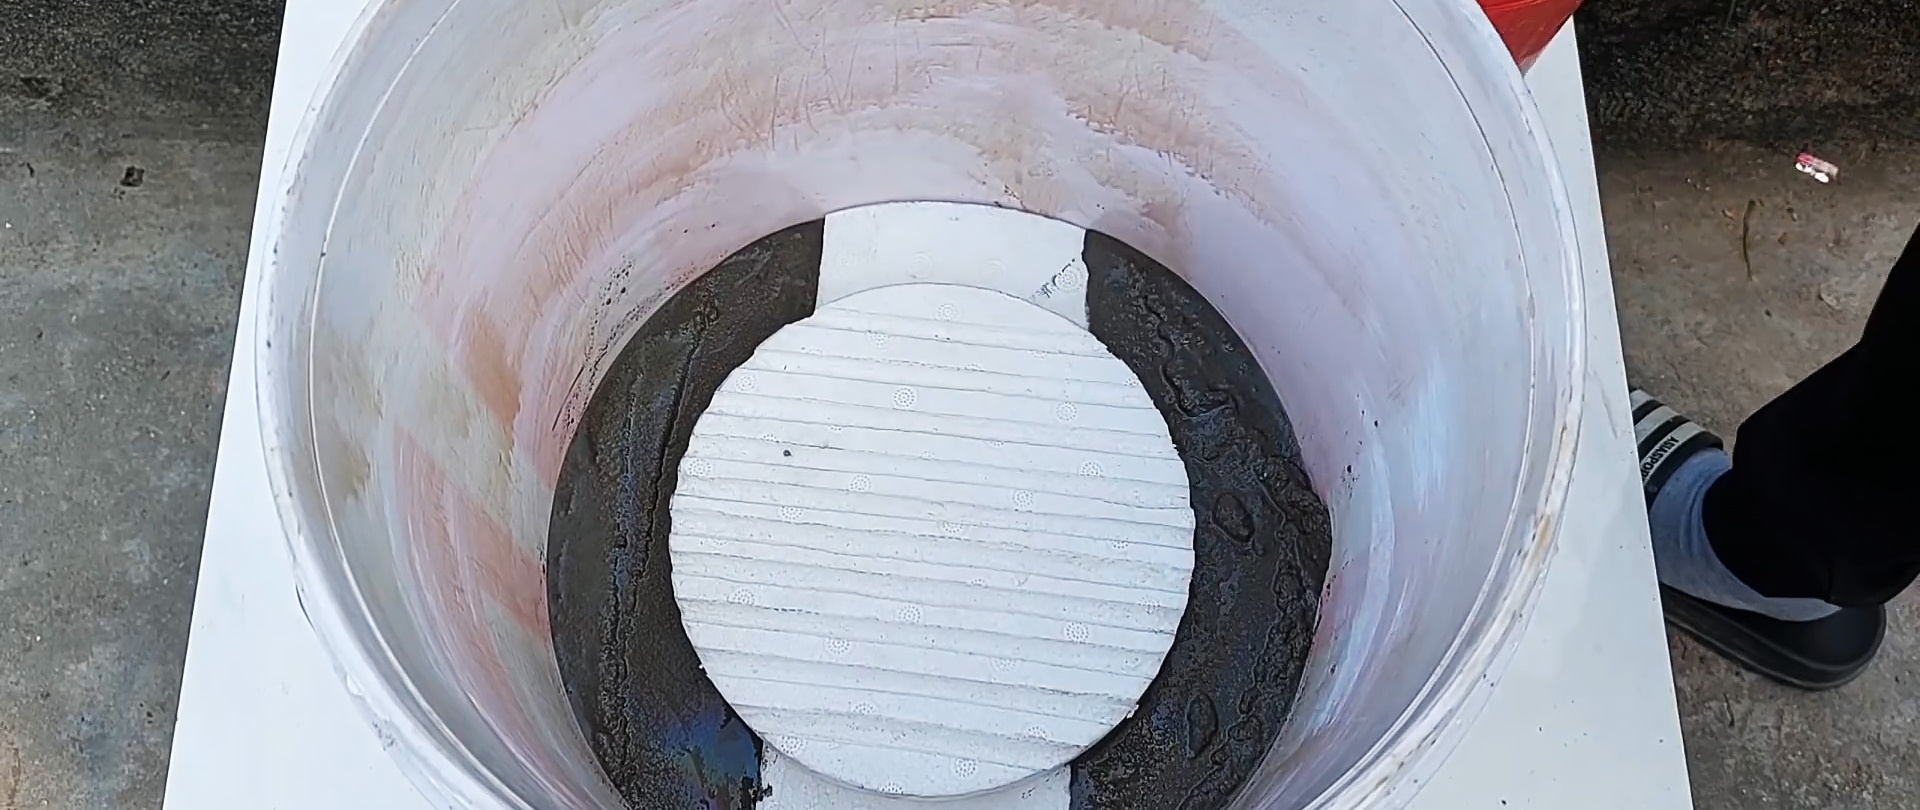
To ensure air supply and the possibility of cleaning ash, a foam insert is prepared. It must be laid on leveled concrete.
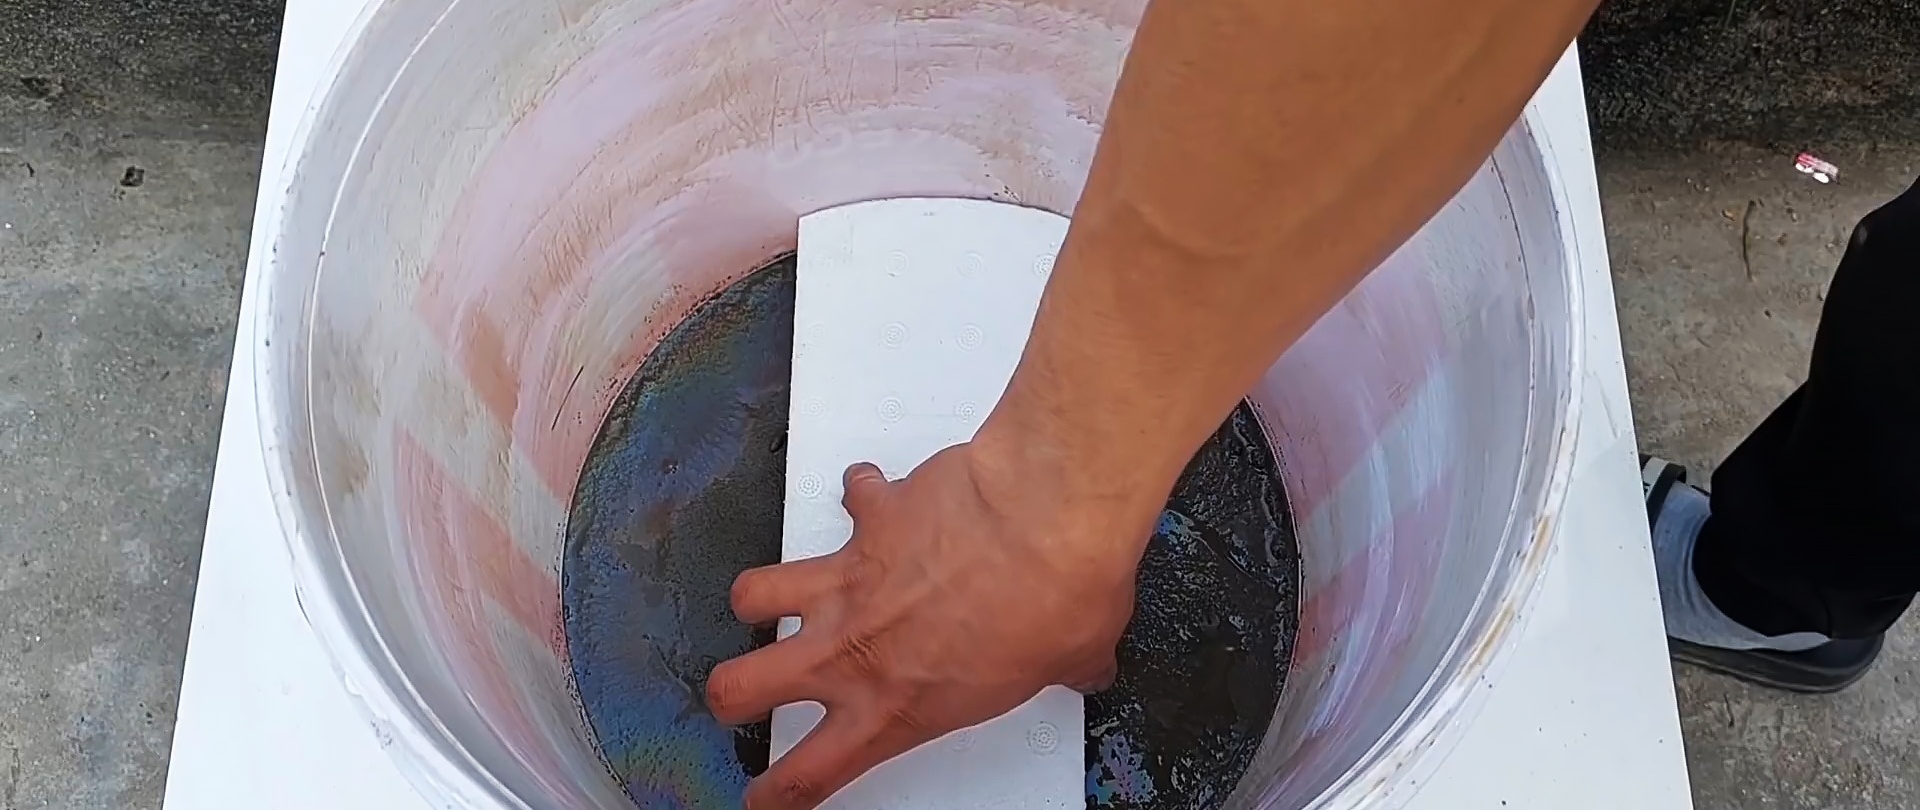
Then concrete is poured from the sides of the mortgage so that the top remains clean. After this, a round foam core with grooves for the grate is laid. Its size should match the bottom of a smaller plastic bucket. The sides need to be filled with concrete.
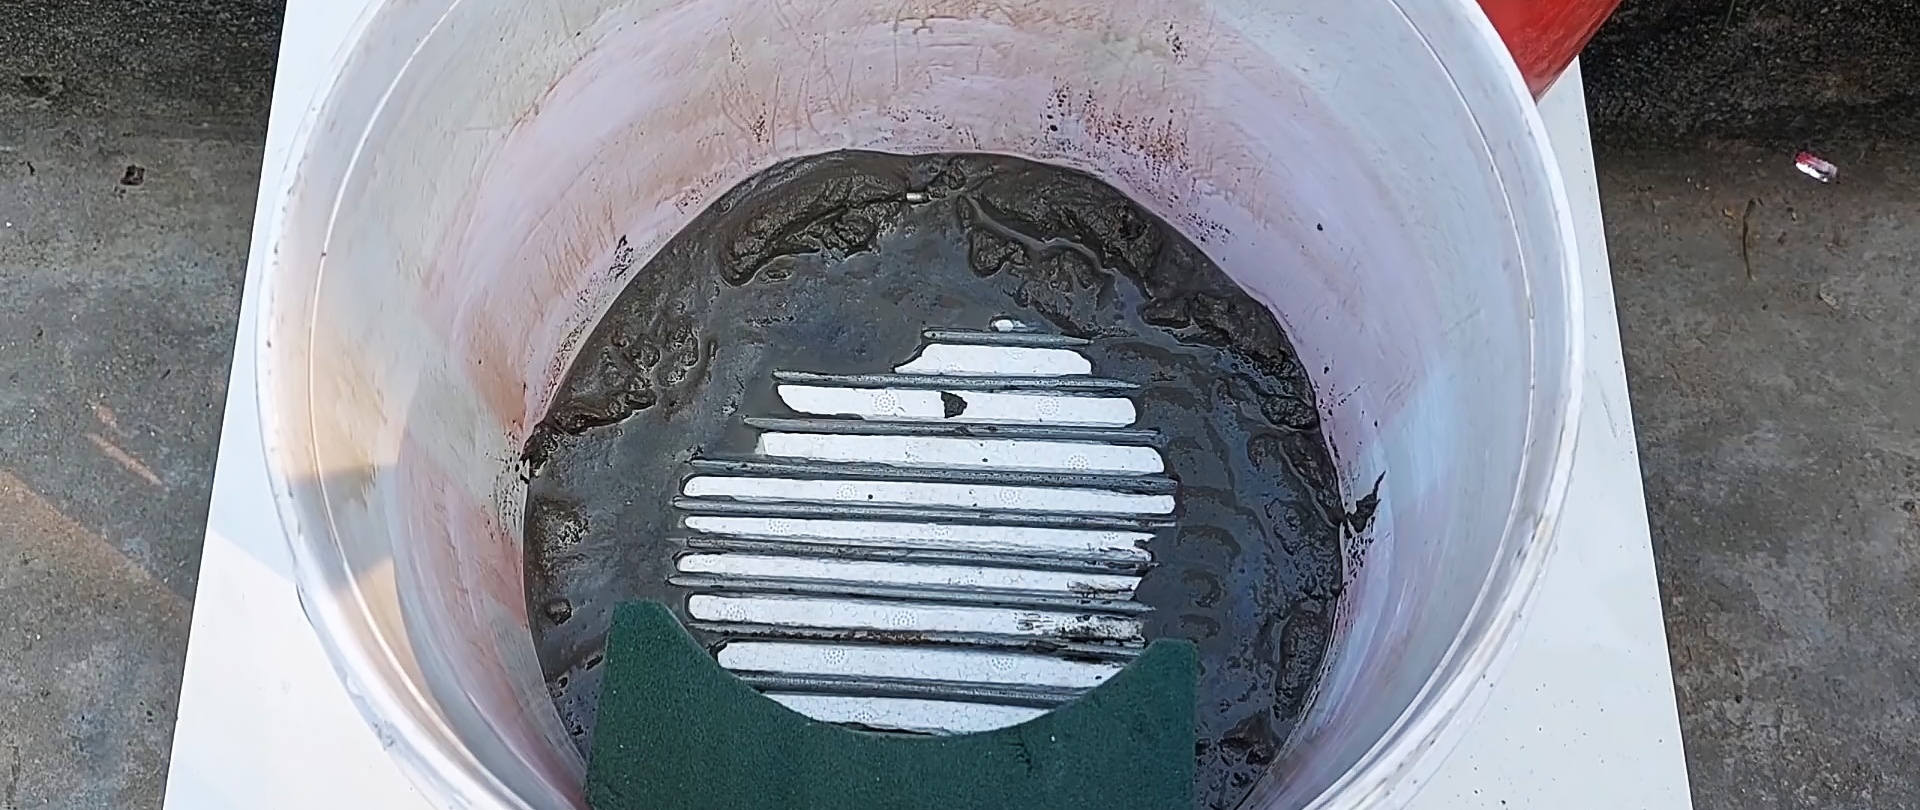
To strengthen the furnace, a reinforcing belt of wire is laid. Then the grate bars are placed in the gutters.


Next you need to install the door cover.It is made from polystyrene foam or floral foam.
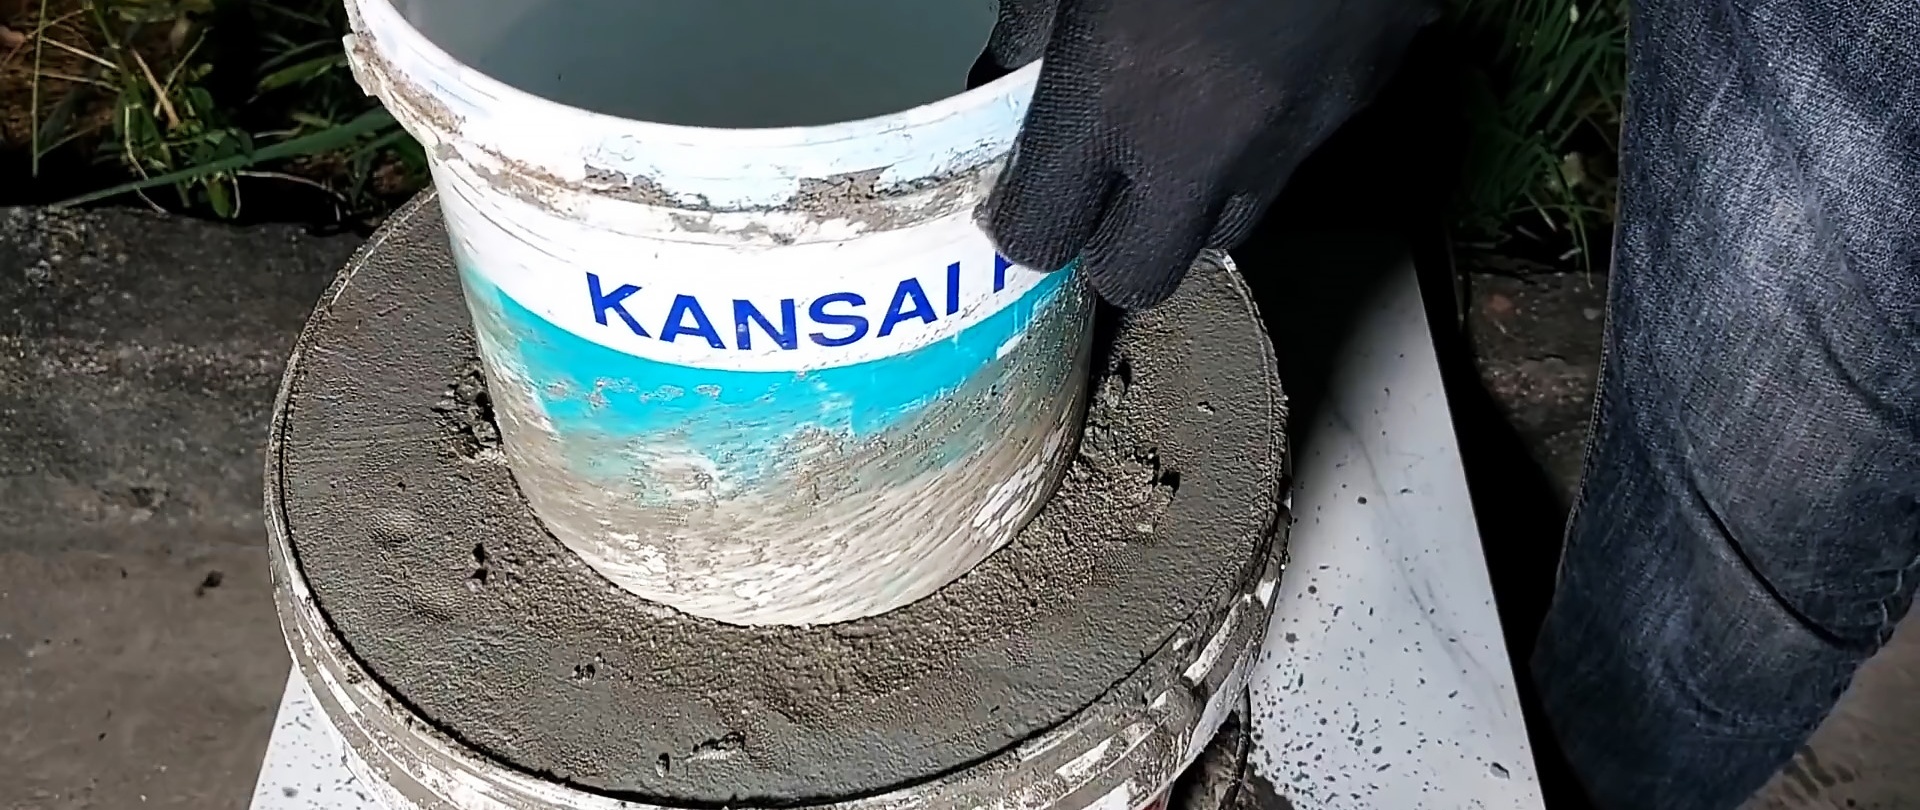
A smaller plastic bucket leans closely against it, which should be loaded with bricks or stones. It must first be lubricated from above with working off.

Then concrete is poured between the walls of the buckets. As it is poured, the furnace is reinforced with wire rings. A cylindrical molding under the chimney is placed on top, on the opposite side of the doors.


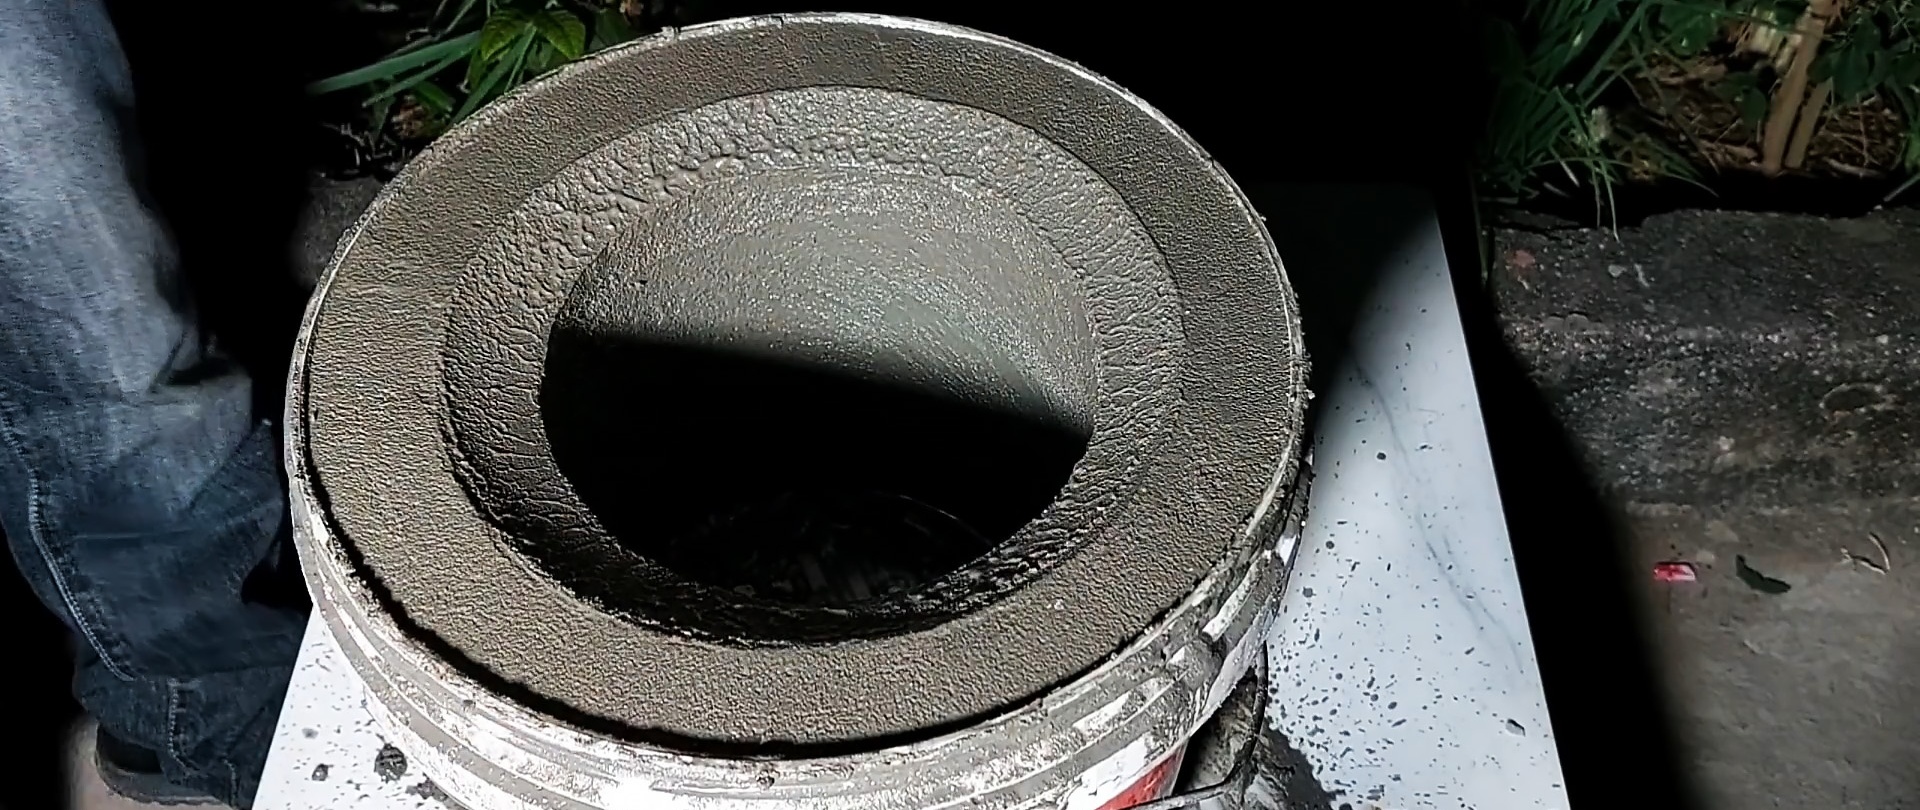
After 2 days you need to pull out the inner bucket.
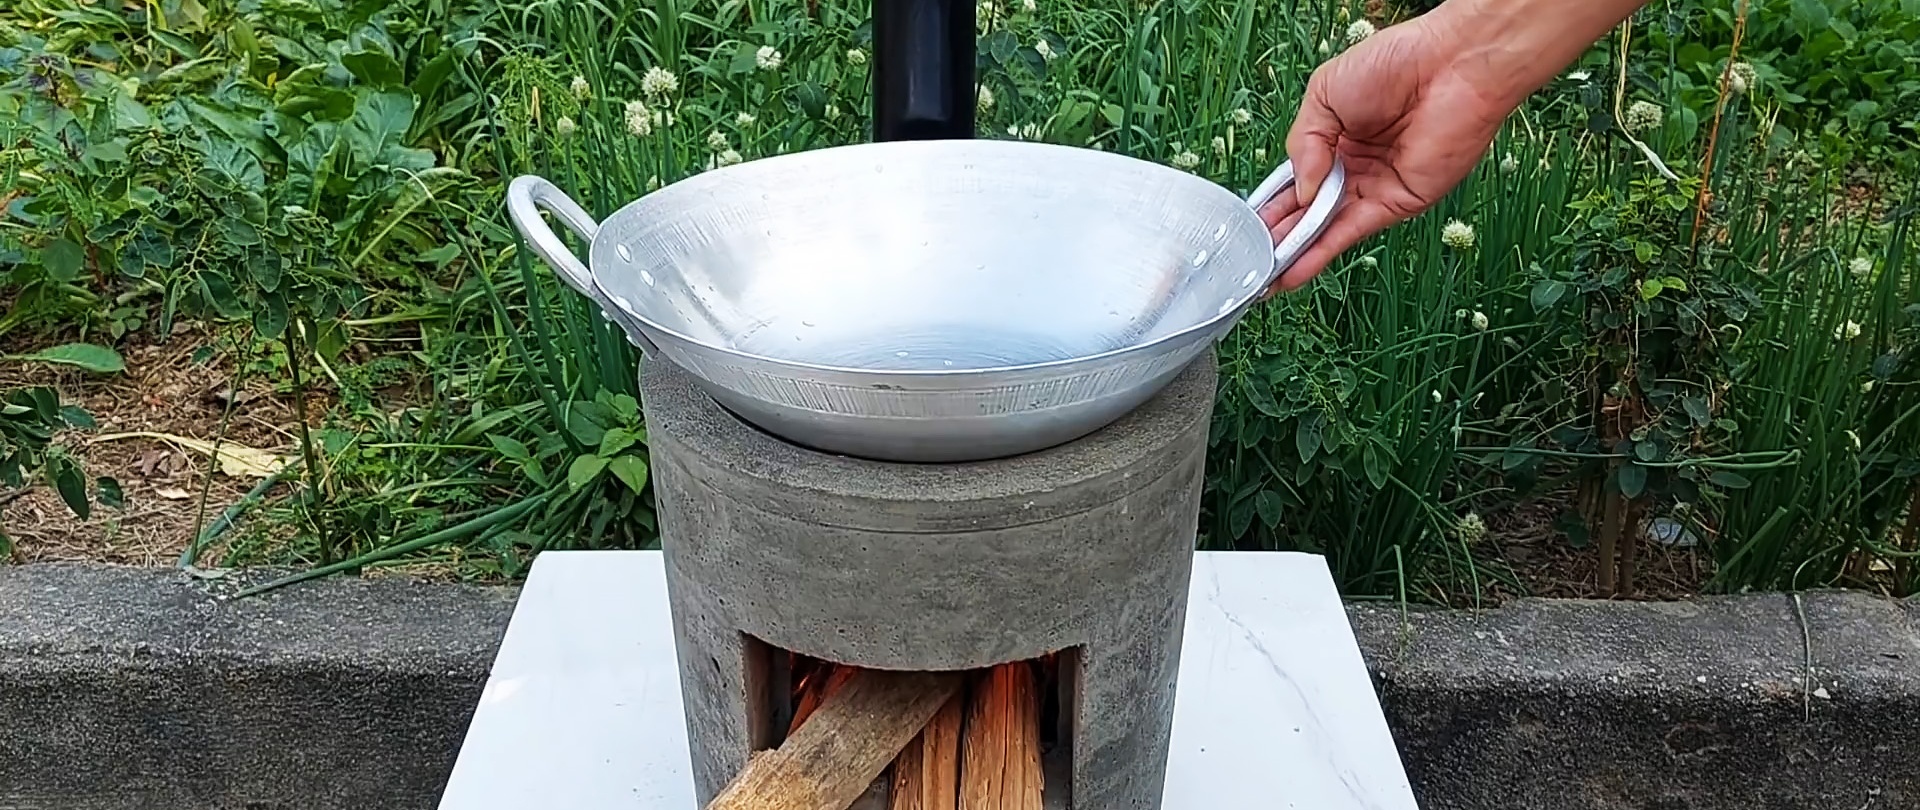
Then the rim of the stove is trimmed with a trowel so that cauldrons, frying pans, and pots can be placed closely on it.
When the concrete has completely set, you should turn the stove over and pour boiling water onto the outer bucket.

This will allow you to remove it easily. After this, the styrofoam and foam casings are removed.

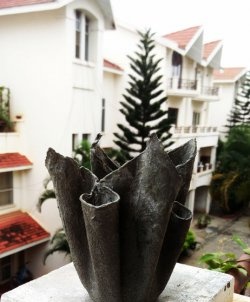
The finishing touch will be the installation of a chimney in the stove.

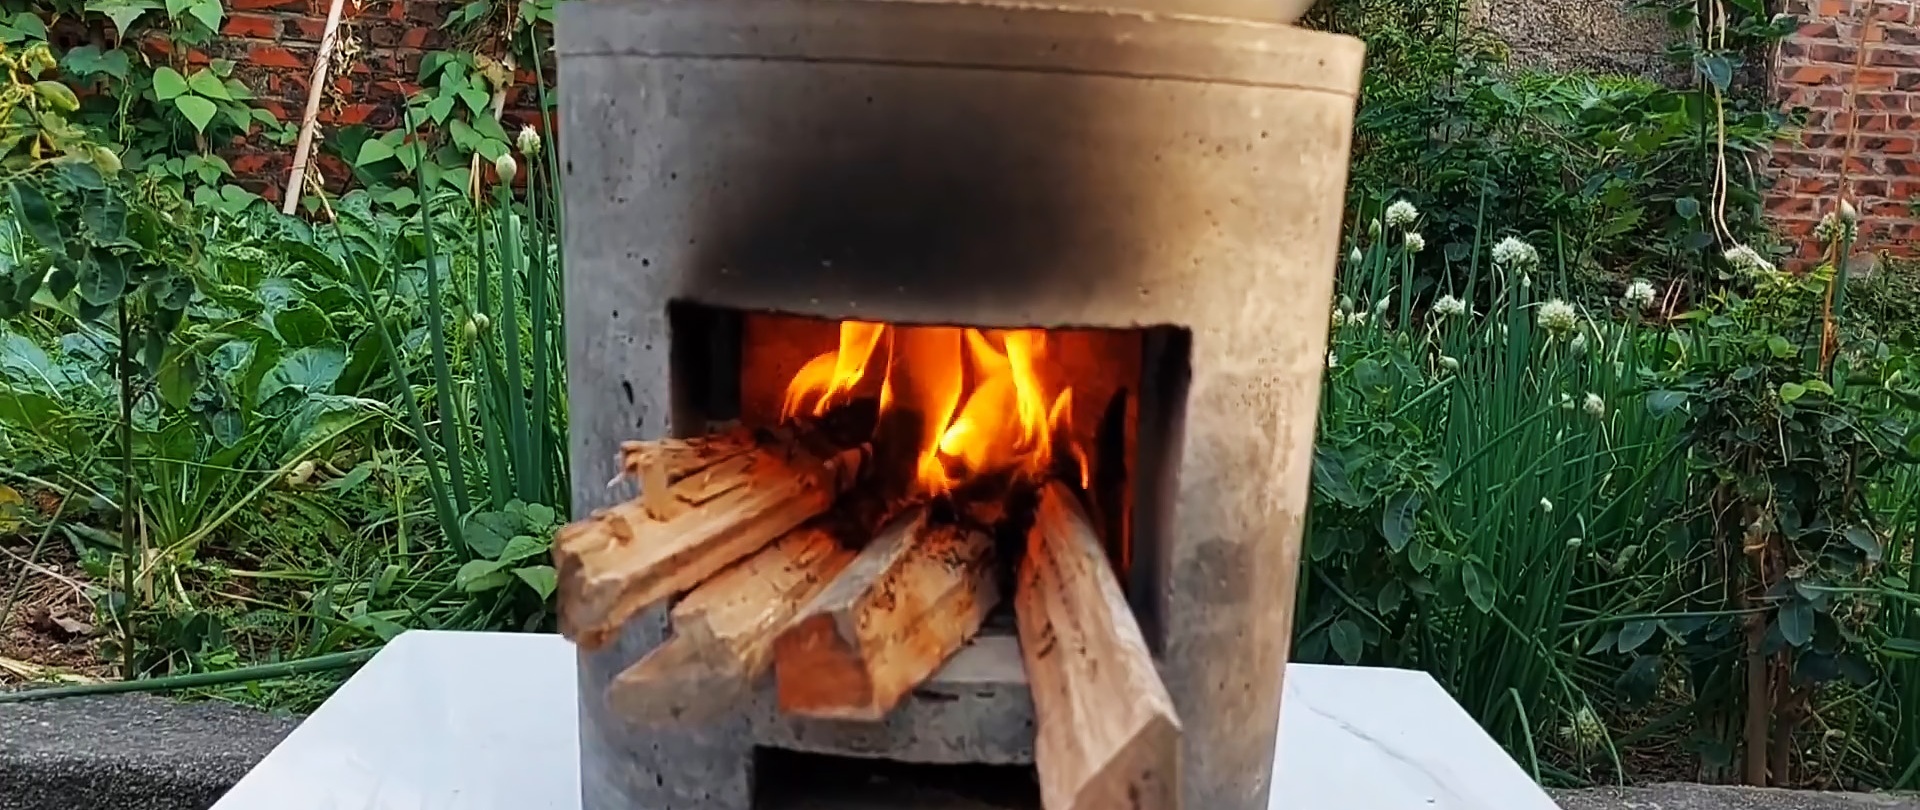
After this, you can put firewood in it and light it.

It turns out to be a very convenient oven for cooking. It is easy to clean it from ash even during the process, and most importantly the smoke will not get into your eyes. The stove consumes a minimum of wood and produces almost no smoke or smoke.