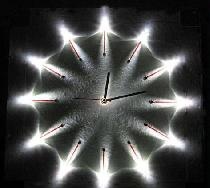
From a technical point of view, a table clock with illuminated hands is not such a simple mechanism. The catch is the nutrition of these LEDs. Since the hands rotate, it is impossible to route battery wires through them. Power up LEDs in this case it is only possible wirelessly. It is possible to do this at home, so anyone can make such a watch if they wish.

Materials:
- Transparent plexiglass;
- enameled copper wire;
- Super glue;
- white LEDs 3 V – 4 pcs. -http://alii.pub/5lag4f
- red, blue and green LEDs;
- ferrite coil - http://alii.pub/66lx1w
- transistor C 2581 5D3 - http://alii.pub/6abyfn
- capacitor 0.1 uF - http://alii.pub/5n14g8
- resistor 1 kOhm - http://alii.pub/5h6ouv
- electronic table clock;
- black tint film.
The manufacturing process of a watch with wireless power illumination of the hands
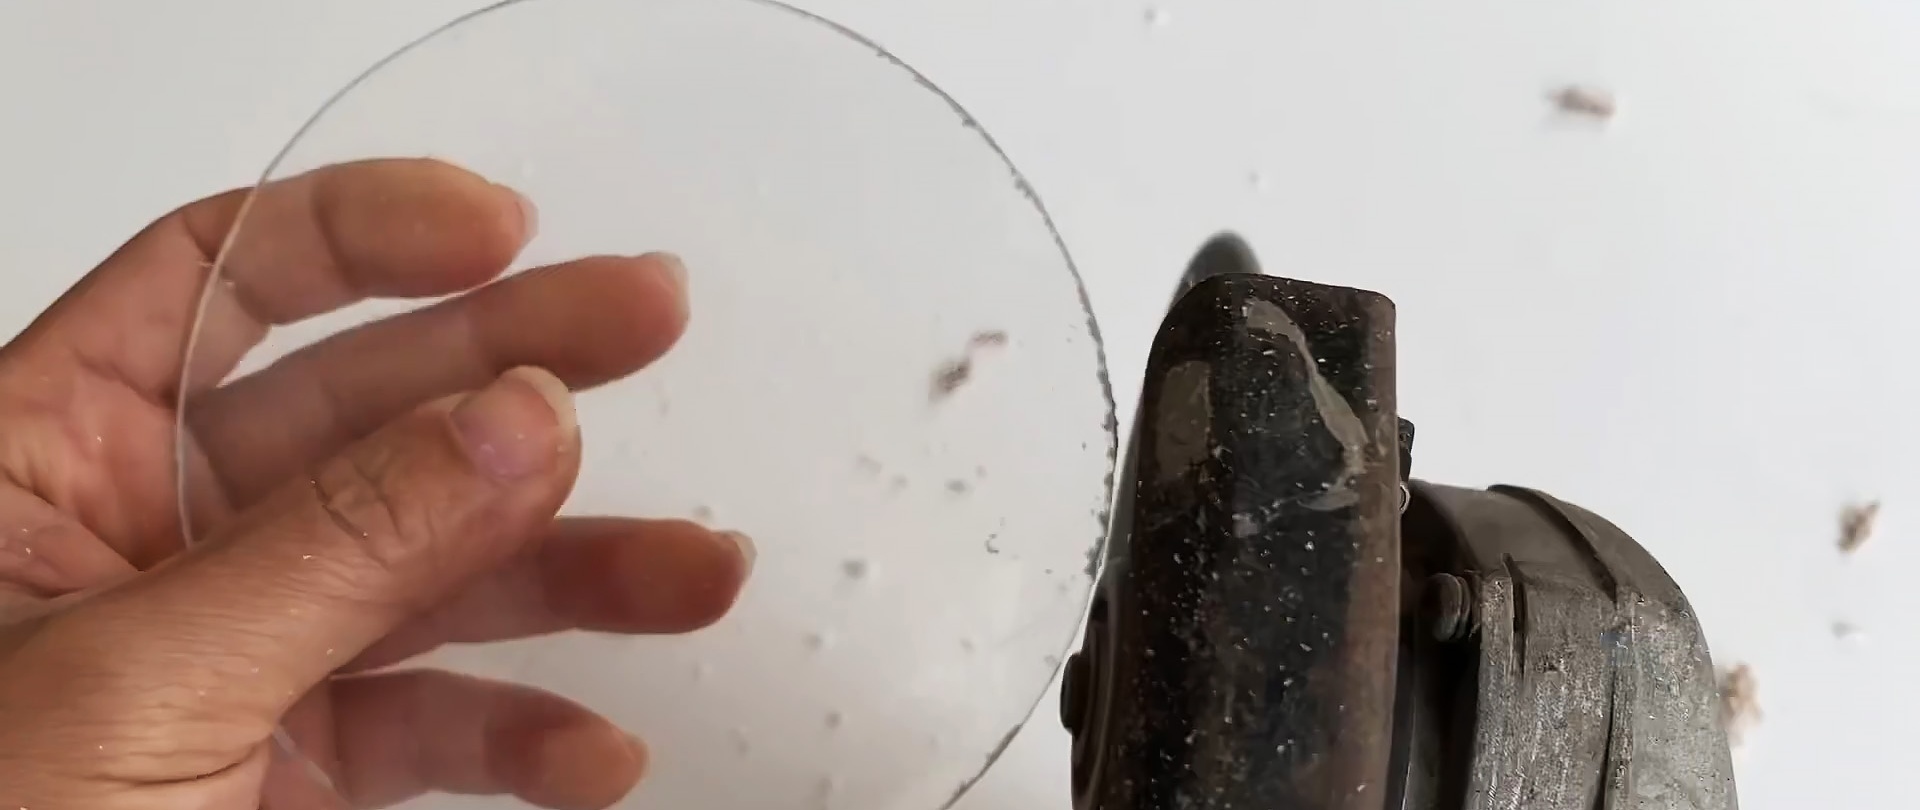
First of all, cut out the round base of the watch dial from transparent plexiglass. When cutting with a grinder, keep in mind that the material melts, so you need to follow the markings with the disk.
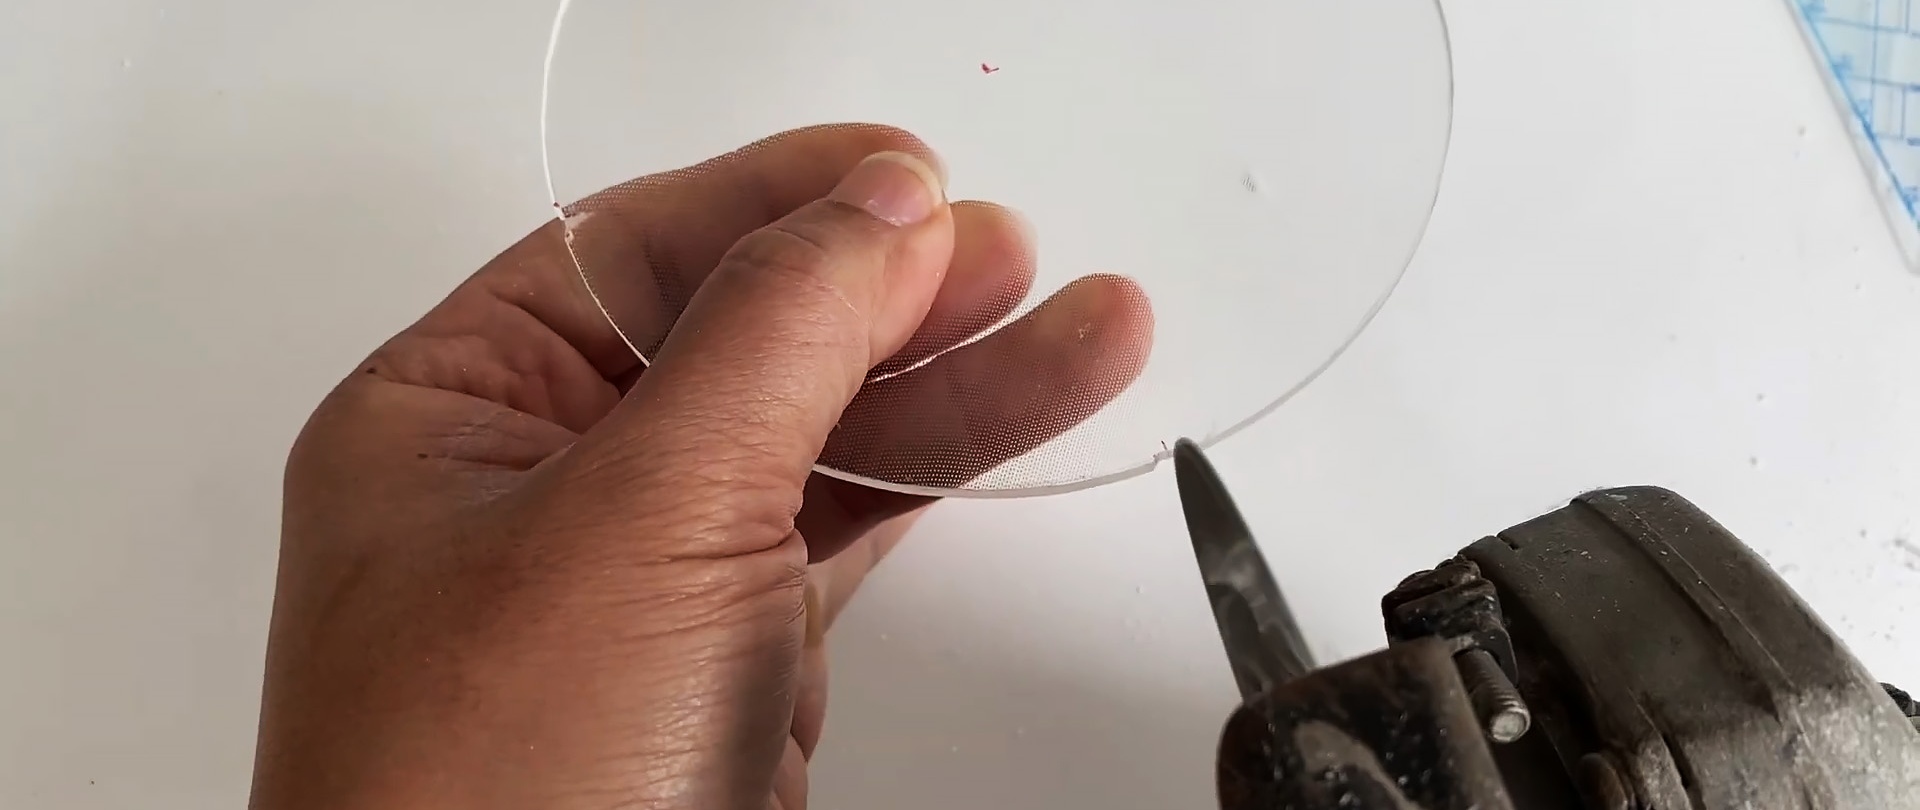
Next you need to make 4 side cuts crosswise for white LEDs. They should fit in them freely.
Now we mark the second, minute and hour hands on the plexiglass. After that we cut them out. Next, we drill out the hands and the very base of the dial.
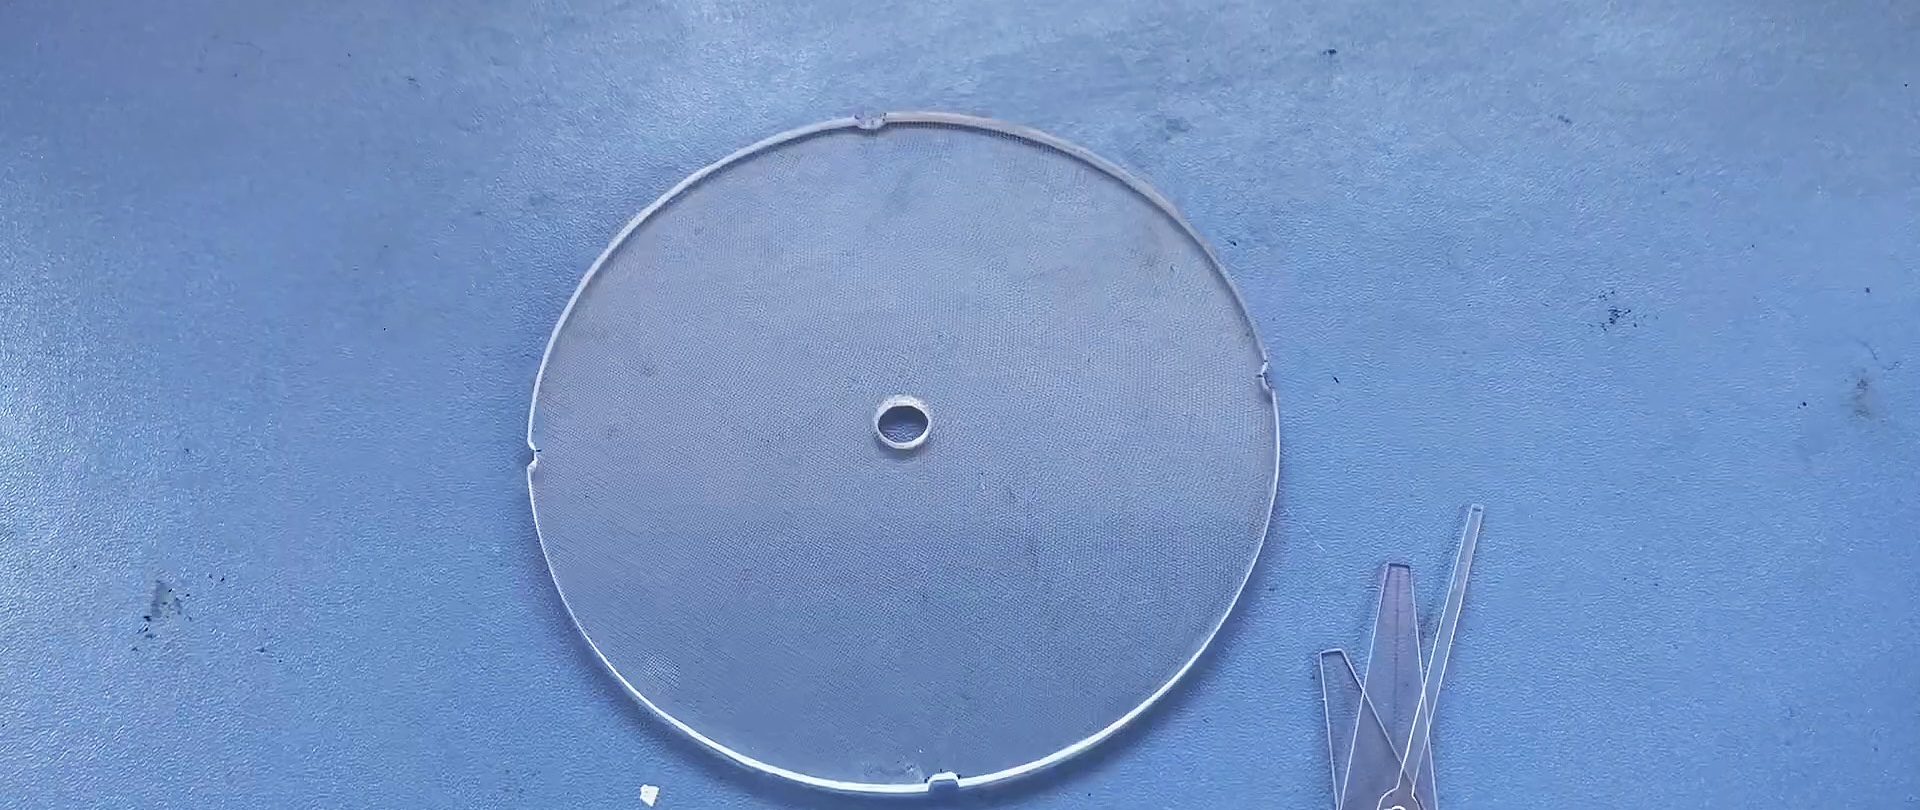
Next, we wind 10 turns of copper wire onto the workpiece. To keep them in place, we soak them with superglue. The edges of the winding should be brought out opposite the future 12 o'clock mark.

After this, the dial can be drilled, making holes where the numbers will be placed in the future. The ends of the winding must be bent, stripped down to metal and tinned.

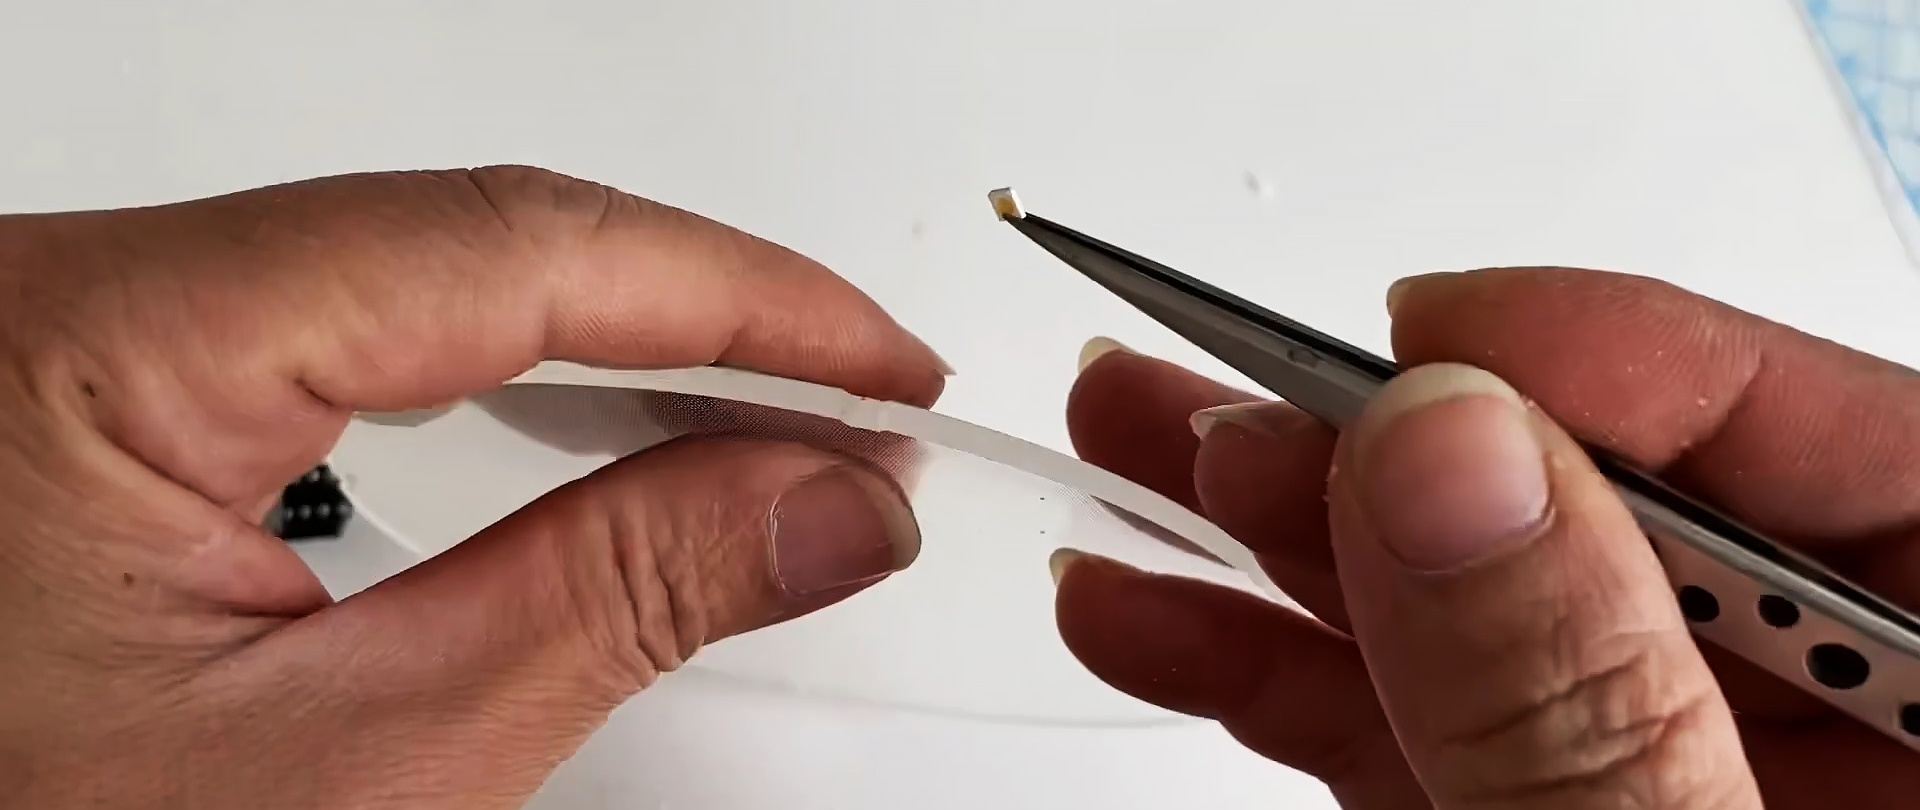
Now take 4 white ones LED, and solder the wiring to them. Then we glue them into the grooves on the dial base blank. The wires from the LEDs need to be soldered to the ends of the winding.


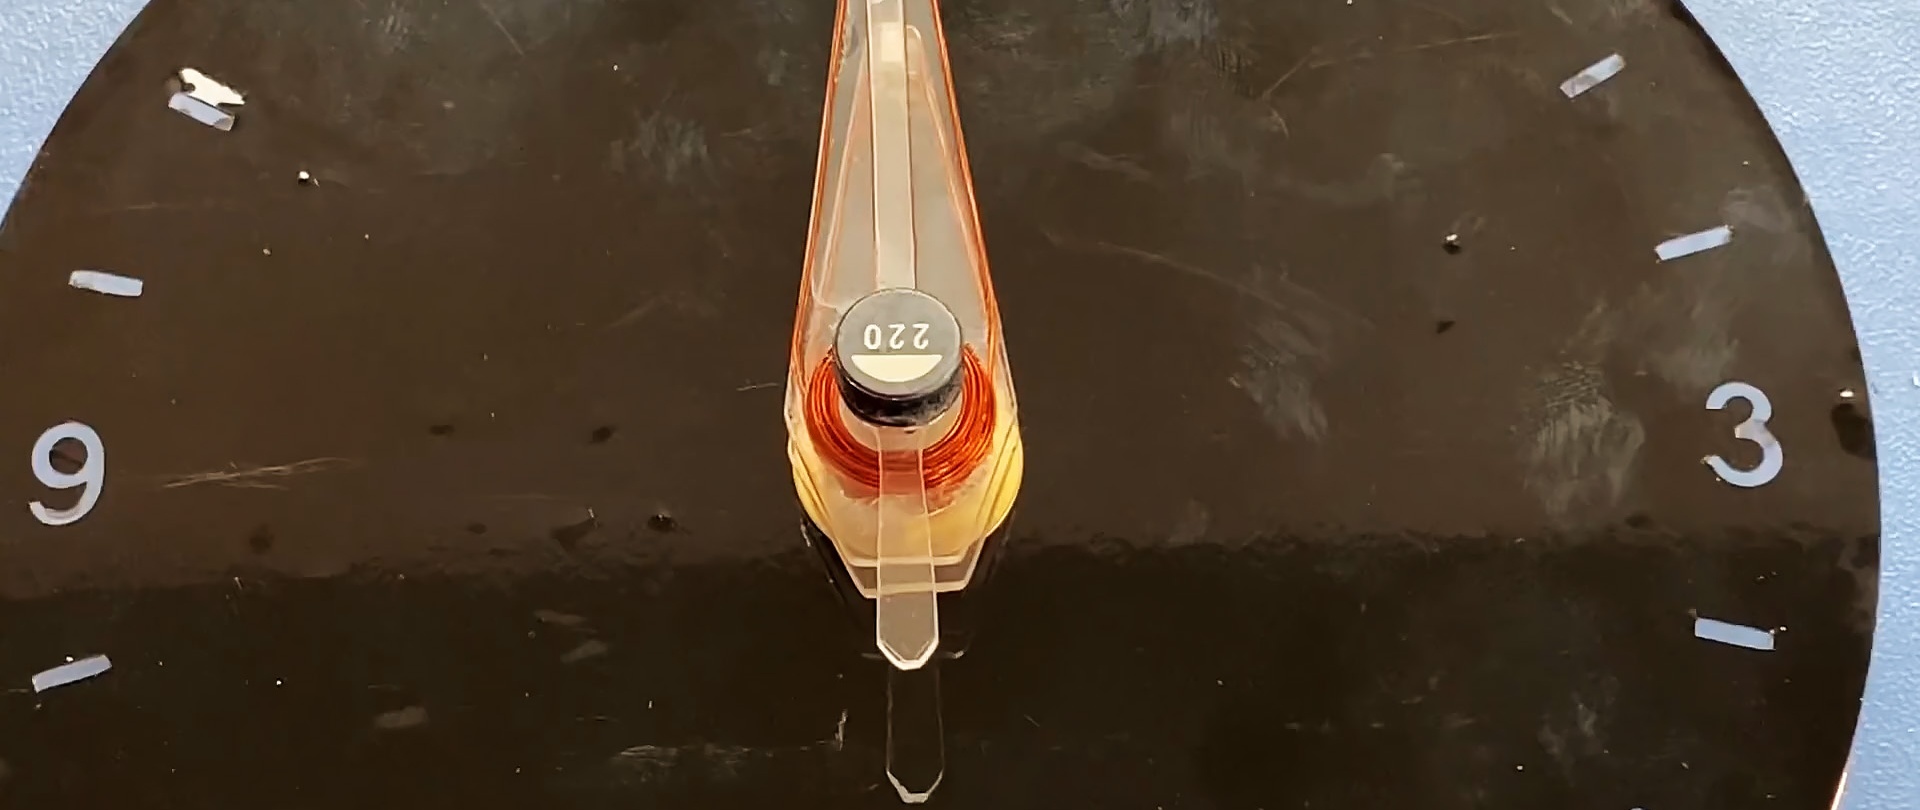
A plastic ring with a diameter of 27 mm is glued to the center of the dial base.

Then we temporarily put a disk on top and tighten it all with a bolt. This is needed for winding. After this, we wind 10 turns of wire around the ring. Then we bring its edge to 12 o’clock, bend it, and make another 30 turns.

Next, you need to carefully remove the cover disk and strengthen the coils with superglue. Thus, we get 3 ends from the wire. On the left is the beginning of the winding, in the center is the double edge, and on the right is the end after 40 turns.

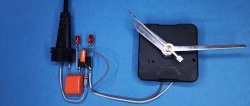
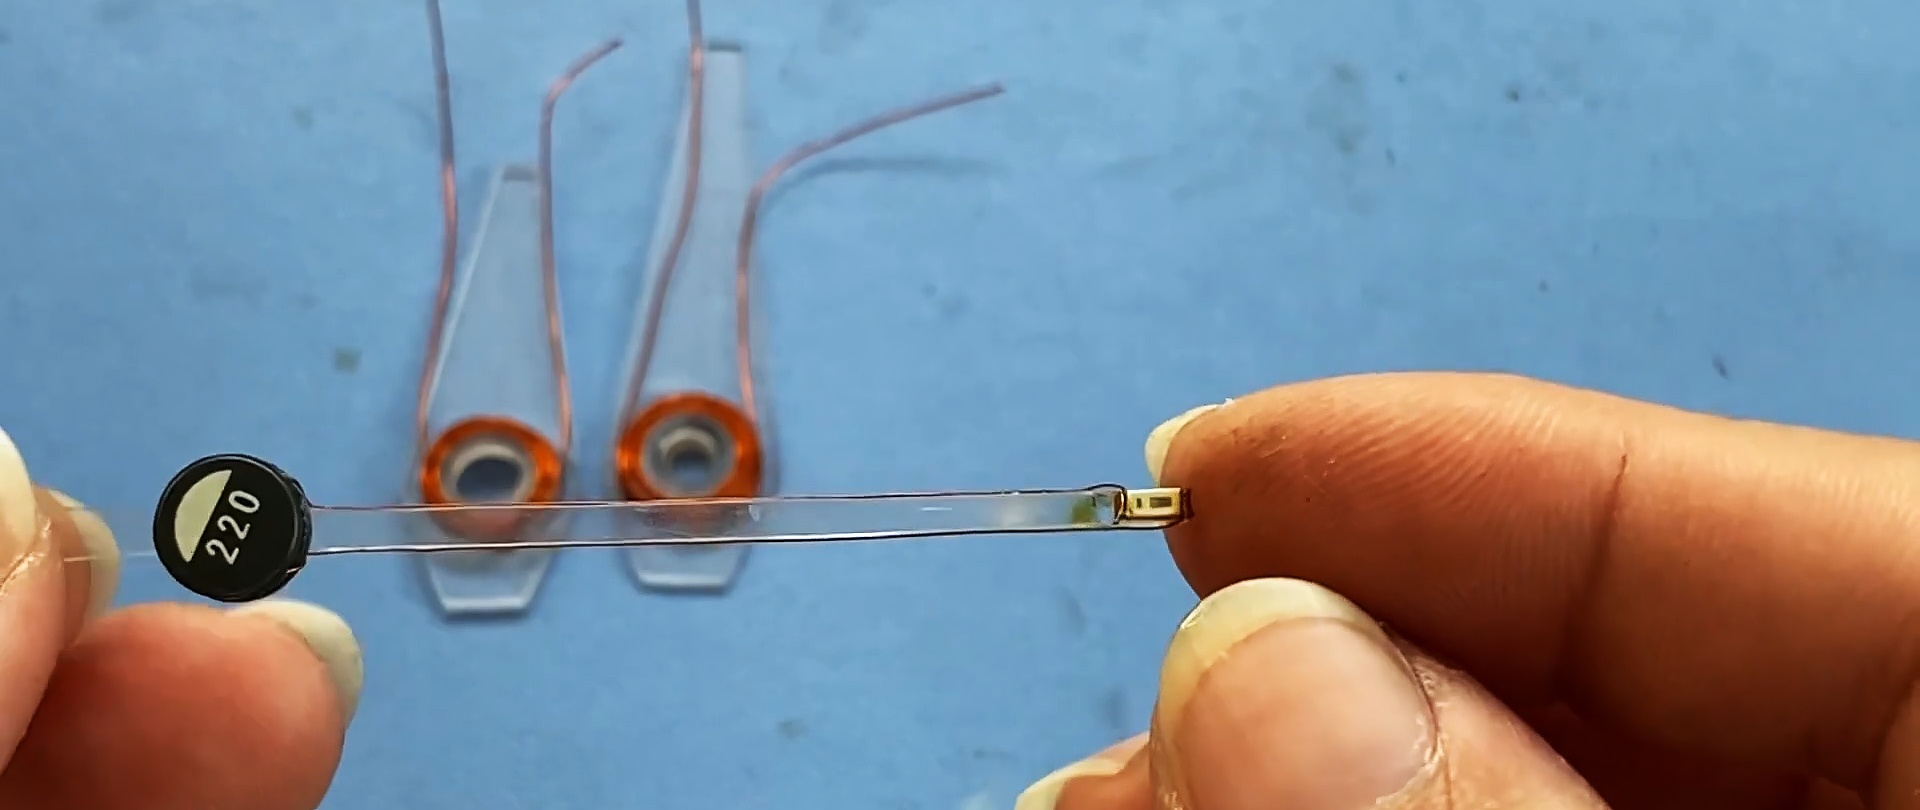
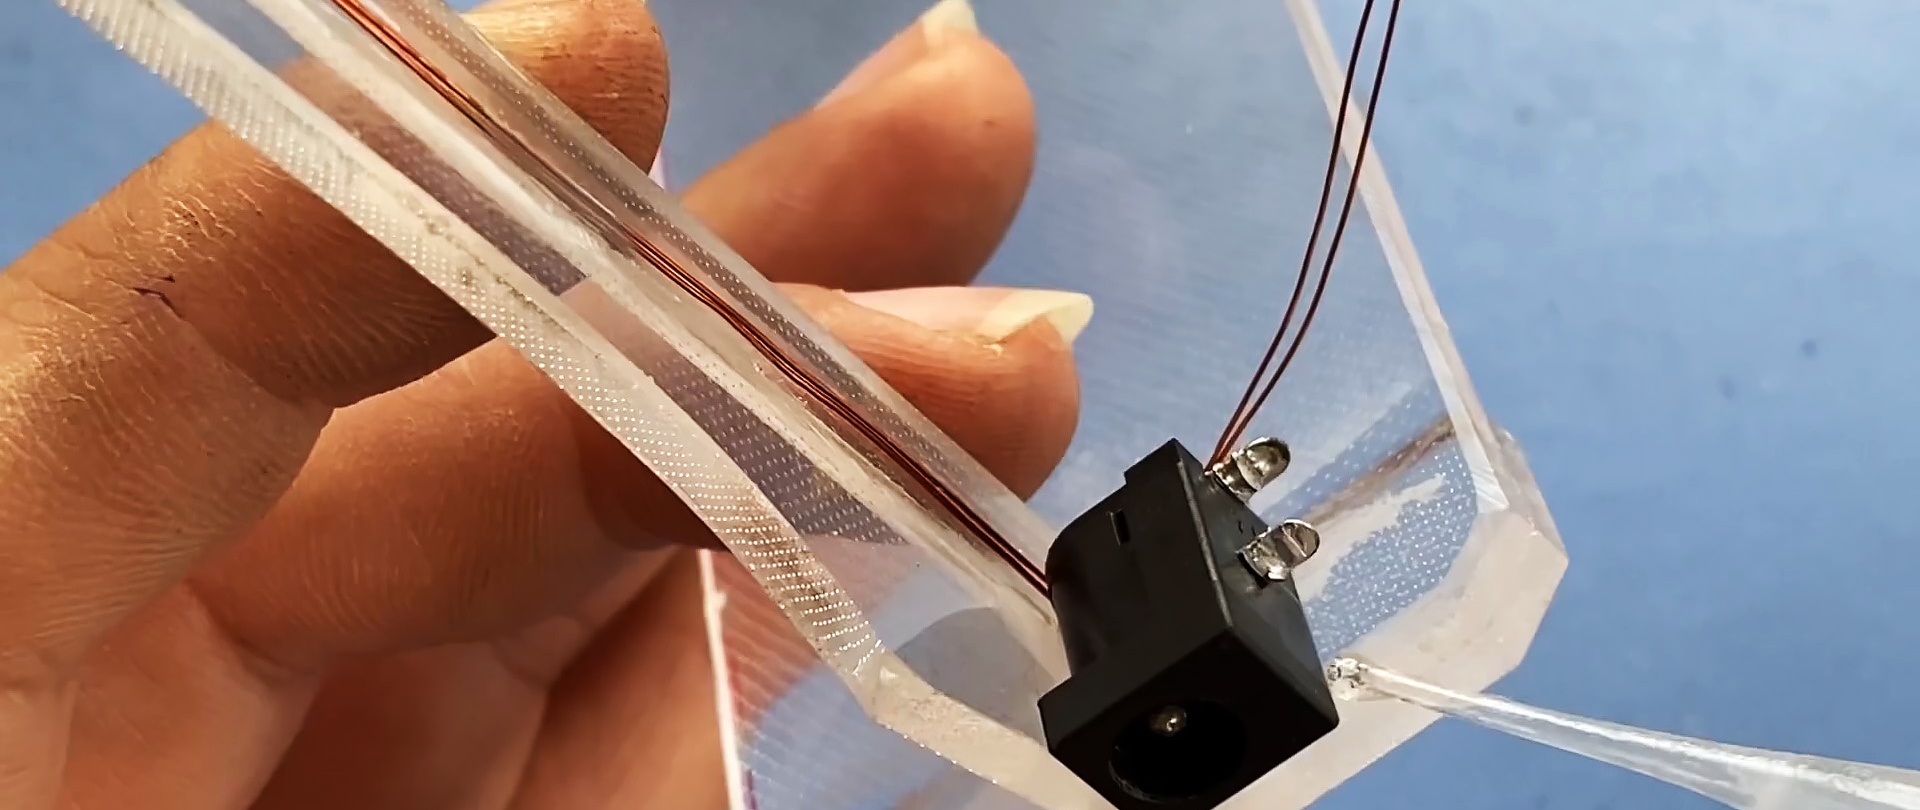
Bushings are glued to the minute and hour hands to secure them to the clock mechanism. After which 20 turns of wire are wound on them. A ferrite coil is glued to the second hand. We wind 40 turns on it. All arrows should have long wire tips.


We glue the ends of the wire on the arrows to the edges, and then solder colored LEDs to them.The second hand is red, the minute hand is green, the hour hand is blue.


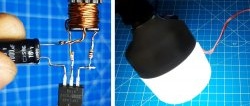
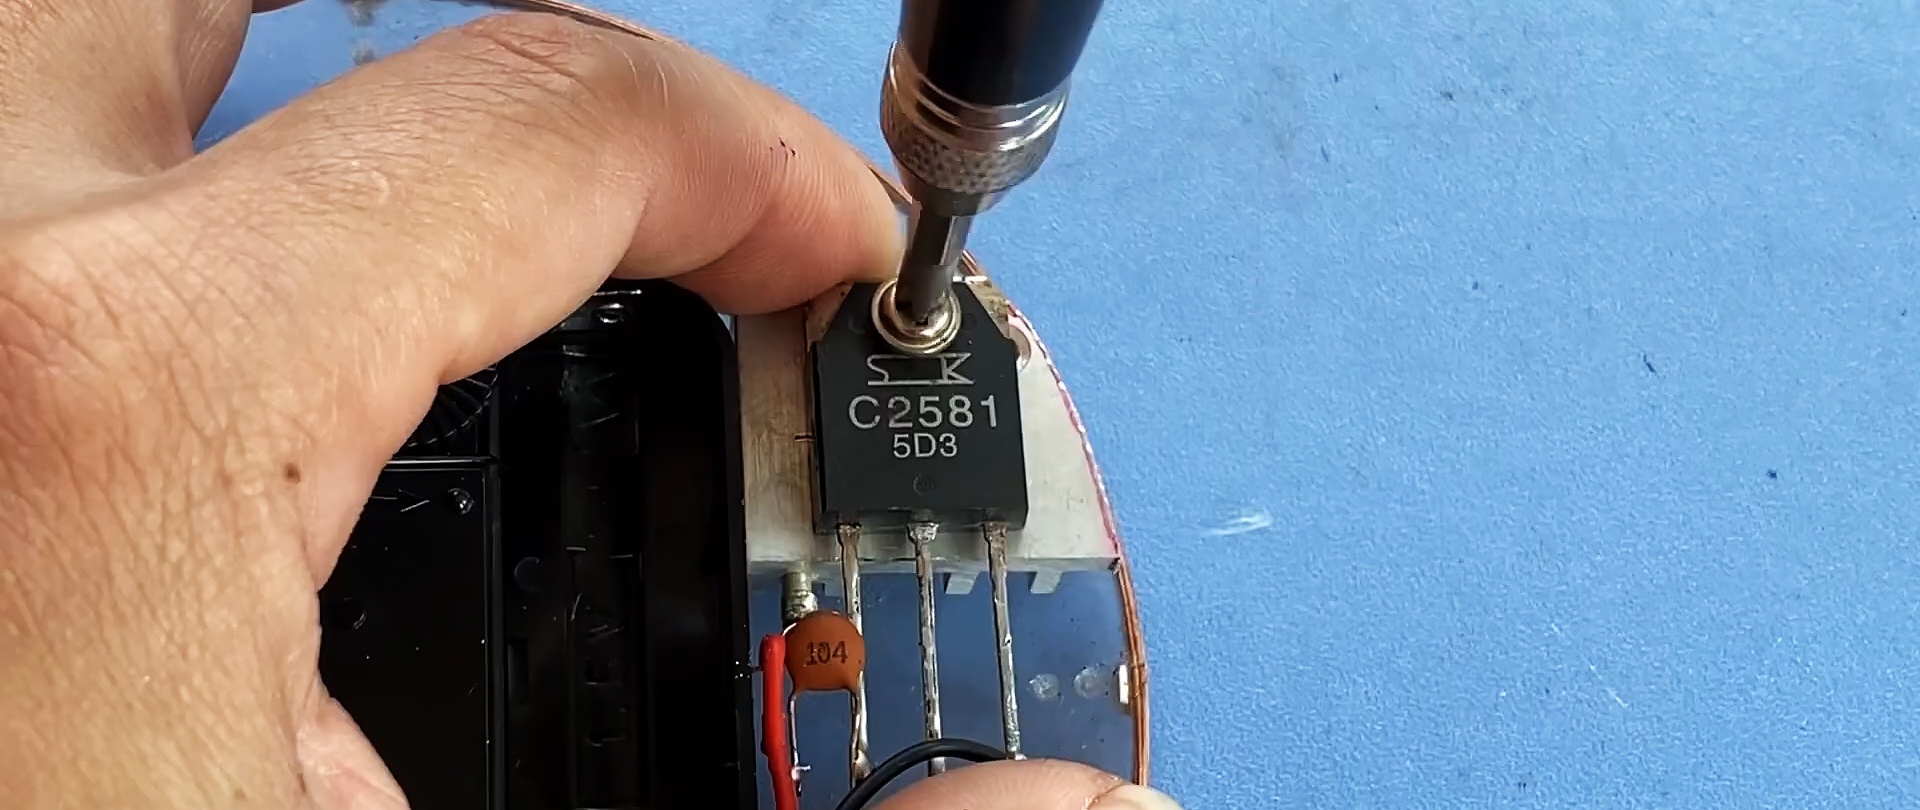
The right edge of the winding from the ferrite coil must be soldered to the central leg (collector) of the transistor. We solder a capacitor to the left leg (emitter). To the free contact of the latter we connect the beginning of the winding, as well as a 1K resistor. Well, we solder the free leg from the resistor to the double edge of the winding.


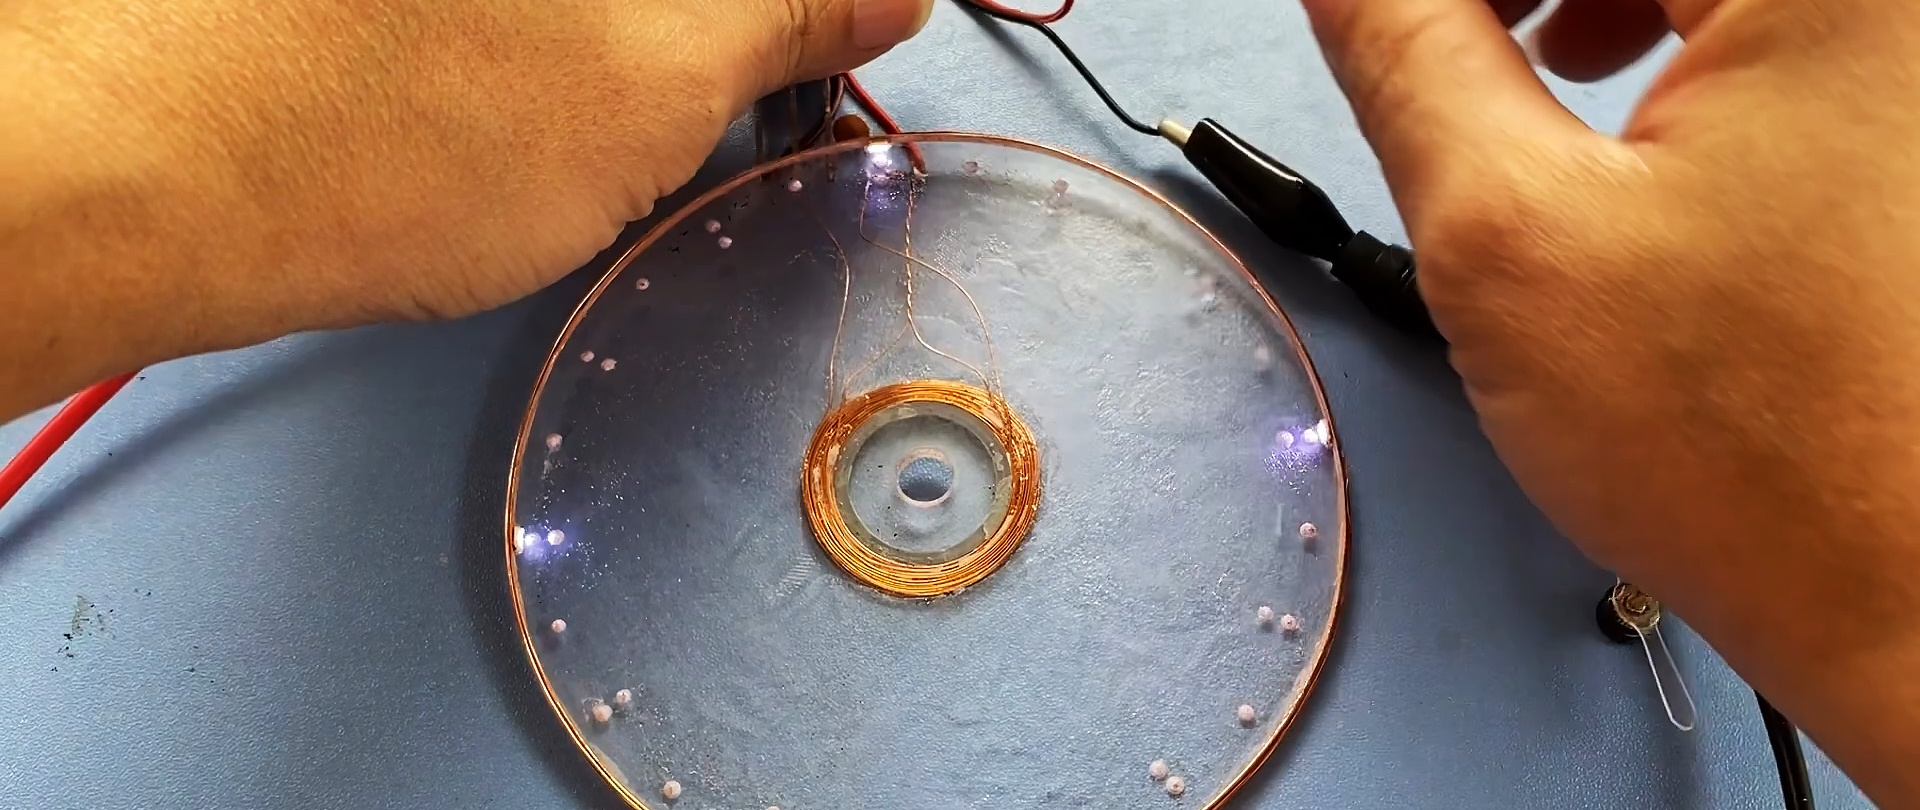
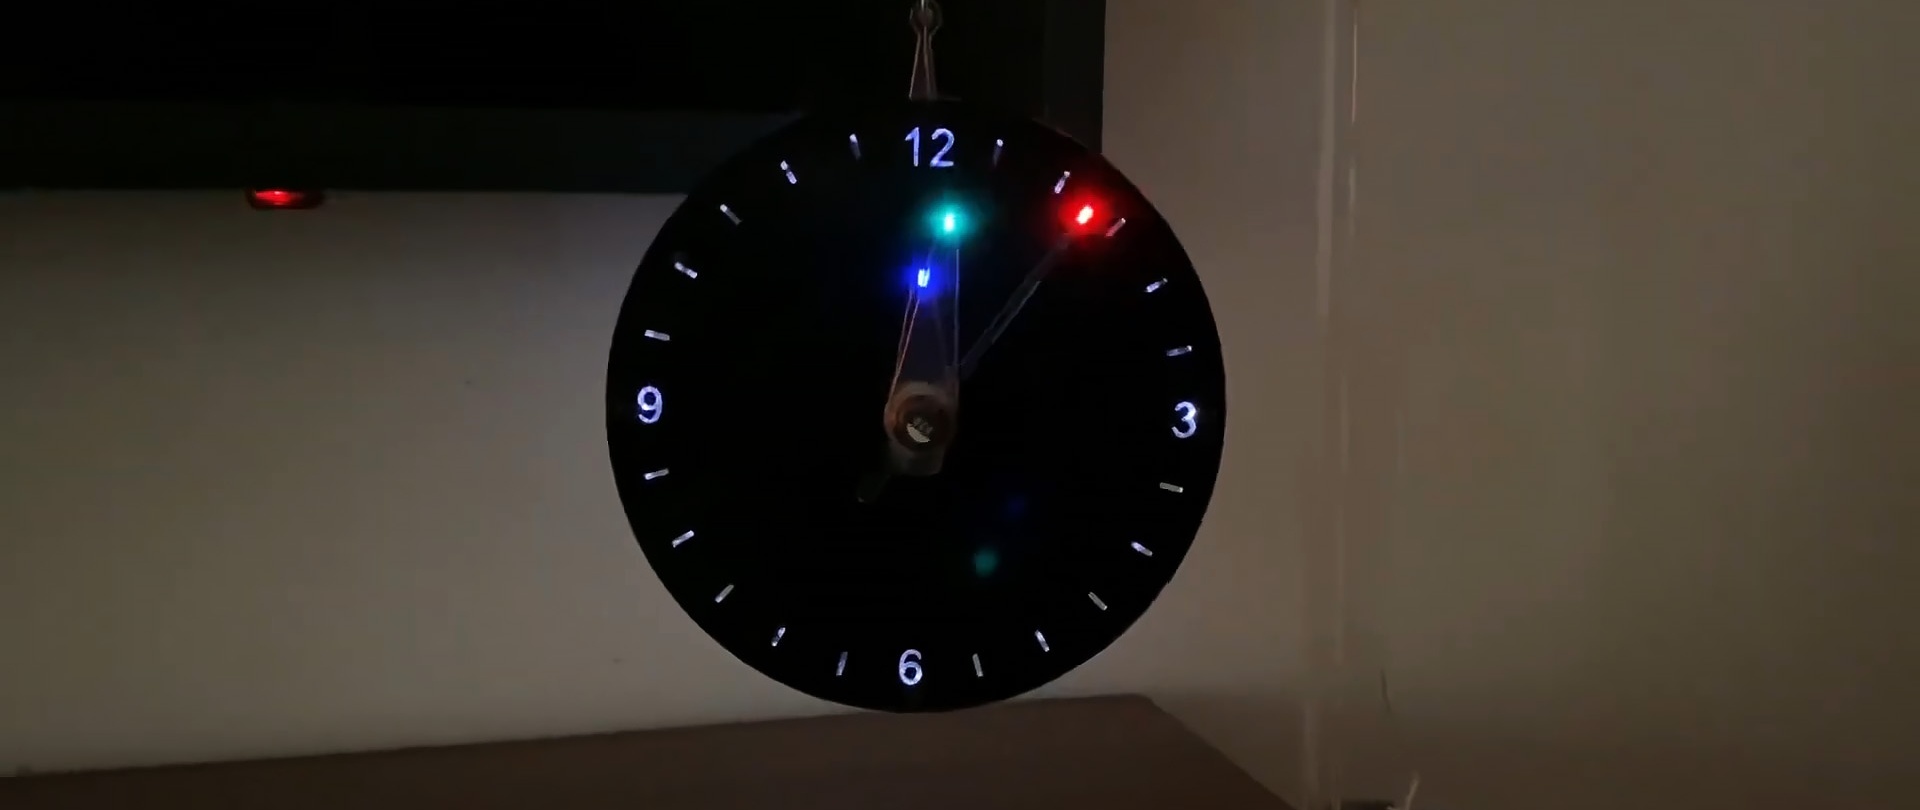
Now you can start eating. To do this, we solder the positive wire to the double end of the winding and the resistor, and the negative wire to the base of the transistor. If everything is assembled correctly, then when a voltage of 5V is applied, the white LEDs will glow. Also, if you apply the arrows, their LEDs will also light up.

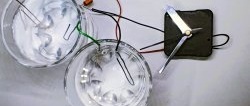
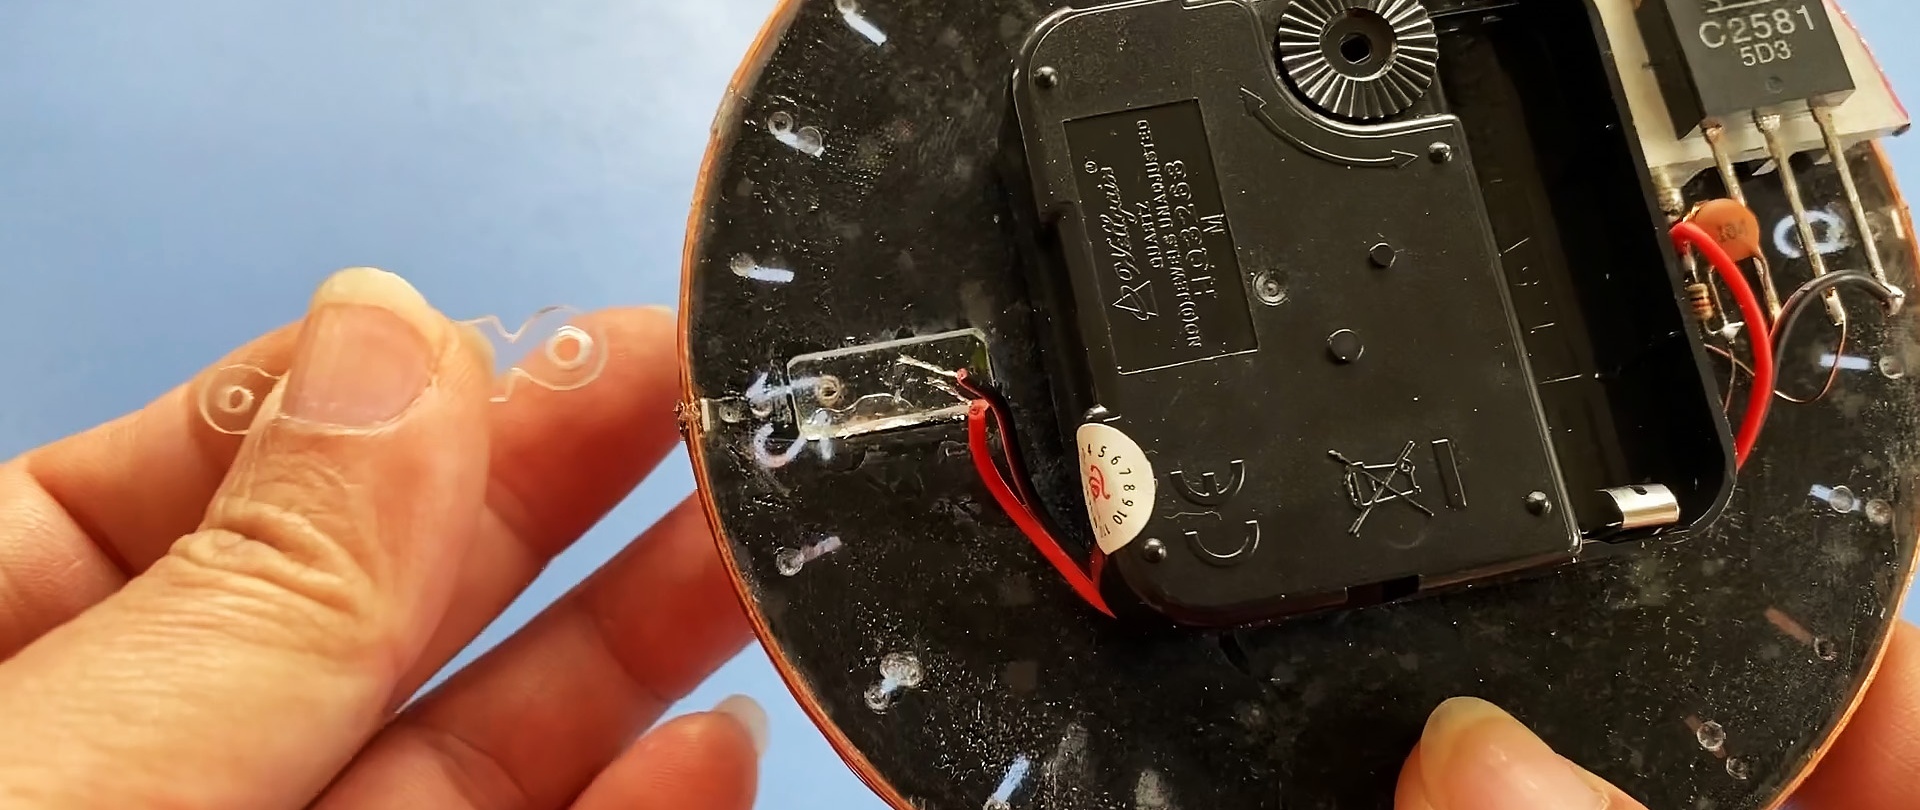
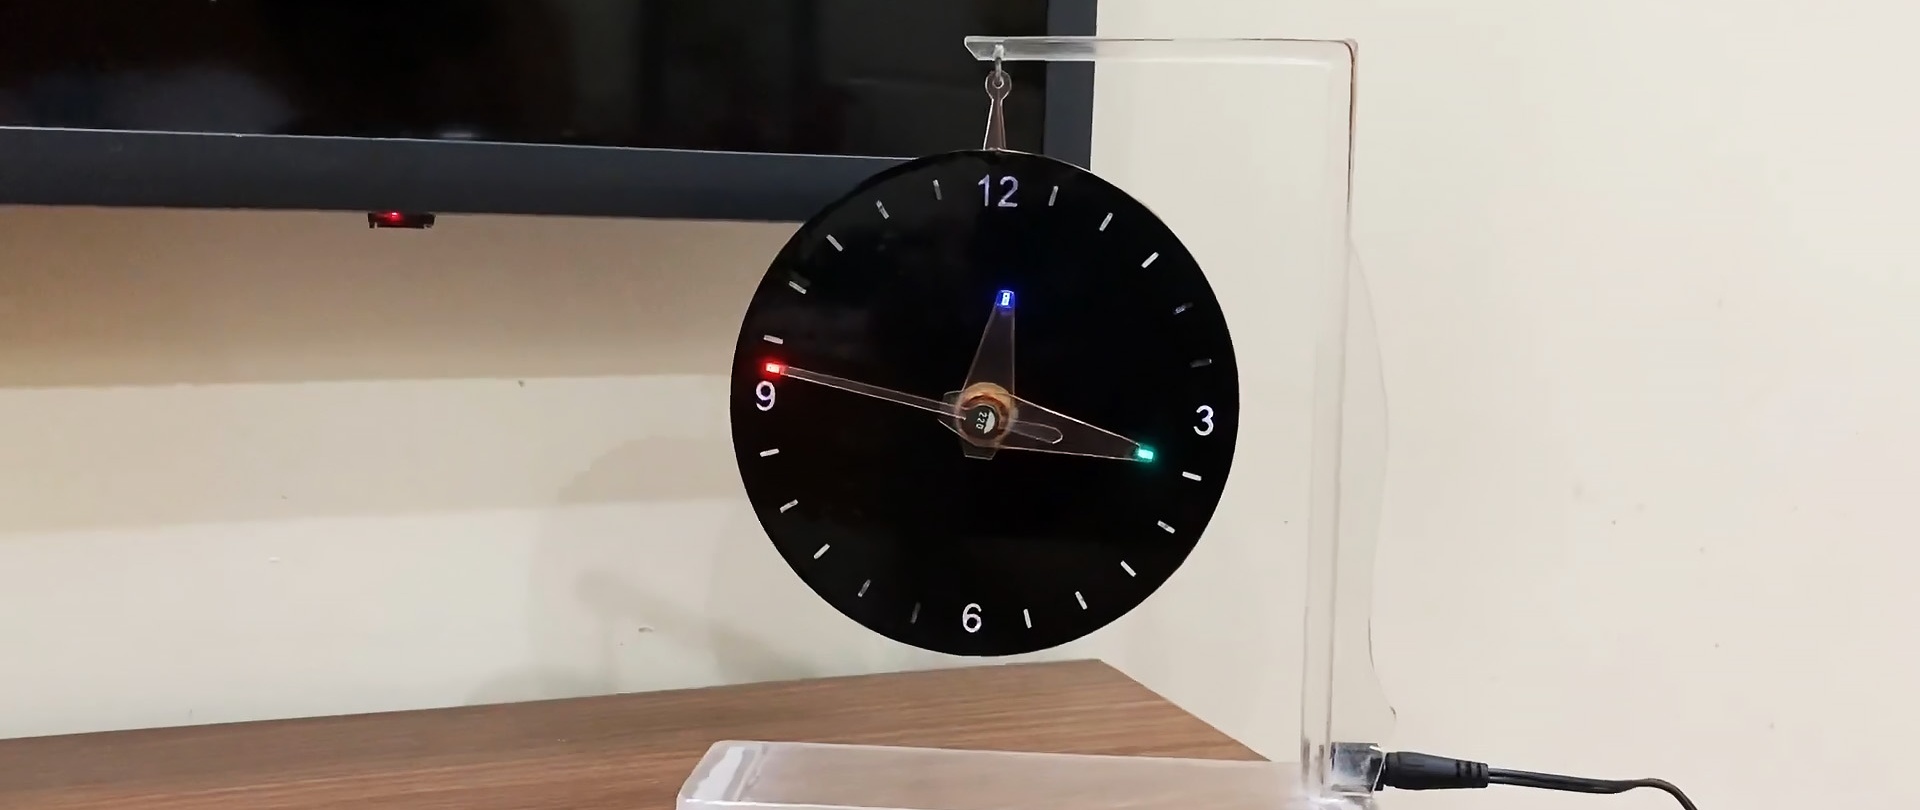
A clock mechanism is glued to the back of the base, as well as a transistor with an aluminum radiator for cooling. After this, you can glue the dial itself, made of black tint film with cut out numbers and markings.


After this, we put the hands on the clock mechanism. To install the clock, a stand is assembled on which it can be hung. It is also glued together from plexiglass. Wires are laid along the stand, and the connector for the power supply is glued to it.


Thus, the clock mechanism will be powered by a battery, and the backlight of the dial and hands will be powered by a power supply. That is, even if the electricity in the network goes out, the clock will not stop, but will show the exact time, the hands will simply stop lighting up.
Interesting article: How to power a 1.5 V quartz watch mechanism from a 220 V network - https://enn.washerhouse.com/8265-kak-zapitat-mehanizm-kvarcevyh-chasov-15-v-ot-seti-220-v.html