In order for the tiles to stick to the floor as tightly as possible, the correct distribution of the adhesive over its surface is very important. There are several basic methods that beginners can use, and this article outlines the main mistakes when installing floor tiles.
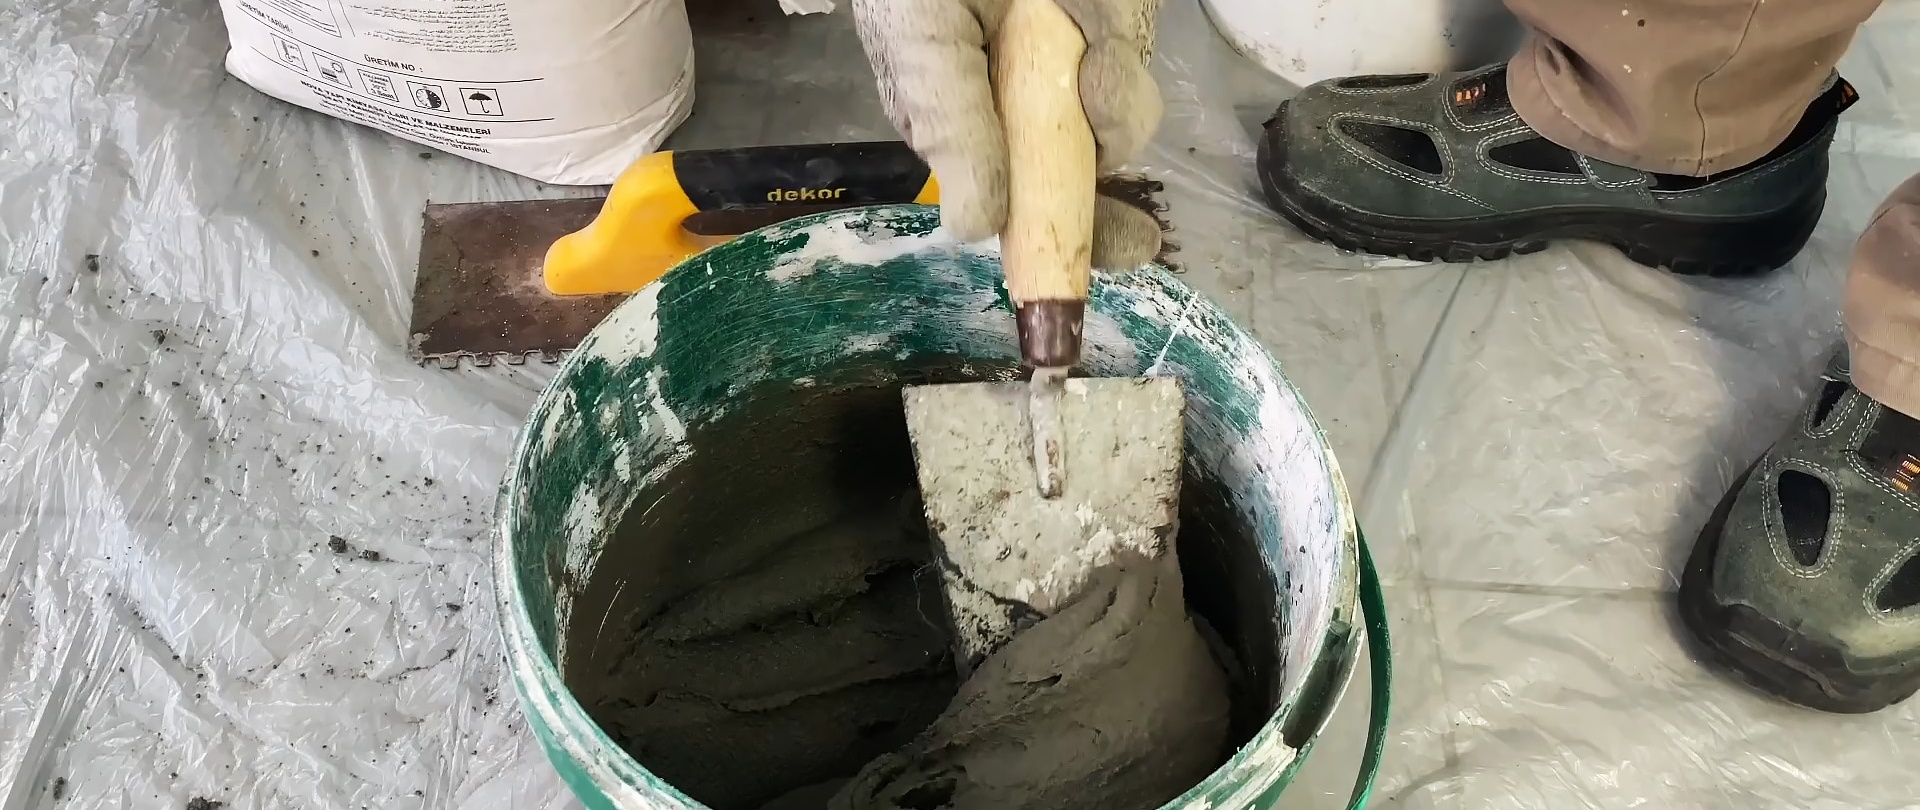
Preparation of solution and stand
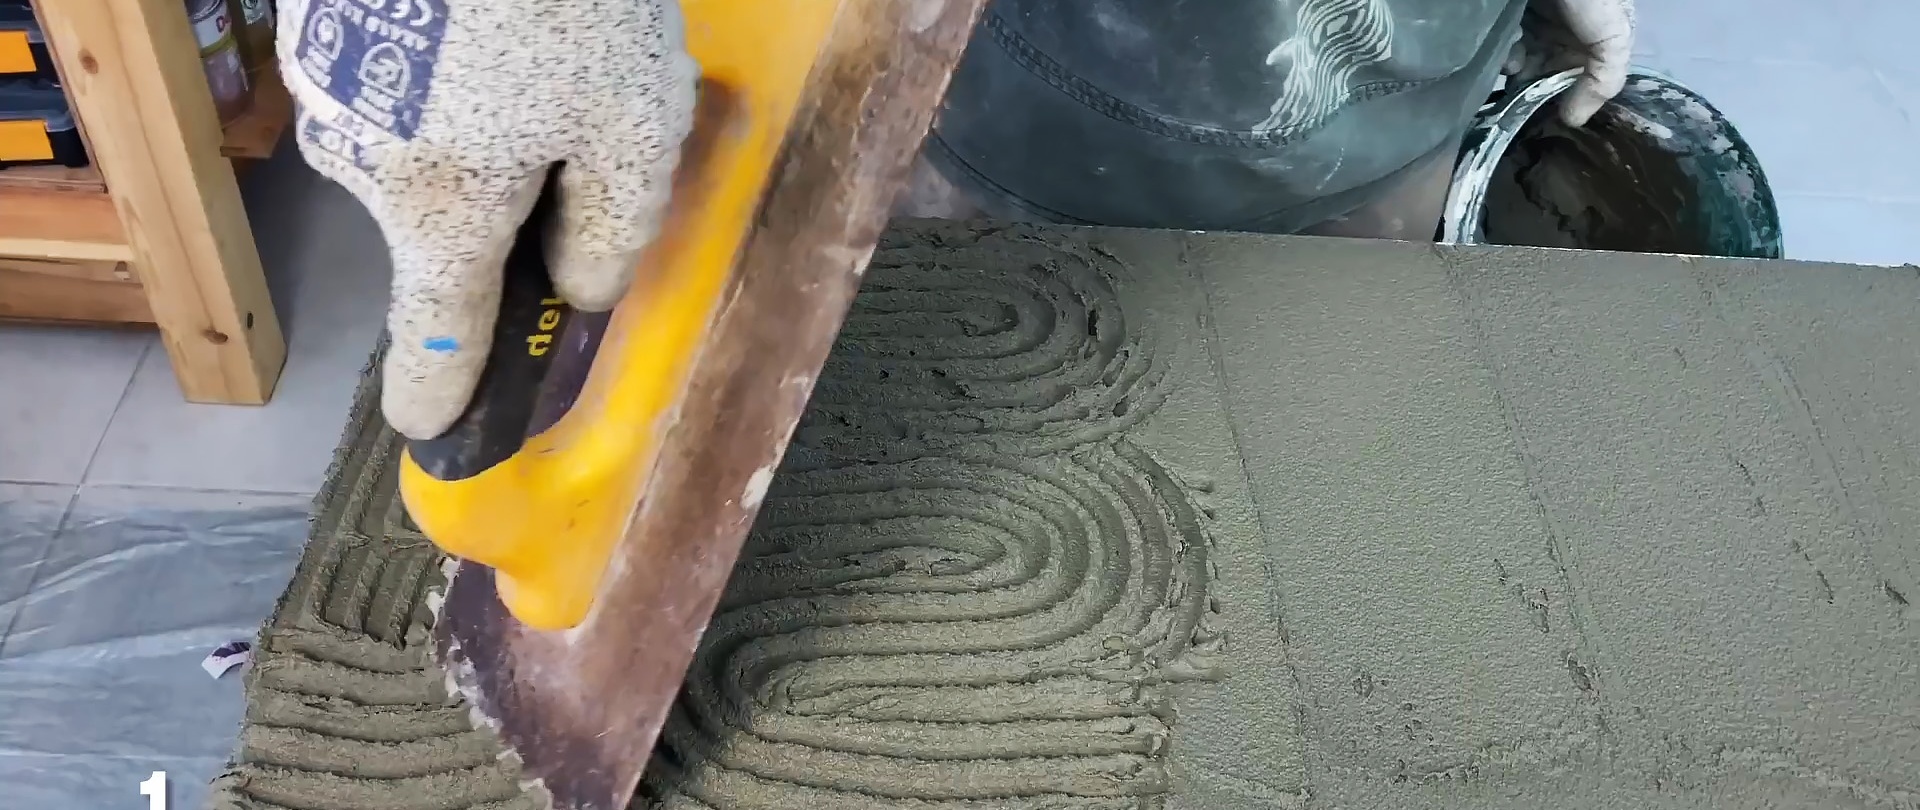
Before starting work, it is necessary to prepare an adhesive solution. To achieve the desired consistency, you should knead it according to the manufacturer's recommendations.
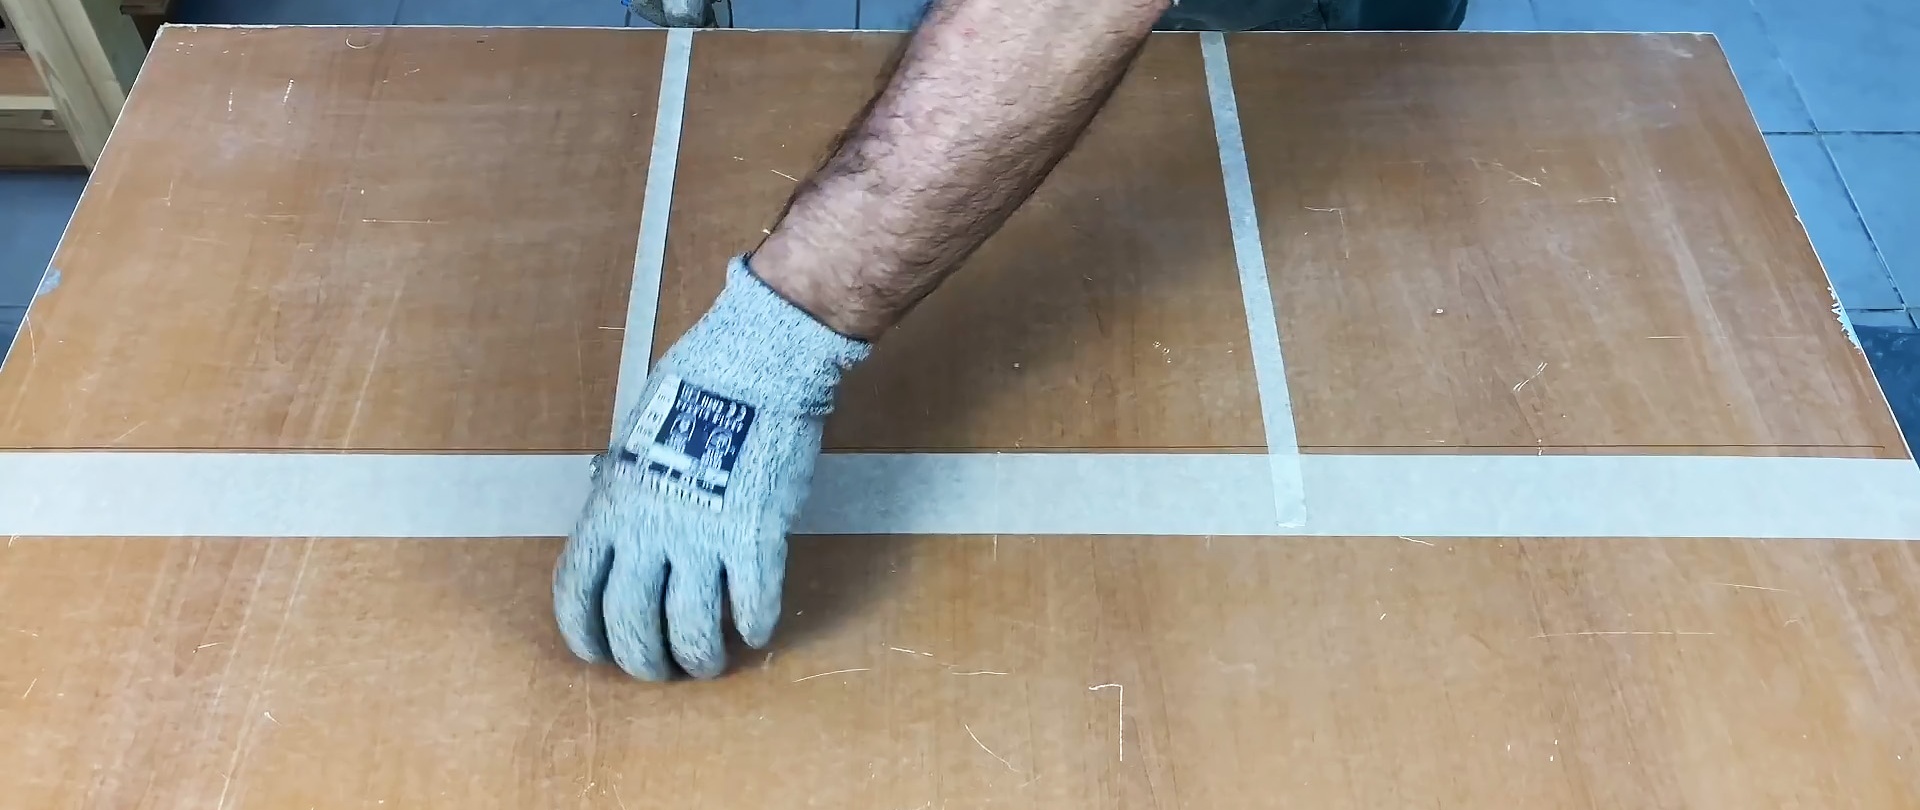
A chipboard or other flat surface is ideal as a test bench. It needs to be divided into three parts and for this you can use masking tape.
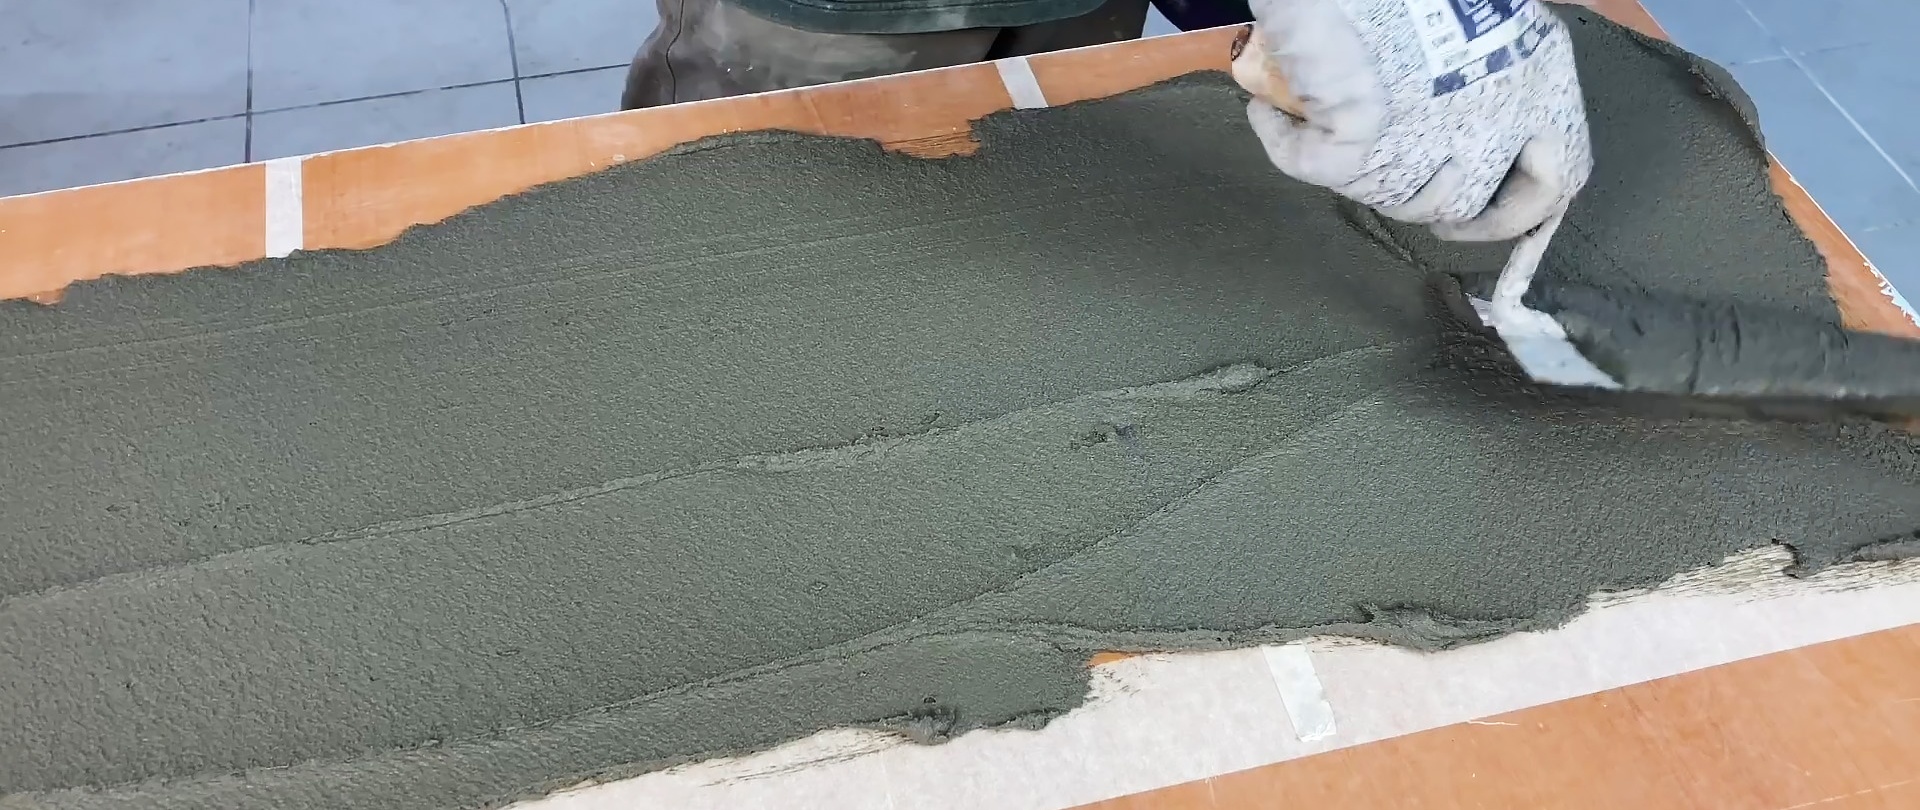
Application of adhesive composition
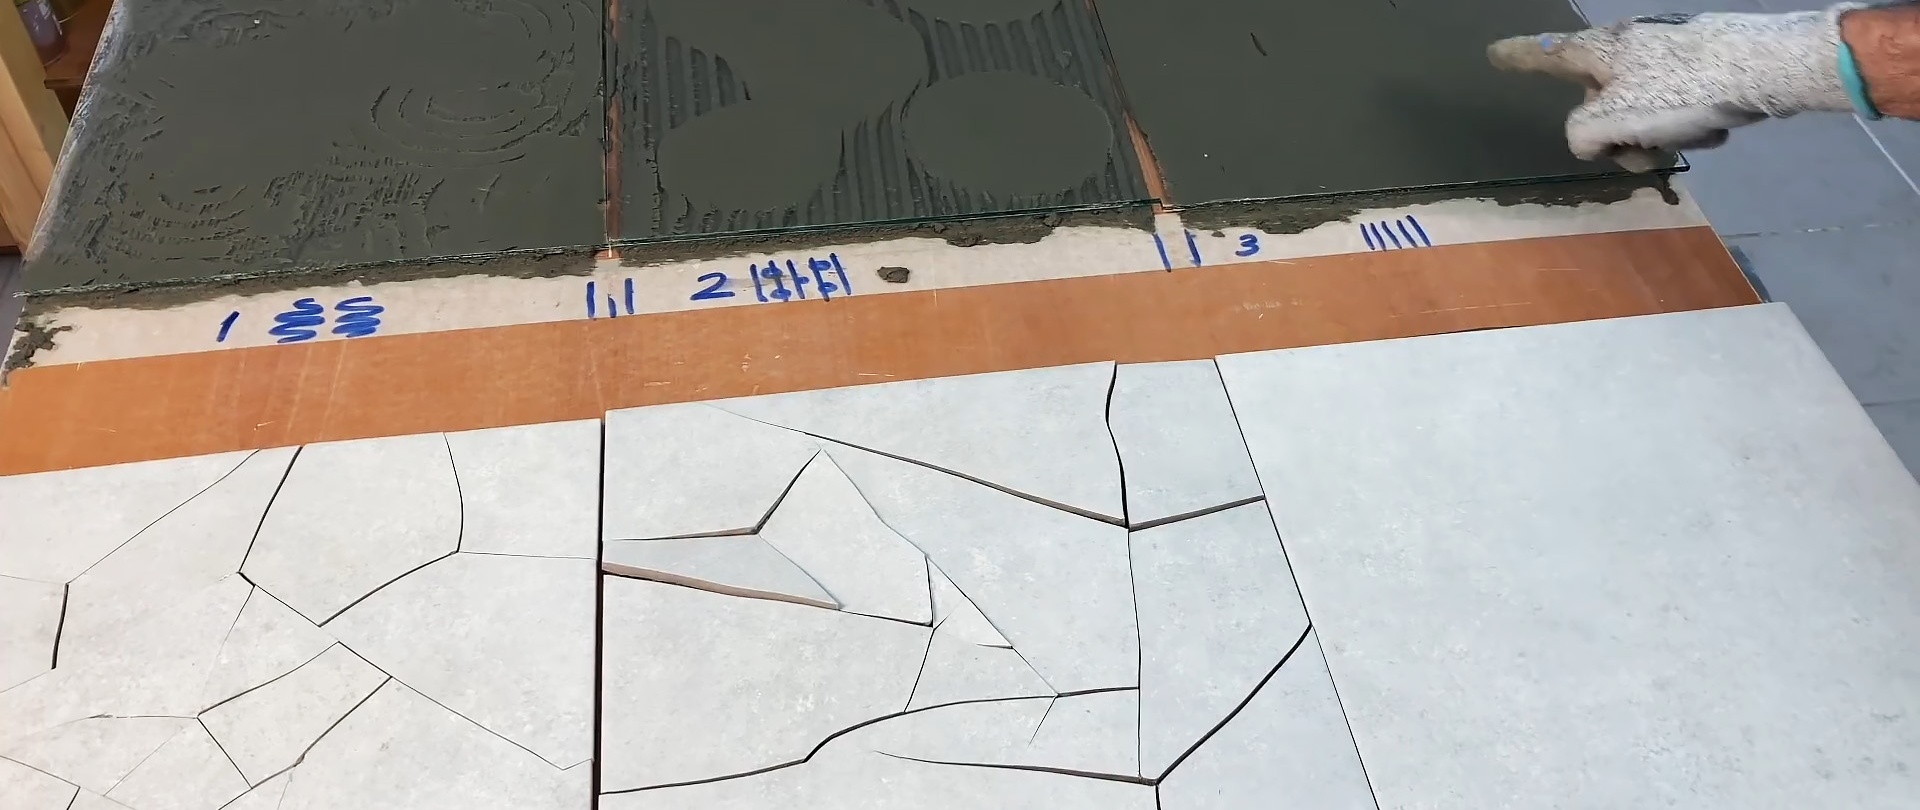
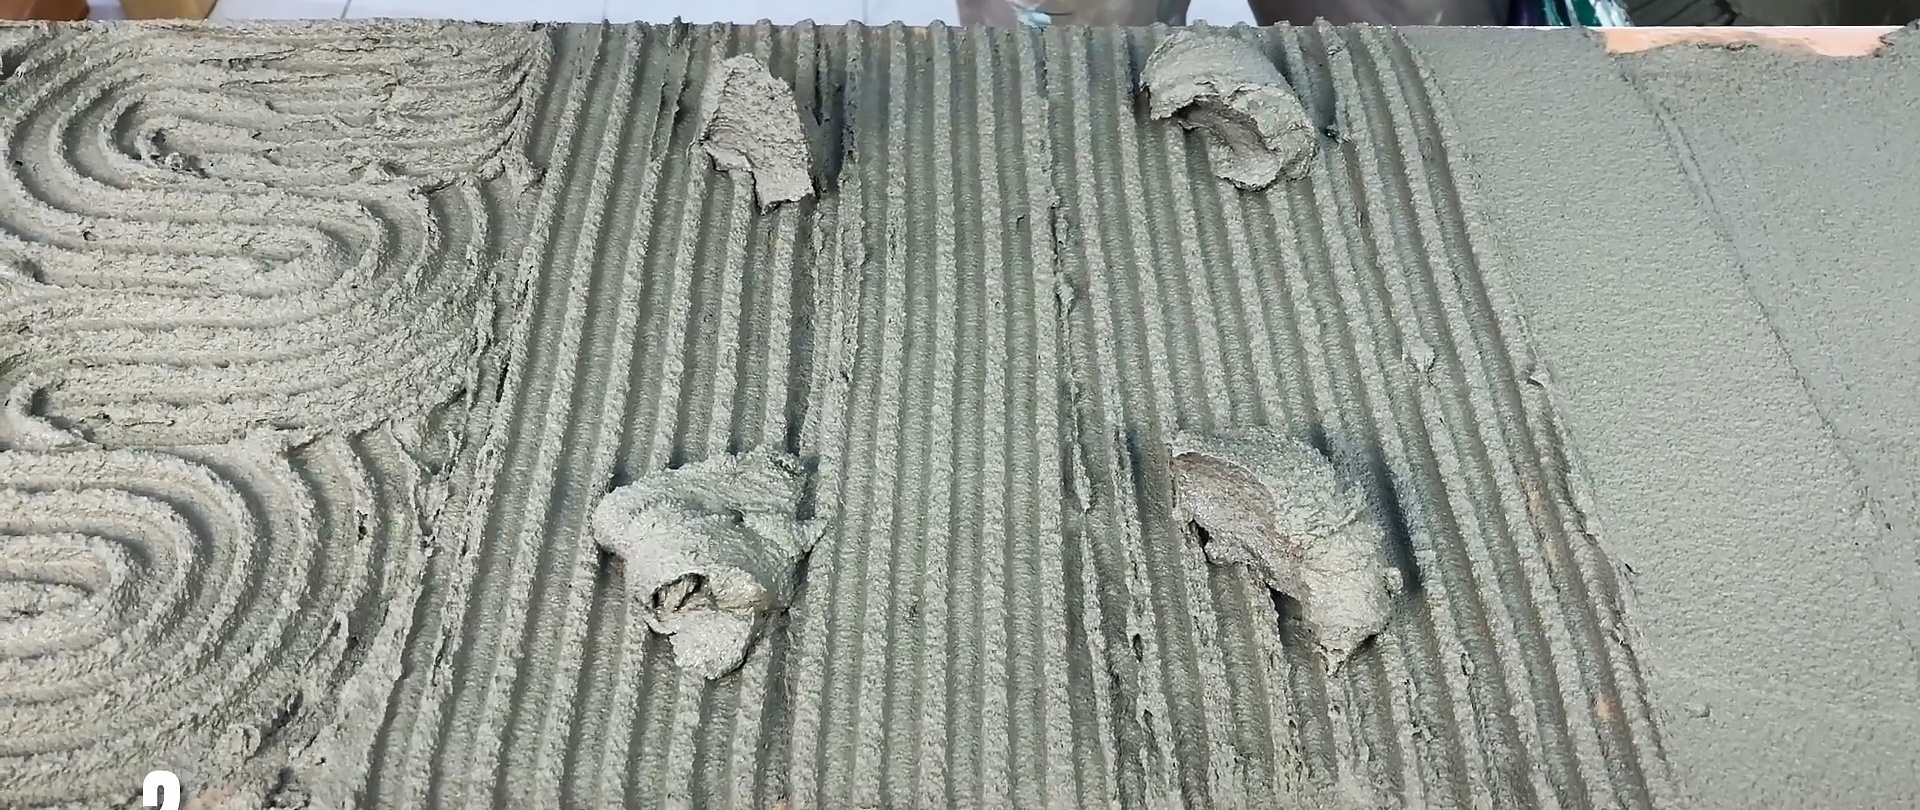
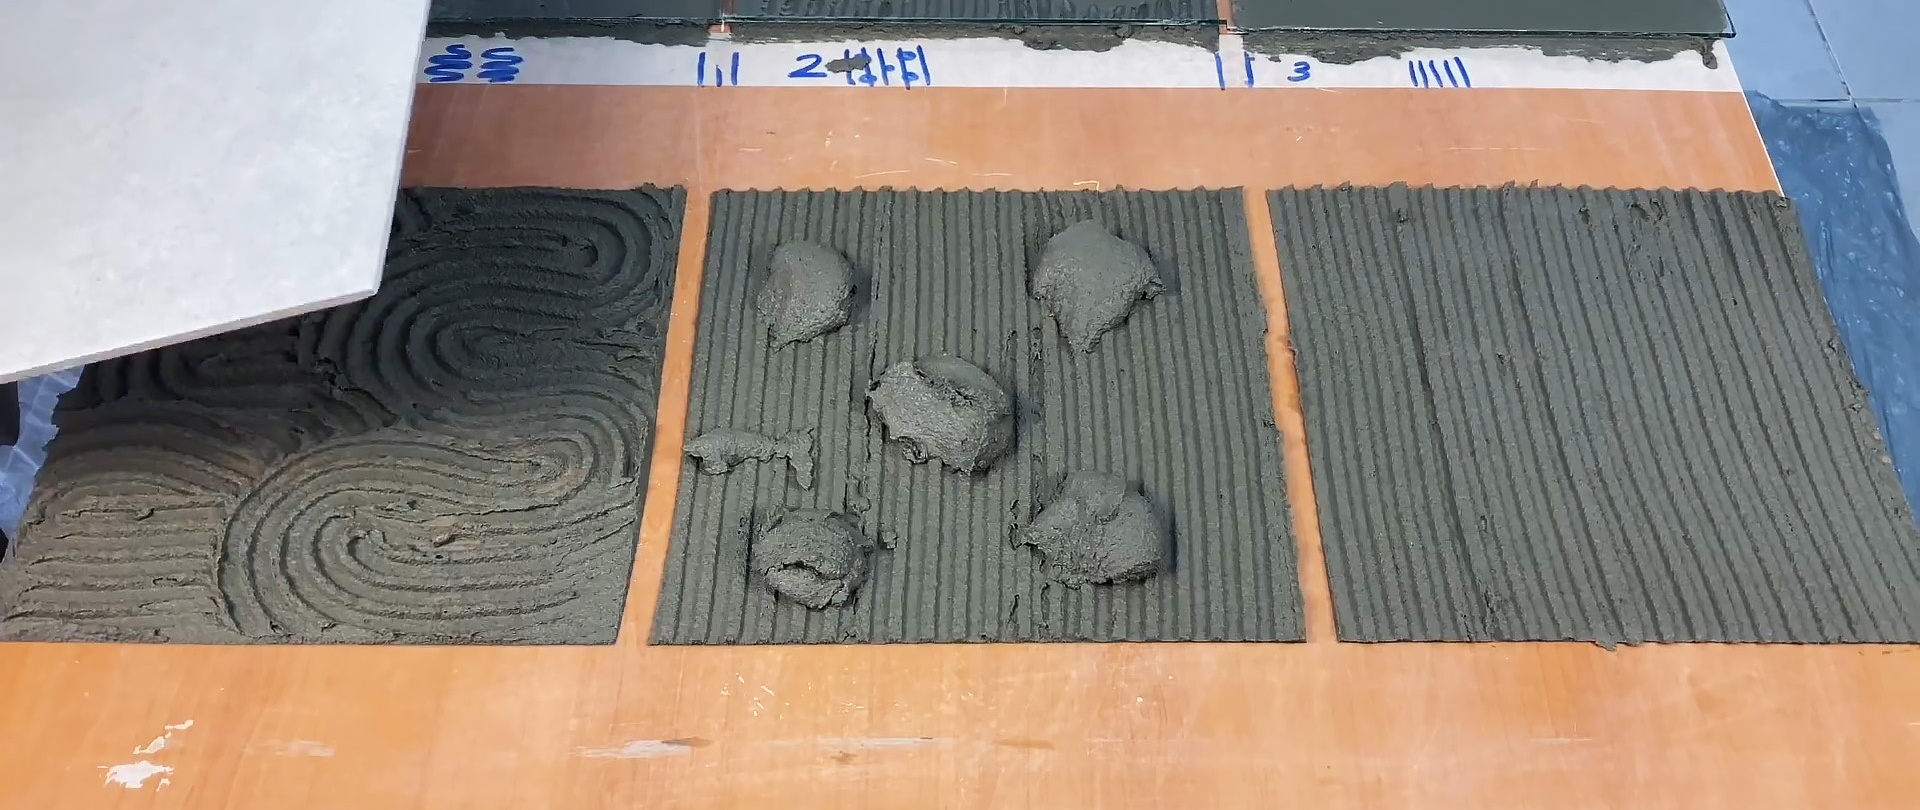
An equal layer of glue must be applied to each marked part. After this, you need to create a different pattern with a notched spatula:- 1 tile – use a spatula to move from side to side;
- 2 tiles - draw straight lines with a spatula, but add a little mortar to the corners of the tile and to its center;
- 3 tiles - strips with a spatula should run parallel along the entire length.

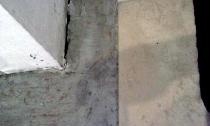
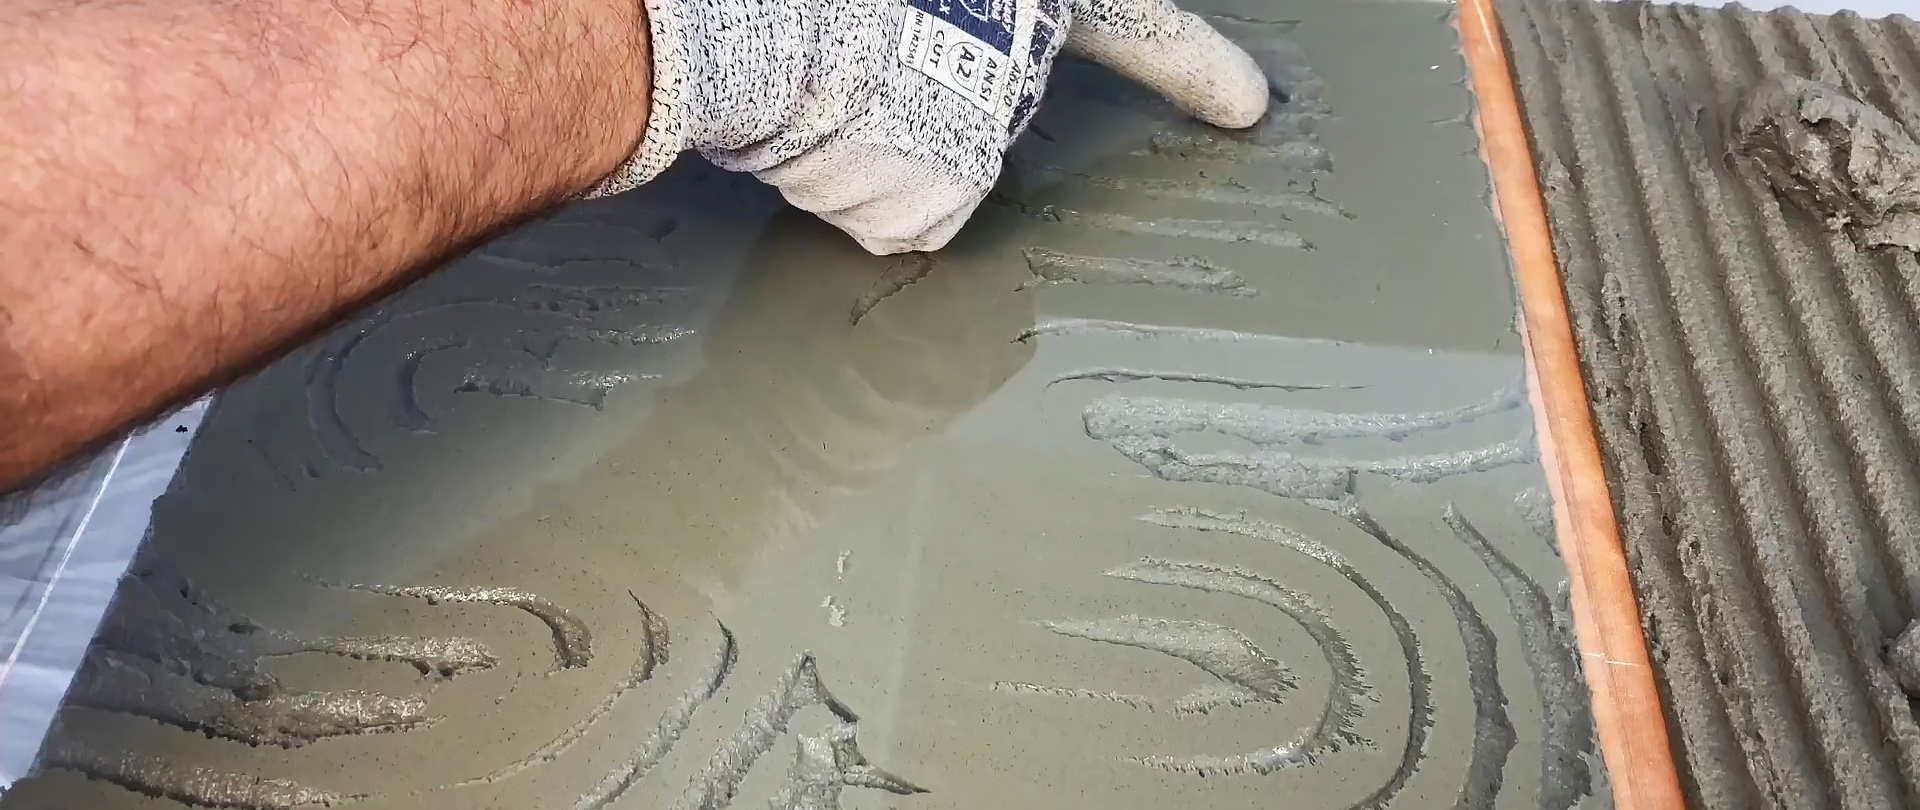
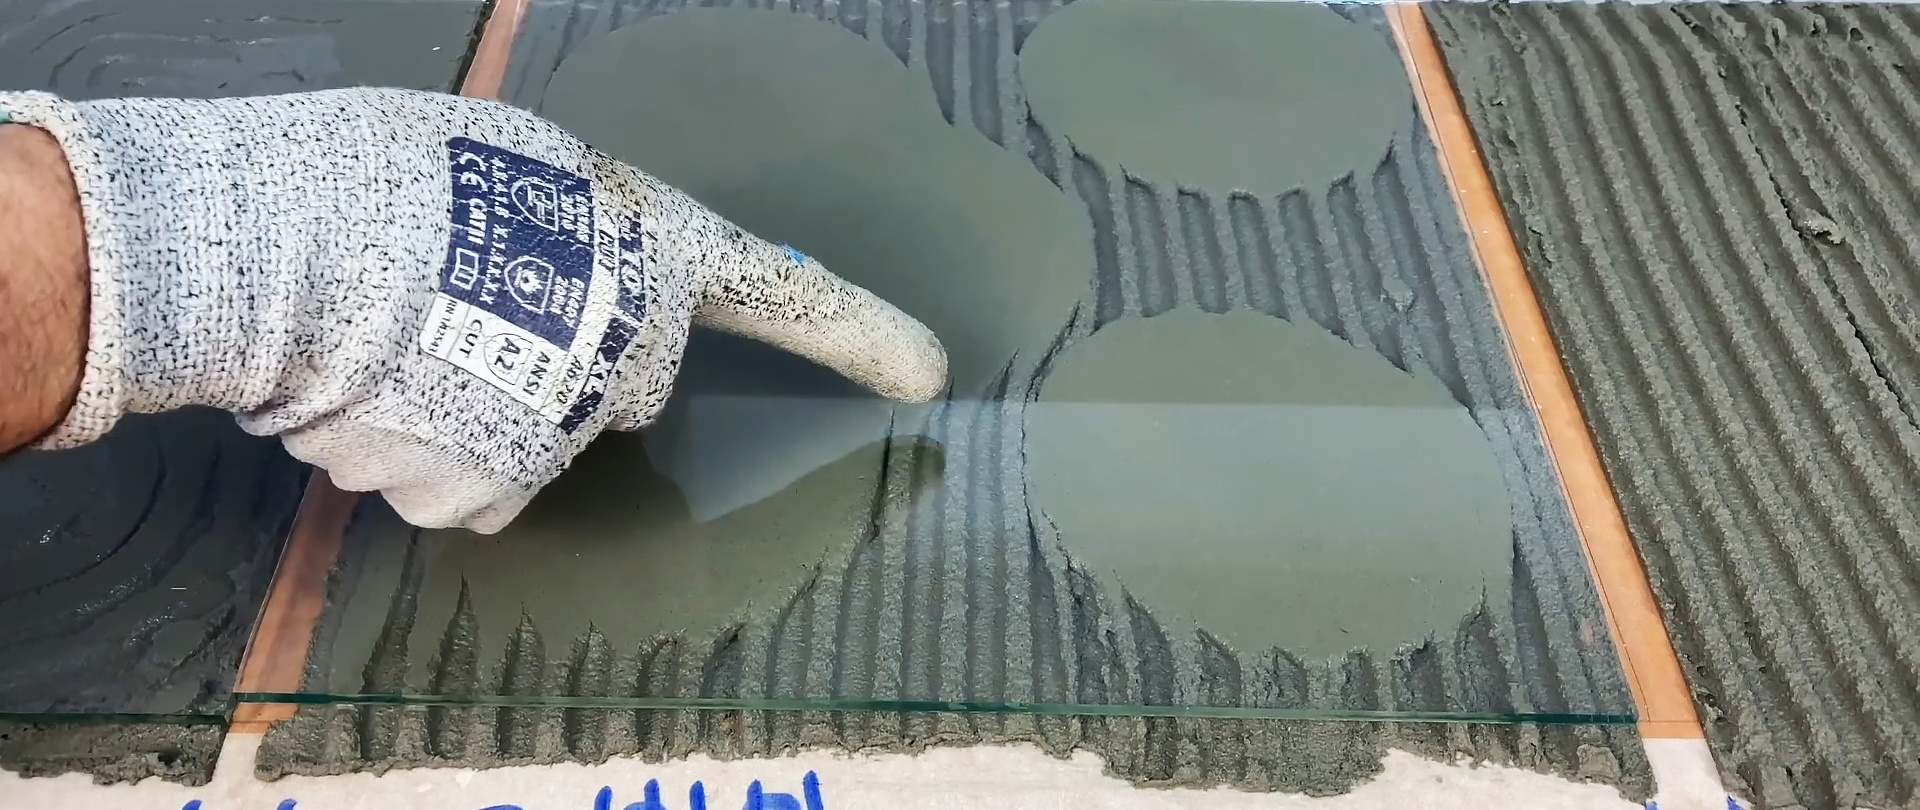
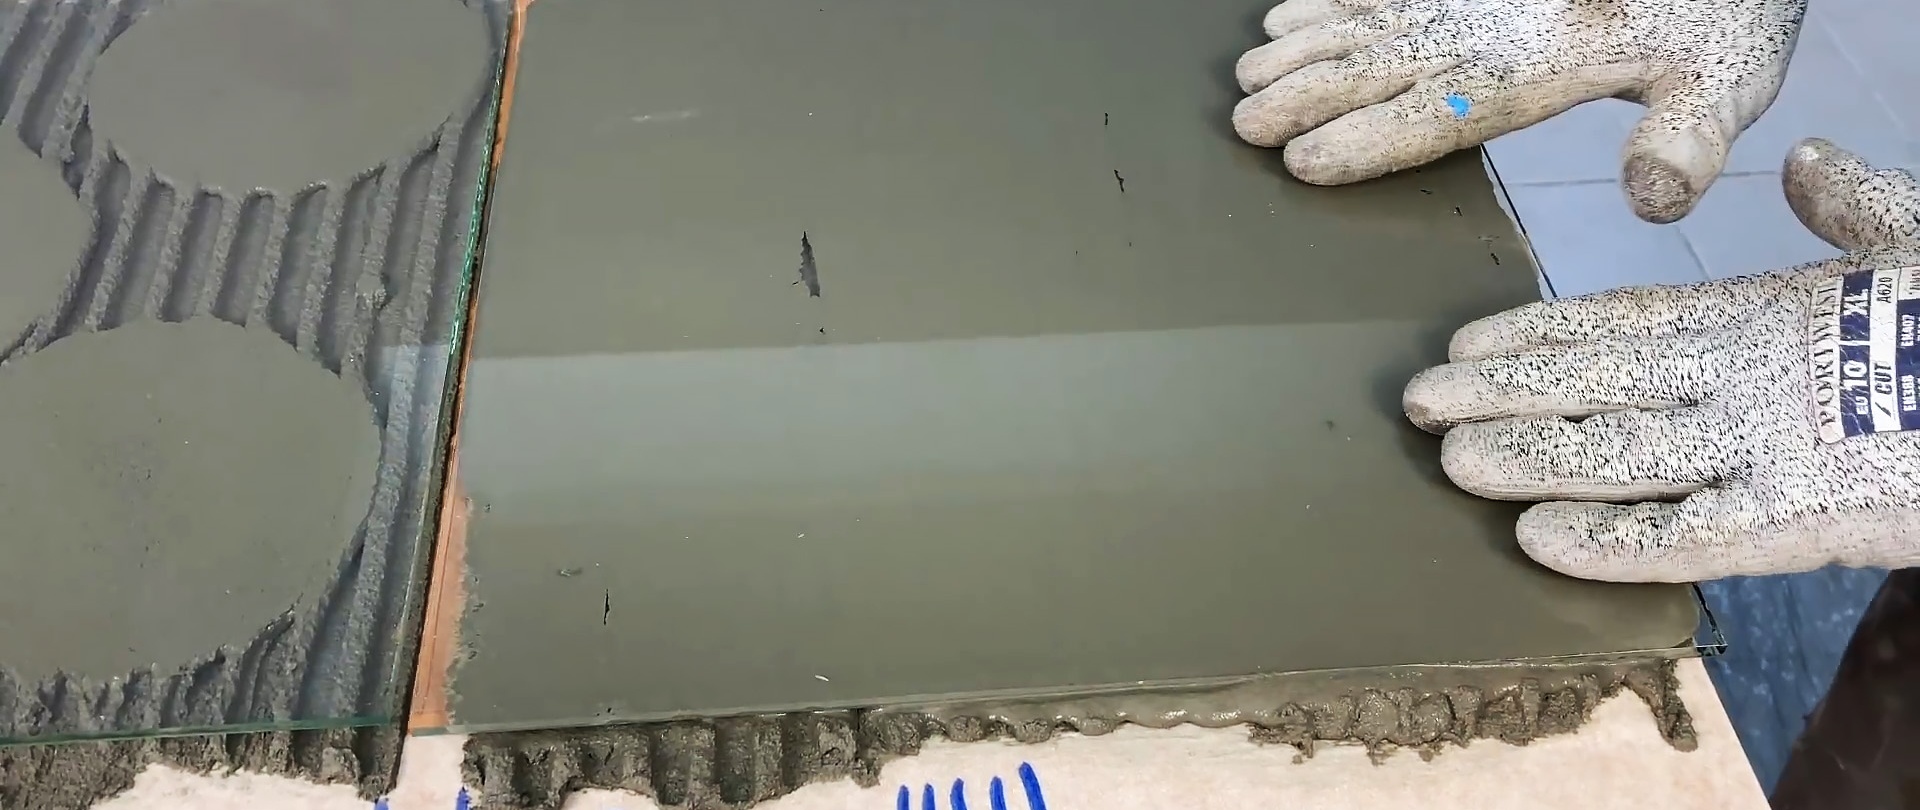
By lowering a sheet of glass onto each part of the stand, you can see how the glue is distributed. The first two options created air pockets between the tile and grout. The third tile adheres to the adhesive as tightly as possible and the air pockets are minimal.
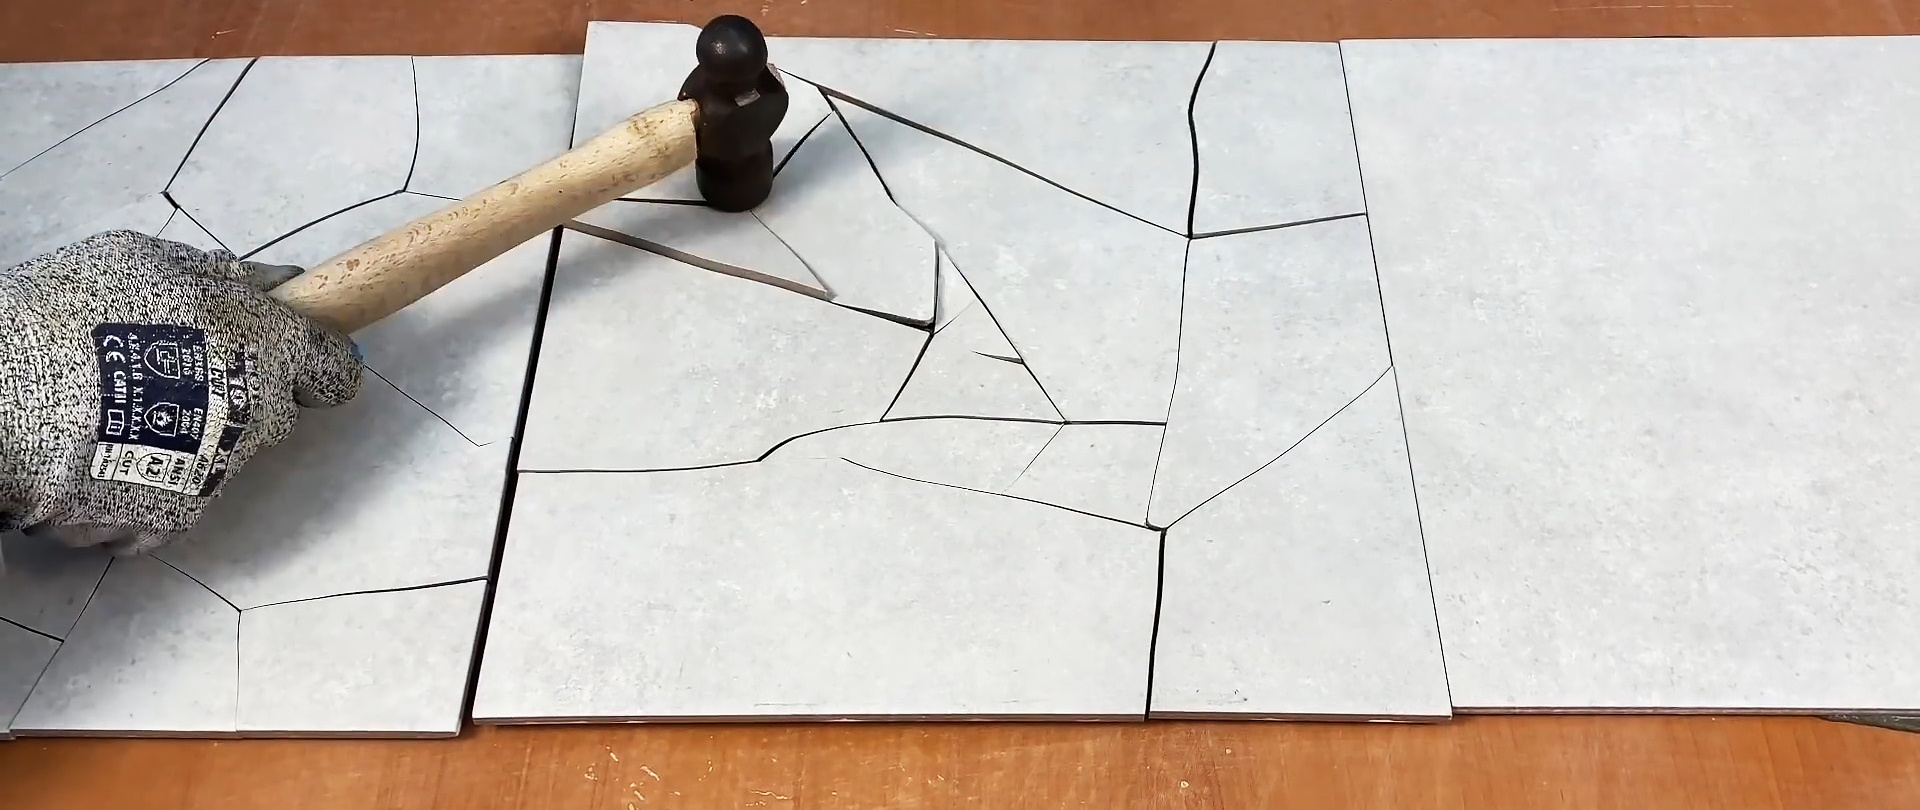
Hammer test
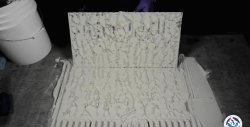
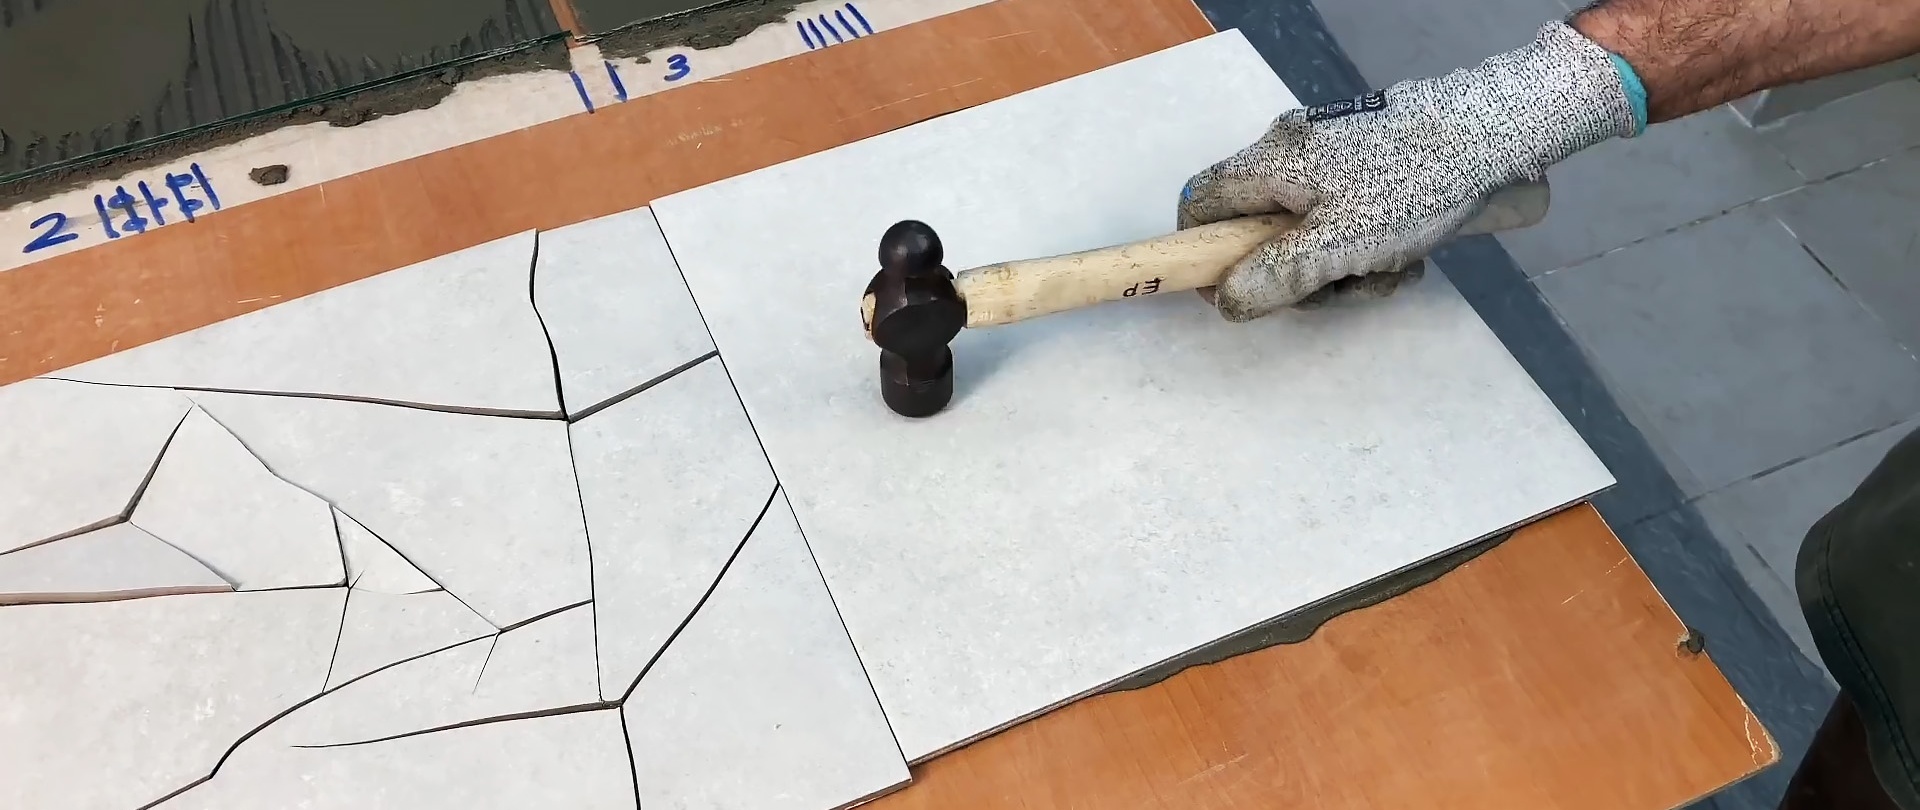
To confirm the quality of the third option, you can repeat the application of glue, but use ceramic tiles rather than glass. You need to fill three parts of the stand, imitating the laying of floor tiles. In this case, you need to repeat the glue distribution pattern according to the first test.
When the tile is laid, you need to tap it with a hammer: you can immediately see that the first two options burst, since they had air pockets, while the third tile is intact.
The most high-quality and professional method of laying tiles involves the correct use of a notched trowel. Drawing parallel lines is the correct and high-quality distribution of glue.