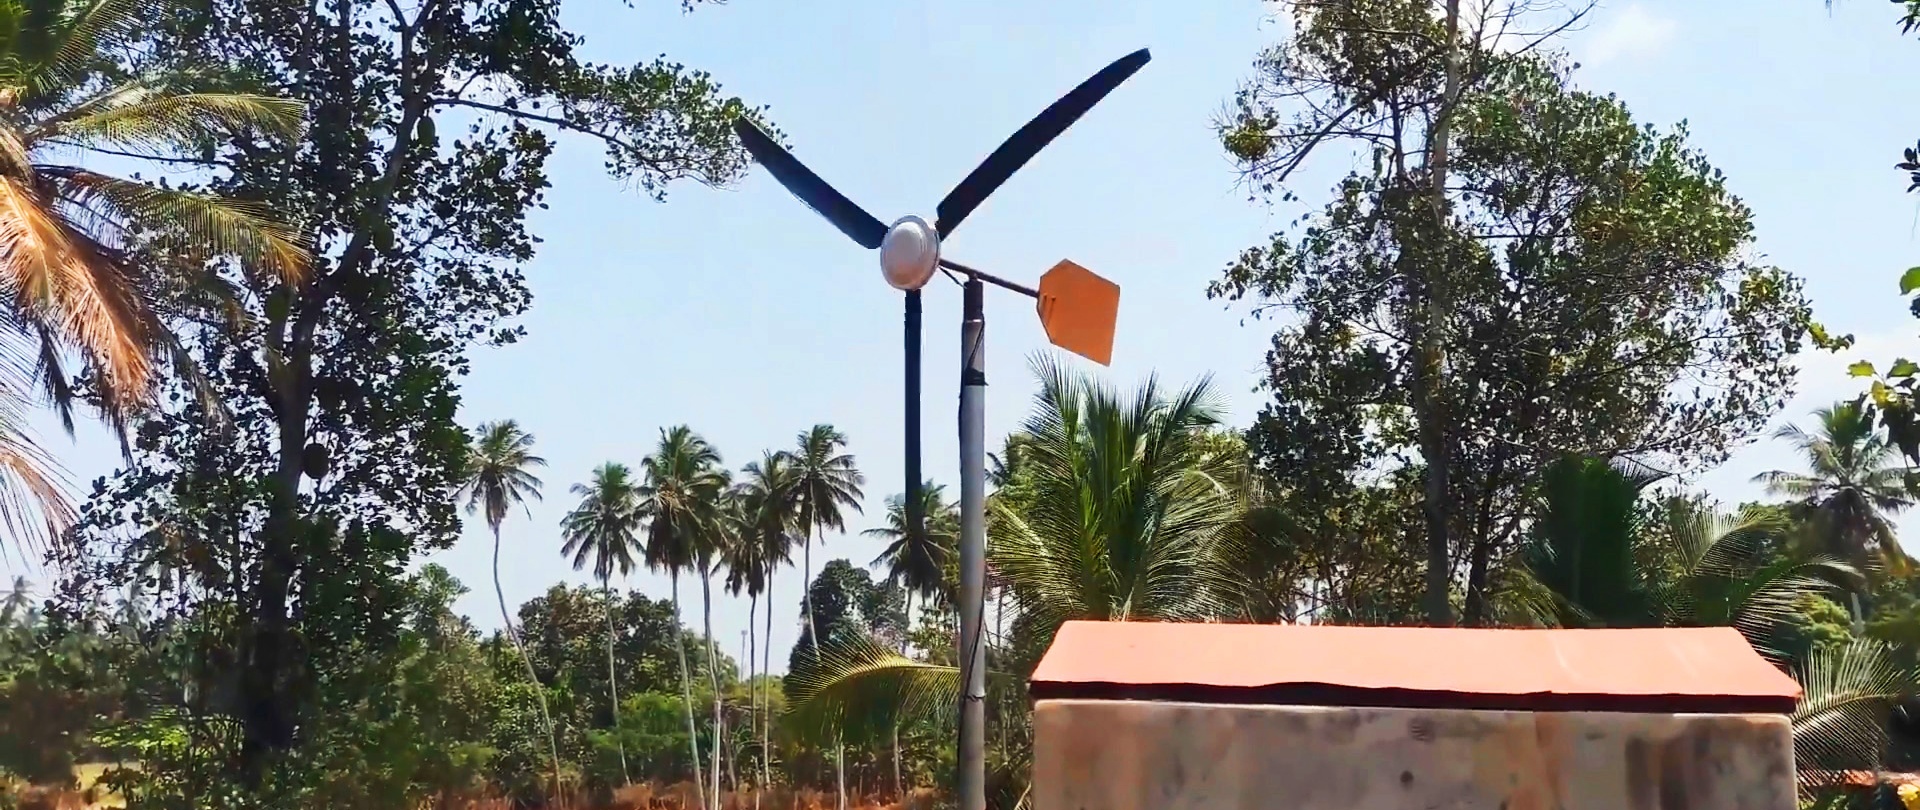
Centralized electrical energy is not available everywhere, and its price is constantly growing. If you make a windmill out of an old ceiling fan, you can partially provide yourself with electricity without the need for expensive materials. Any adult can cope with such work.
Will need
Materials:
- old ceiling fan;
- round neodymium magnets;
- PVC pipe;
- a piece of thick-walled steel pipe;
- 2 rolling bearings;
- threaded rod;
- round fittings;
- steel pipe;
- steel corner, etc.
Tools: screwdriver, lathe, scissors, drill, welding machine, wrenches.
The process of making a windmill from an old ceiling fan
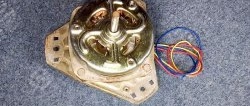
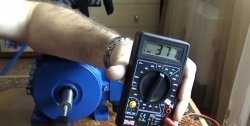
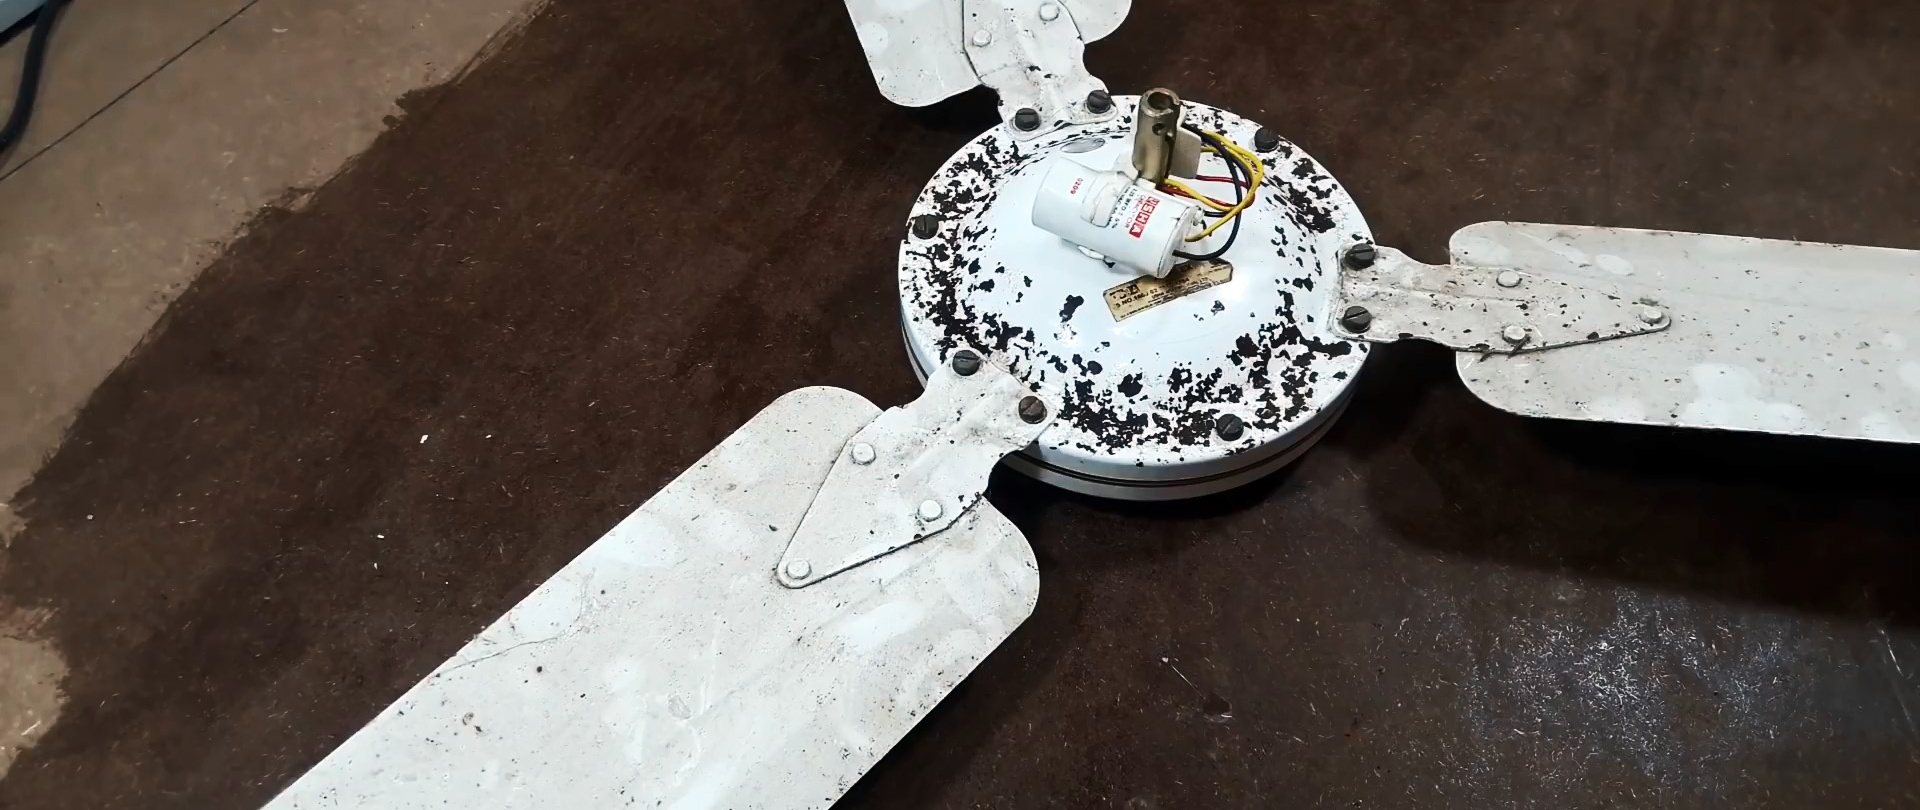
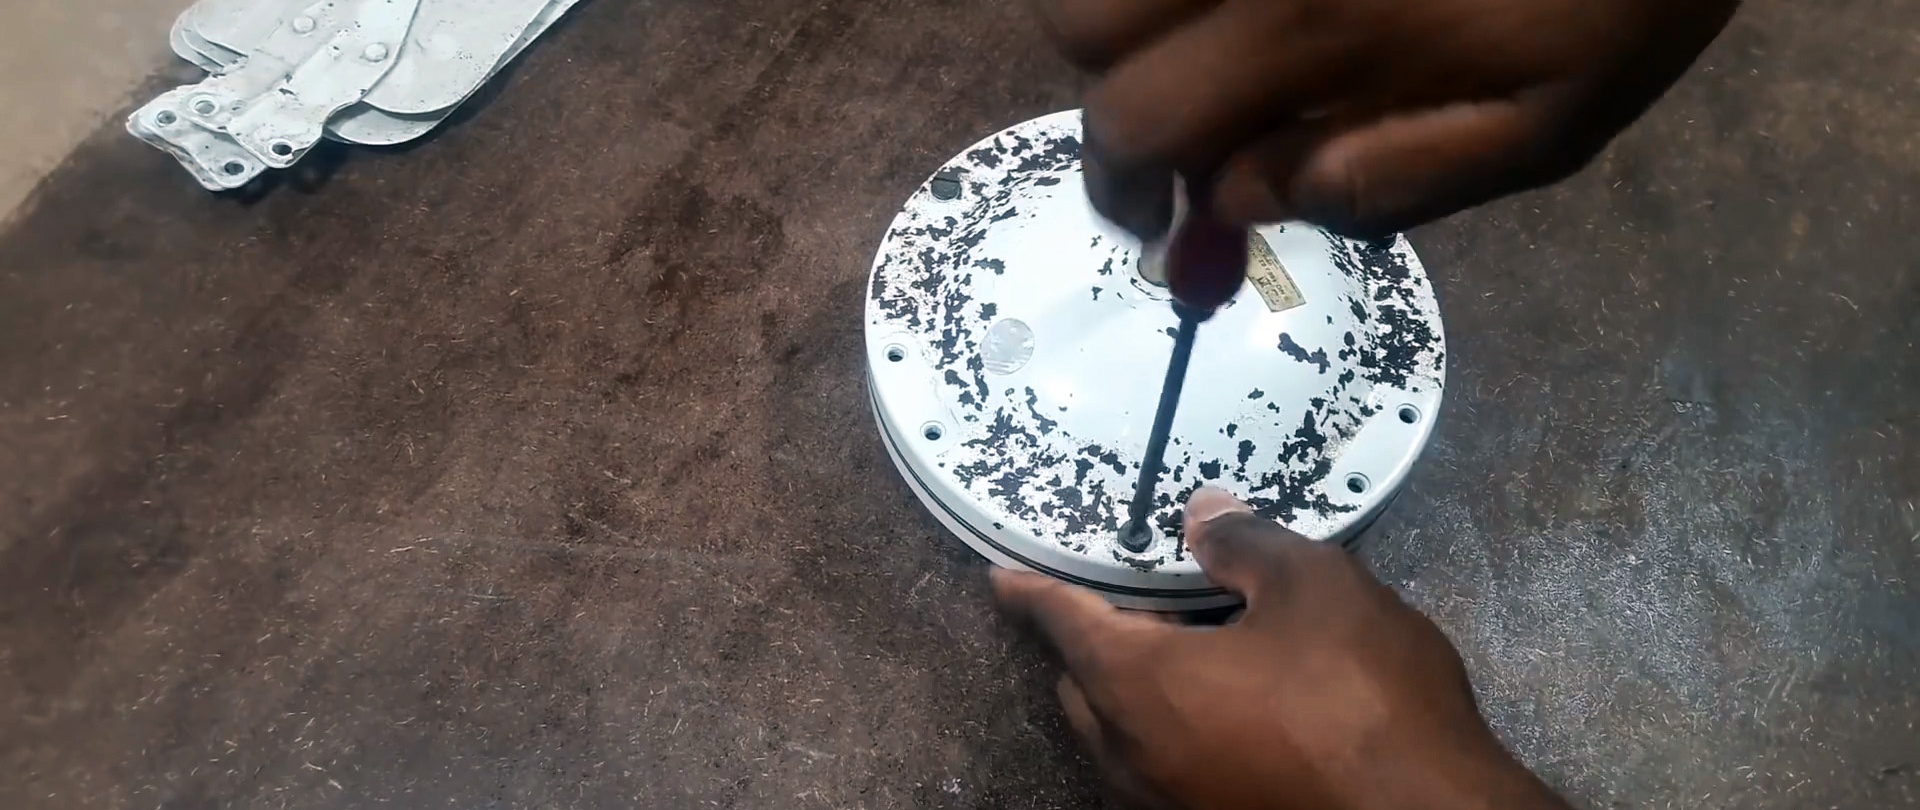
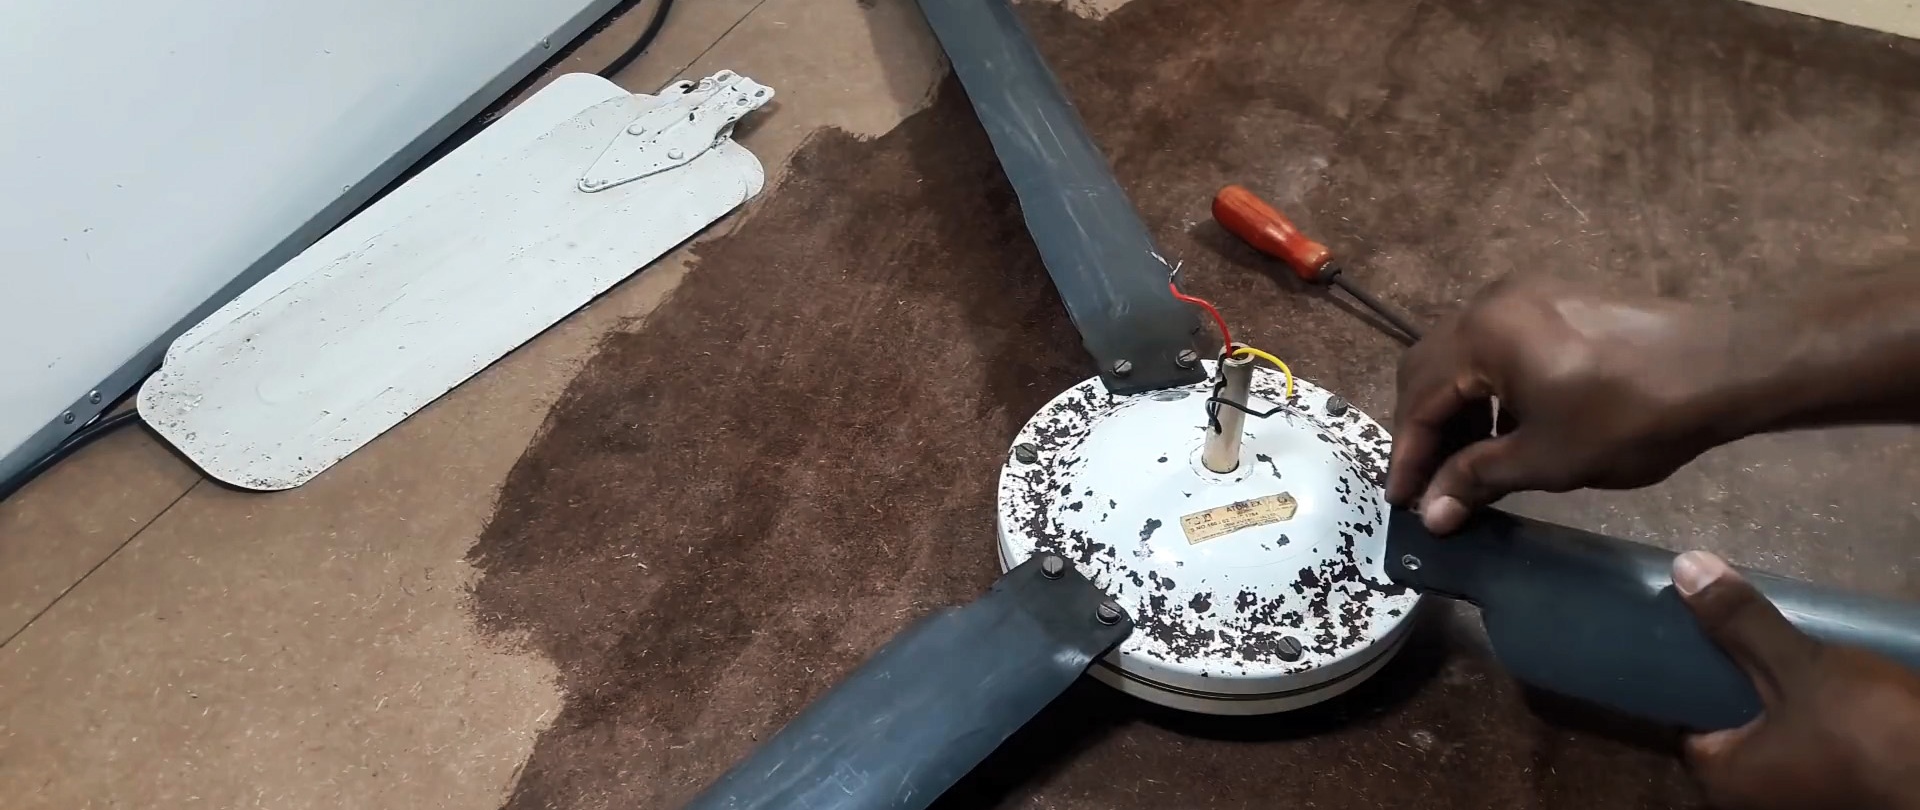
We disassemble the old ceiling fan and make sure with the help multimeter, that when it rotates, the voltage is zero, since the asynchronous motor does not operate in generator mode. Further disassembly reveals that the ceiling fan stator is fully functional.

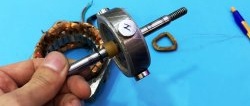
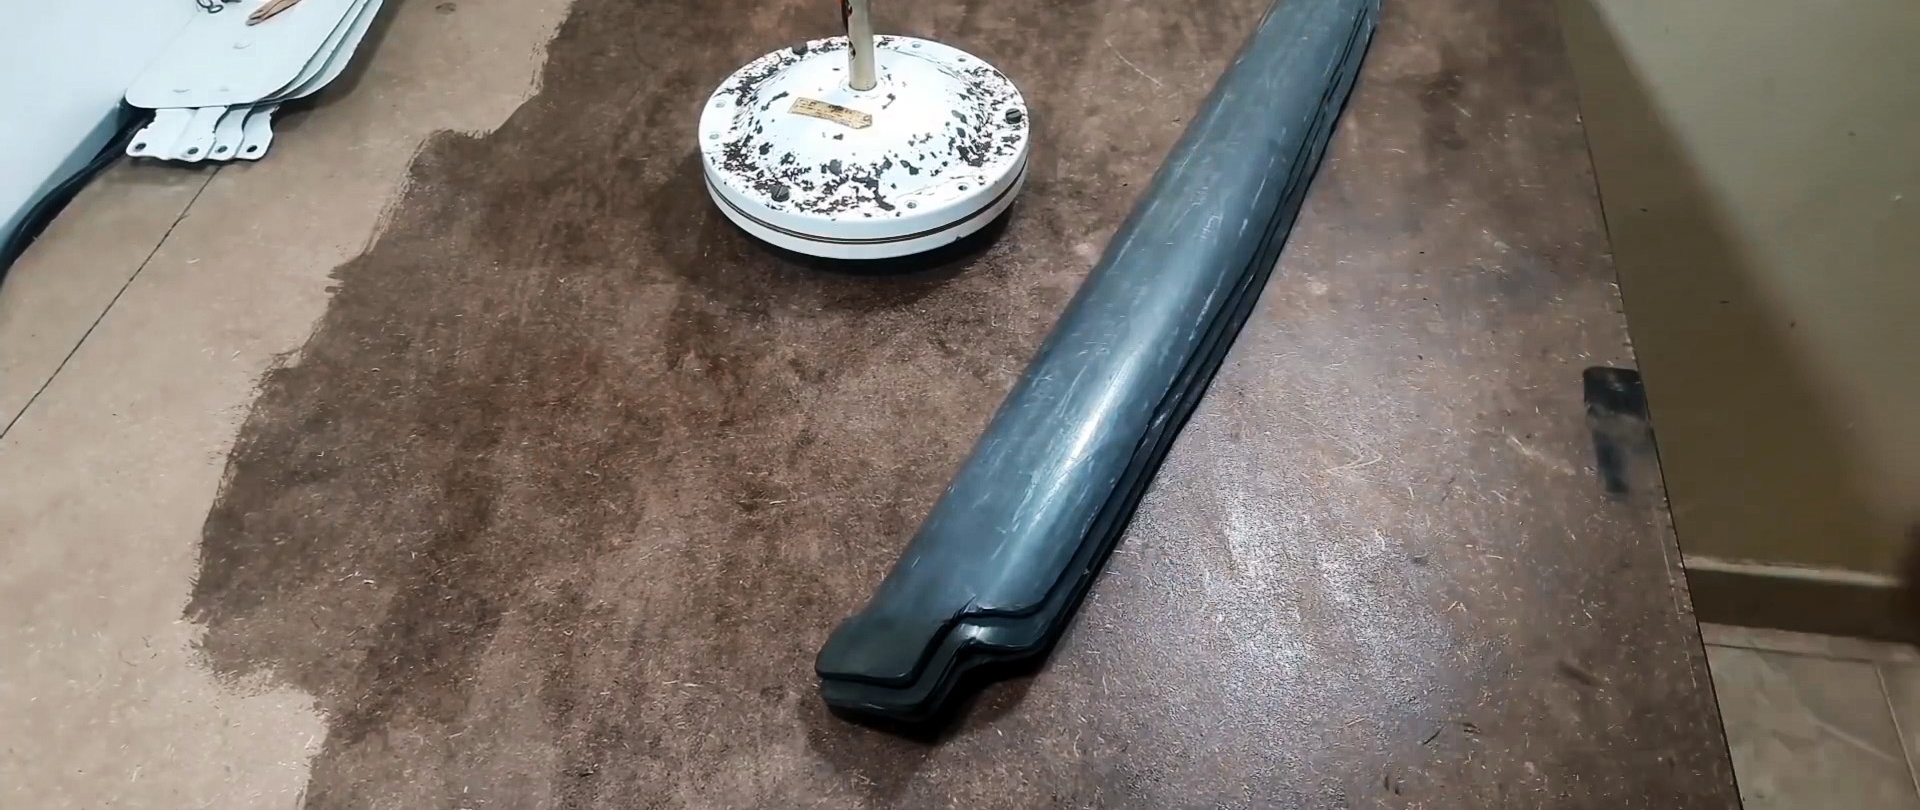
We dismantle the stator and grind it from the inside to the required size. We measure the circumference of the stator and determine the pitch of sticking round magnets using two-component glue.


We assemble the electrical part of the ceiling fan with a restored stator, which rotates multimeter now fixes the output voltage.
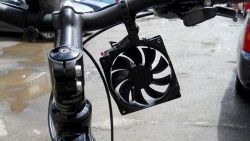
On a sheet of newspaper we draw and cut out the profile of the blade, attach it to the surface of the PVC pipe, trace the outline and cut out three identical blades.


Using the old blade, we make holes for attaching new blades to the fan body using suitable bolts.
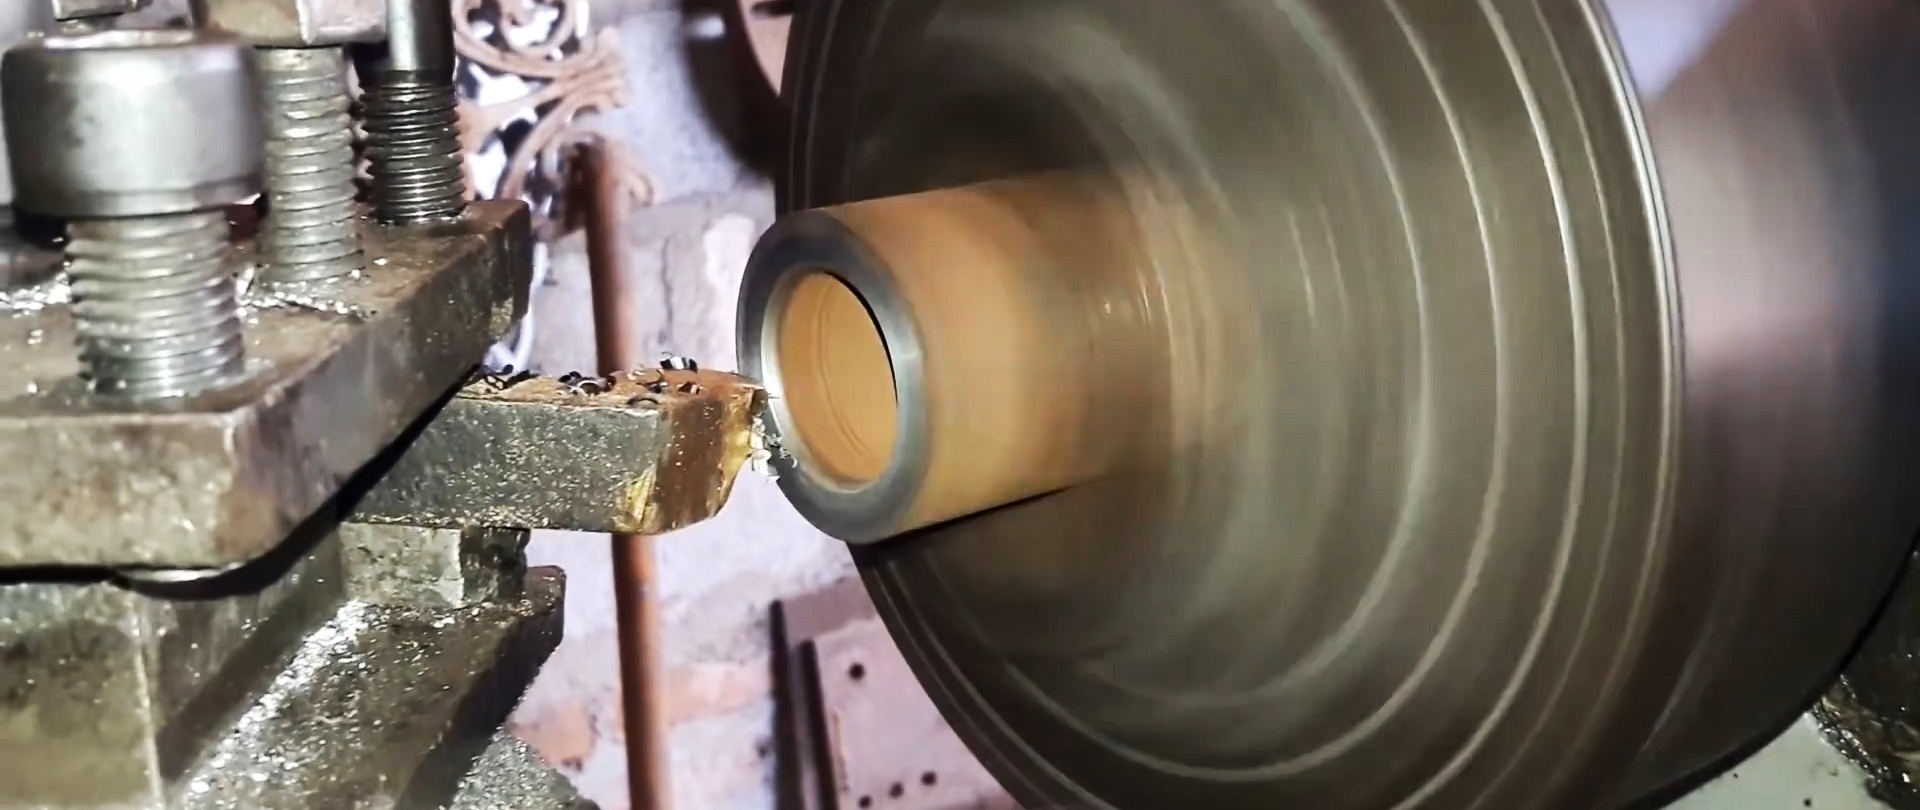
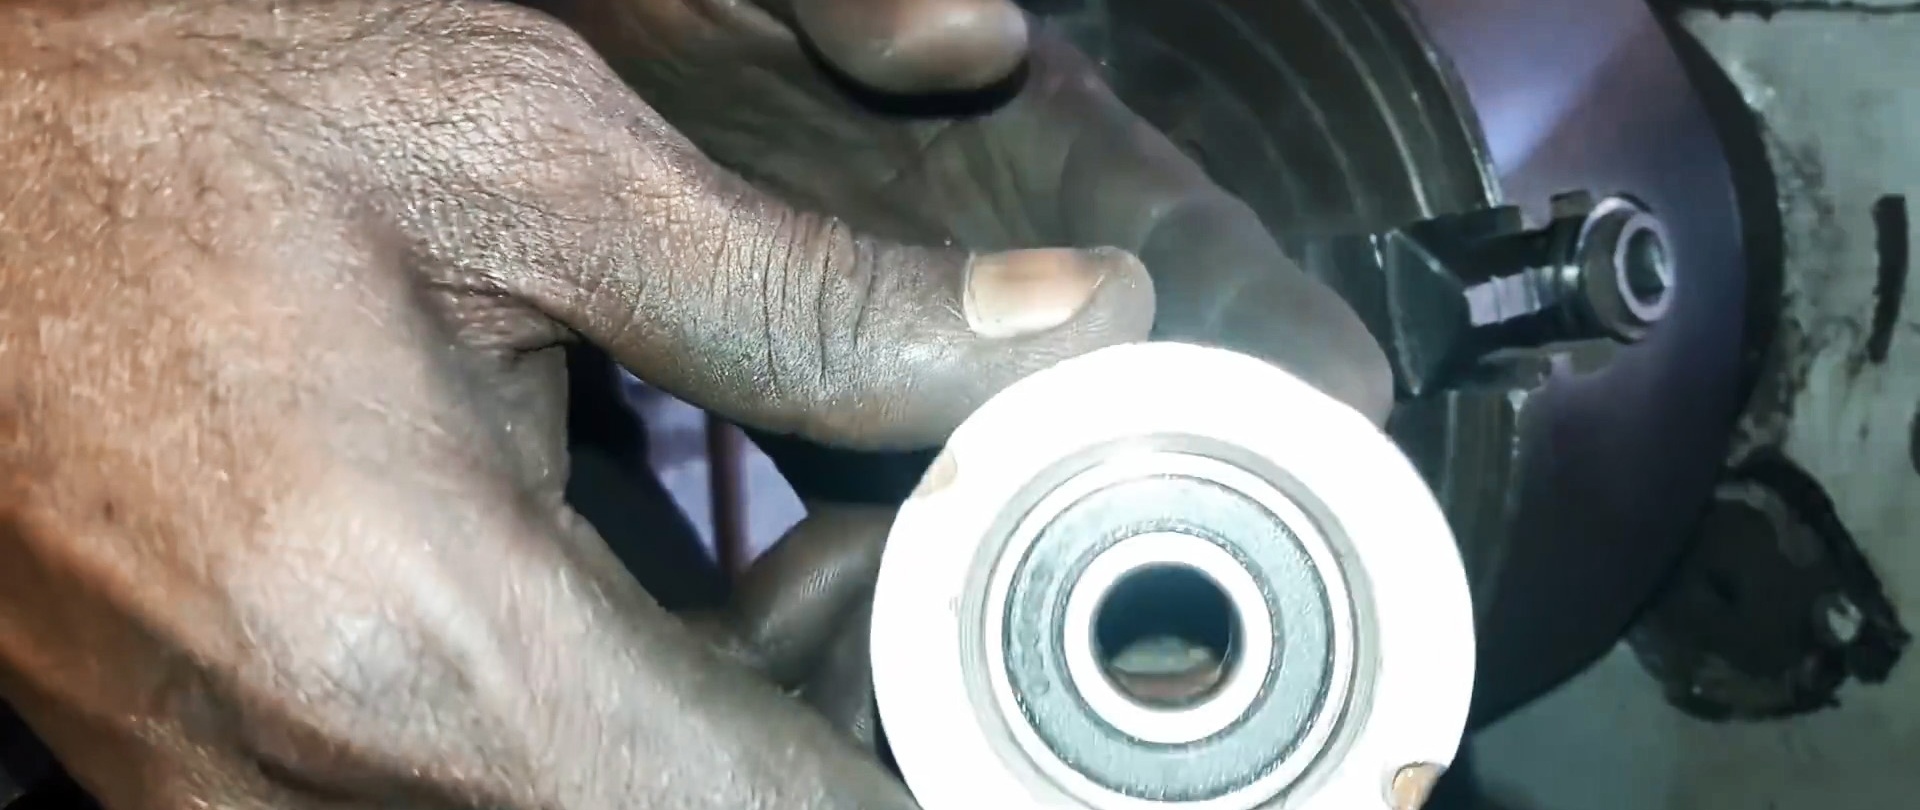
We prepare a section of thick-walled pipe on a lathe and insert rolling bearings into its ends. We pass a rod with an external thread through the holes of the bearings, screw nuts onto it on both sides and cut off the excess part of the rod.

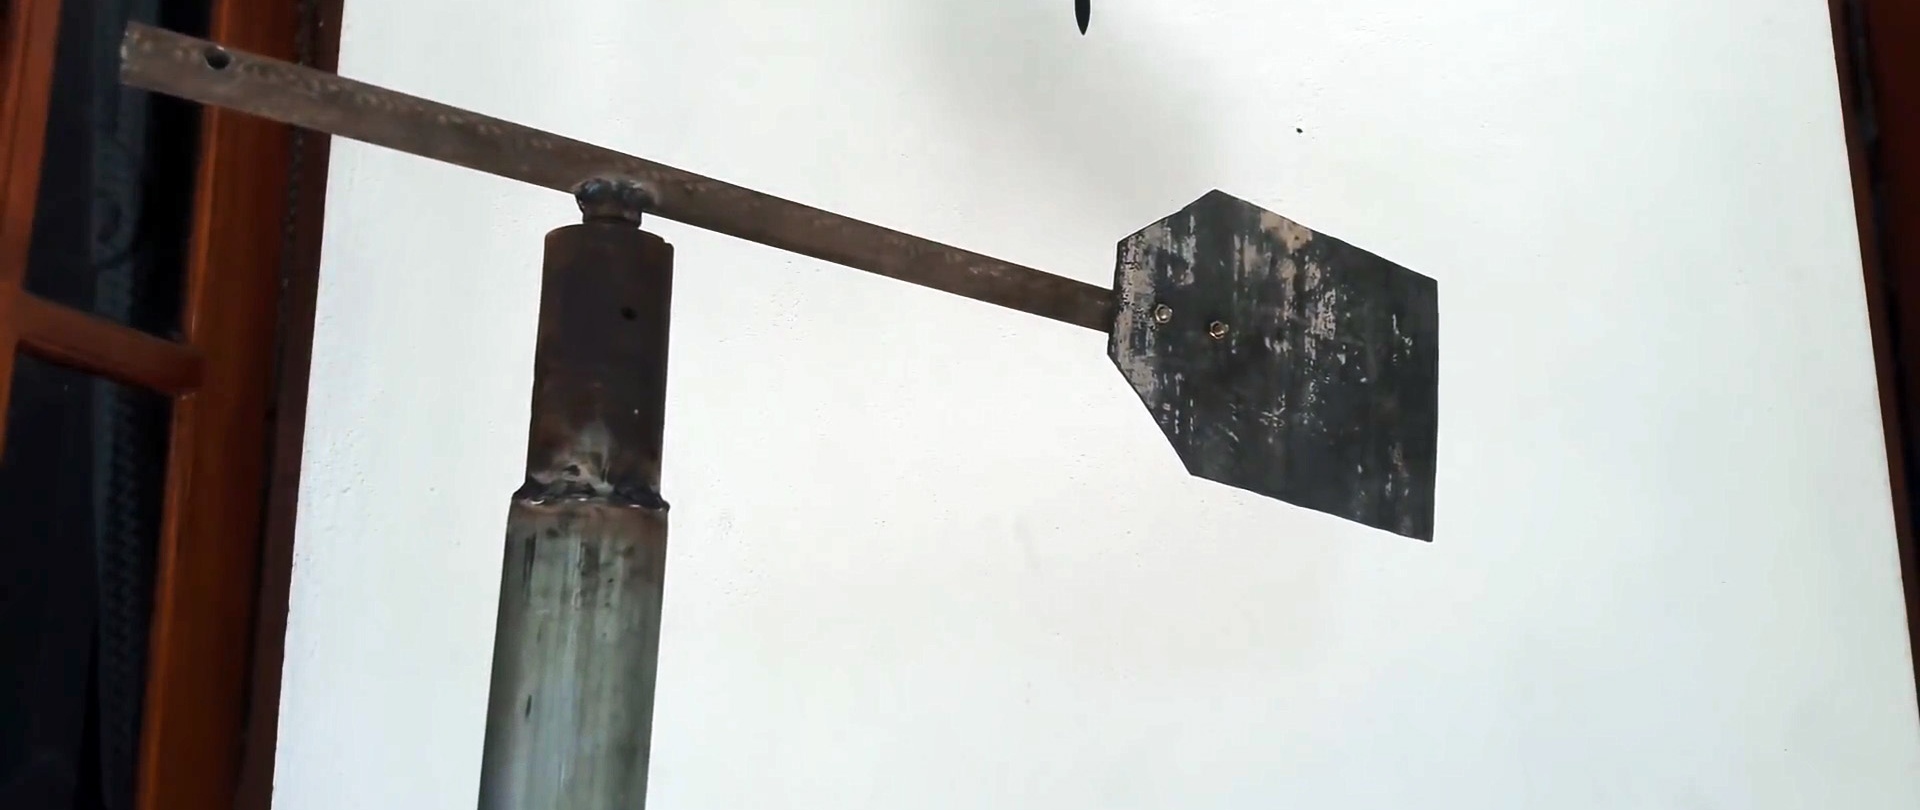
We weld a piece of round reinforcement to one of the ends of the threaded rod in the transverse direction, moving it slightly from the center. We weld a fragment of a thick-walled pipe with bearings at one end to the end of a round steel pipe, which will play the role of a mast.


From the PVC pipe, after cutting and straightening it, we cut out a rectangle with corners beveled on one edge and screw it to the elongated end of the round reinforcement using bolts and nuts.
We weld two corners to the bottom of the mast with a windmill at the end, which we screw to the base through the holes using bolts.
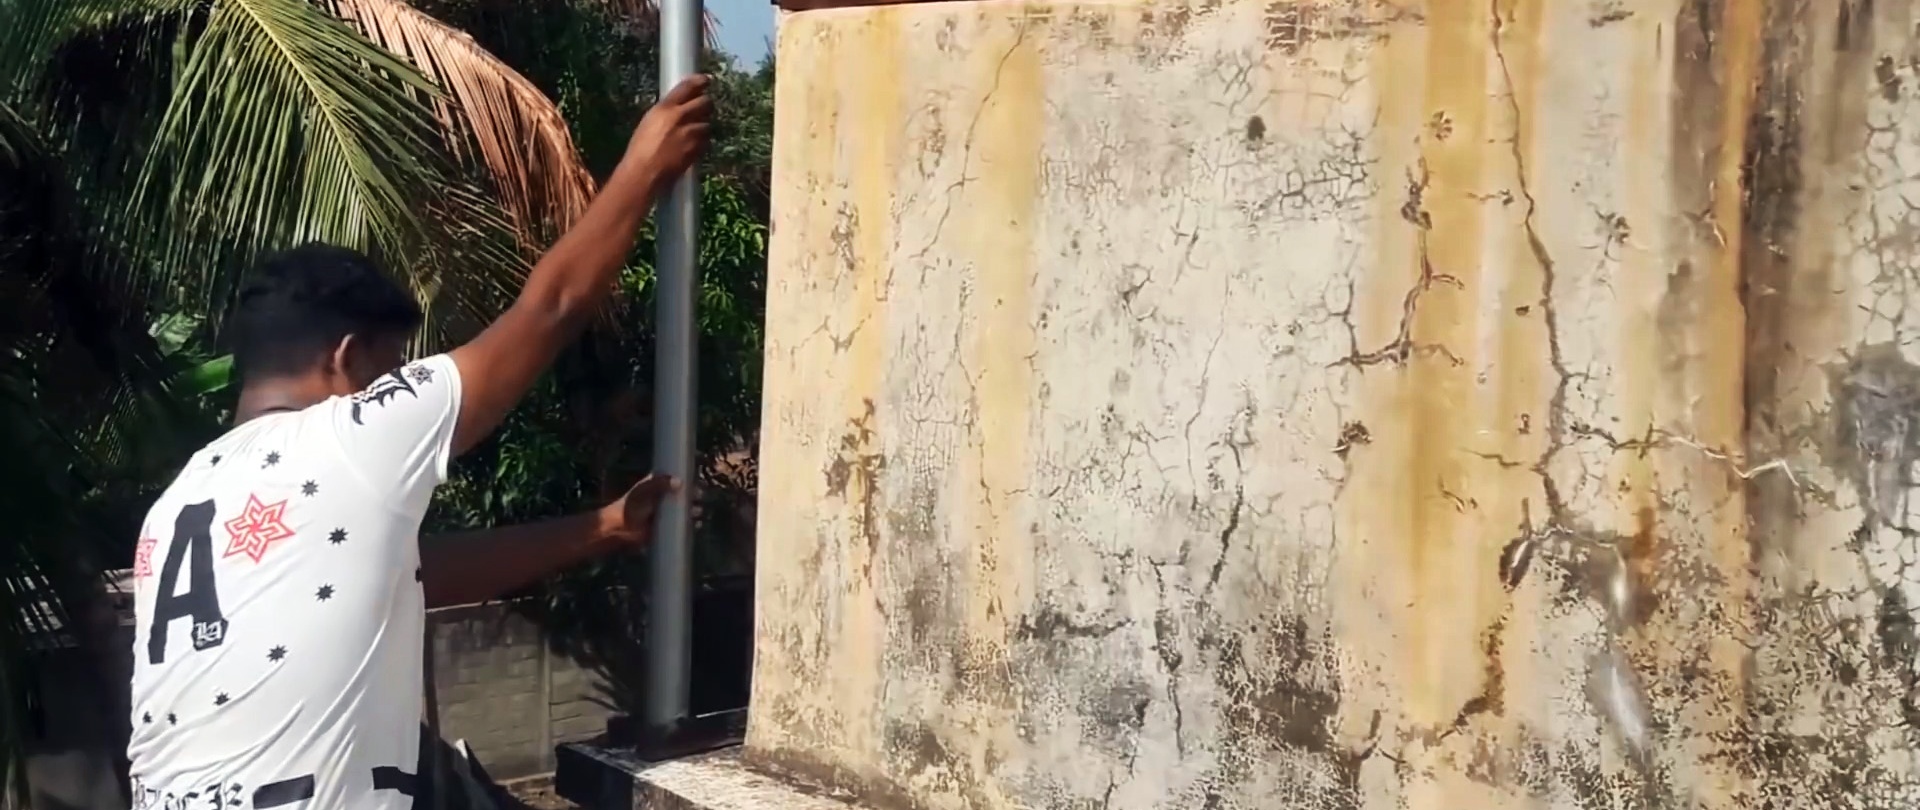
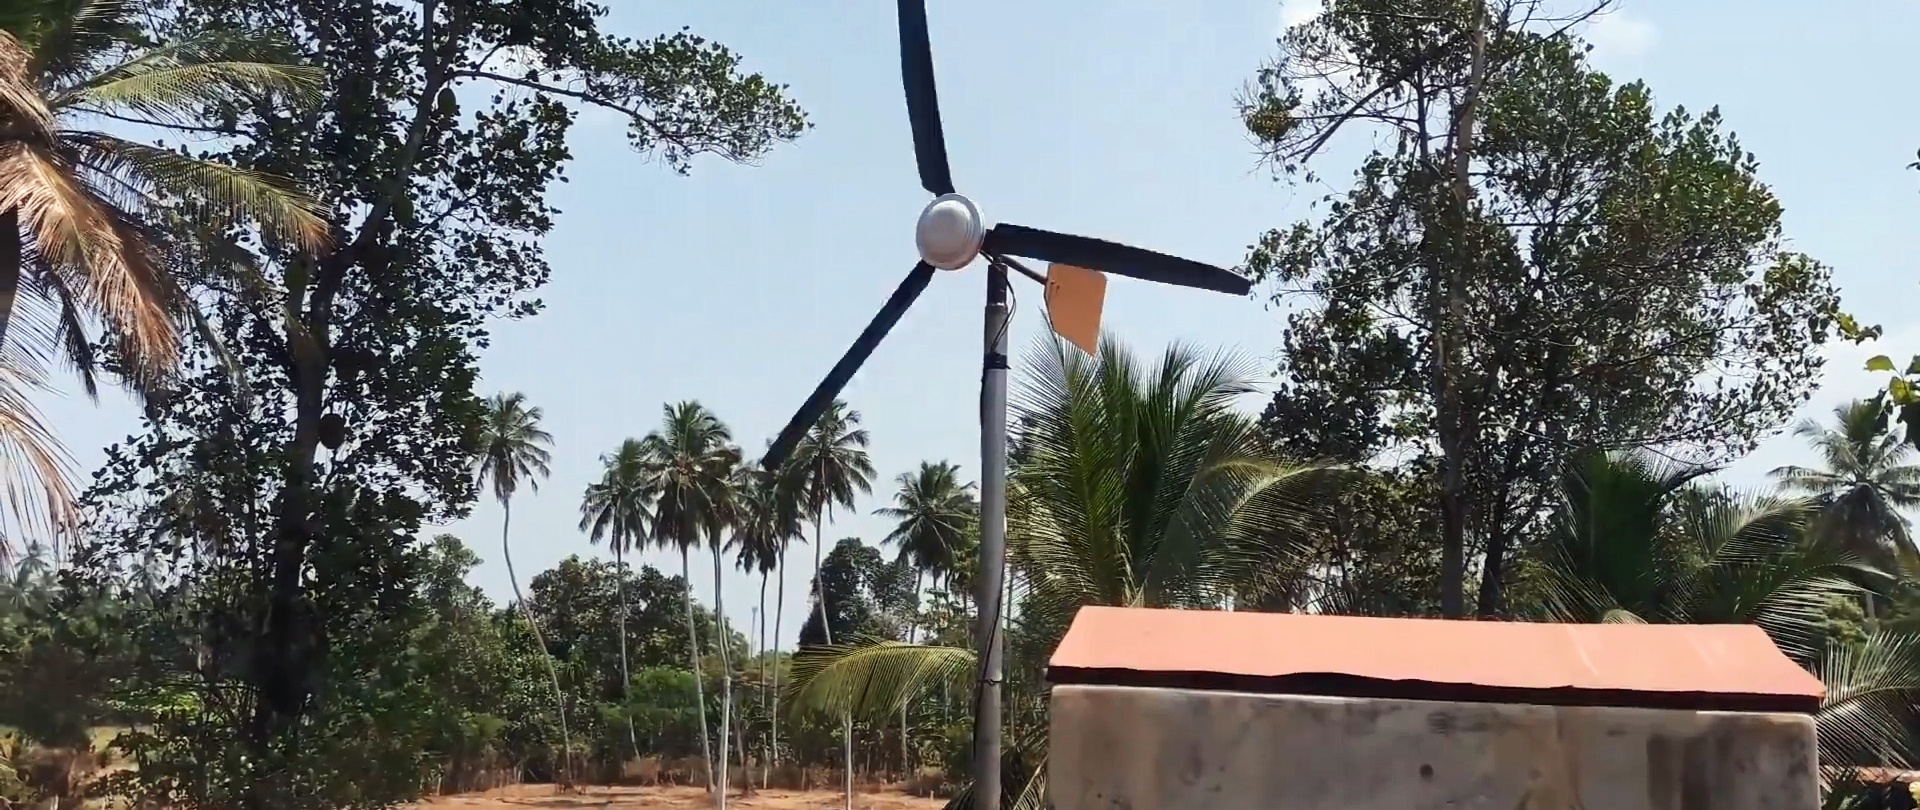
We wrap the wire from the electrical part of the windmill around the mast and connect it below to lighting devices, a battery for charging, etc.