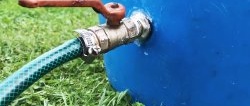
Summer water supply in the courtyard of a country house, on a summer cottage or in a garden is collected in mid-spring and dismantled in the first month of autumn. When installing it, there is no need for strong and sealed, and therefore expensive, connections. It is possible to get by with simpler and less expensive fittings, which can be upgraded and modified if necessary. Below we will look at how to convert a two-way valve (open-closed) into a three-way valve, that is, more functional.

DIY three-way ball valve

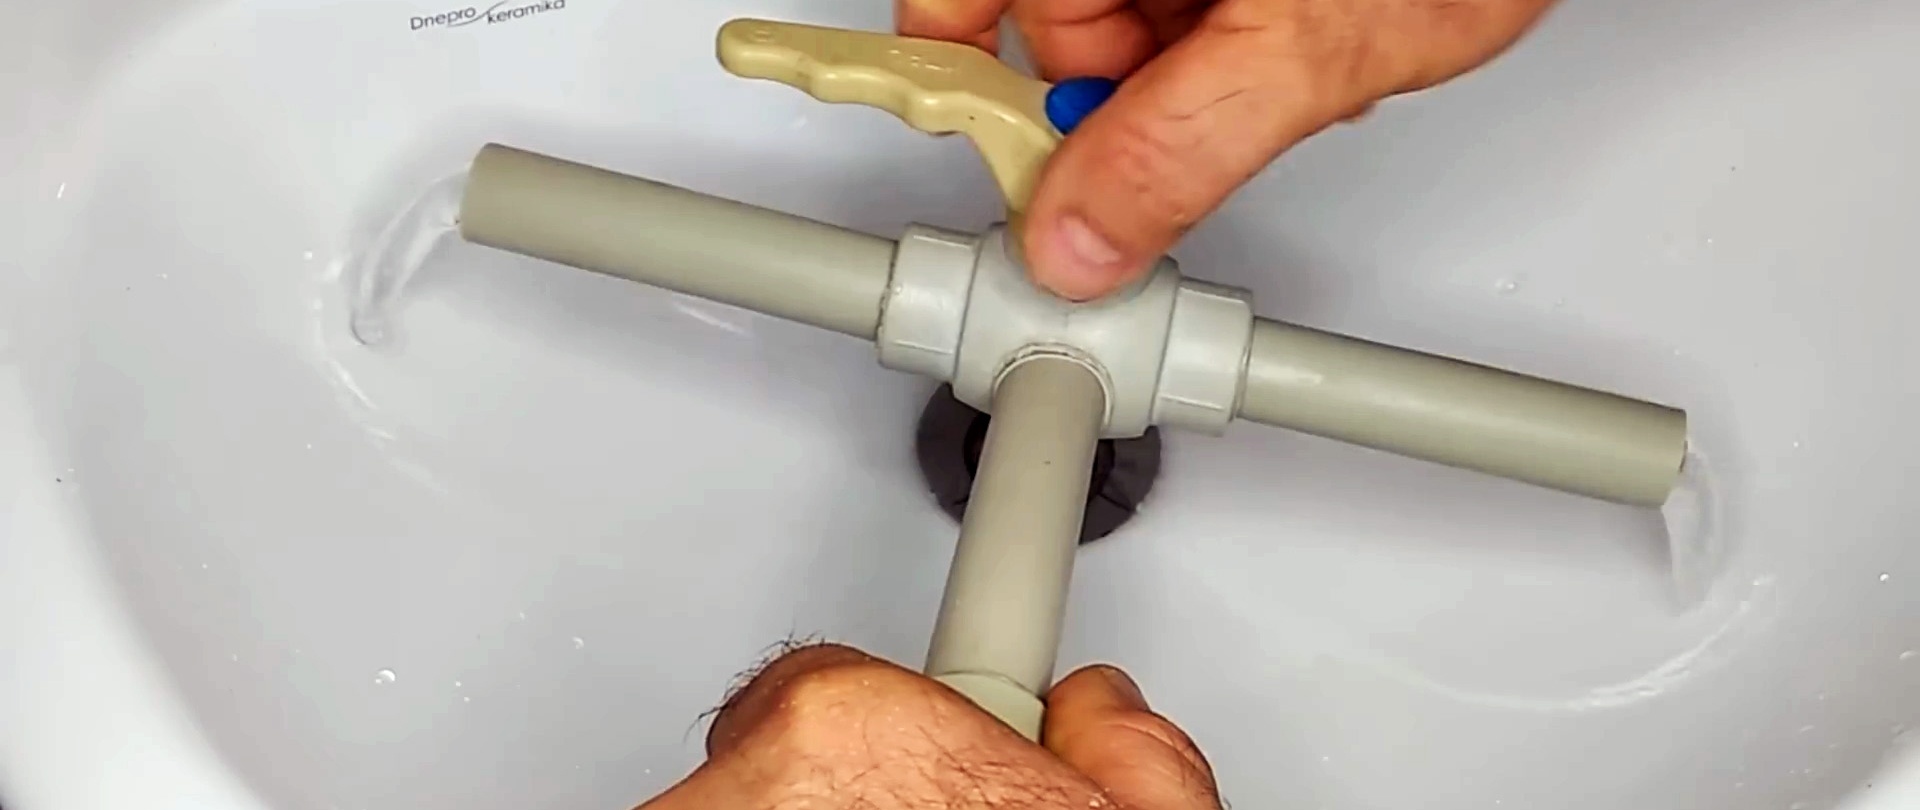
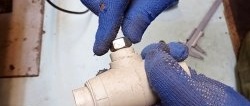
To do this, on one of the sides of the body of a two-way polypropylene valve, we find and mark the middle with a marker.

Using a step drill and a drill, we drill a hole in the transverse direction in the body of the plastic faucet. In this case, before starting the drilling process, we set the faucet control handle to the open position so that during drilling we do not damage the parts of the shut-off device of our faucet.
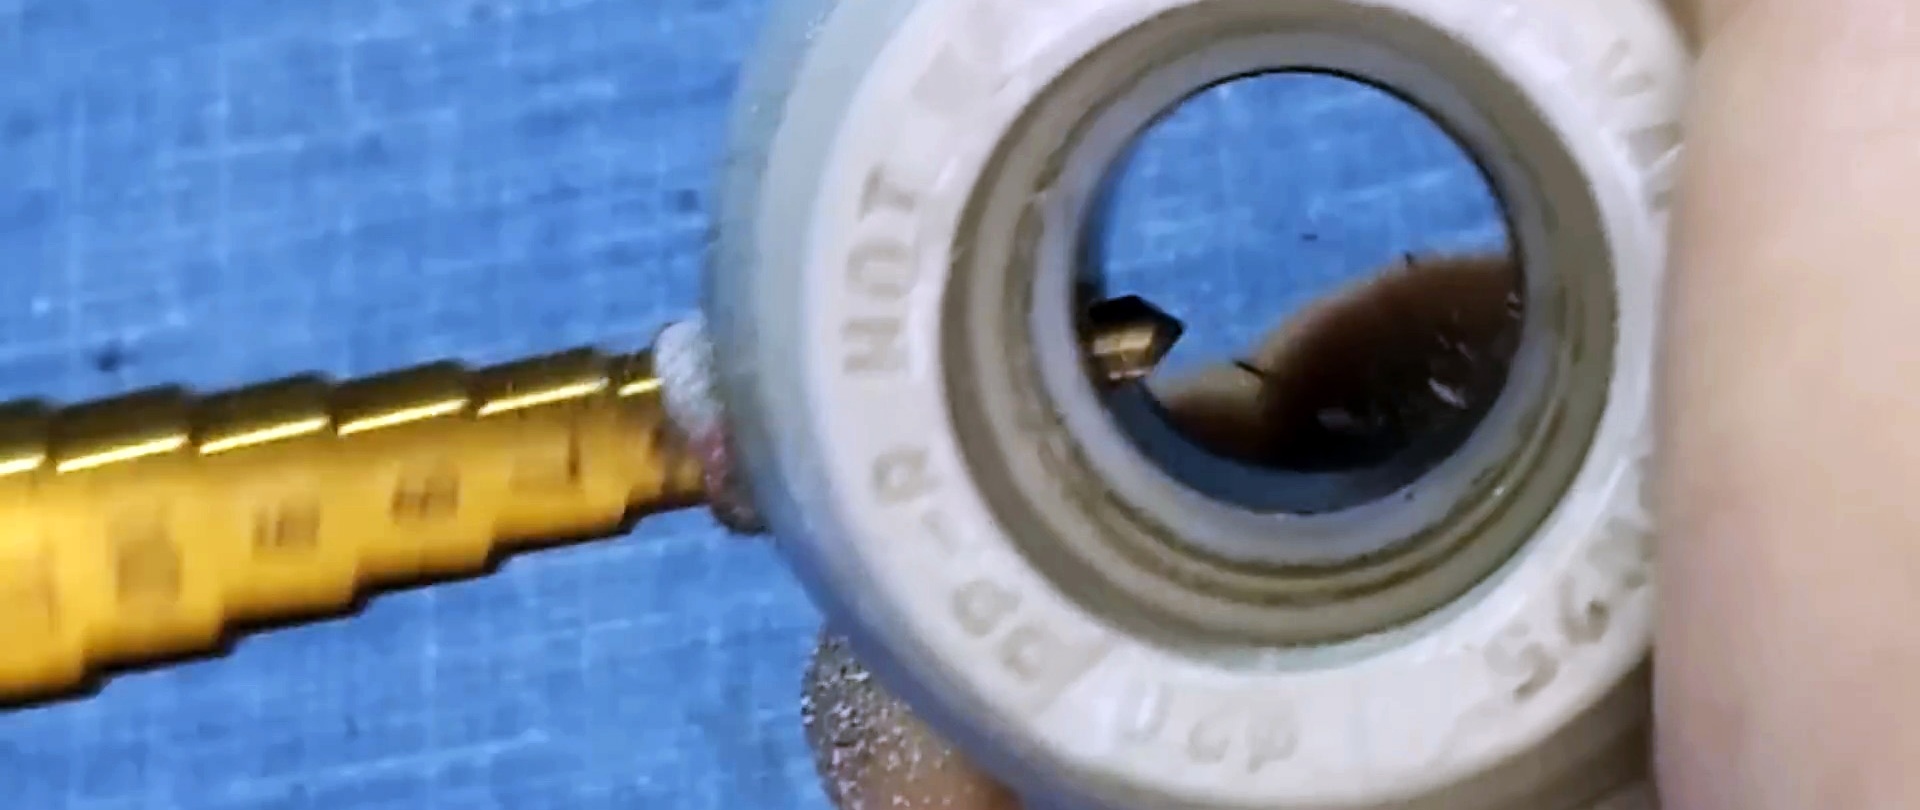
Next, we drill the resulting hole in the wall of the polypropylene body of the faucet with a feather drill with a diameter of 18 mm.Then we use the same step drill to increase the diameter of the small hole previously drilled in the metal part of the locking device.


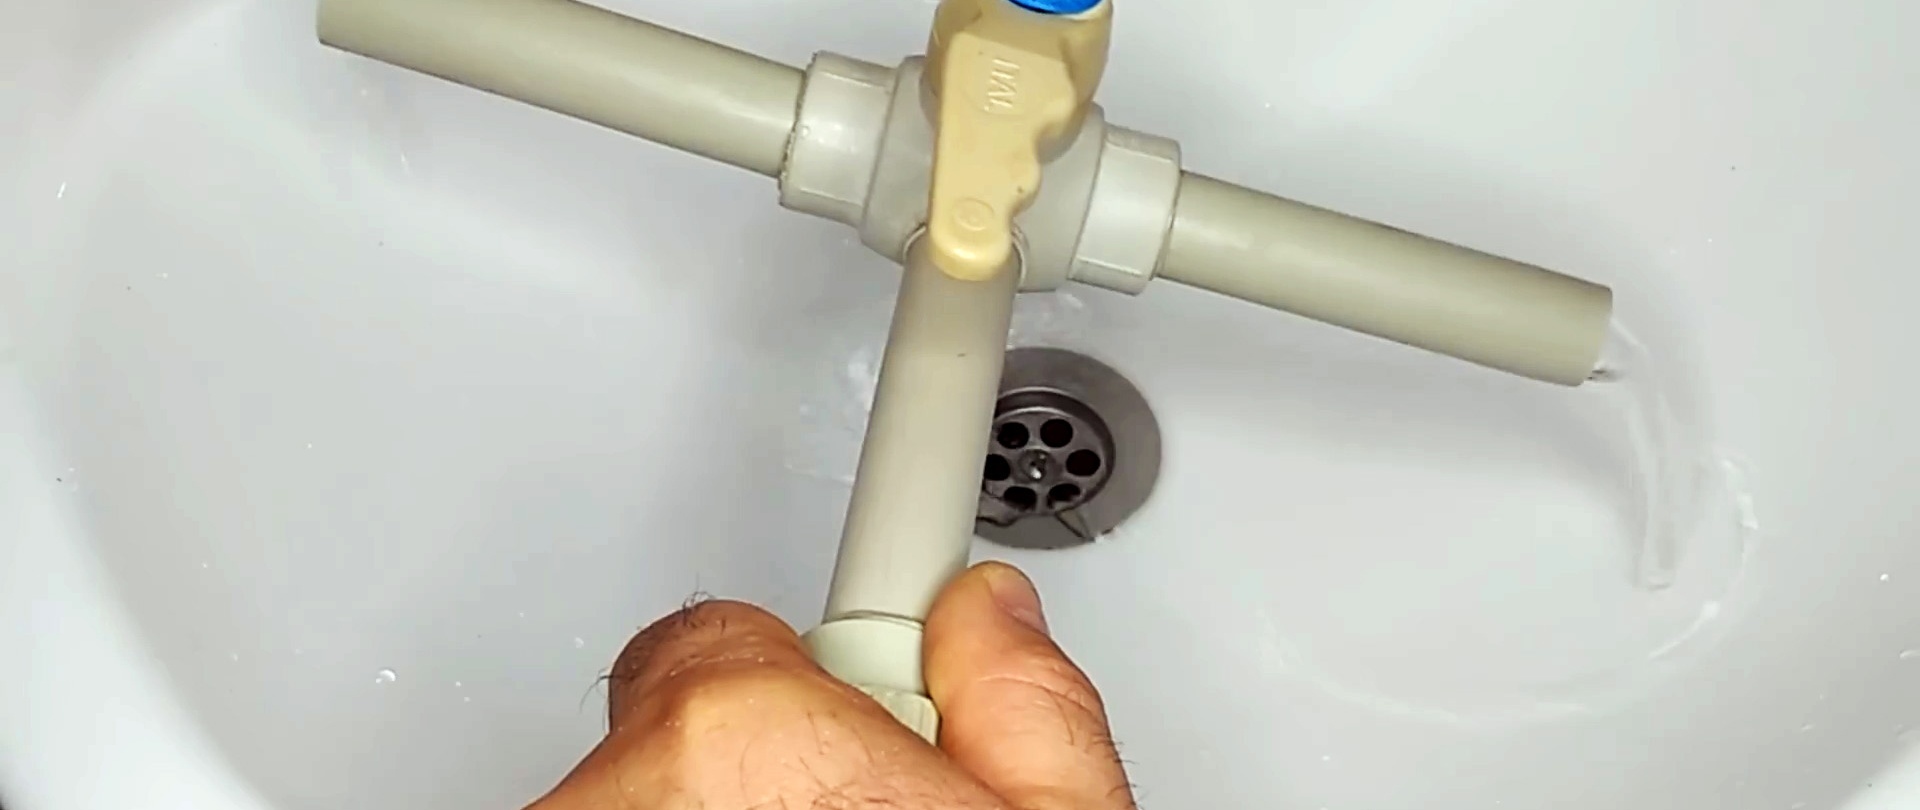
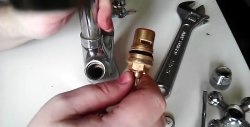
Using a special knife, we remove the burrs remaining after drilling from the edge of the hole in the polypropylene body and form a circular chamfer. Using an old toothbrush, remove particles and dust formed during the drilling process from the drilled hole and the inside of the faucet.

We remove the protective cap on the control handle, use a Phillips screwdriver to unscrew the screw that secures the handle to the rod, and use an electric drill to remove the restrictive bead on the side of the handle socket. As a result, the control handle, after being installed in its old place, will be able to make a full rotation in both directions without jamming or resting on the limiter.


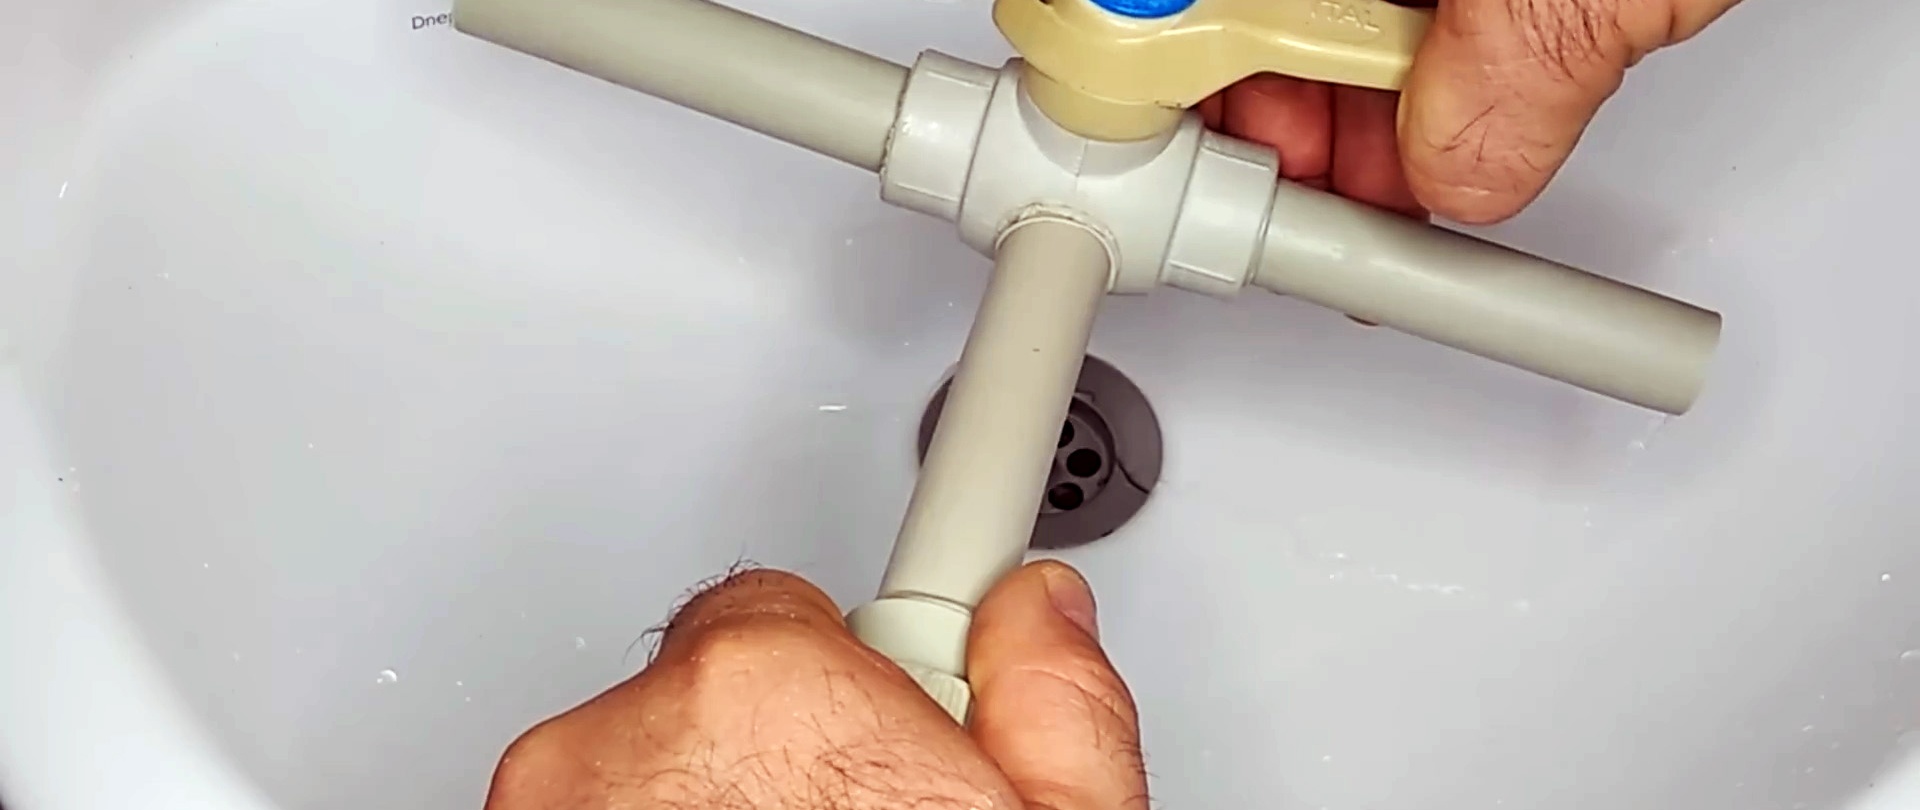
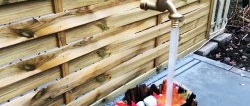
We install the modified handle on the polypropylene tap, tighten the screw and put the protective cap in place. Using a machine for welding plastic pipes, we solder the pipe to the hole made in the faucet body. We connect a flexible hose to the free end of the pipe and supply water.
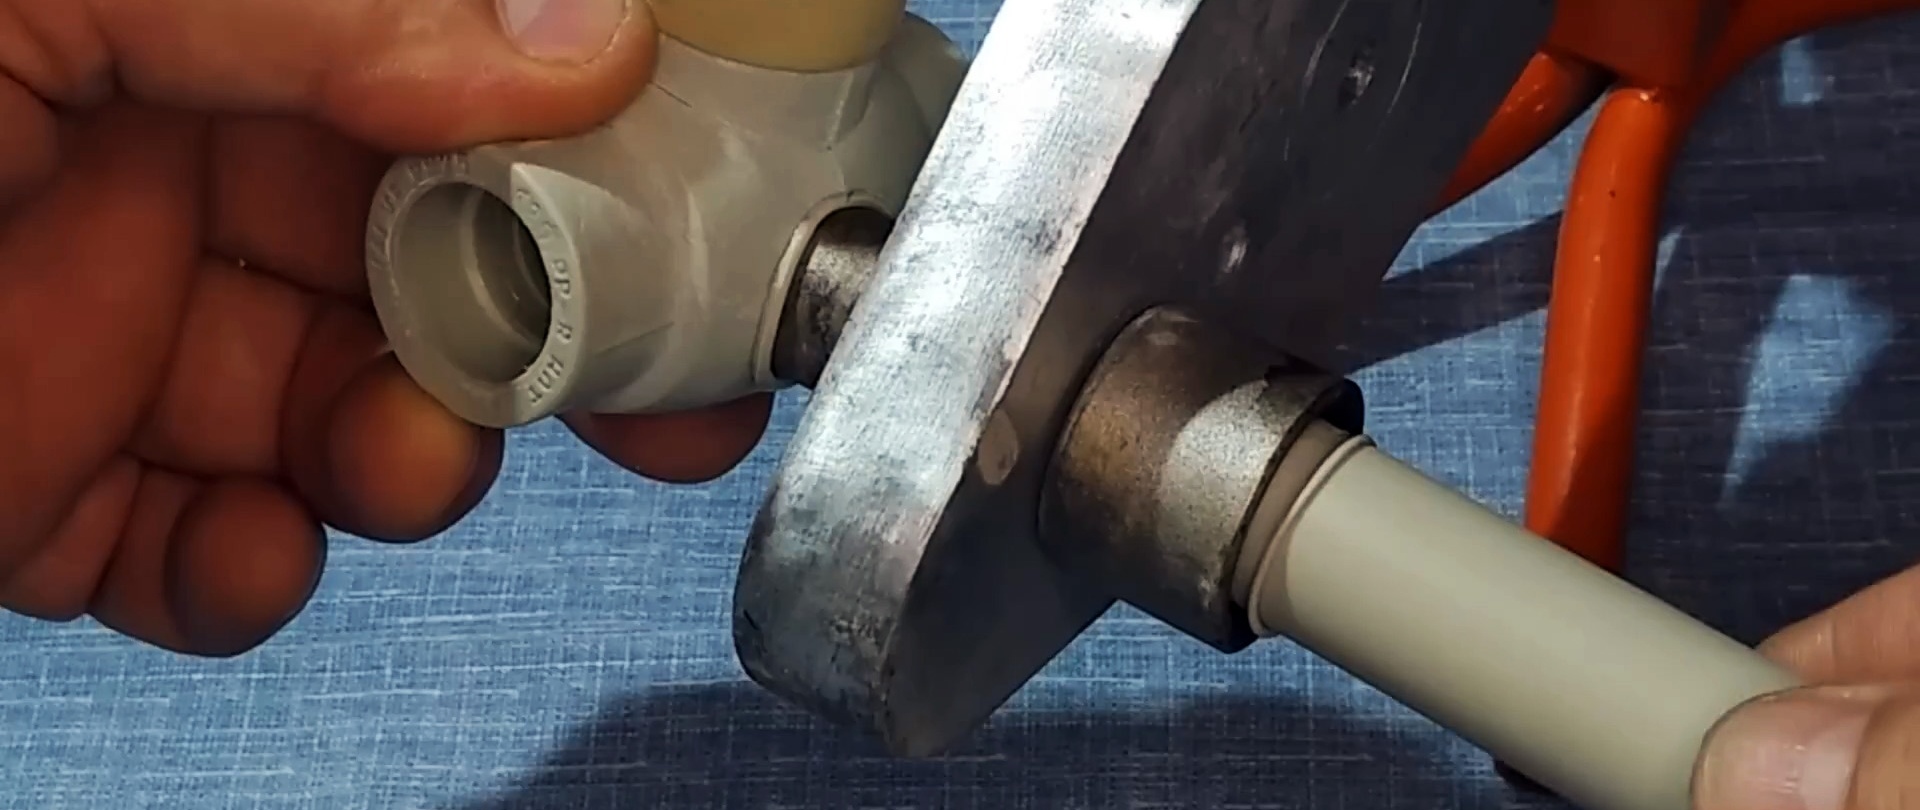

Depending on the position of the control handle in relation to the faucet body, we supply water to the left or right outlet, to both outlets at the same time, or completely shut off the water supply.