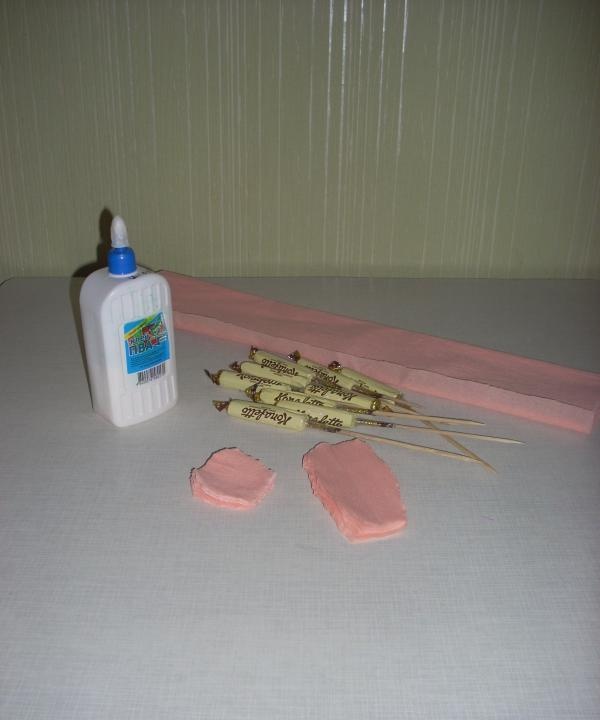
The following materials will be used to create the bouquet:
1. decorative mesh;
2. regular and double-sided tape;
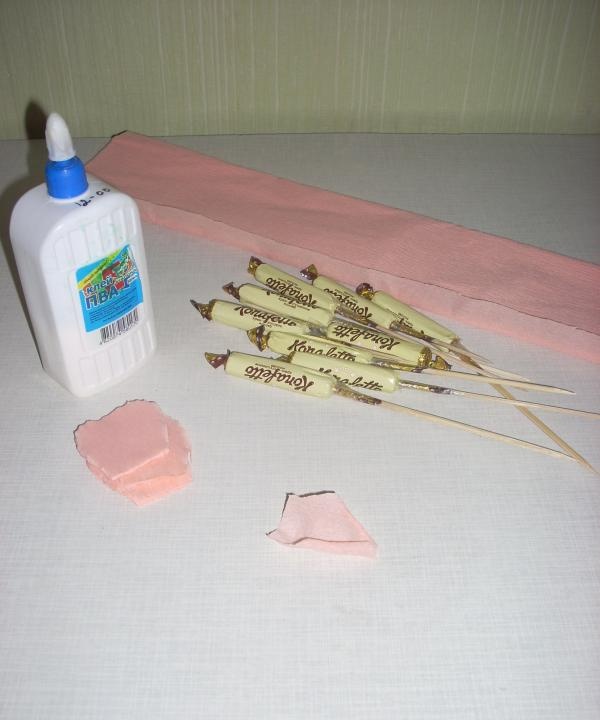
3. PVA glue;
4. foam or silicone seal;
5. scissors;
6. wooden skewers;
7. corrugated paper;
8. tape
9. and of course - your favorite sweets.
Let's start creating our bouquet.
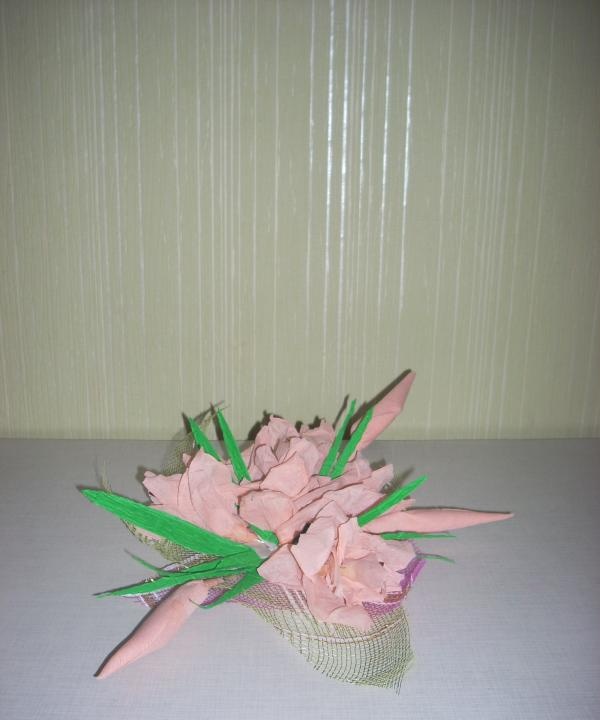
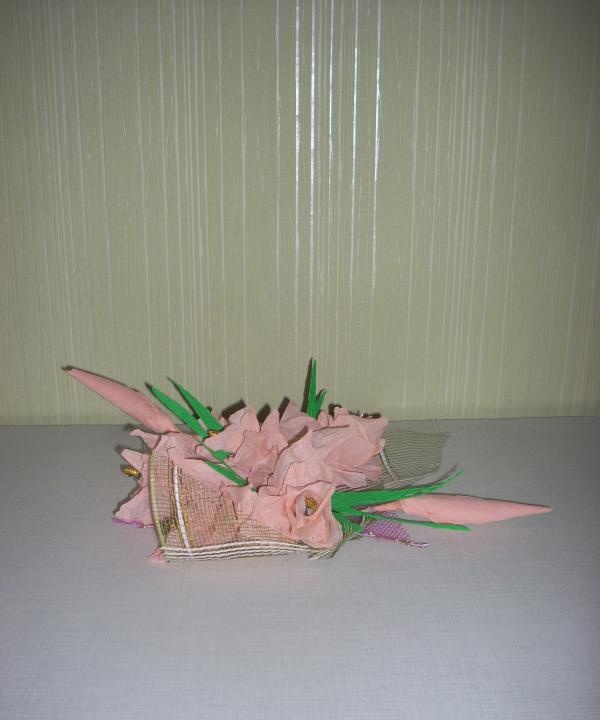
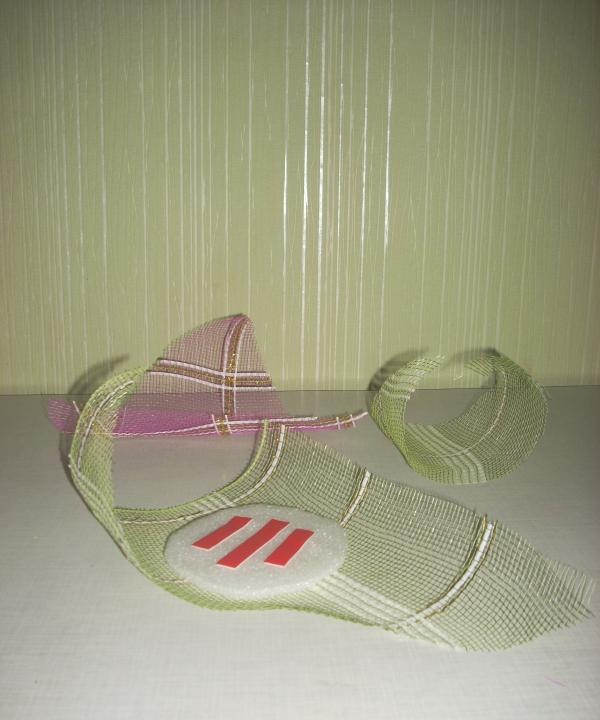
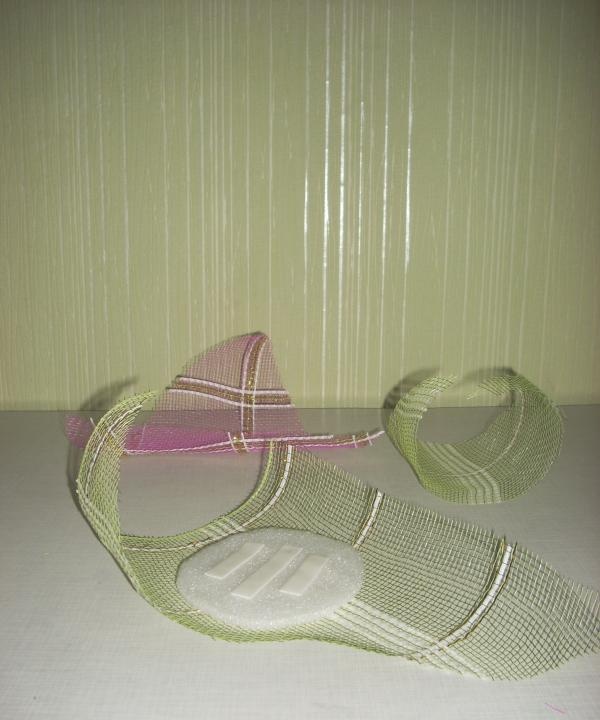
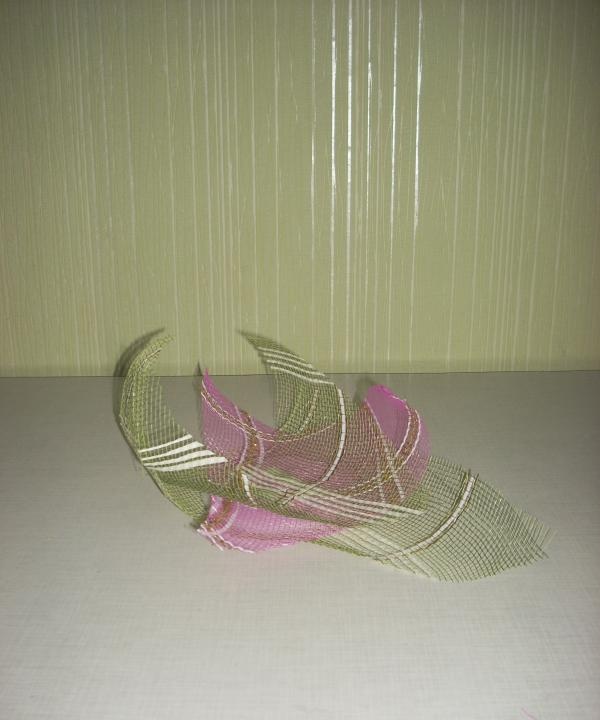
1. Cut out three triangles of different sizes from the decorative mesh. We take a circle of foam plastic or silicone sealant, and using double-sided tape, fasten it in the center of the largest triangle.
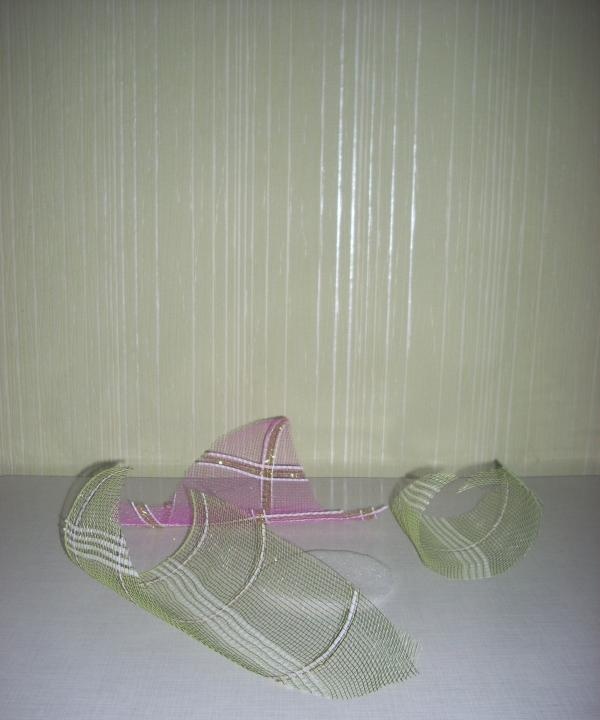
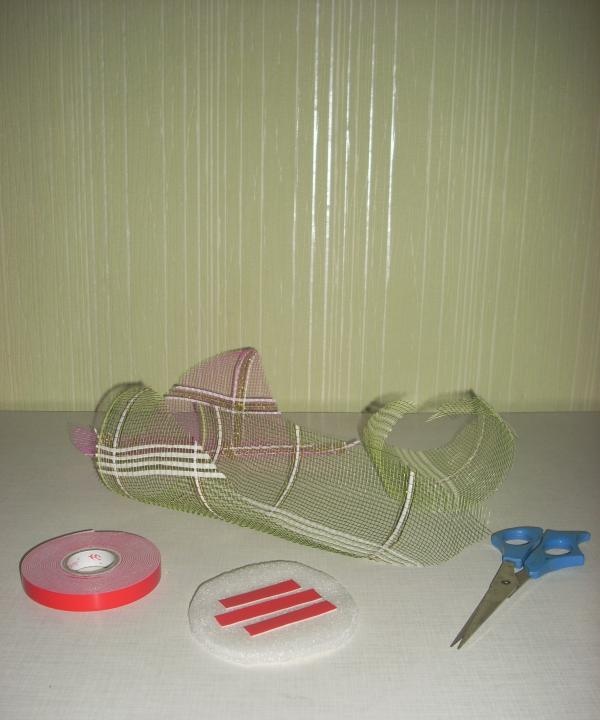
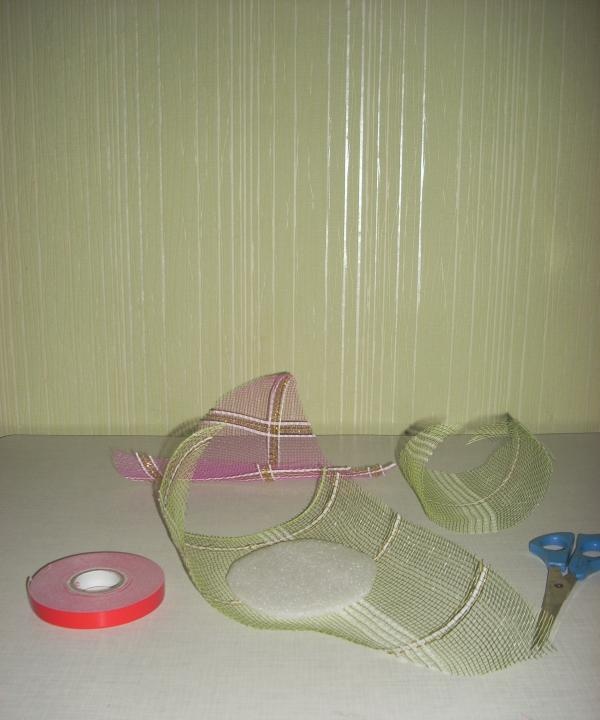
2. Glue several strips of double-sided tape onto the surface of the foam circle and attach the next triangle. In the same way we attach our last, smallest triangle of the decorative mesh.

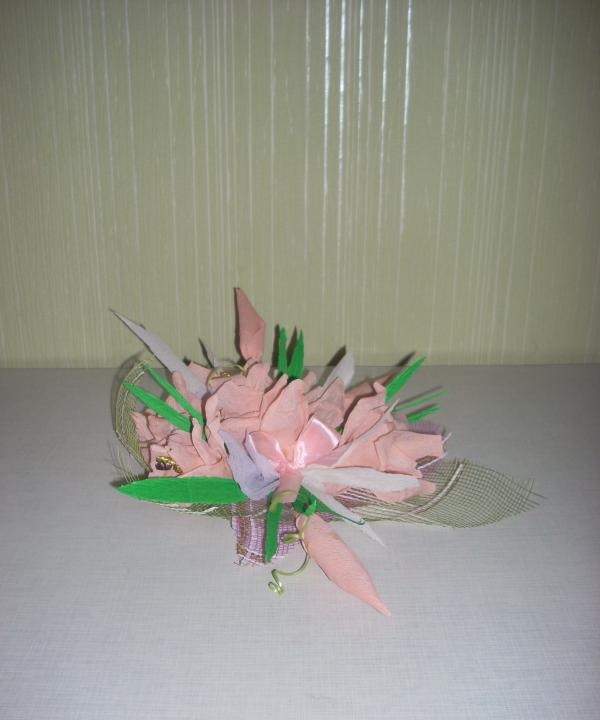
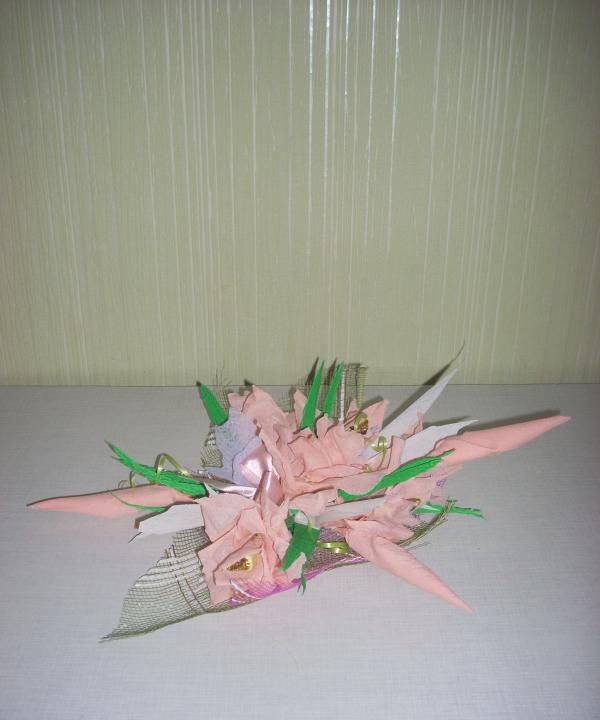
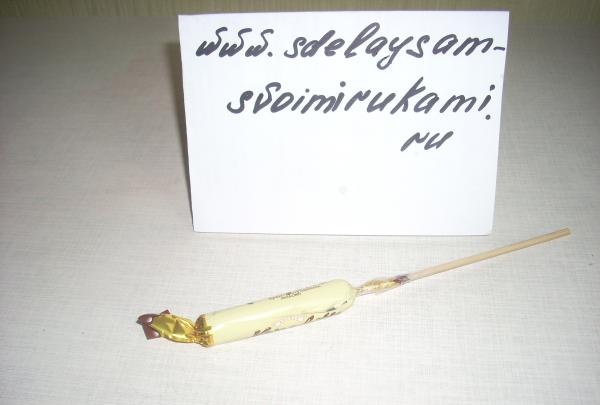
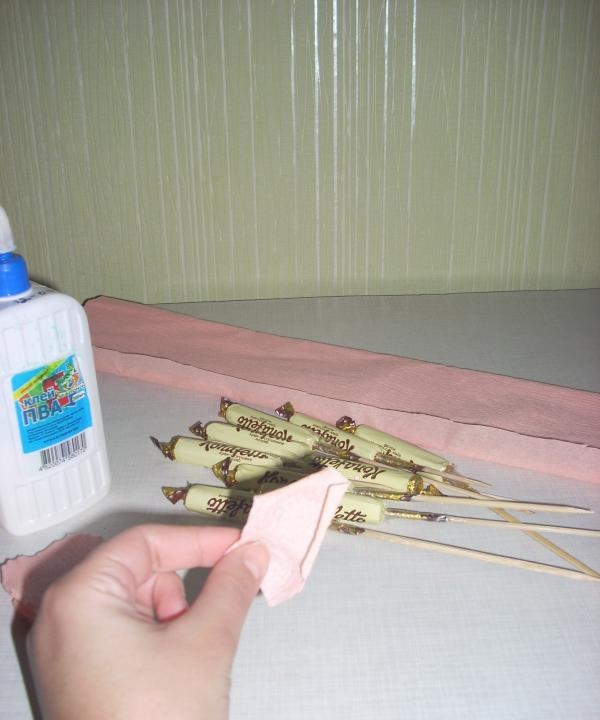
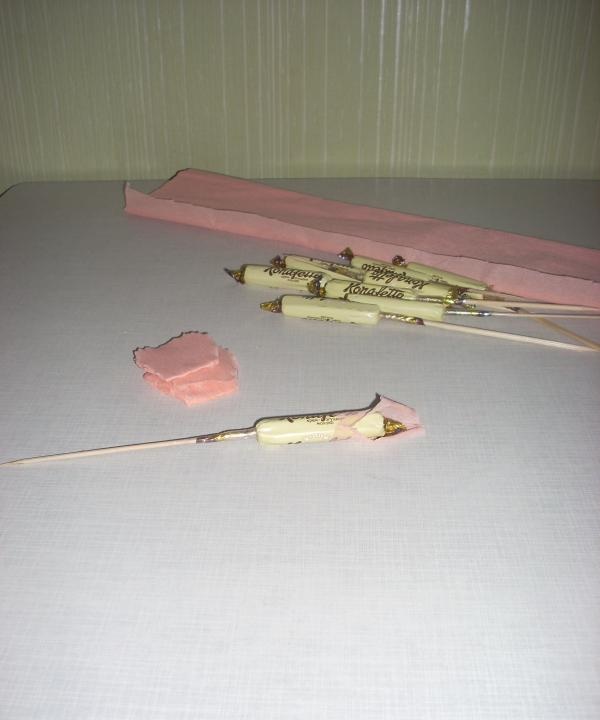
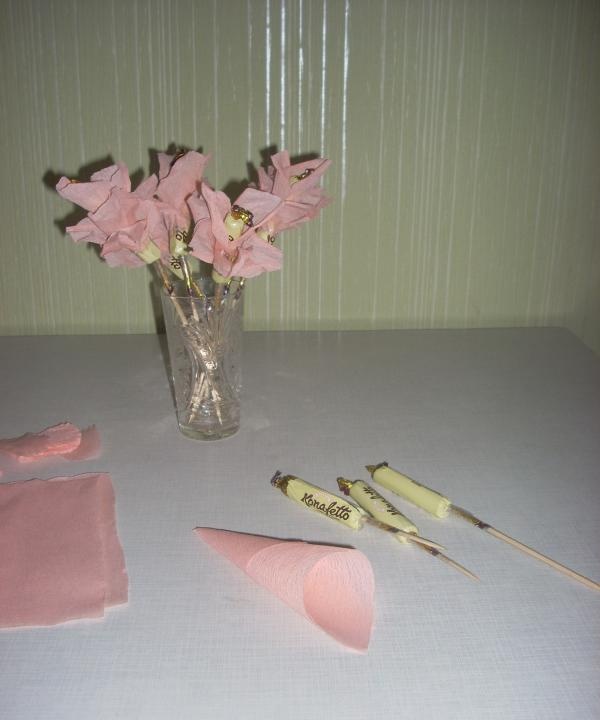
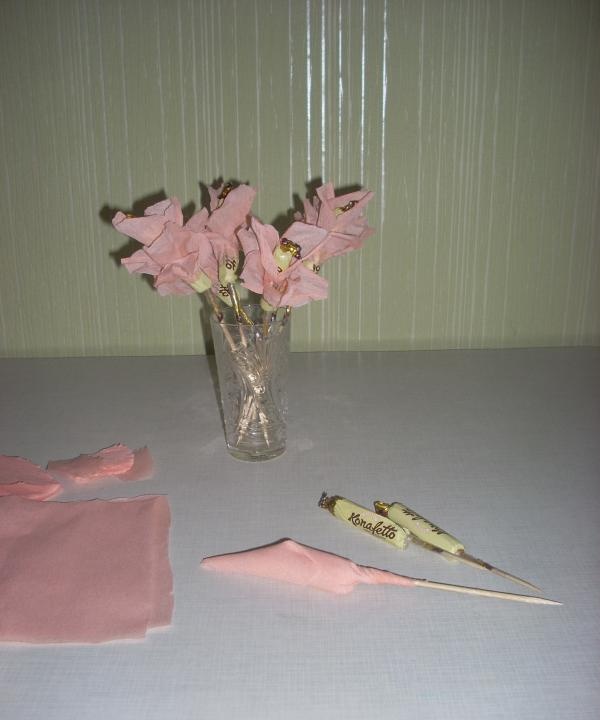
3. Take the candy, wrap its “tail” around a wooden skewer and secure it with tape.

4. We cut out the petals of our future flowers from corrugated paper.We make two types: large oblong ones and small round ones.
5. Let's start forming the petals. Use your fingers to give the paper the desired shape.
6. First we work with small petals. When they are ready, glue them to our sweet center.
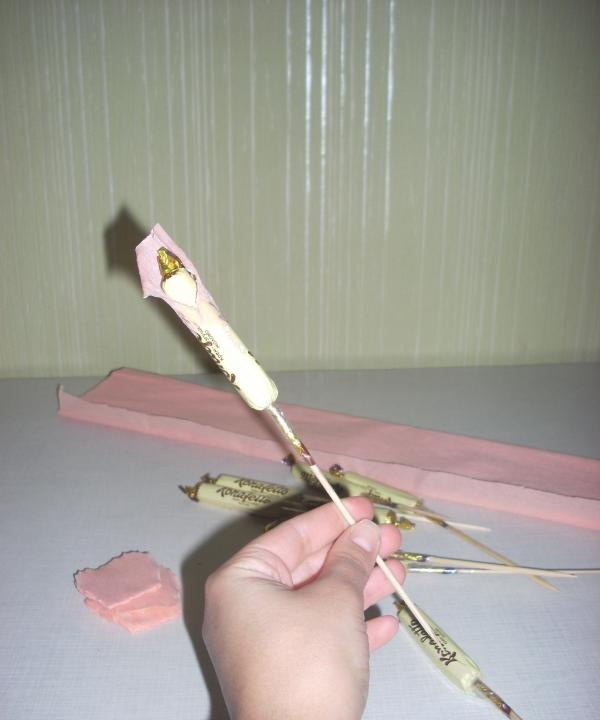
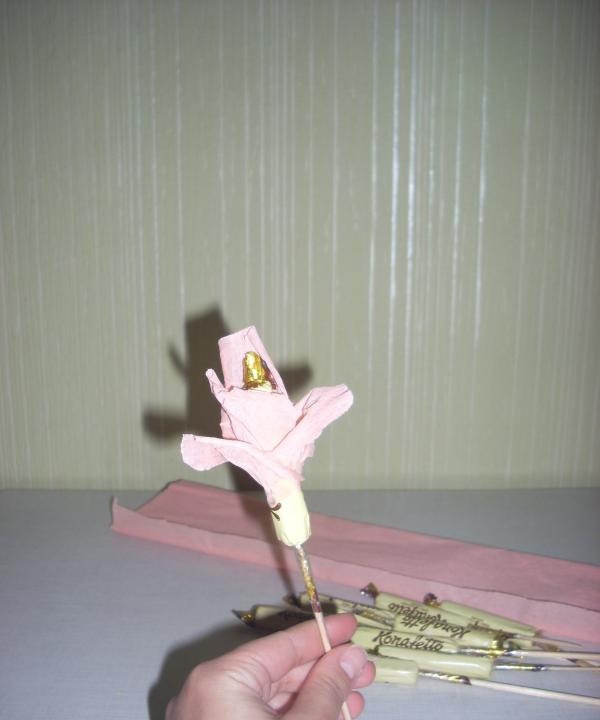
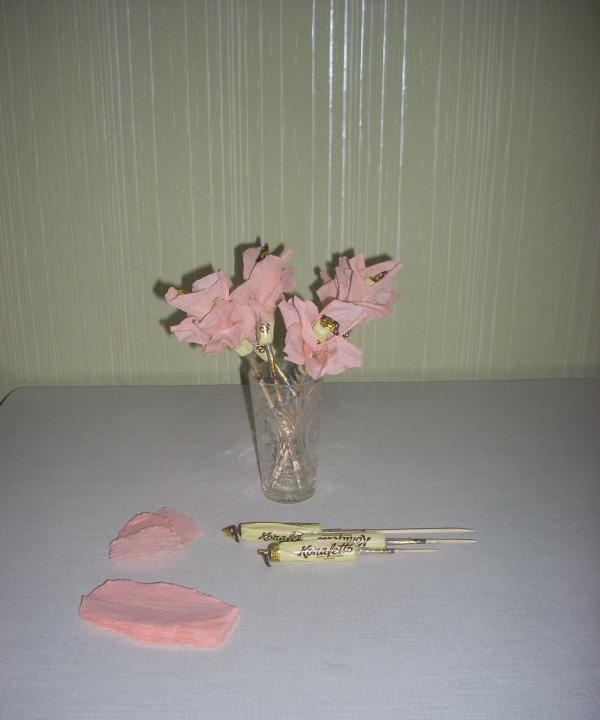
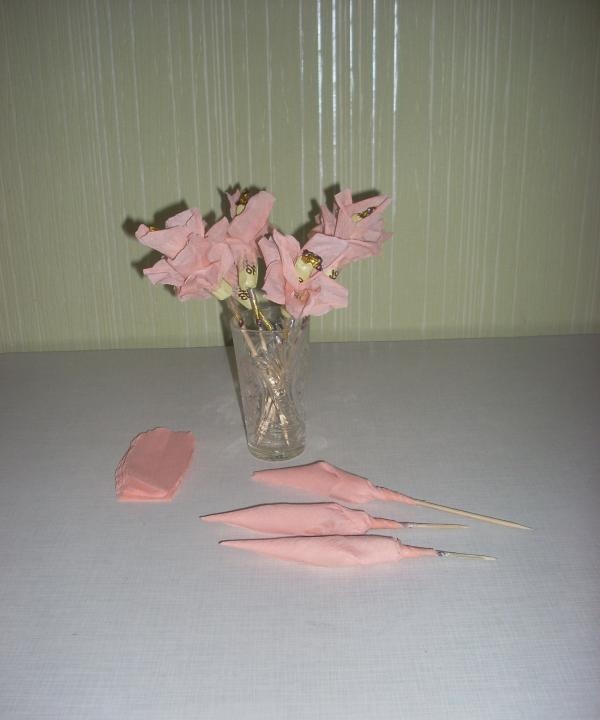
7. While our flowers are drying, let’s make a few buds. We cut out three rectangles from corrugated paper, twist them to form a cone, place the candy inside the cone, wrap it and glue the edges of the paper.

8. Now is the time to start forming large petals for our flowers. We give them shape and glue them, forming a beautiful flower.

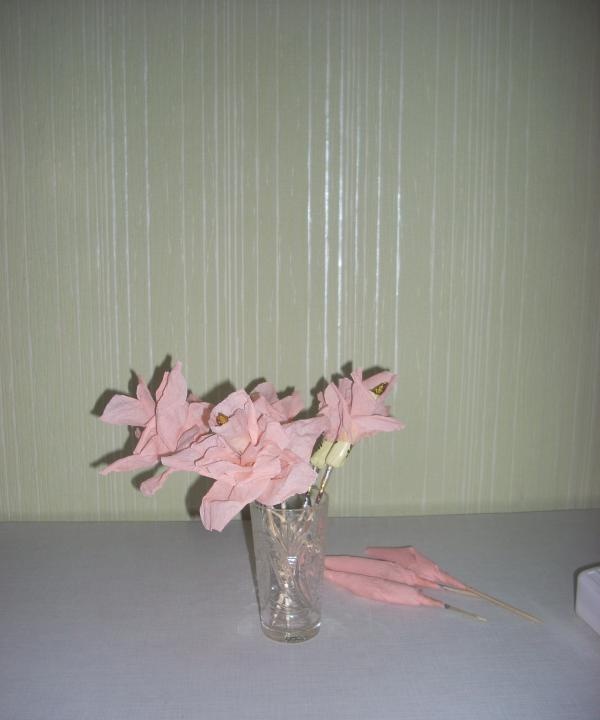
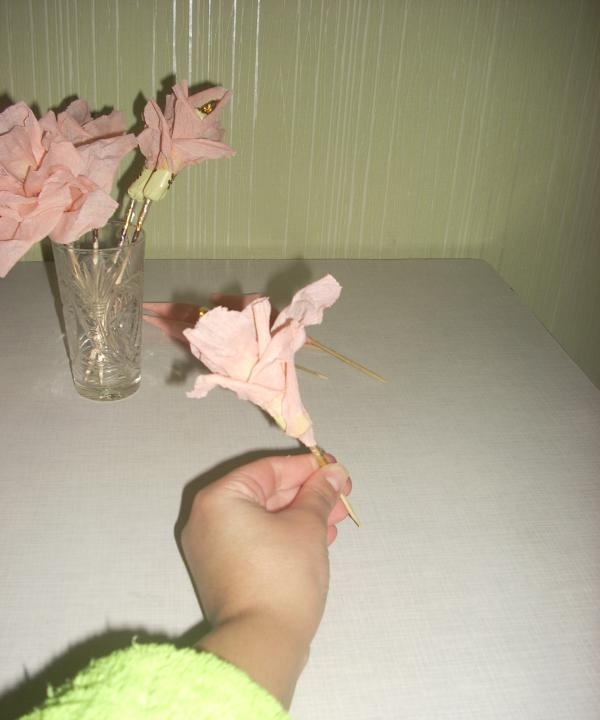
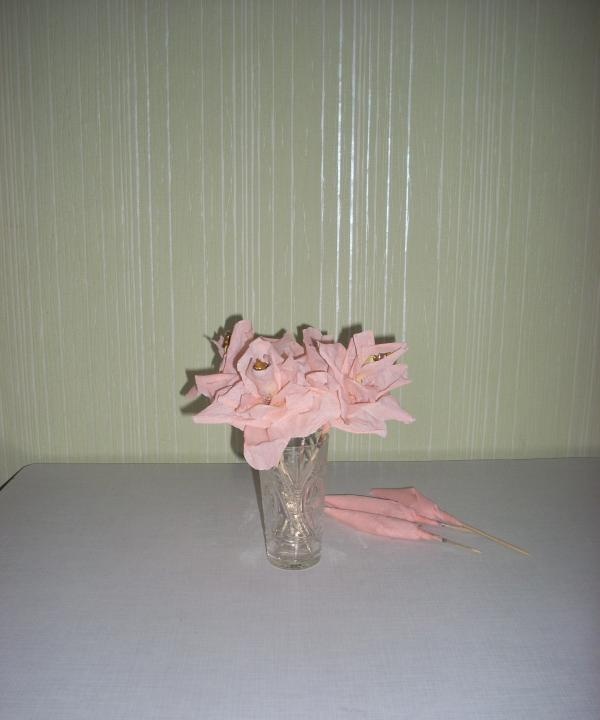
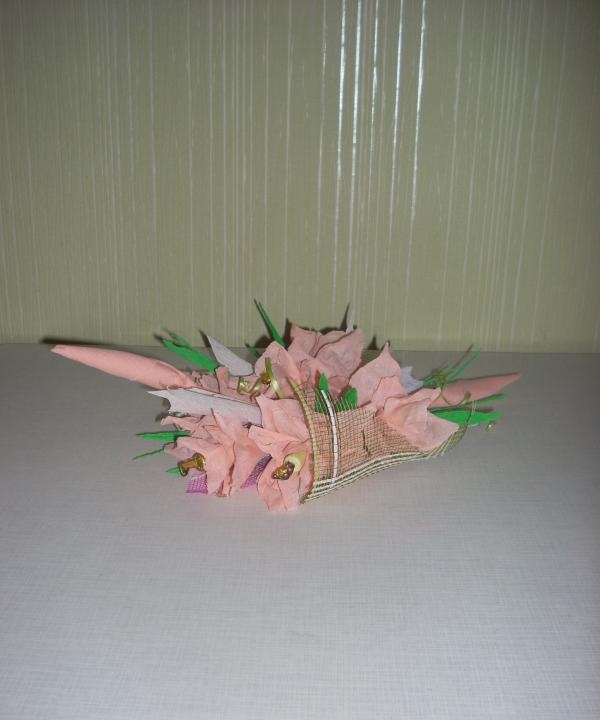
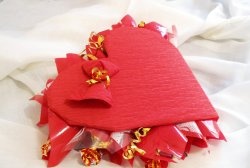
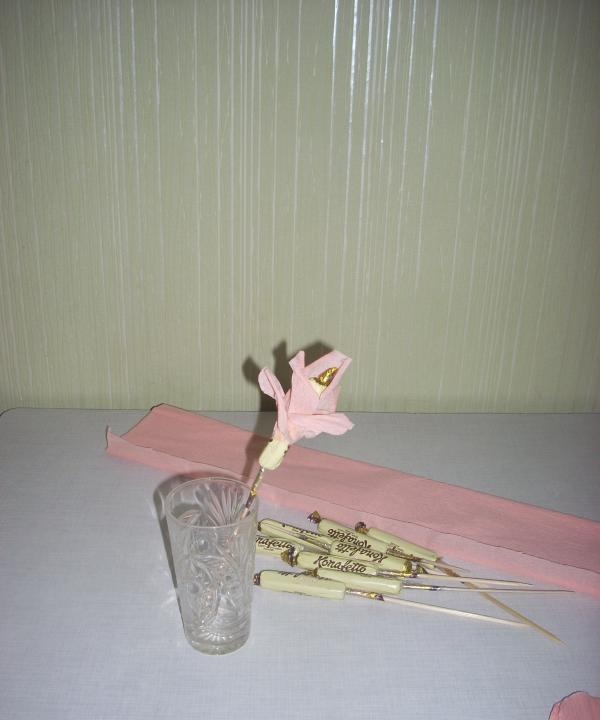
9. When the glue on the flowers dries, we begin to form a bouquet. Some flowers can be left on the skewers, others can simply be glued to the base with double-sided tape, having first been removed from the skewers.
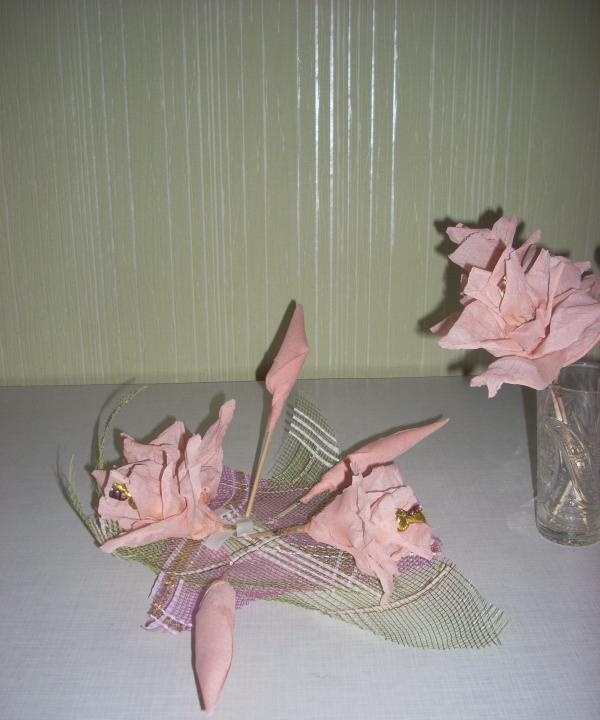
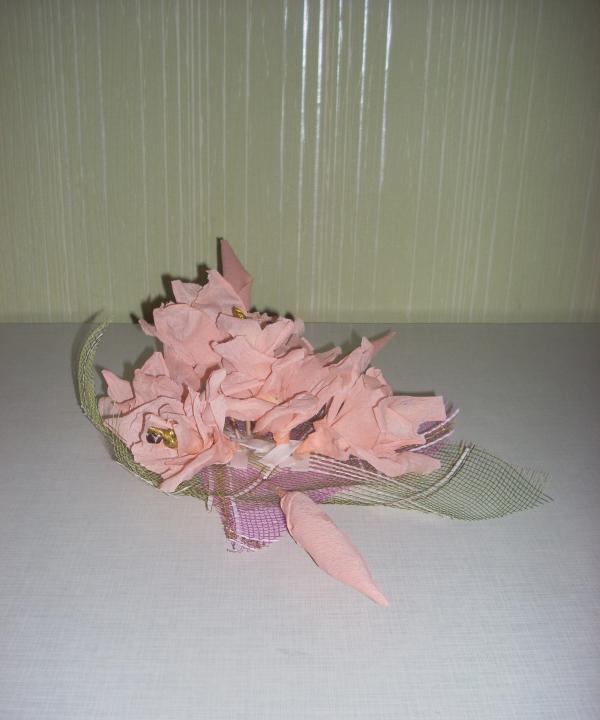
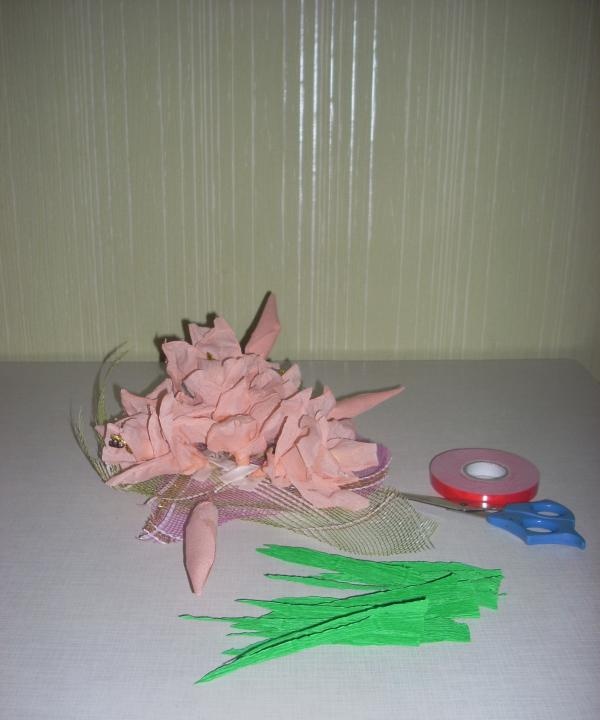
10. Decorate the composition with green leaves cut from paper, ribbons, beads, etc. And our sweet one present ready.