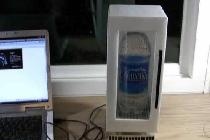
In the project we will charge a mobile phone with candle fire. To do this, we use thermoelectric converters, the operating principle of which is based on the Peltier effect. And first, a little theory.
The effect of heat release or absorption in the area where dissimilar conductors come into contact was first discovered and studied by the Frenchman Jean-Charles Peltier back in 1834. If we talk about the discovery in simple words, the scientist proved that if an electric current is passed through closely spaced dissimilar conductors, then one of them becomes very hot, while the other, on the contrary, cools. Yes, the efficiency of devices operating on this effect is low. Perhaps this is why the practical application of the discovery began only in the middle of the twentieth century.

It should be noted that the Peltier element can also work in the reverse order: if one side of it is heated and the other is cooled, the unit will generate current. The greater the temperature difference, the higher the current generated. It is this wonderful feature that we will use in our experience with charging a smartphone.
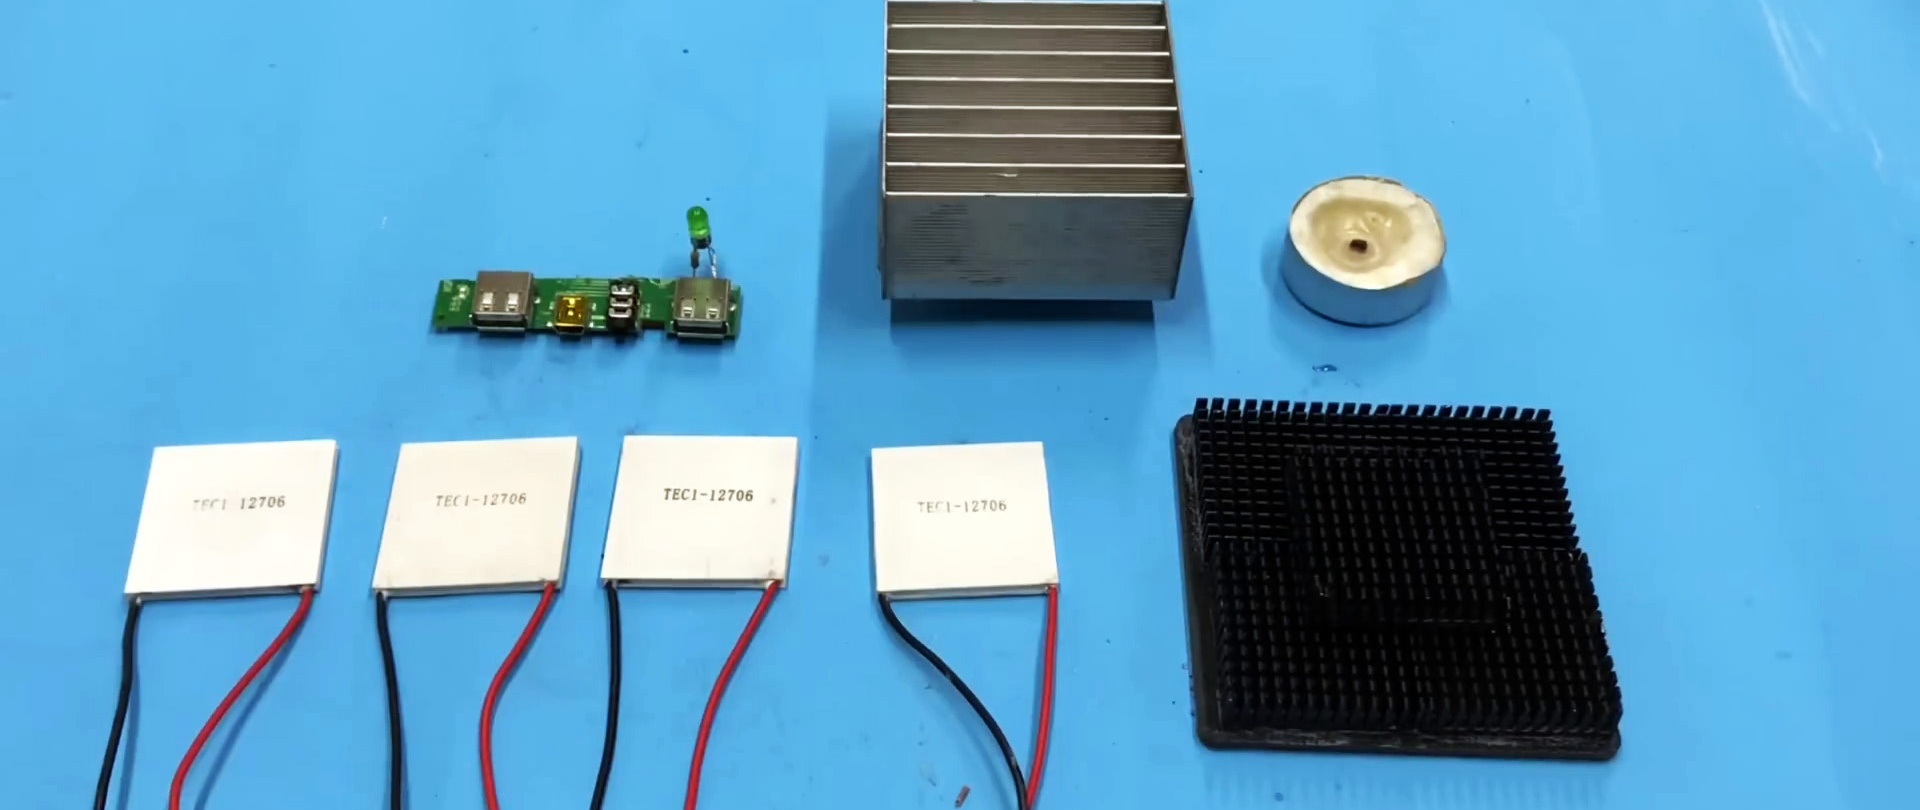
What you will need:
- 4 Peltier modules TEC1-12705
- Thermal paste
- USB strip
- 4 small radiators
Making a thermogenerator with your own hands
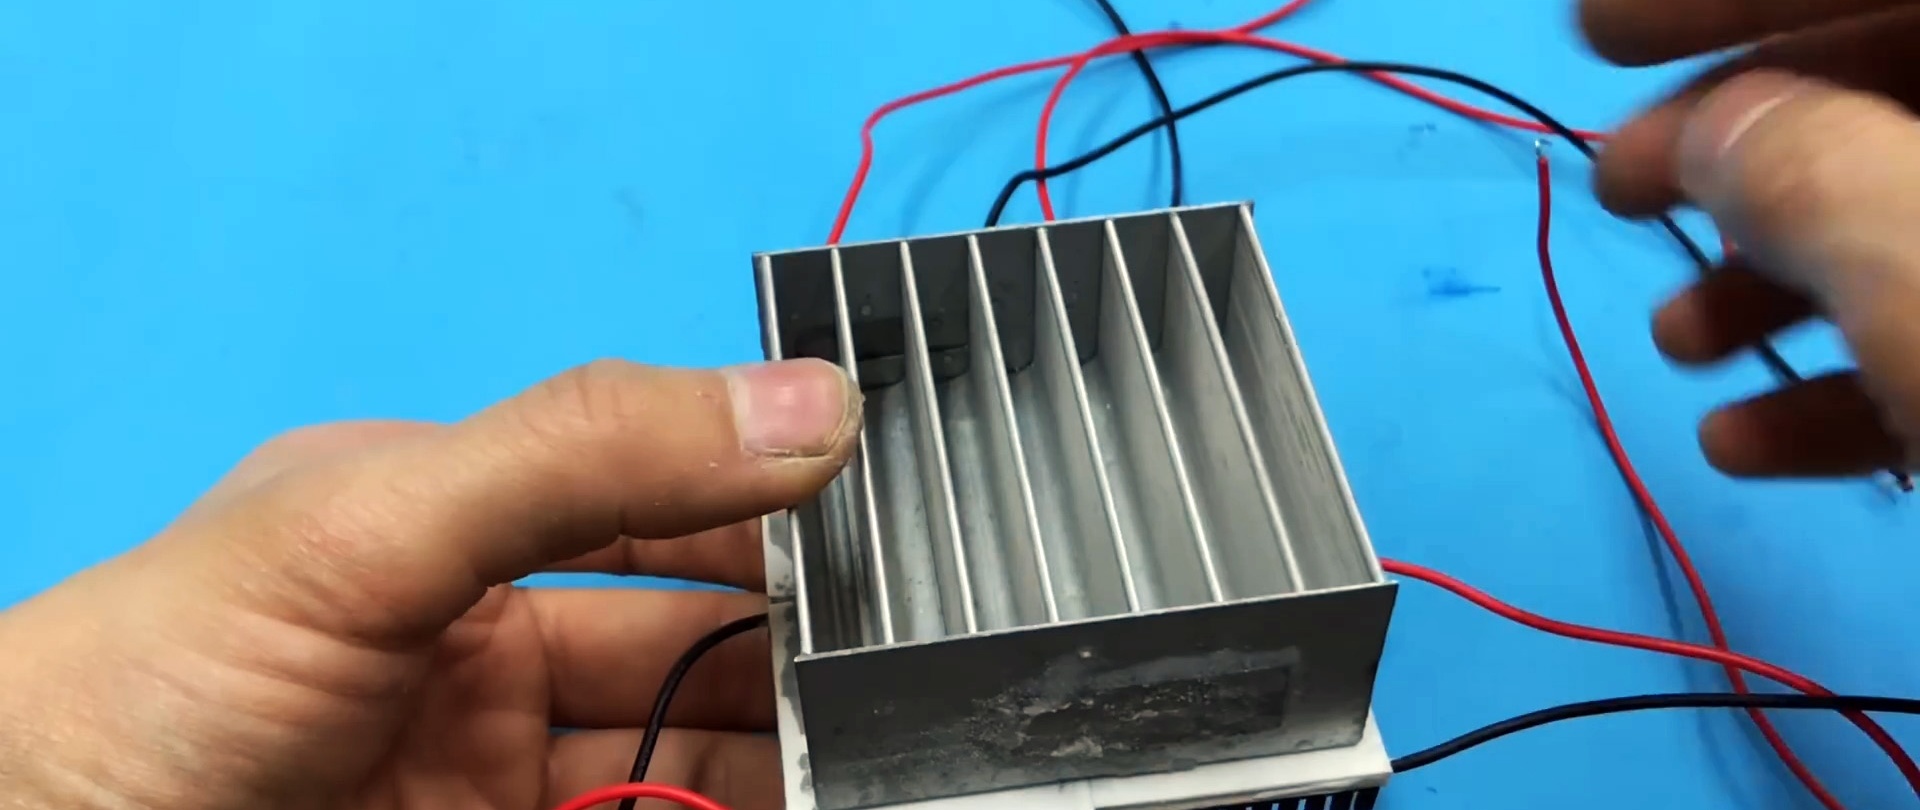
Peltier elements most often have the shape of a flat rectangle with two terminals. For our charger we will take 4 modules. Let's post them on radiator of a suitable size. The cooling fins on it are located in such a way that you can pour water into them without it spilling out.
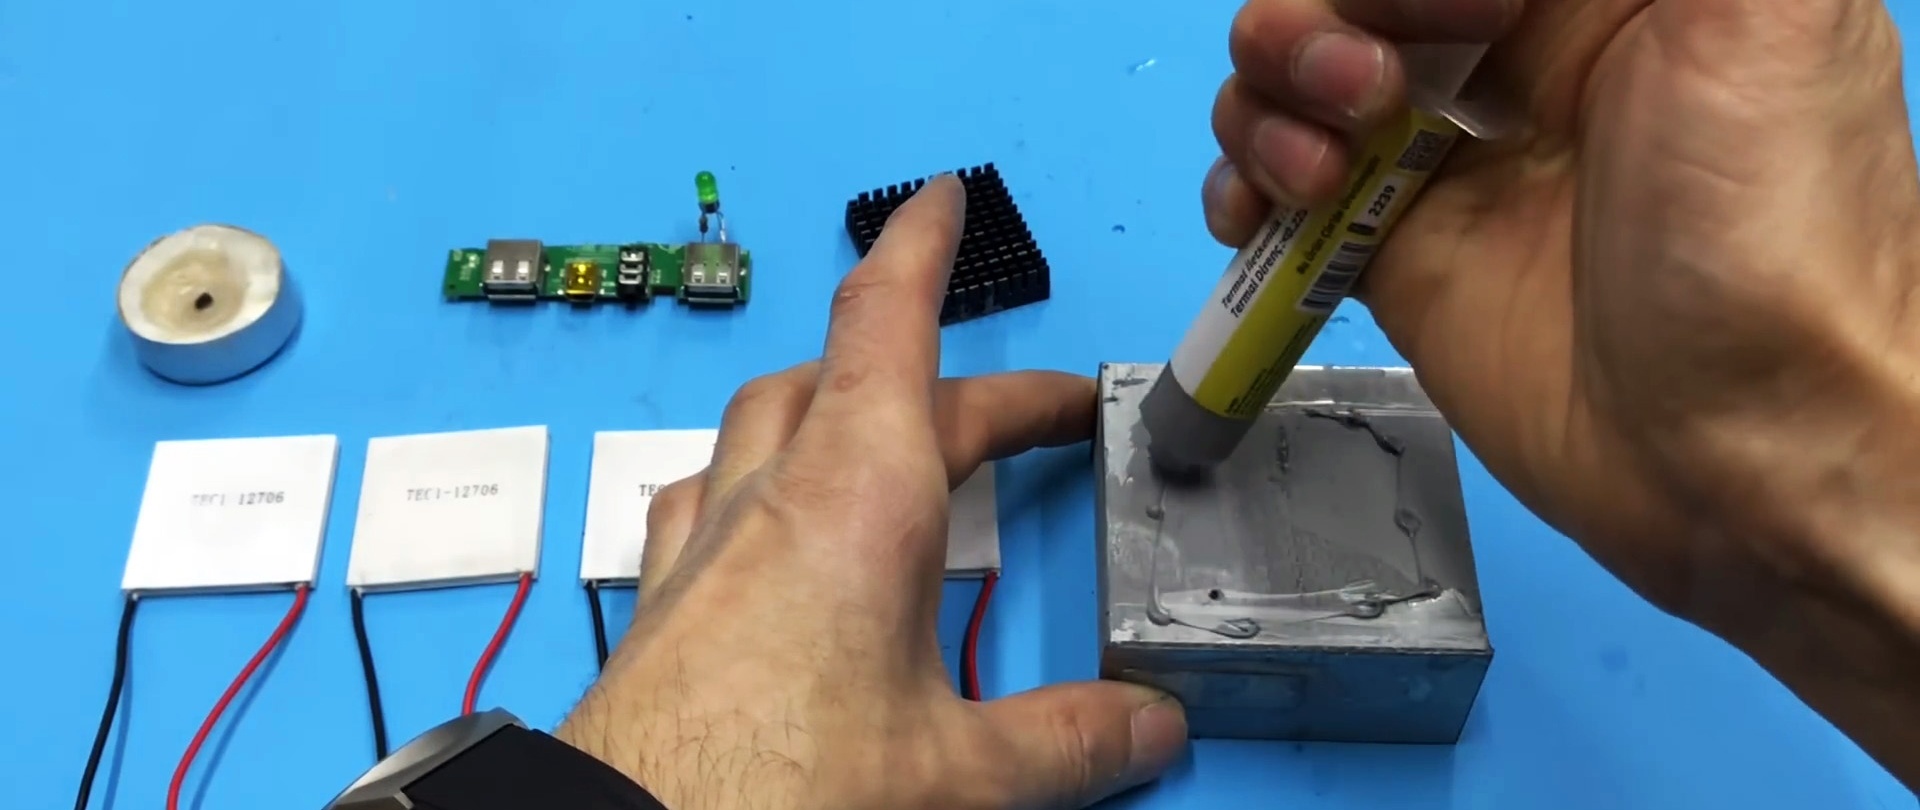

This is exactly what we will use in the future. In the meantime, we fix the elements, having previously covered the surfaces thermal paste for better contact.
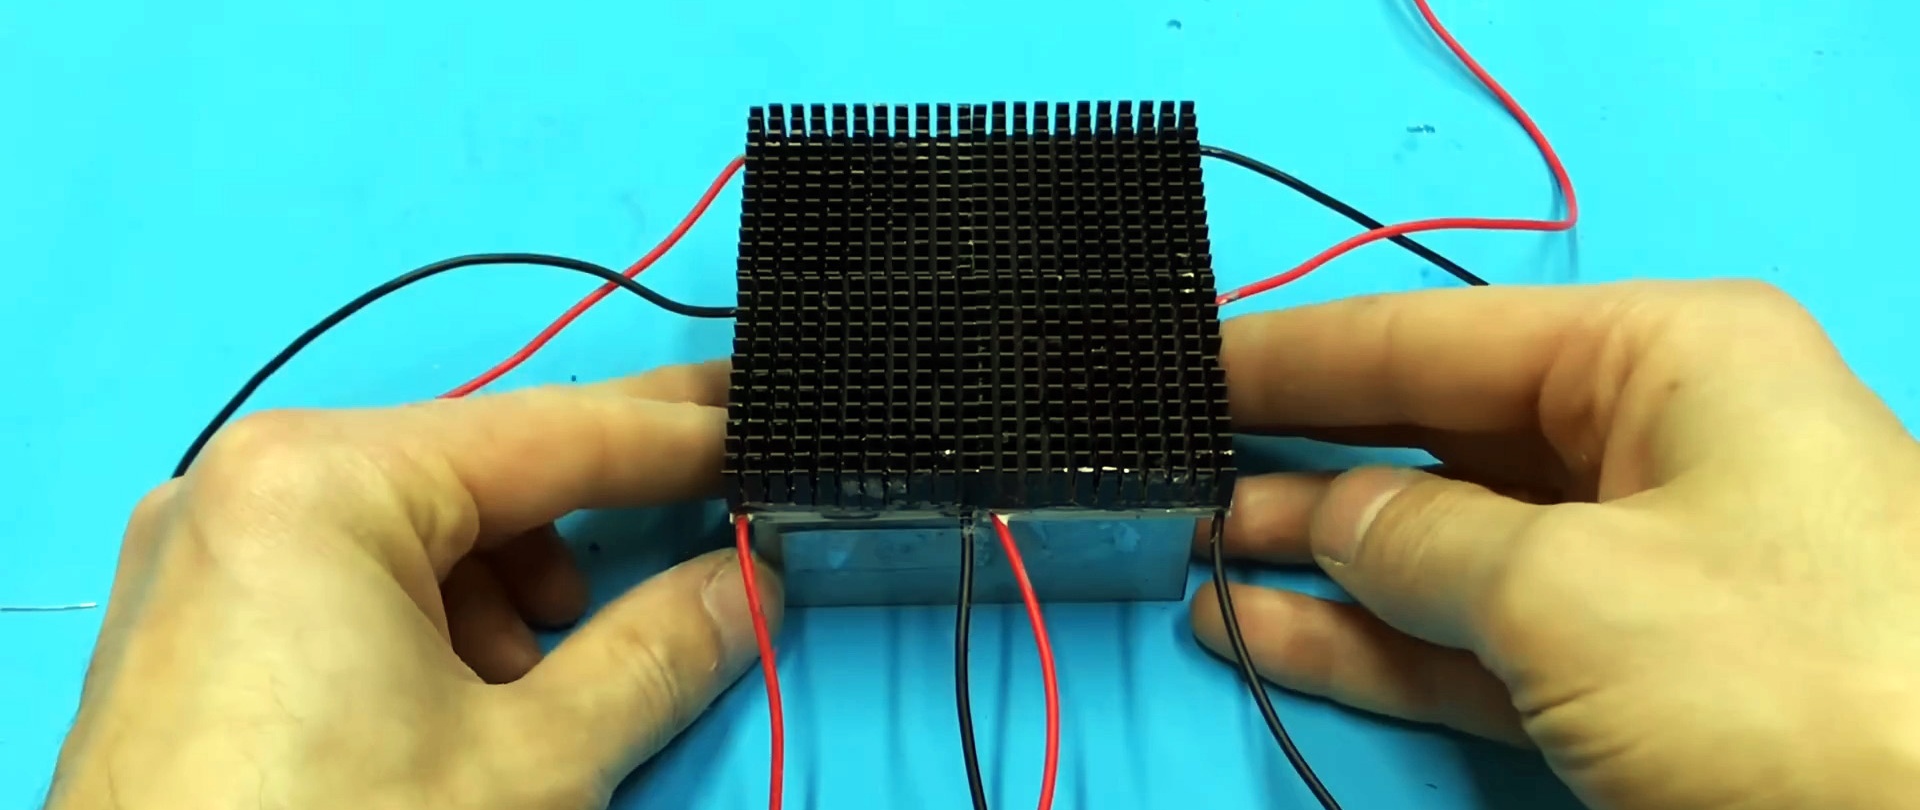
conclusions thermoelectric modules made with wires of different colors: red and black. Very comfortably. We will connect the elements in series: red with black, black with red. We will also cover the top of the modules with metal radiators. We will further heat this side on a candle flame.

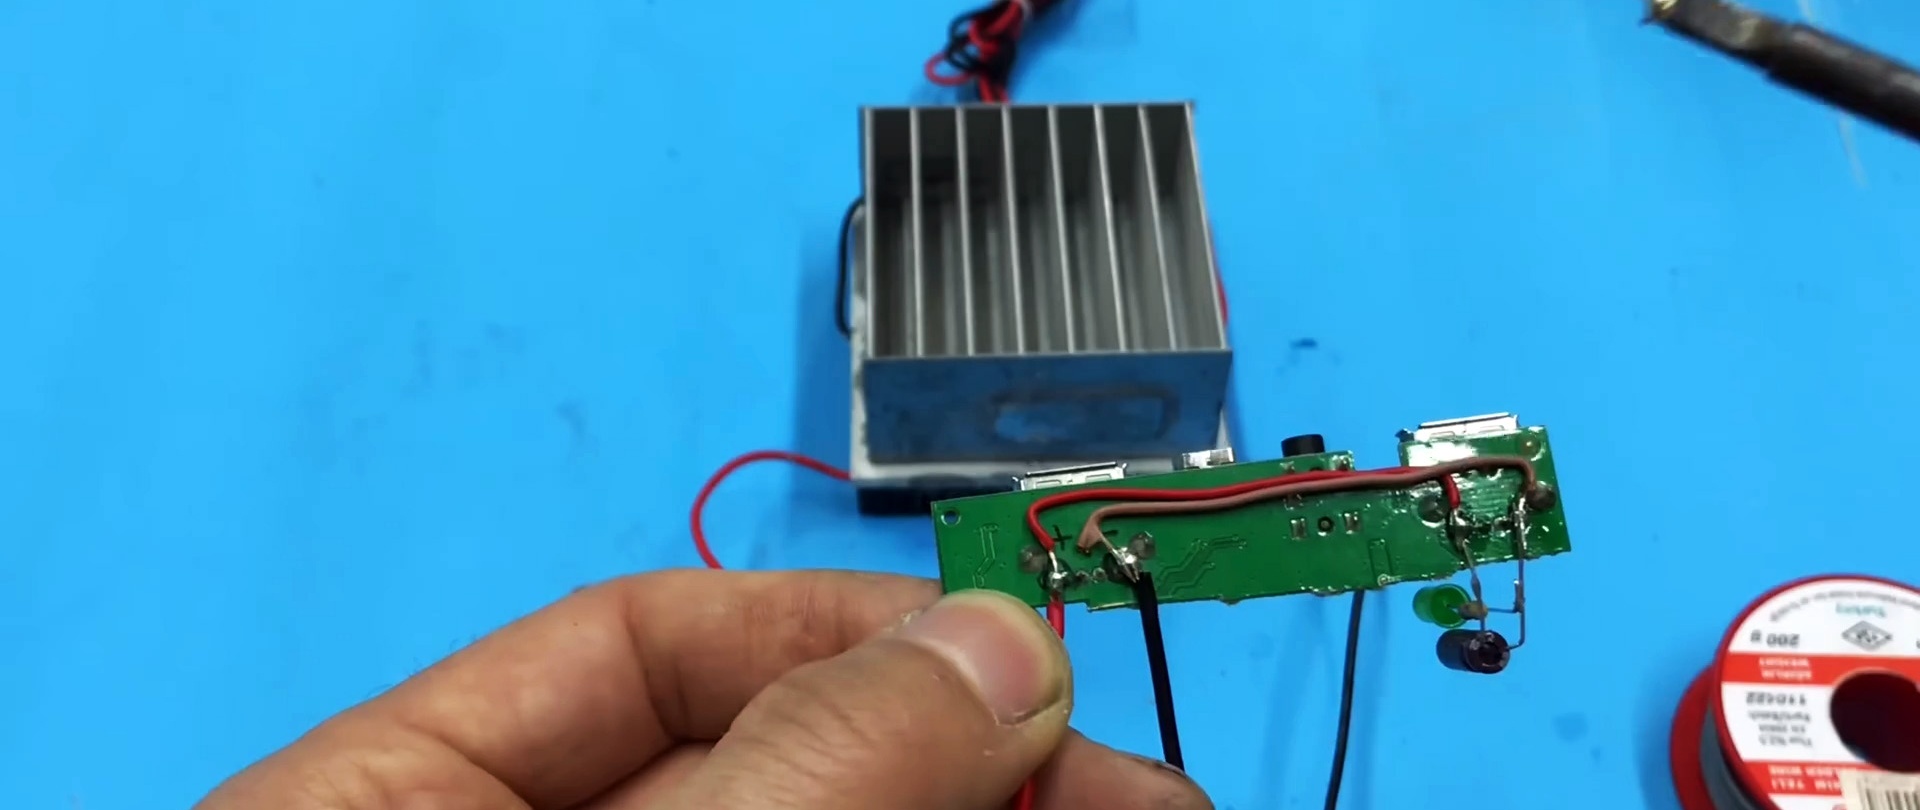
Now we need several radio components. First of all, the USB connector. We will cut it out with scissors from the old non-working board. We even have two nests on it. Very good. In order not to accidentally confuse, we mark the plus and minus of nutrition on the legs. Besides this, let's take Light-emitting diode and a limiting resistor to control current production. As soon as the current required for charging appears on the contacts of the USB socket, it will immediately light up. Light-emitting diode. And we’ll also install a smoothing electrolytic capacitor. The part values can be easily seen in the photo.

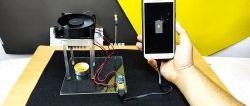
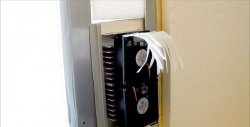
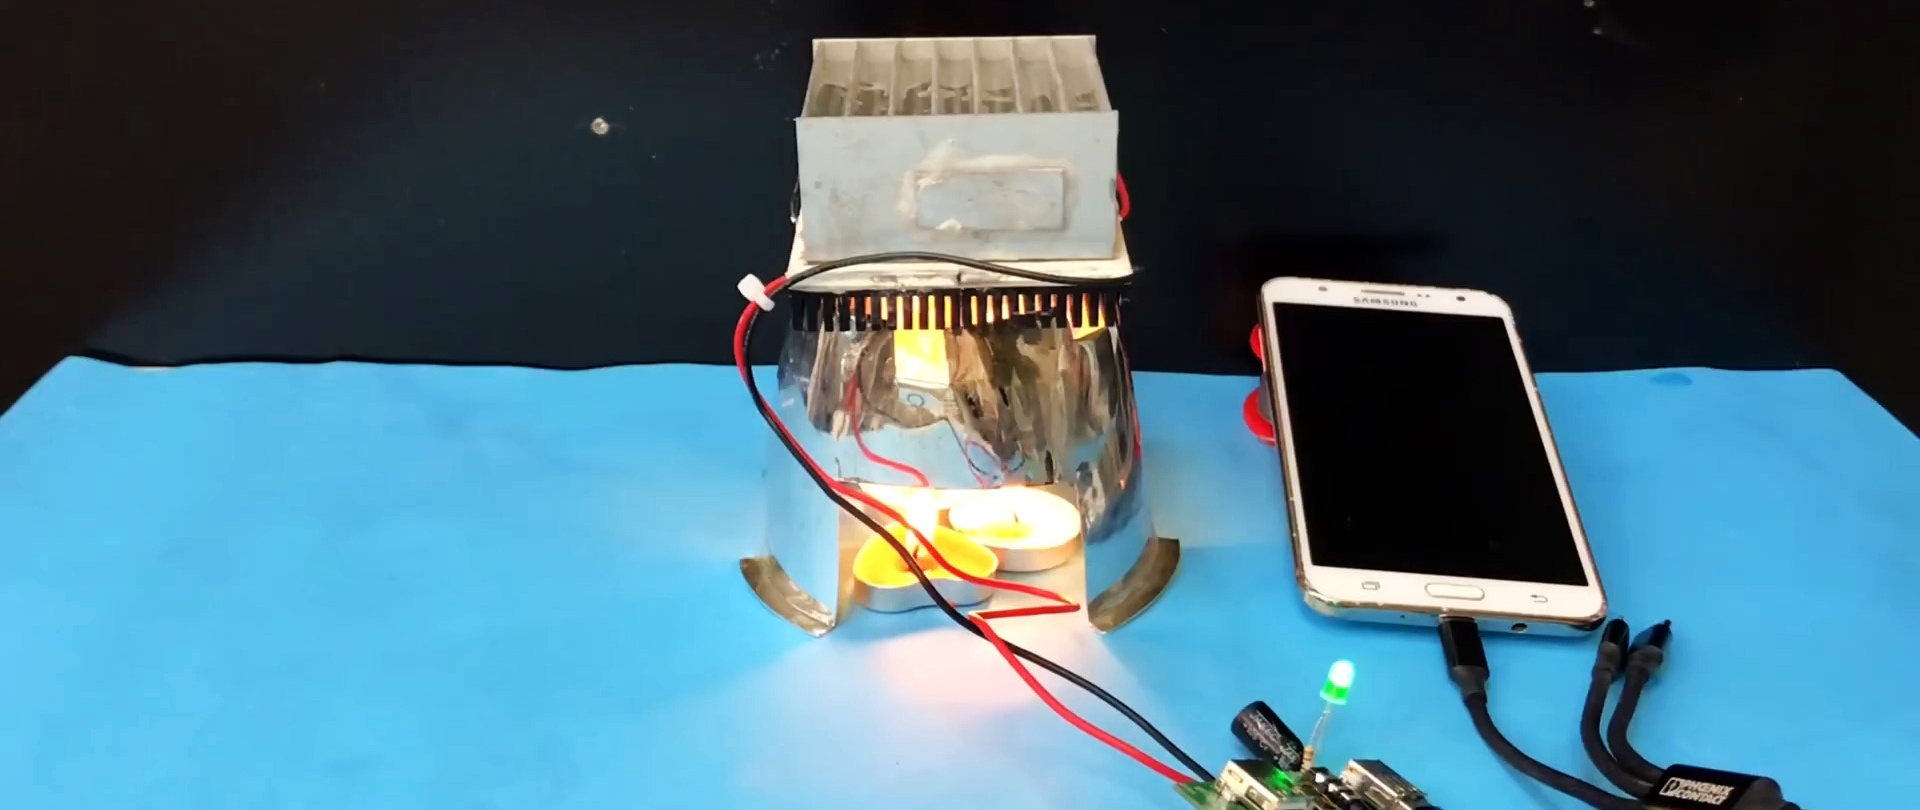
The device is ready, testing begins. For candles, a special burner is cut out of tin.

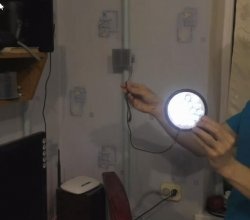
Three candles are enough. Our modules are placed on top. Water is poured into the radiator, which is designed for cooling. The process has begun. Indicator Light-emitting diode starts to flare up.The hotter the hot side of the Peltier elements gets, the higher the current.

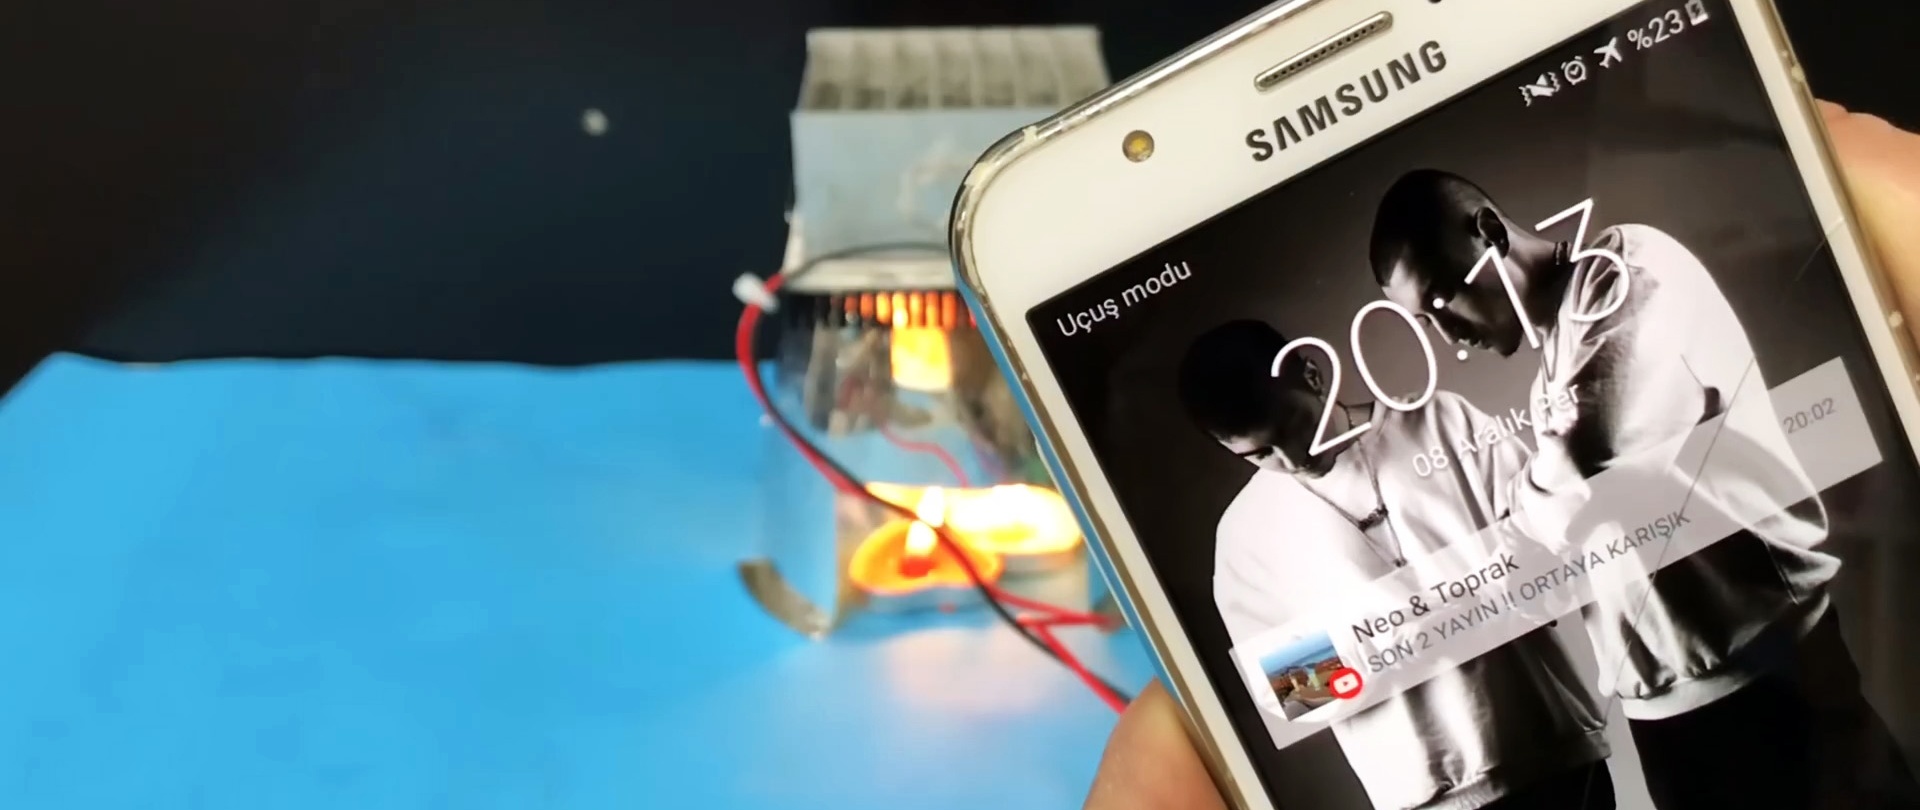
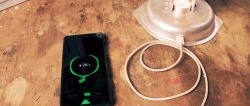
We are trying to connect the phone. And it's charging. If you now remove the device from the heat, then Light-emitting diode will burn for some time until the plates cool down. The phone also stops charging at this point. Place the device on the heating pad again. The indicator lights up, the current reaches the required value, and the smartphone begins to charge again.
Our experience was a success, everything worked out.