It becomes very unpleasant and annoying if our clawed and impudent pet begins to tear up the wallpaper and furniture. But this procedure cannot be avoided if life without this cute little animal is unthinkable for you. Especially in the spring, when molting begins. You can't do without a scratching post here. You can do this thing yourself within twenty minutes.

But it is not enough to purchase or make this necessary, in this case, tool - you also need to somehow force the narcissistic and obstinate animal to use it. Of course, besides the scratching post, there is another solution to this problem. Special guillotines for cat claws are sold, and simple nail clippers have not been canceled. As a last resort, scissors. But every time there is hysteria, an angry hiss, bites and scratched hands - the toothy beast will use its sharp fangs and remaining claws without the slightest regret. And for the animal this is a new stress every time. It is all these problems that we will talk about today. First, let's make a scratching post.
Will need
- Piece of carpet, 28x40 cm.
- A piece of fiberboard or thin plywood, 26x44.
- Knife.
- Marker.
- Hacksaw.
- Self-tapping screws 4 pcs.
- Drill, Phillips bit and 3mm drill bit.
- Sandpaper for wood.
- Hot melt adhesive, 1 rod.
- Iron.
- Lighter.

Making a scratching post
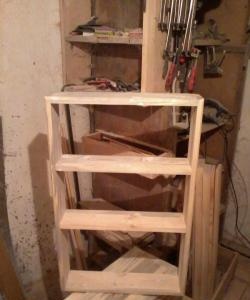
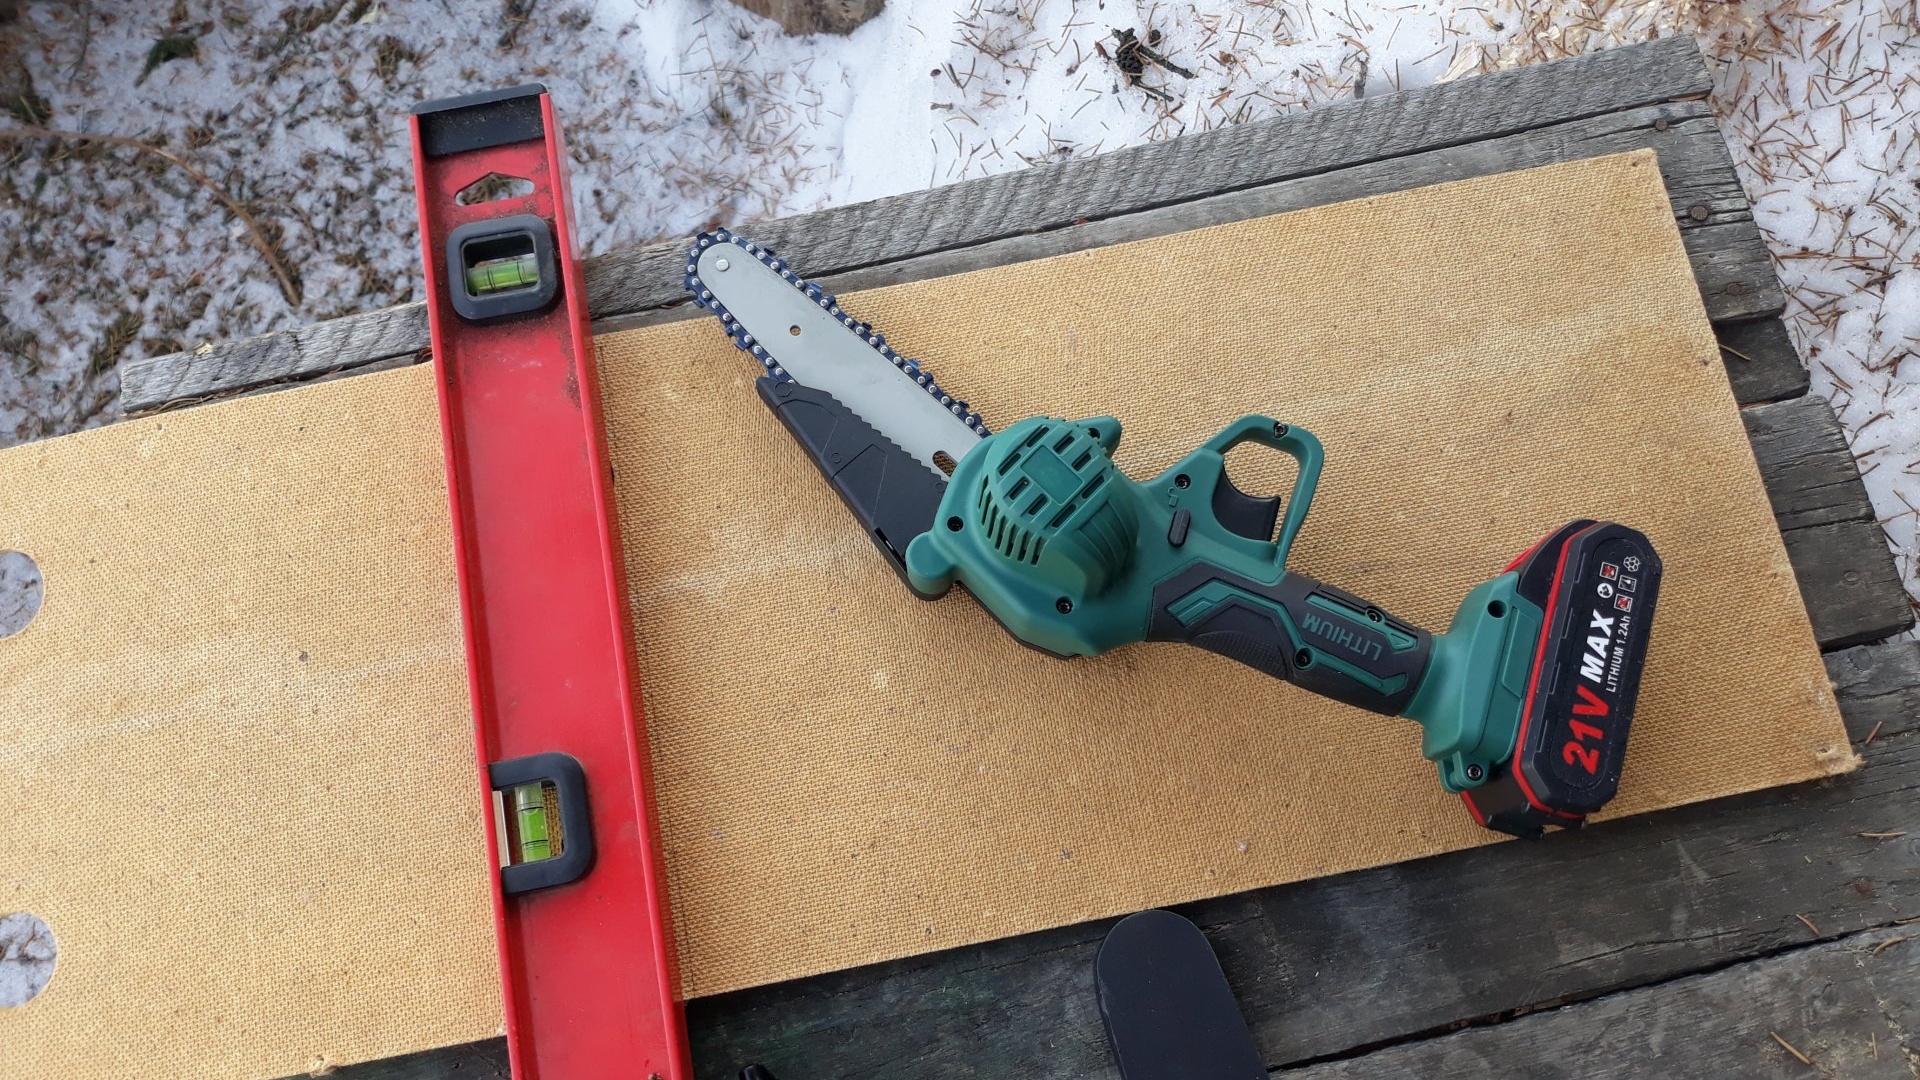
First of all, you need to make a base. Here we need a piece of fiberboard or plywood. We measure out an area of 26x44 cm and saw it off.
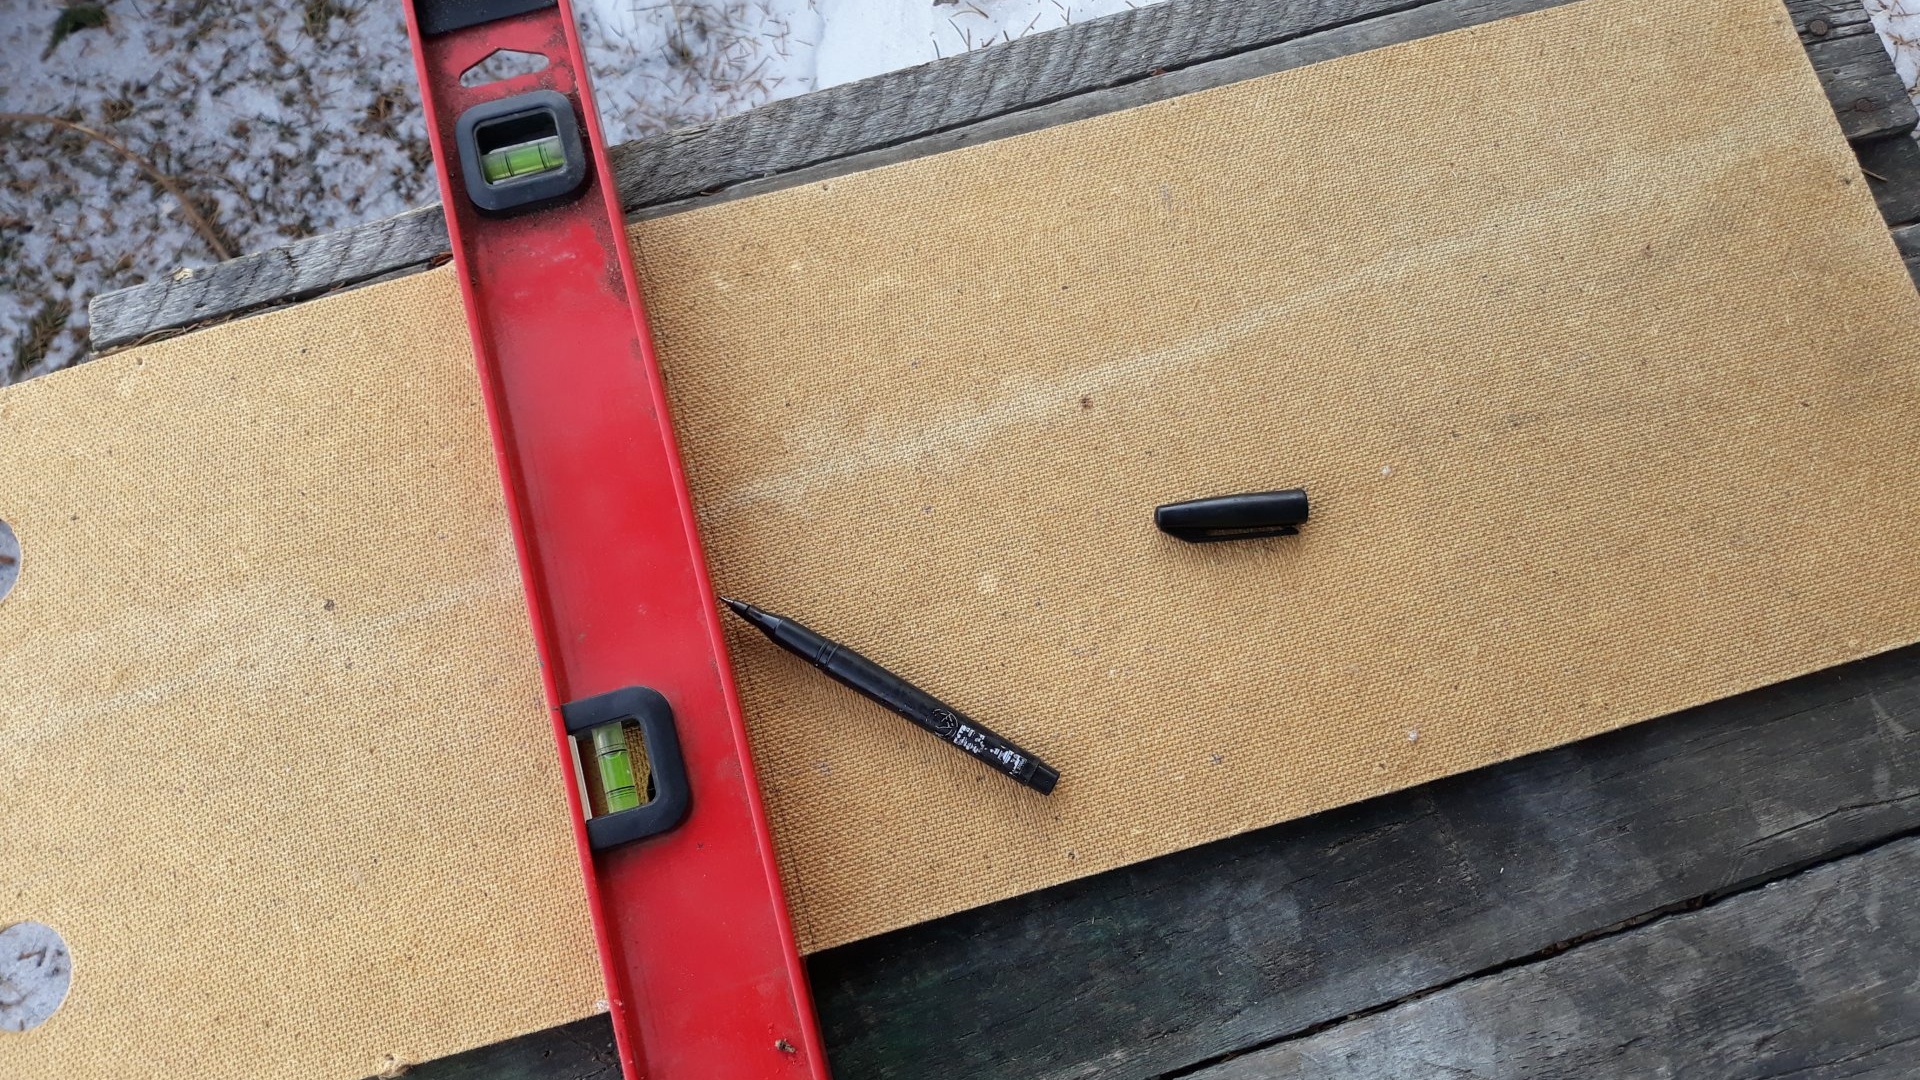
Next, we divide the resulting rectangle along its length into two equal parts. Each 13 cm wide, it turns out:
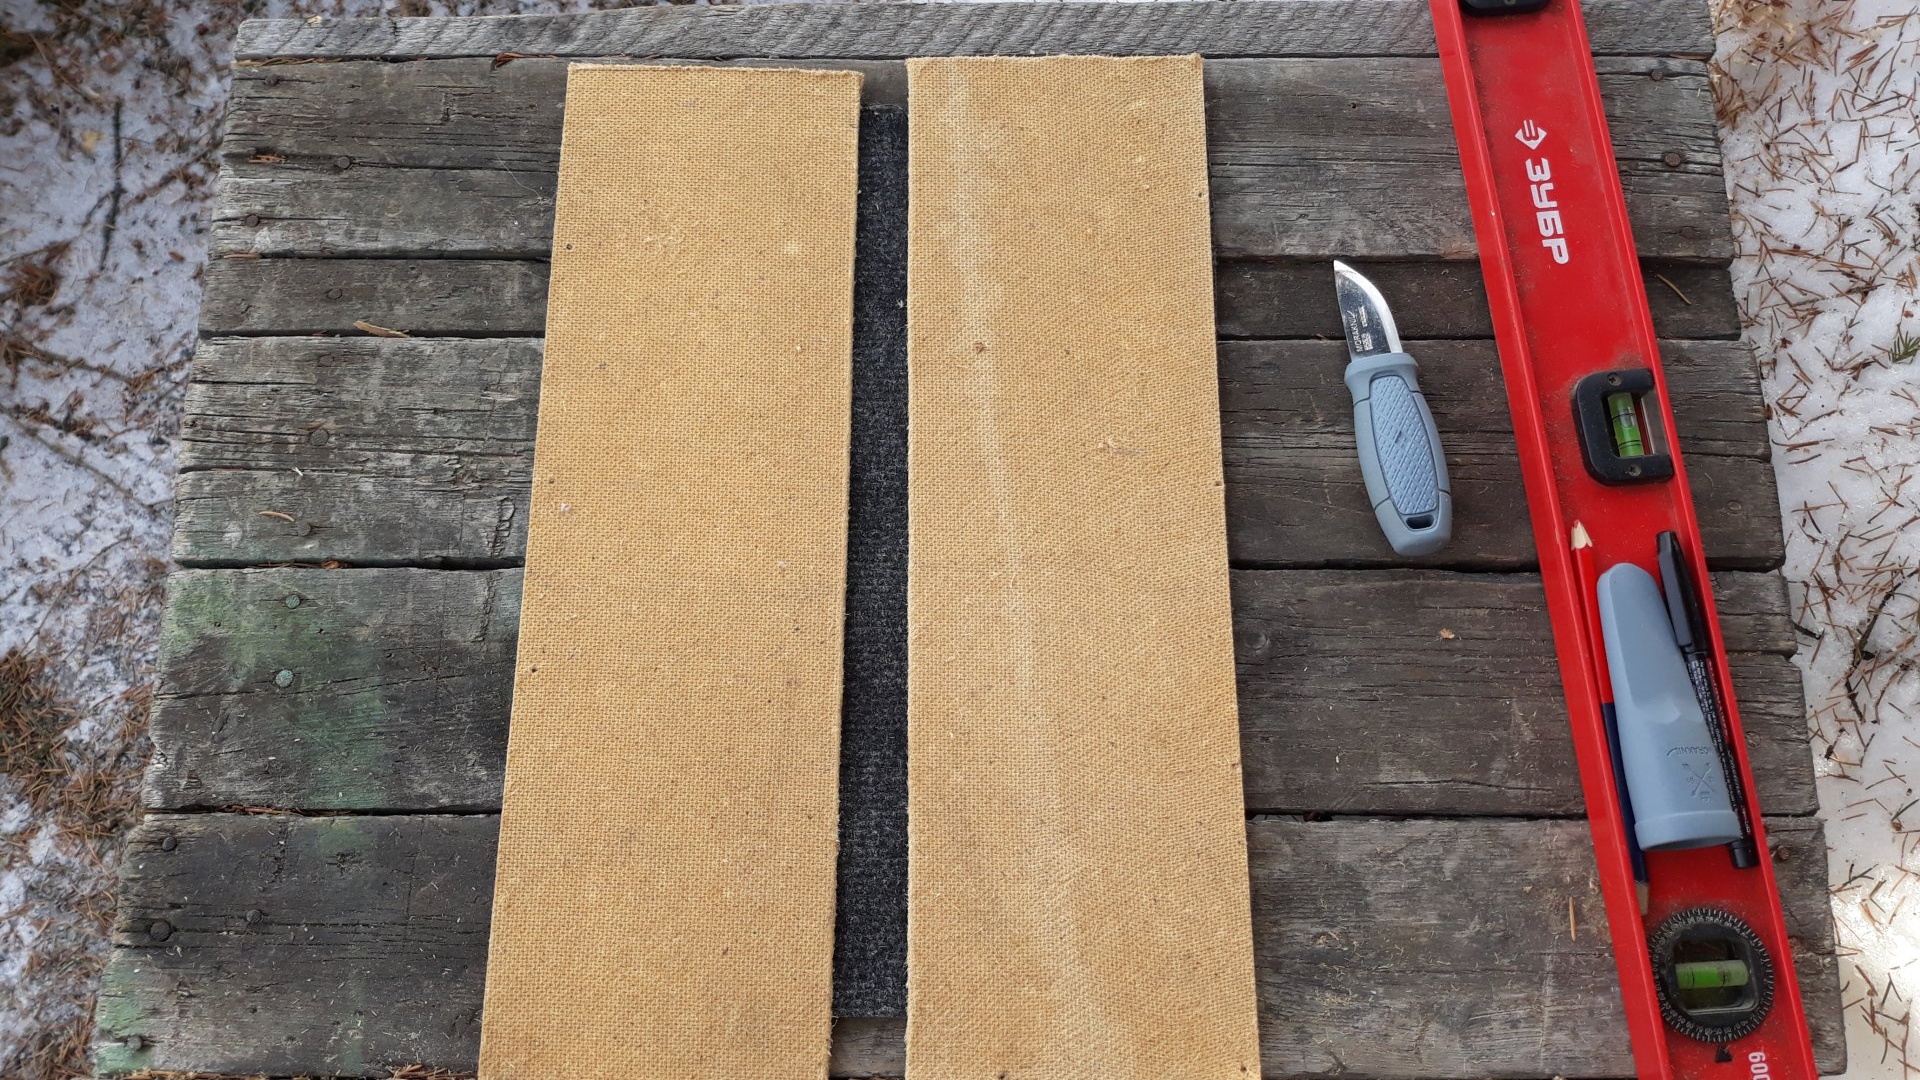
We sand the edges with sandpaper.

Now you need to cut a suitable piece of carpet. To do this, lay out the prepared pieces of plywood on the same level, with a distance of 2 cm from each other. We cut the carpet according to the resulting width of the two blanks, leaving a distance. But the length of the carpet should be 4 cm shorter than the length of the plywood blanks. This is necessary to leave 2 cm indentations at each end for fastening with self-tapping screws to the wall. Like this:
Next, mark the edges of the carpet with a marker on the plywood and apply hot glue to the places where the carpet will lie.

Don't worry that the glue will have time to harden. Since I didn’t want to wait for the gun to heat up, I simply melted the glue with a lighter and applied it to the workpieces.
We put the carpet in place, cover it with a cloth so as not to melt the pile, and carefully iron it with a hot iron.

After this, while the glue is soft, you need to press the carpet against the plywood and wait until it sets. This is what you should end up with:
Thanks to the remaining distance in the middle, between the plywood, we can adapt this scratching post not only to the wall, but also to a corner, both external and internal. Now you should prepare bait to attract the attention of the cunning animal to the scratching post.
Will need
- Cat mint.
- Mug.
- Hot water (boiling water), 100 ml.
- Syringe.
- Cotton swab.
- Small container with sprayer.

Preparing a catnip solution
Everything is simple here. It's like making tea - the same procedure. Pour the contents of the bag into a mug and pour 100 ml of boiling water.

Let it sit until it cools down. Now we take a cotton swab, cut off one end, and stick the tube into the syringe. Instead of a needle.
We fill the syringe, through this improvised filter, with the cooled tea leaves and pour it into the sprayer.
Apply a little solution evenly to the scratching post.
The aroma and tincture of catnip is strong and pronounced, but not very stable. That is, it does not last long and quickly dissipates. Therefore, it is necessary to update the scent every 2-3 days, 5-6 presses on the spray valve. And so on until the mustachioed pet gets used to scratching its claws on this product. This feline joy is sold in any pet store. It's not expensive. It will take no more than a week to get used to it. And even from the first day it will work. My Striped Beast began to fuss and interfere with work as soon as she smelled the smell of catnip. I even had to lock her up for a while. All that's left to do is drill holes for the screws and attach the scratching post to the wall, in a place where it won't interfere.

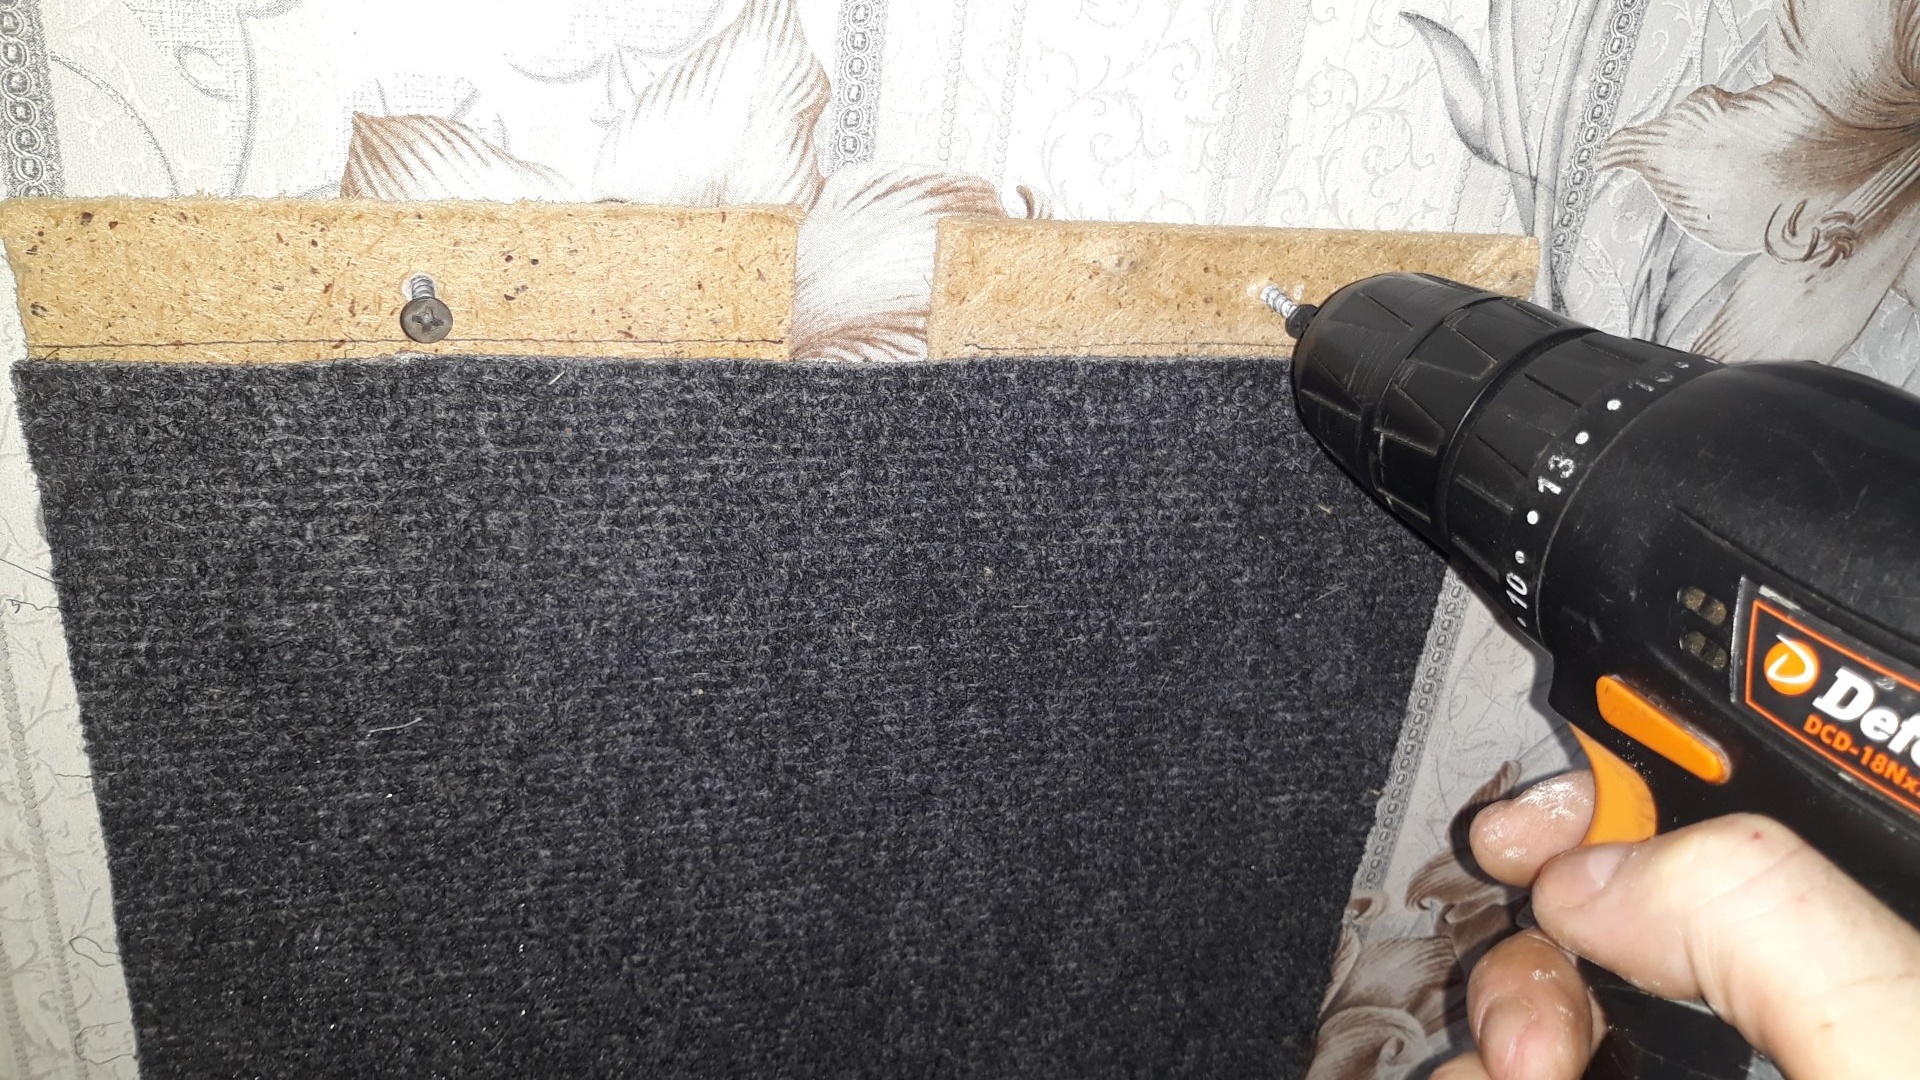
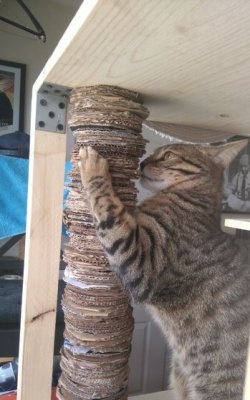
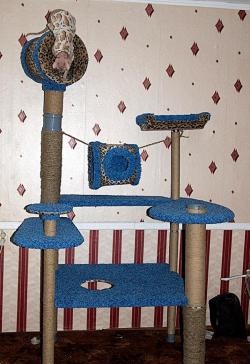
As soon as I released the Striped Animal from her temporary captivity, she immediately sniffed the scratching post and began to mercilessly torment it!

In this simple way, we can wean the willful animal from damaging wallpaper and furniture.