For work we will need:
- blue plastic thermal cloth.
- scissors.
- glue gun.
- ruler.
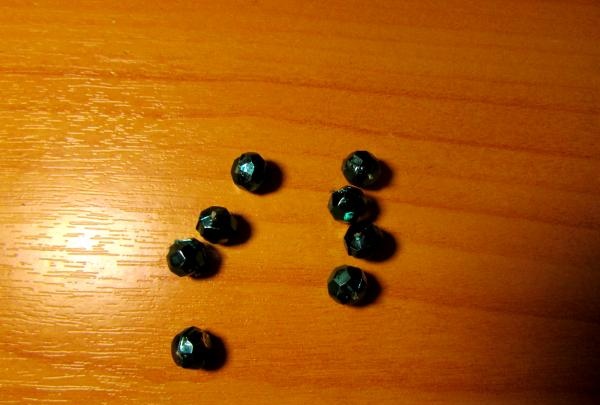
- dark green beads.
- pencil and ballpoint pen.
- paper.
- textile.

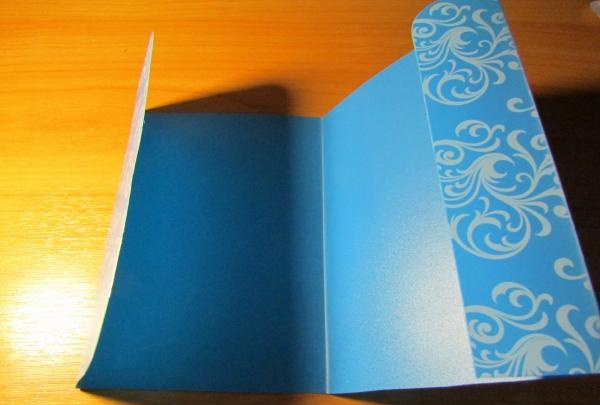
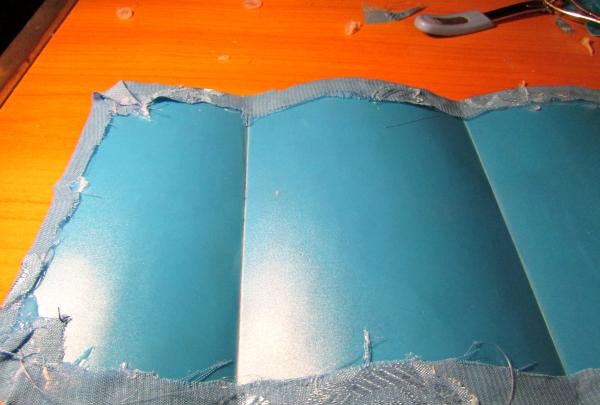
Let's start with the basics. To do this, we will take our thermal napkin and make markings with a pencil. In total we will need 30 cm. 6 cm for the folding fields and 18 cm for the main one. It will be 14 cm high for us. Cut out a blank from plastic. We ended up with 2 parts of the blank, since there wasn’t enough for the second bending edge, so we cut out a 6x14 cm rectangle from plastic.
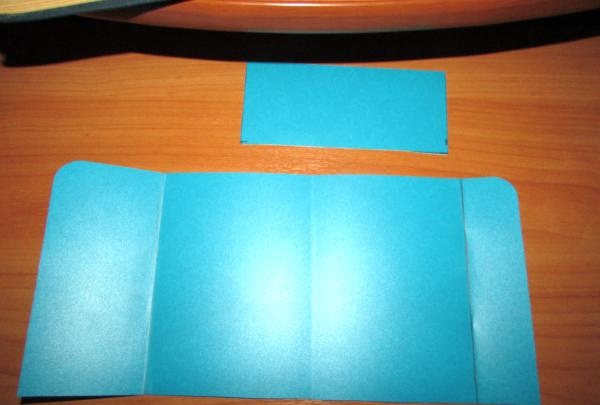
We mark the lines of future folds on the workpiece. This can be easily done with a pencil. Since the plastic is stiff, we will bend it using an iron ruler.
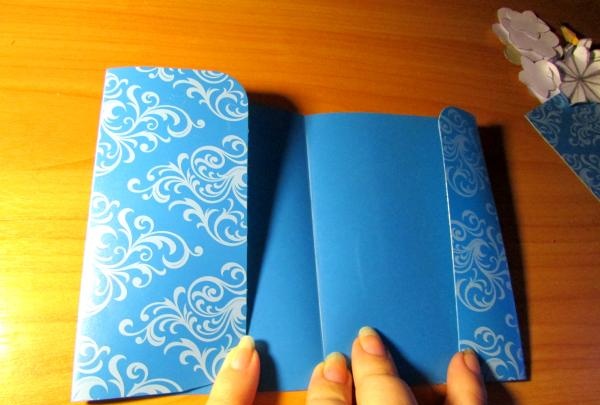
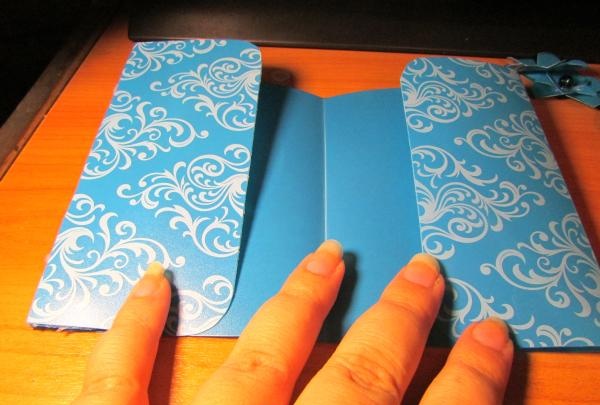
After we have folded the folds, we will glue the missing part of the edge. To connect we will use a glue gun. We put the missing part on the short edge and glue it well. Since this material is very complex, it needs to be glued very well.For greater effect, you can use Moment glue or Titan universal glue.
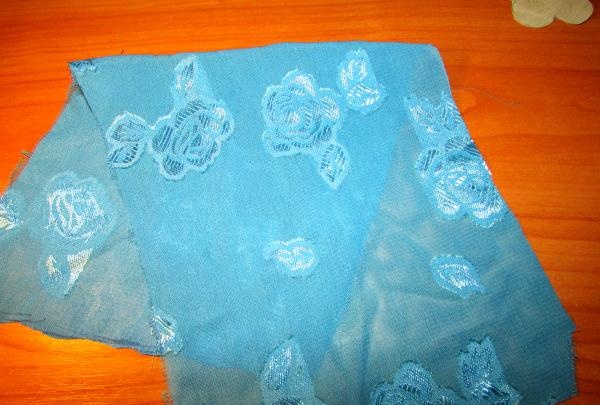
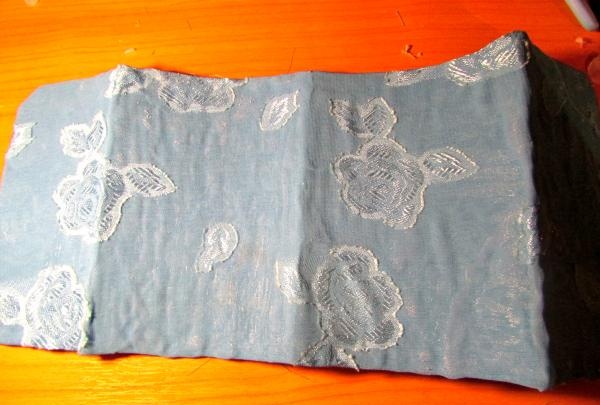
For our cover we used soft blue fabric. We cut it out in the same way as for the base, just don’t forget about the overlap. We add 1 cm on all sides.
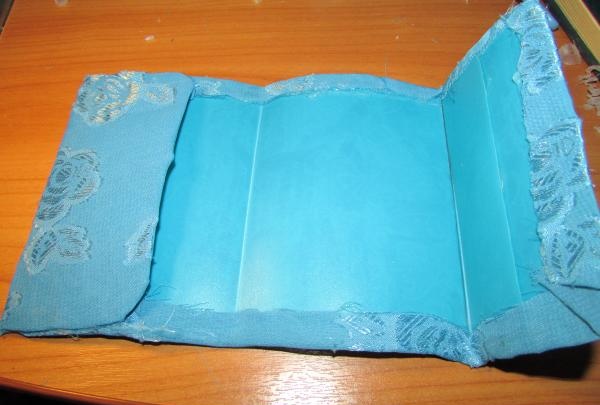
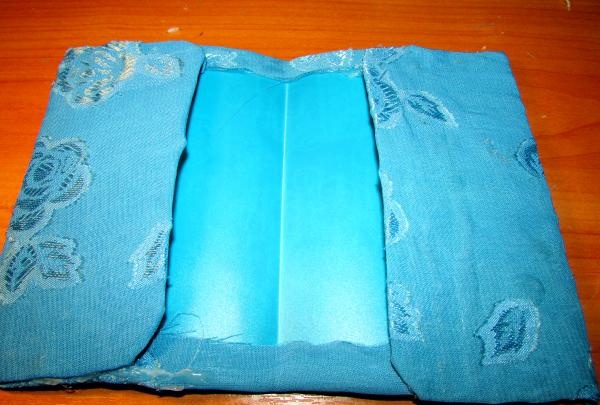
Glue the fabric to the base. We do everything quickly and carefully so that the glue does not have time to dry.
We glue the fabric that remains overlapping. If it turns out unevenly and the threads stick out, it’s okay, carefully cut the threads with scissors, and bend the uneven edges with glue.
Carefully apply the adhesive solution along the edge and glue the folded edges. The main thing is not to smear too large strips with glue, but to make them thin, otherwise our passport will not fit into the cover.
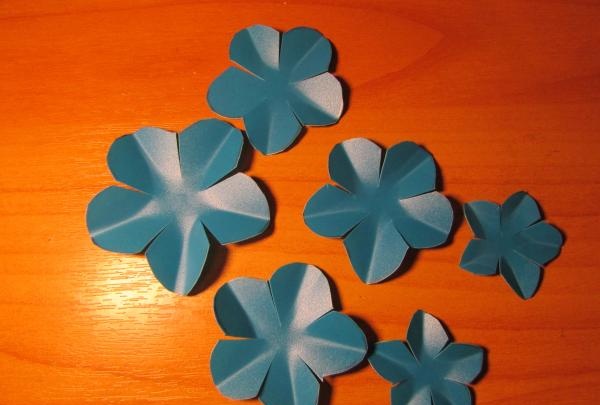
Let's start making decorations for our cover. First, let's make color templates. For this we need blanks of 3 sizes. Large - 5.5x5.5 cm, medium - 4.5x4.5 cm, and small - 3x3 cm.
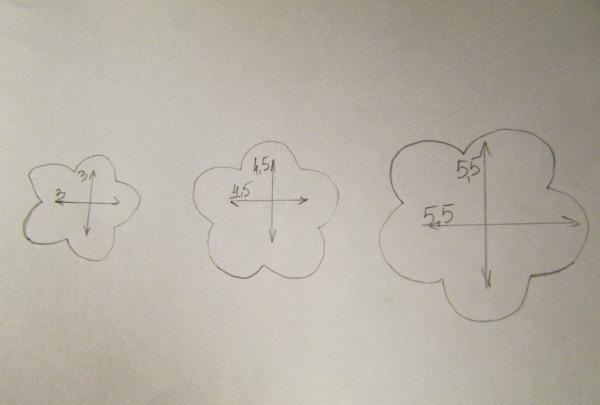
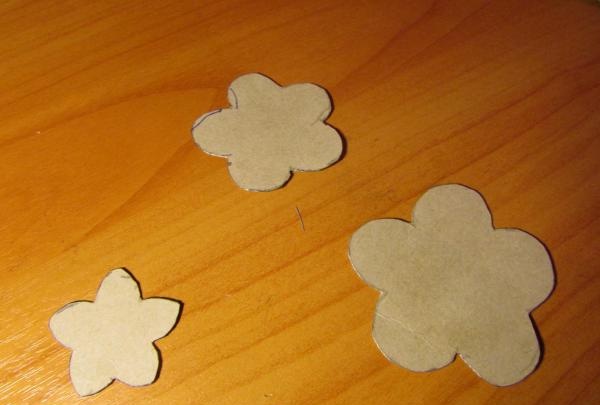
We cut out the blanks according to the templates. We have them in the shape of a flower with five petals. In total we need 1 large petal, 3 medium and 2 small.
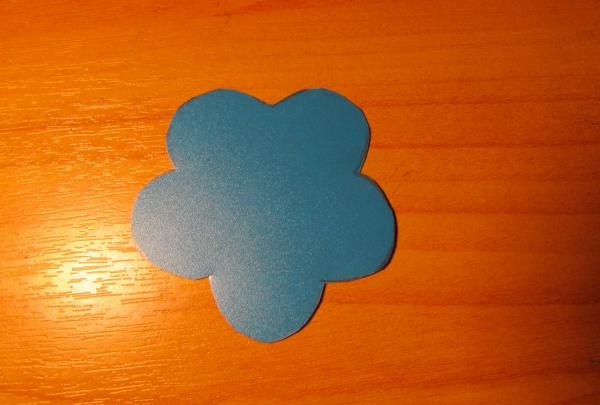
We take scissors and make cuts on the workpieces, slightly short of cutting to the middle.
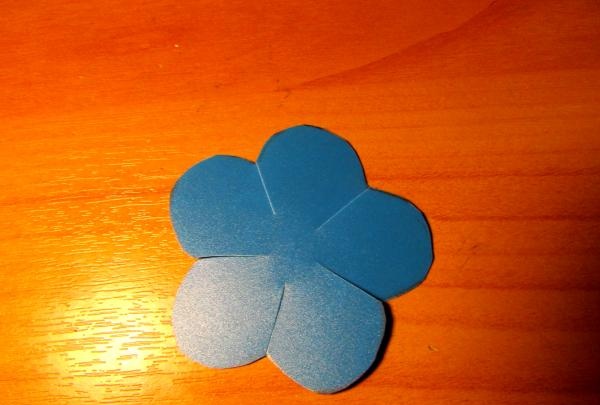
We begin to give our blanks a new shape. To do this, bend one of the five petals in half.
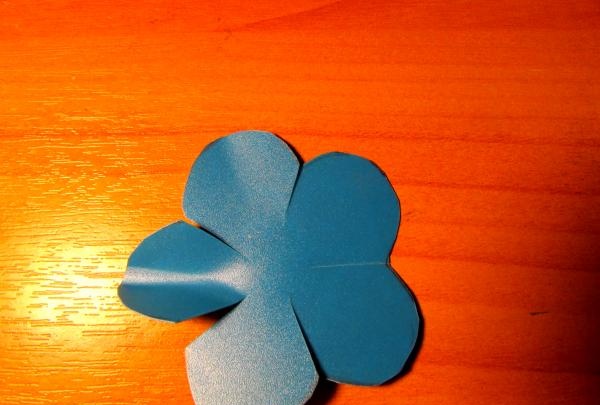
Thus, we process all 5 petals.
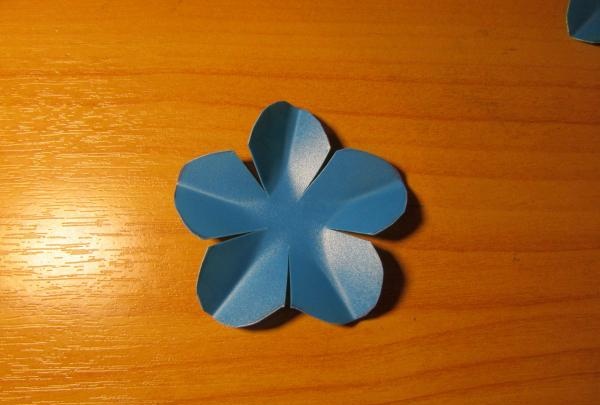
We give a new shape to all the blanks.
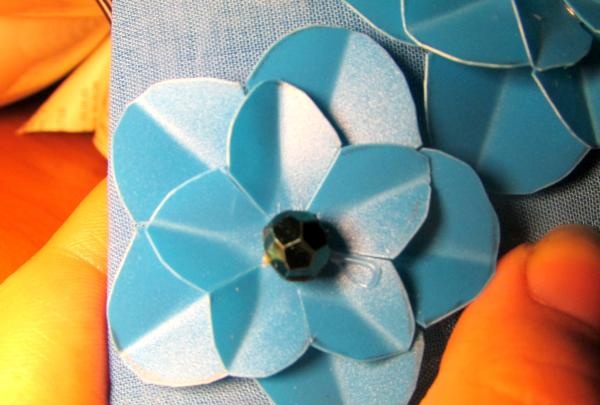
Let's start collecting flowers. Glue the middle one to the large petal, so that the separated leaves are arranged in a checkerboard pattern.
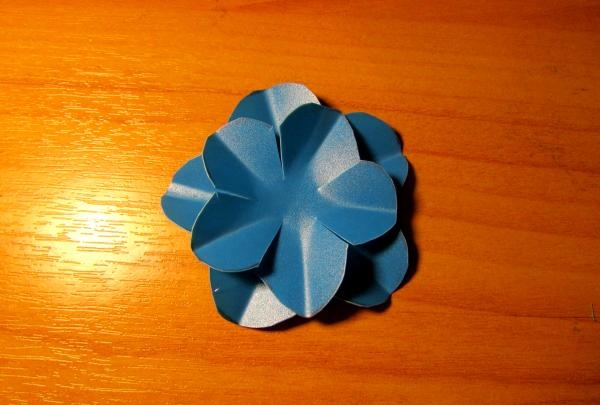
To make our flowers even more beautiful, we will use dark green beads.
The third row of our flower will be from a small petal. We also arrange it in a checkerboard pattern. And on top, in the resulting middle of the small petal, glue a bead.
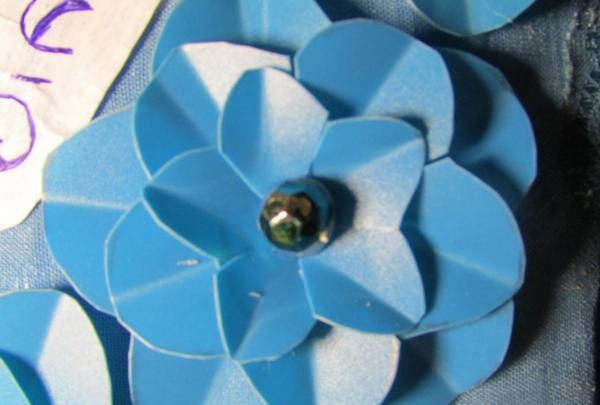
The second flower will consist of 2 rows.We take medium and small sized petals. We glue them together so that the petals are staggered. Glue a bead into the middle of the small petal.
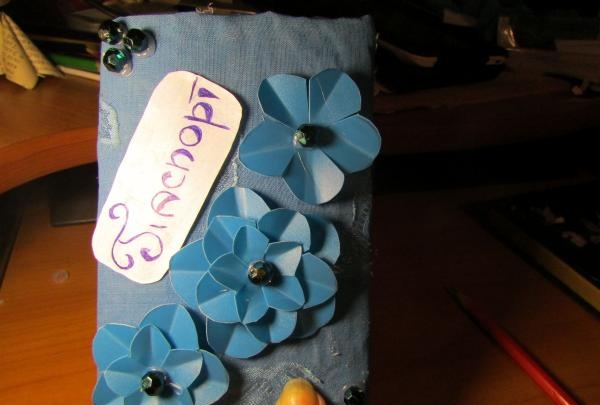
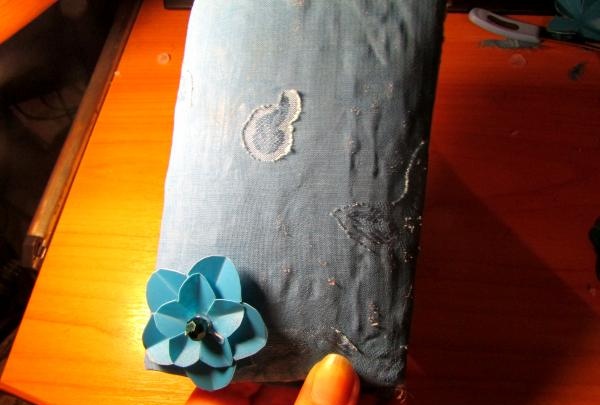
We begin to glue the flowers to the cover. Glue a flower of 2 petals into the lower left corner.
Above and to the right we place a large flower of 3 rows.
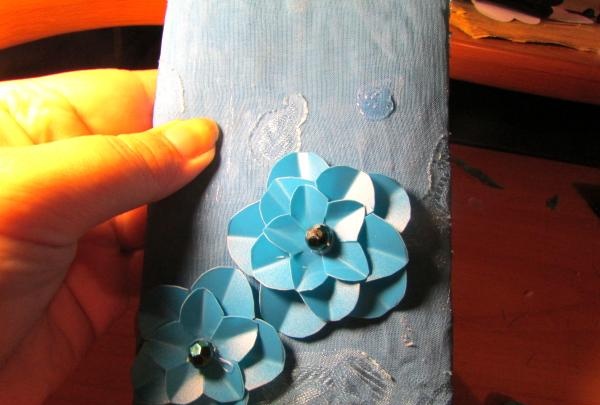
Let's place the third flower even higher and a little to the right. It consists of 1 row and a bead in the center.
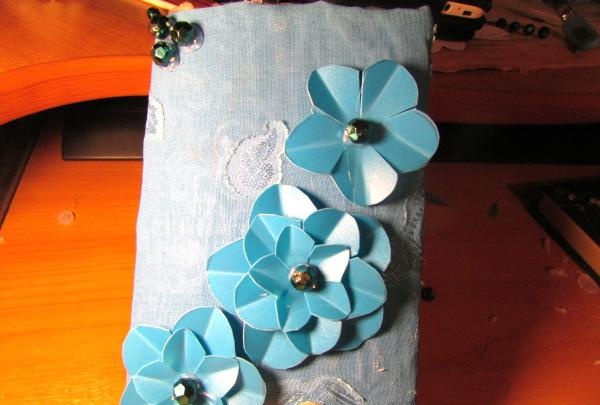
Glue 3 beads in the upper left corner. Glue 1 bead in the lower right corner. Let's take a prepared inscription; you can make it yourself or buy a ready-made one.
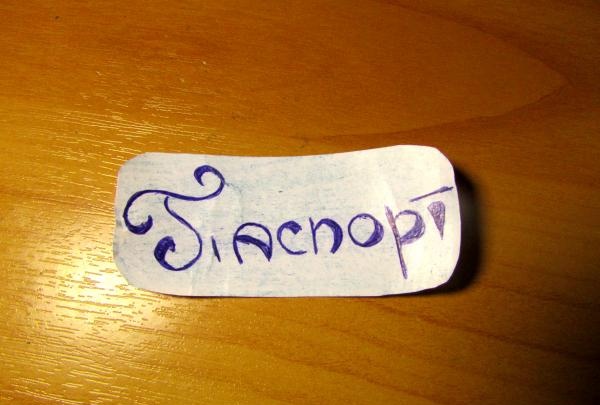
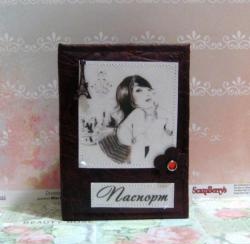
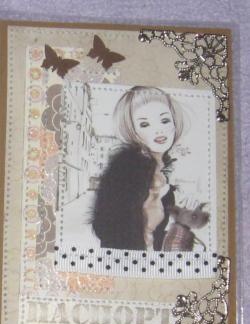
We glue our inscription to the cover. That's it, our passport cover is ready.
Good luck to all.