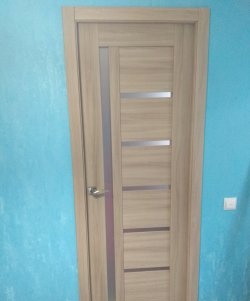
If you cover an old wooden door with laminate, it will acquire a new attractive design and the heat and sound insulation will noticeably improve. With some diligence and effort, any adult can cope with such work. The cost of upgrading a door will be minimal compared to installing a new door.
How to cover a wooden door with laminate

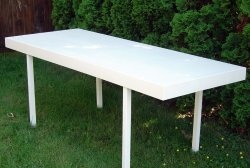
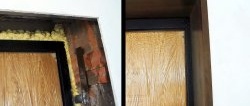
We start by removing the old trim around the door, removing it and placing it on a trestle or table to make it convenient to work with. It is better to start plating from the inner least visible side in order to take into account all the errors and shortcomings and not transfer them to the front side.
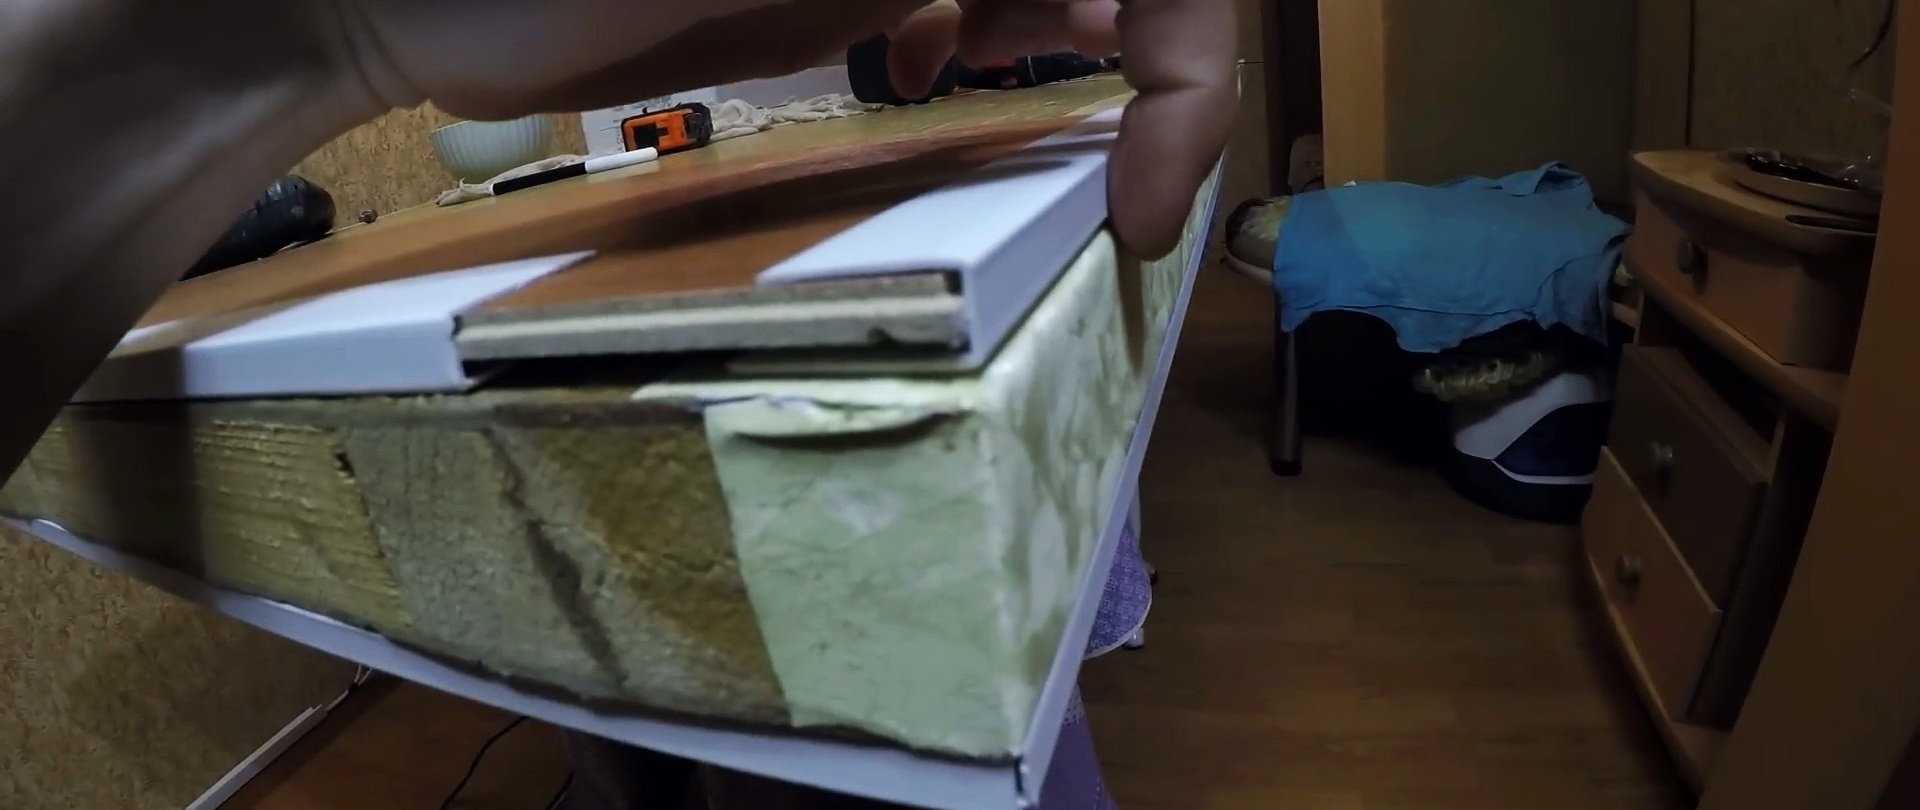
When cutting laminate flooring, it is necessary to take into account the presence of canopies. To do this, shorten the laminate by about 4 mm on the side of the awnings and mark this distance with a straight line, and by 2 mm on the opposite side. As a result, the laminate strip should be 6 mm shorter than the width of the door. On the side of the door without awnings, we shorten the laminate board on both sides by 2 mm, i.e. by only 4 mm. If the end of the door is not presentable enough, then we cover it with washable wallpaper.

It is important to install the first laminate board correctly.To do this, we install limiters on the bottom and sides so that the board does not protrude beyond the dimensions of the door leaf, and on the side of the canopy, the edge of the laminate should lie on the line drawn earlier.
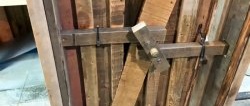
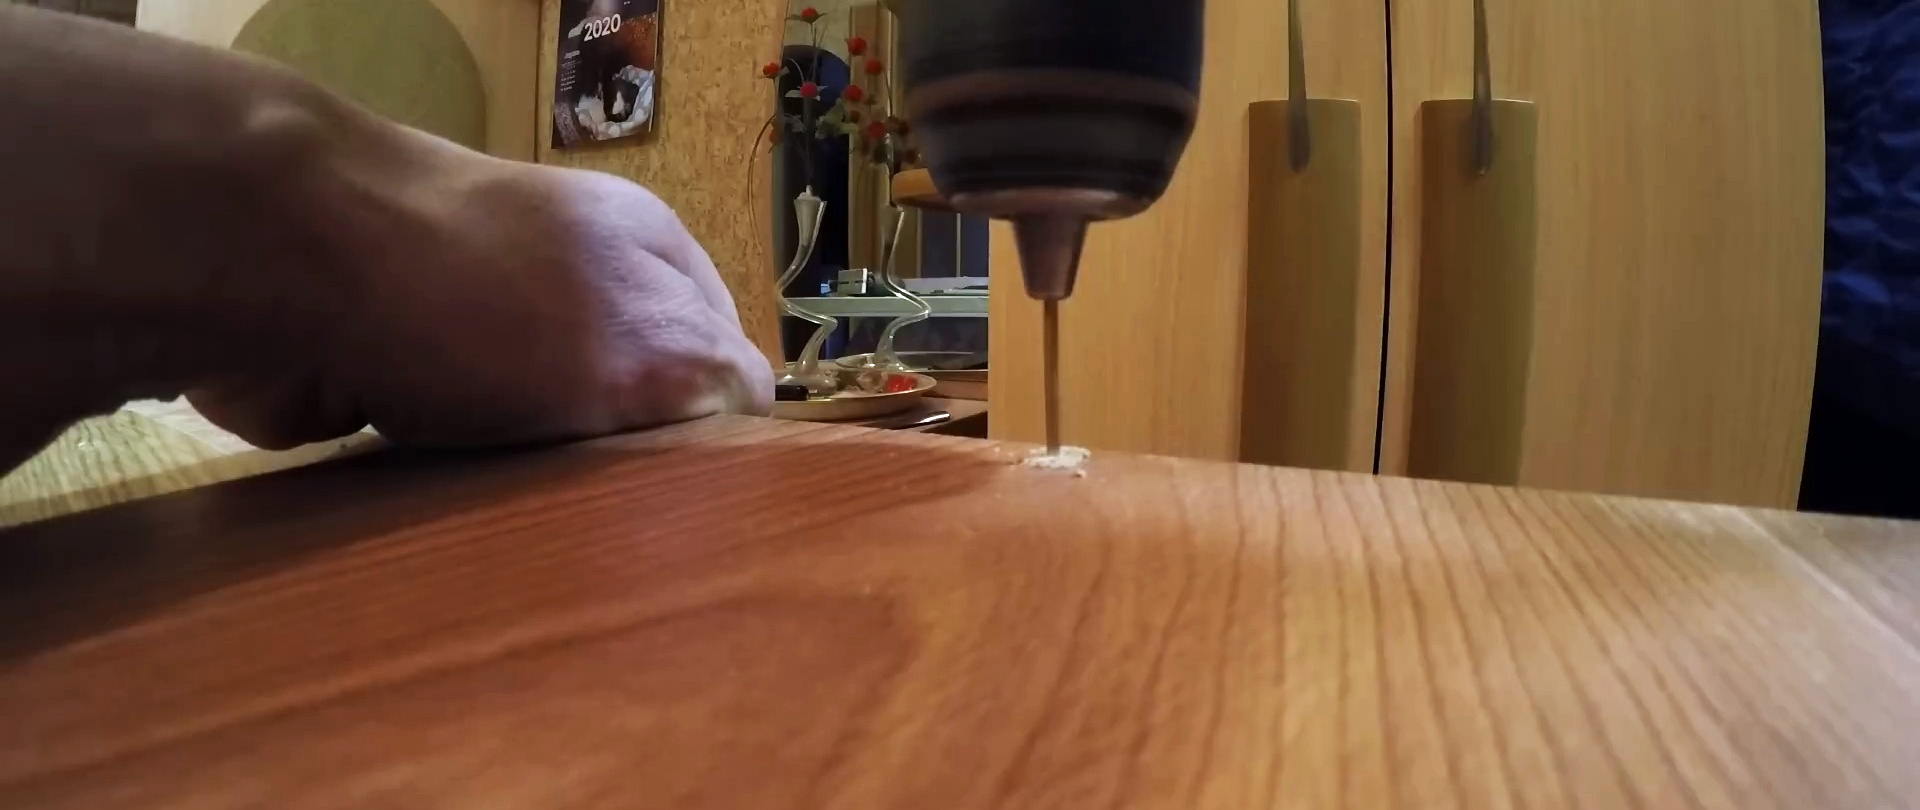
From the two edges of the laminate board in the center, stepping back from the edge 10 mm, we drill holes and drill out the entrance to them with a bat for the head of the screws. We tighten the hardware without fanaticism, since they still have to be slightly loosened.

We cut each subsequent piece of laminate with a jigsaw, using a reference copy, and connect it with the previous one into a lock. Having reached the middle, we transfer all the holes to the laminate, observing the location and configuration for installing the lock, and fasten this board like all the others.

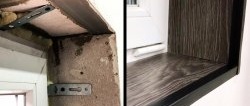
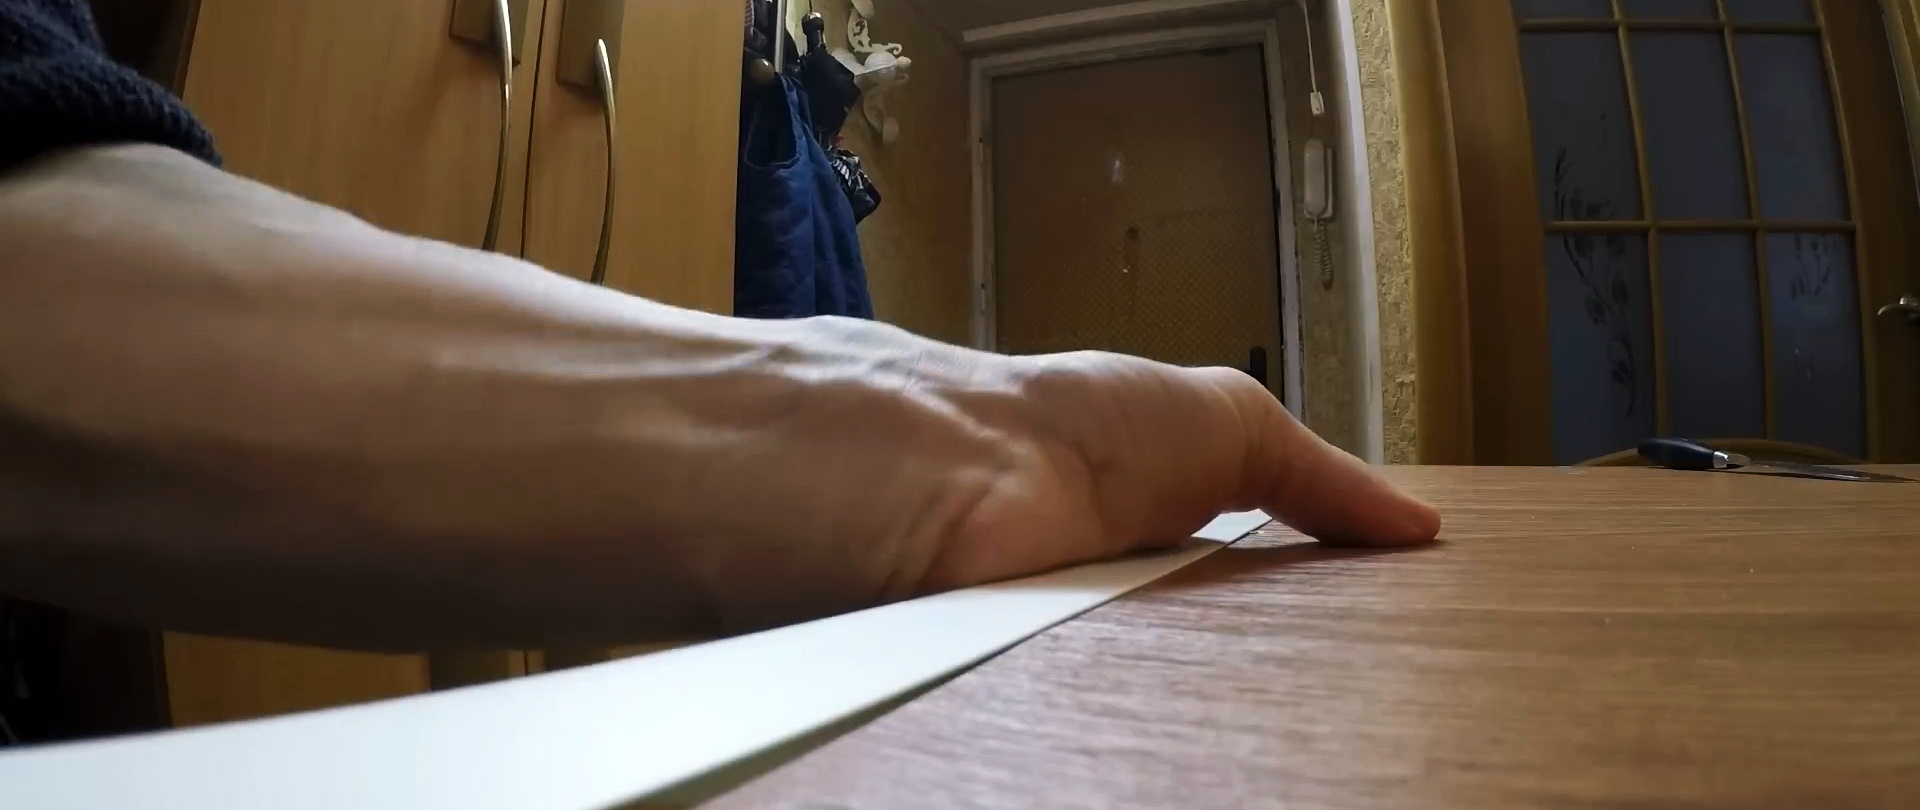
Having finished covering the door with laminate on one side, we install plastic U-shaped plugs along the contour of the door leaf. To do this, we cut off a strip in the longitudinal direction with a Dremel, leaving a 5 mm wide strip at the base of the plug, which we slip under the laminate, unscrewing the screws one by one to the thickness of the shortened side of the plug.

To create a gap for the plug, insert a knife blade slightly thicker than the thickness of the plug on each side of the loosened screw and lift the laminate. Due to the small width of the bottom part of the plug, it does not reach the screws and does not create additional stress.
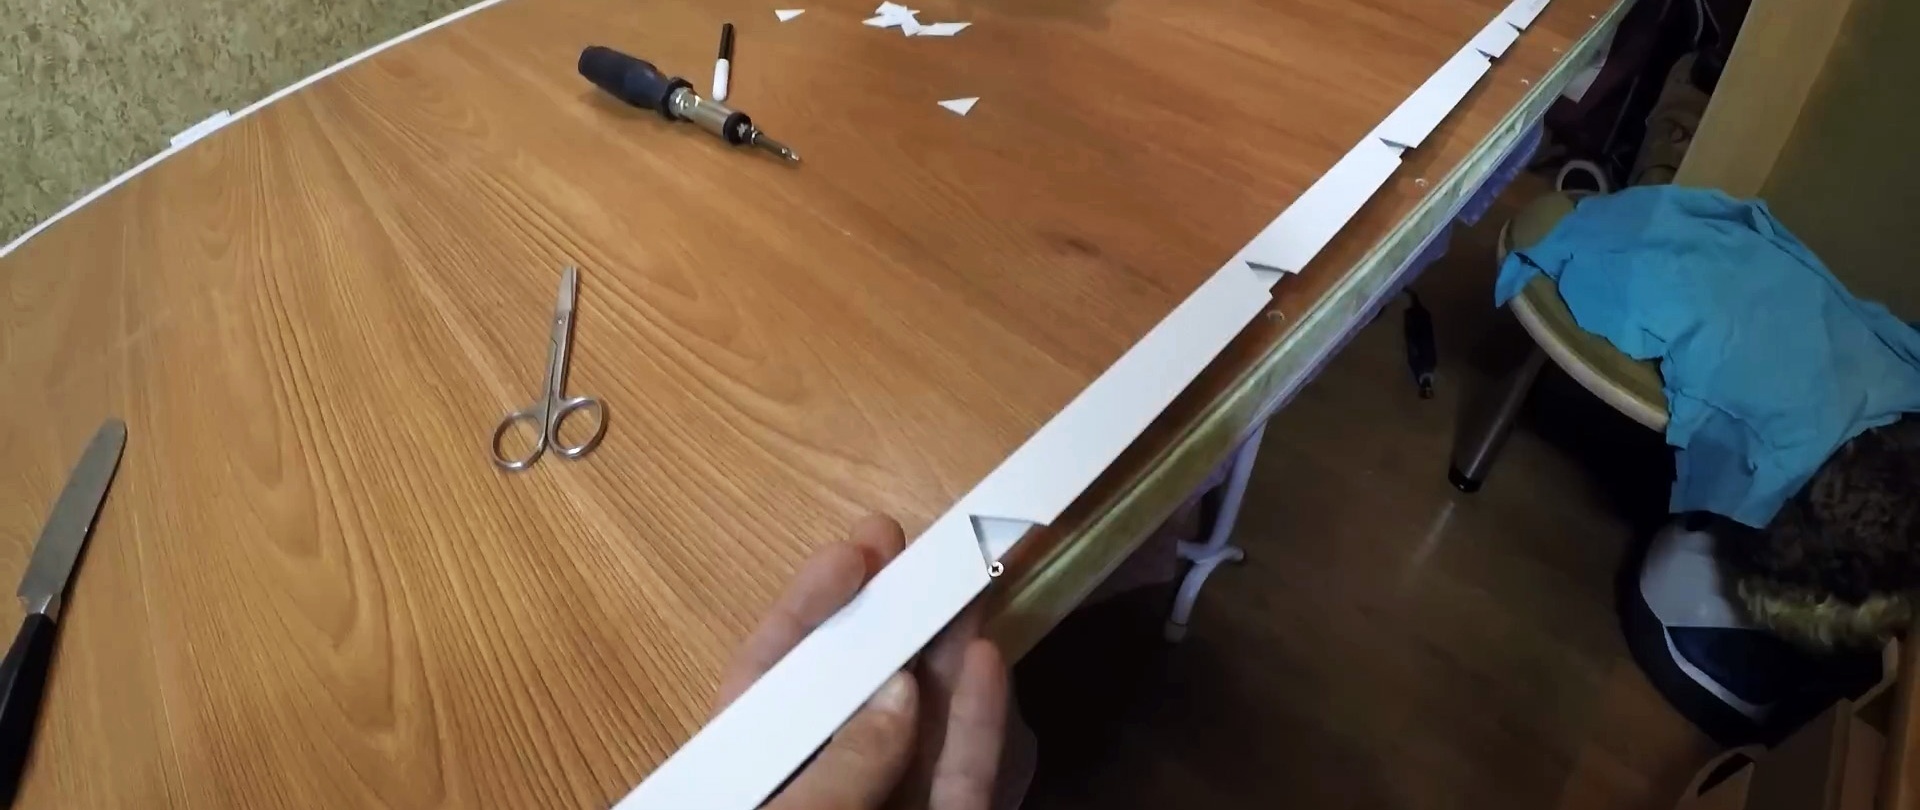
On the side of the door without awnings, installation of the plug occurs somewhat differently. We turn the plug over, place it over the laminate as it will be finally installed, and cut out triangular grooves opposite each screw so that when installing the plug on the edge of the door, it does not rest against the screws. We install the end caps in the same way, overlapping or at an angle of 45 degrees.
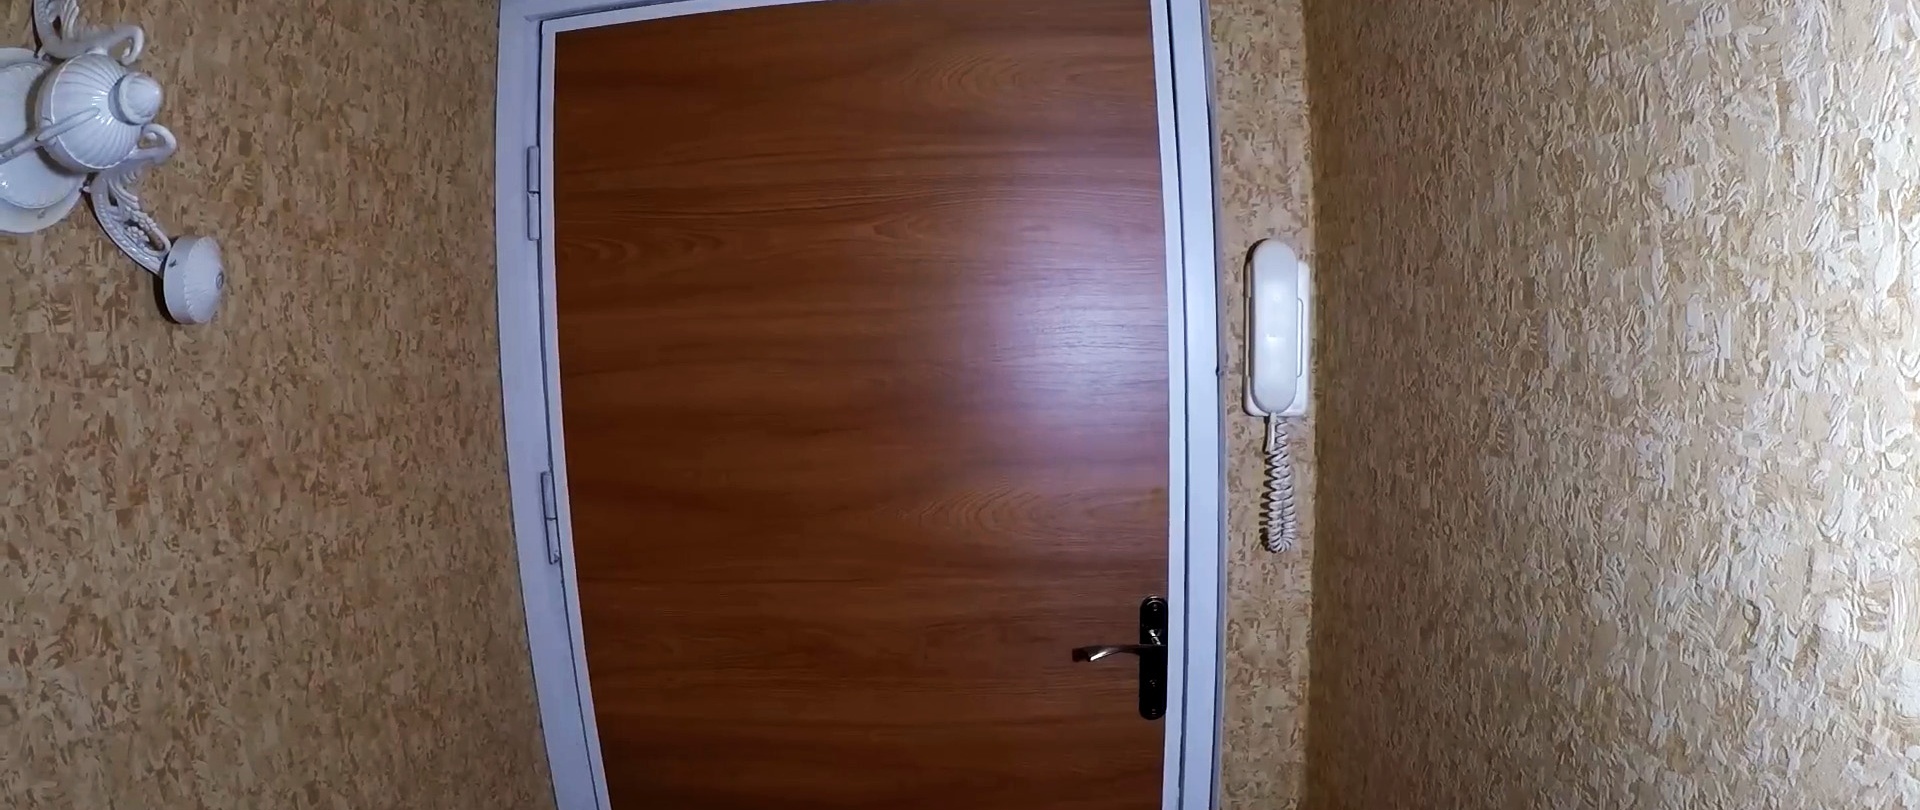
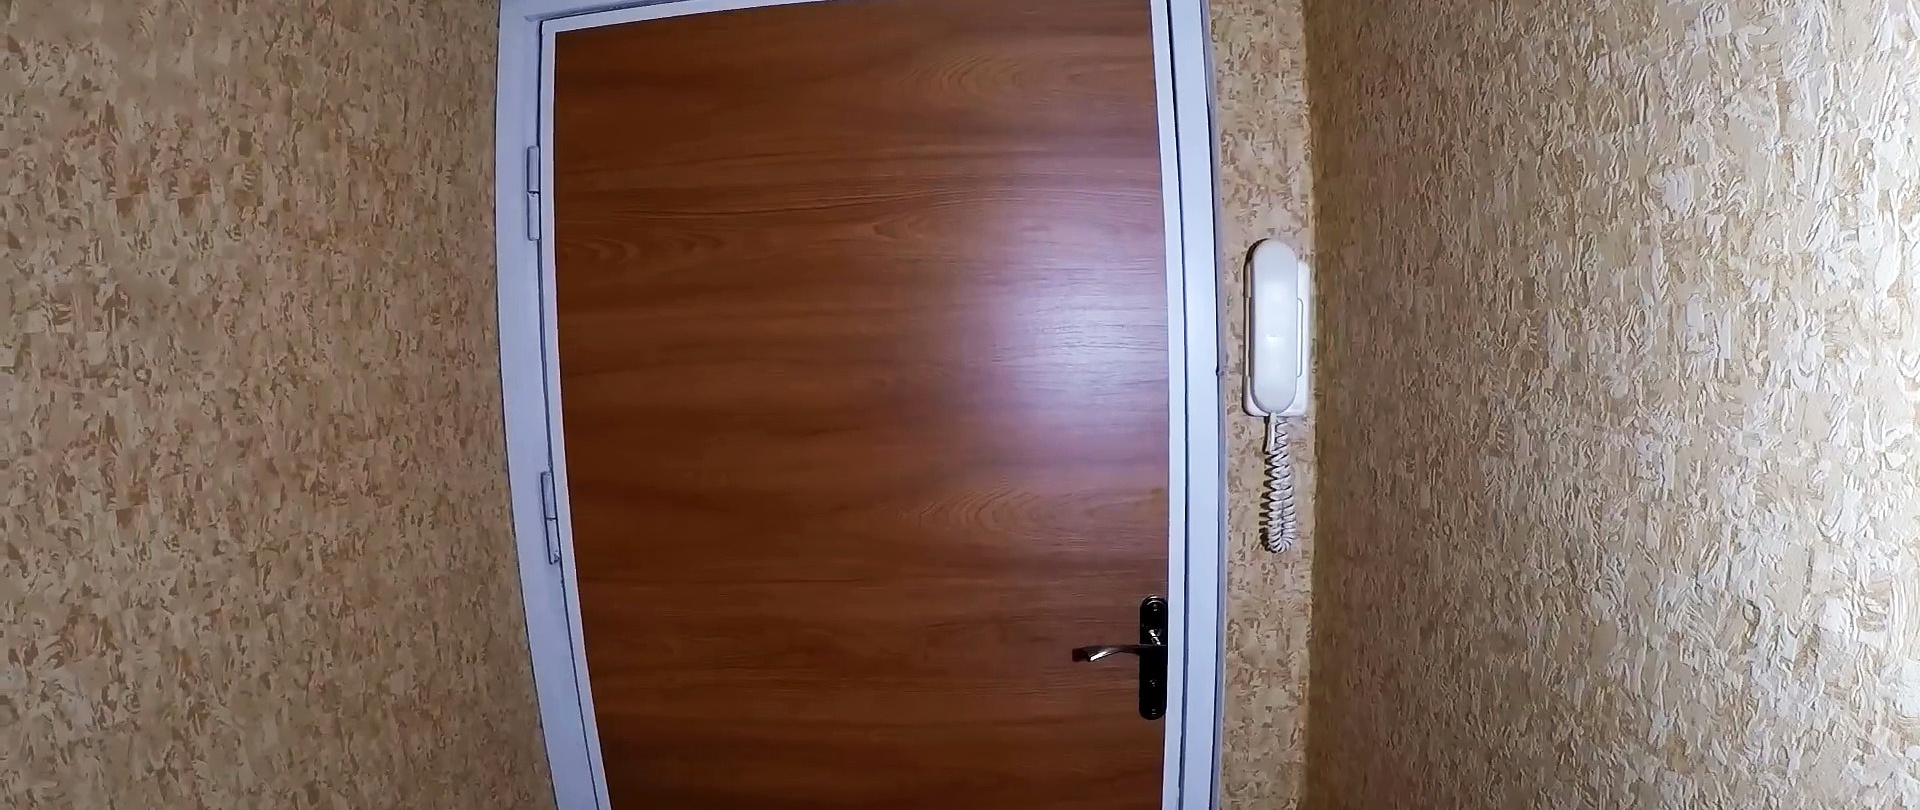
We hang the laminate door in place, install the lock and handle.We carry out cashing from a cable channel of the appropriate cross-section, screwing it to the wall with screws with the cover removed, which we then return to its place.