Of course, one powerful DC motor is not the sum of three smaller motors. Some things will have to be removed, others changed and something added. With some accuracy and attentiveness, even a high school student can cope with this work.
Making one electric motor out of three
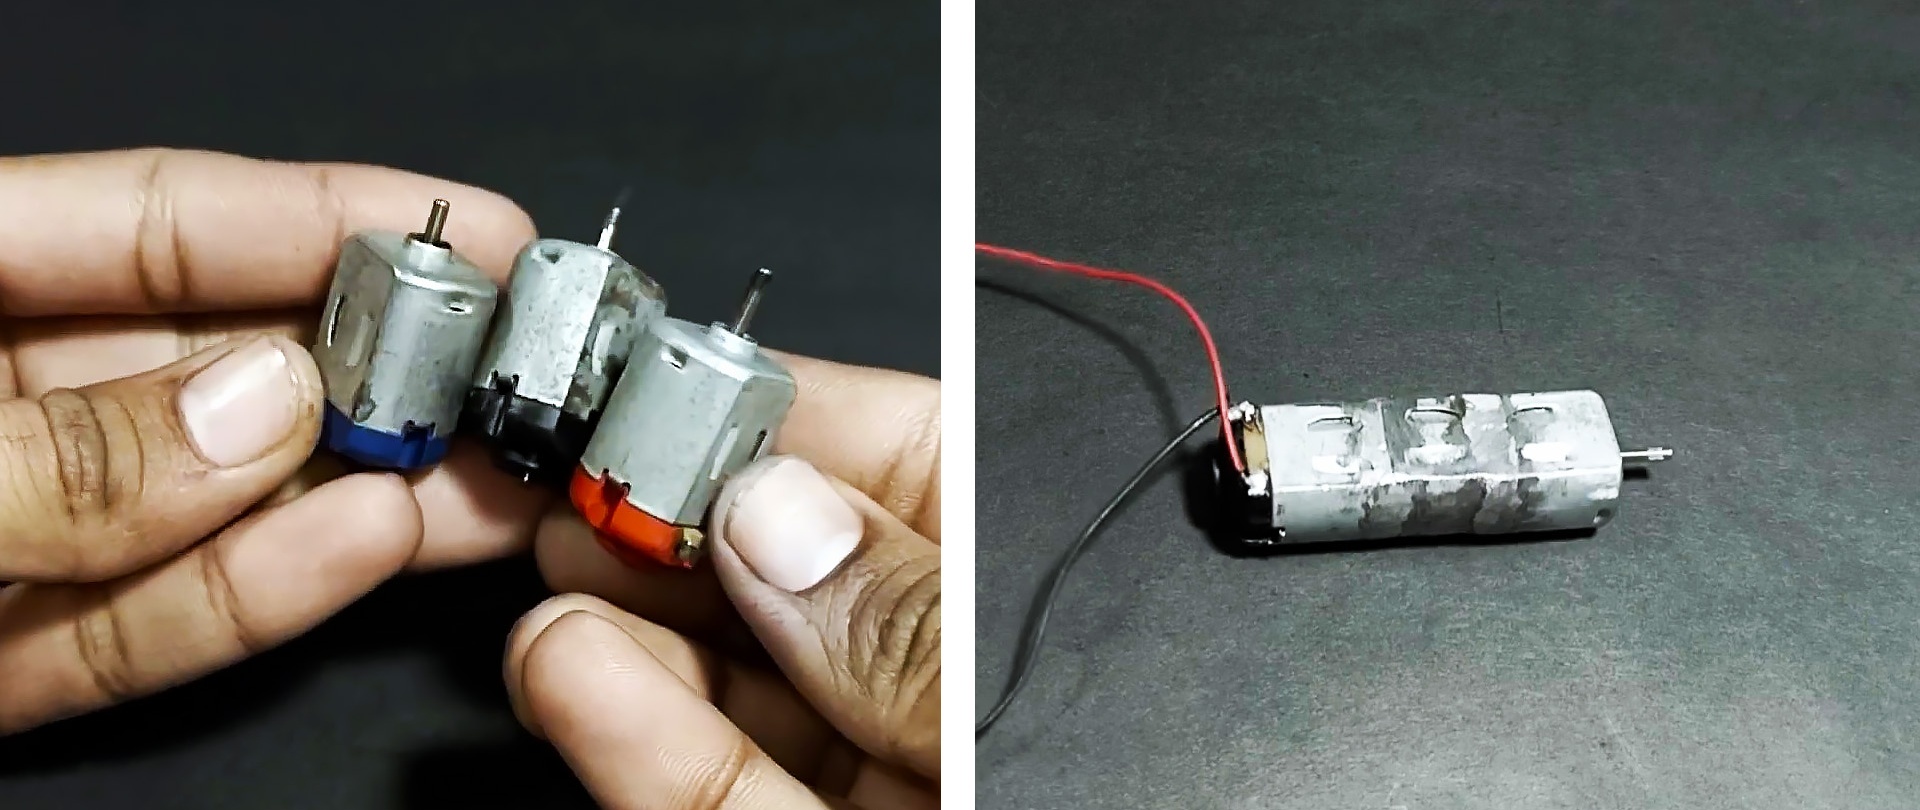
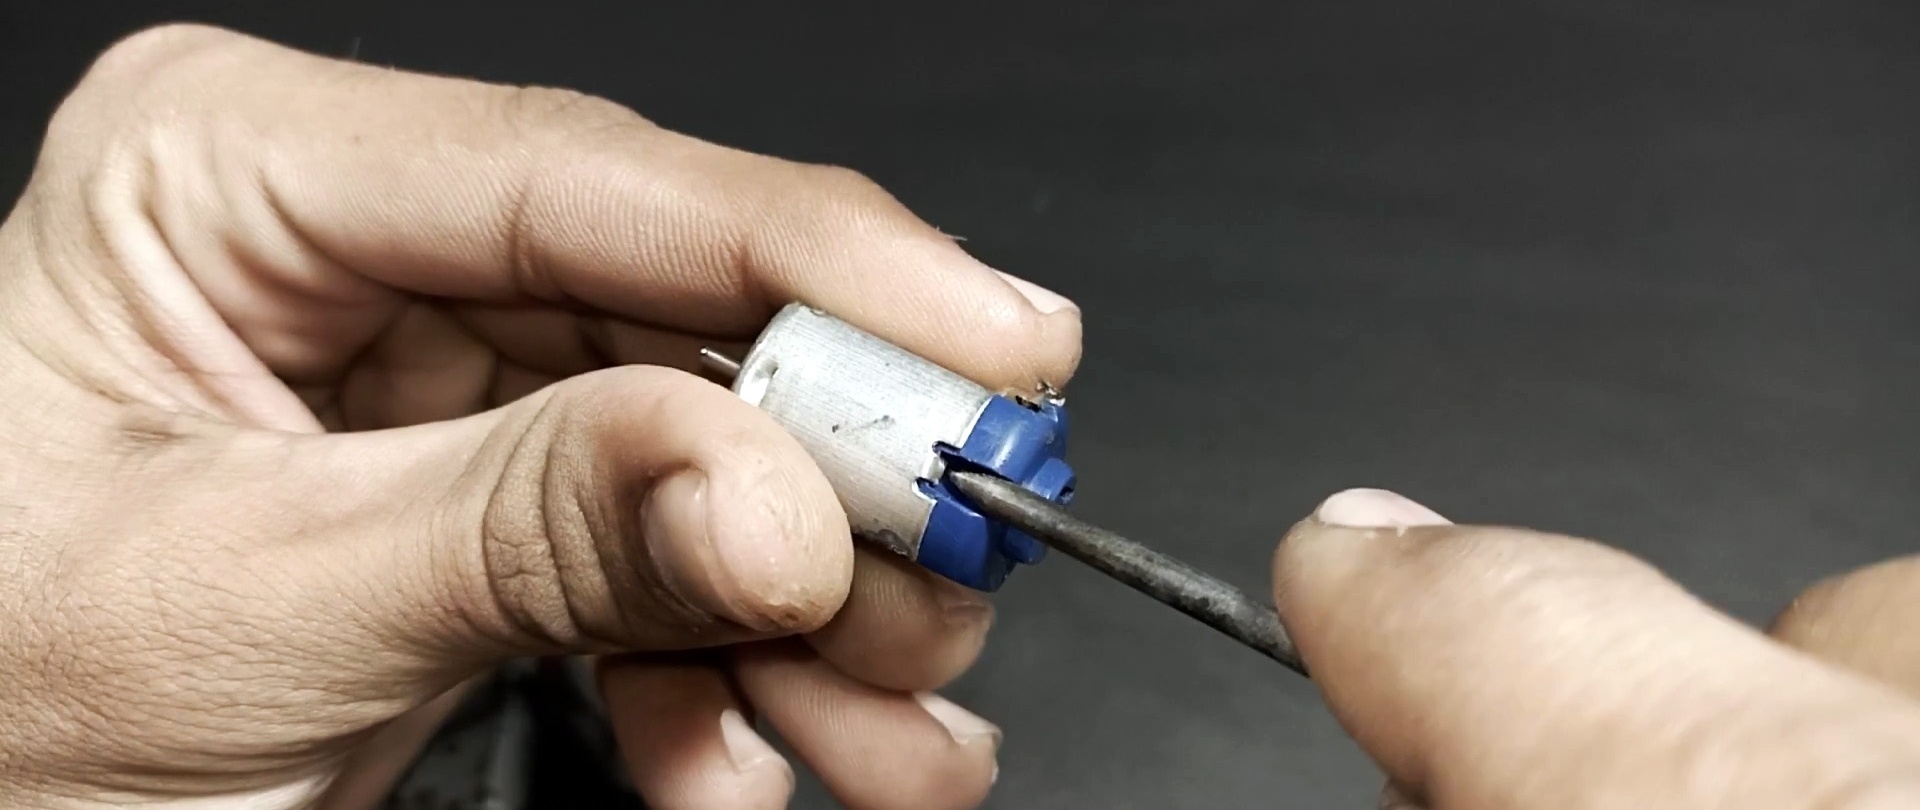
Using a screwdriver, we bend the two latches on the casings of three small electric motors and disconnect them from the plastic housings.
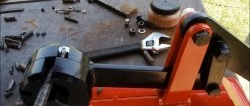
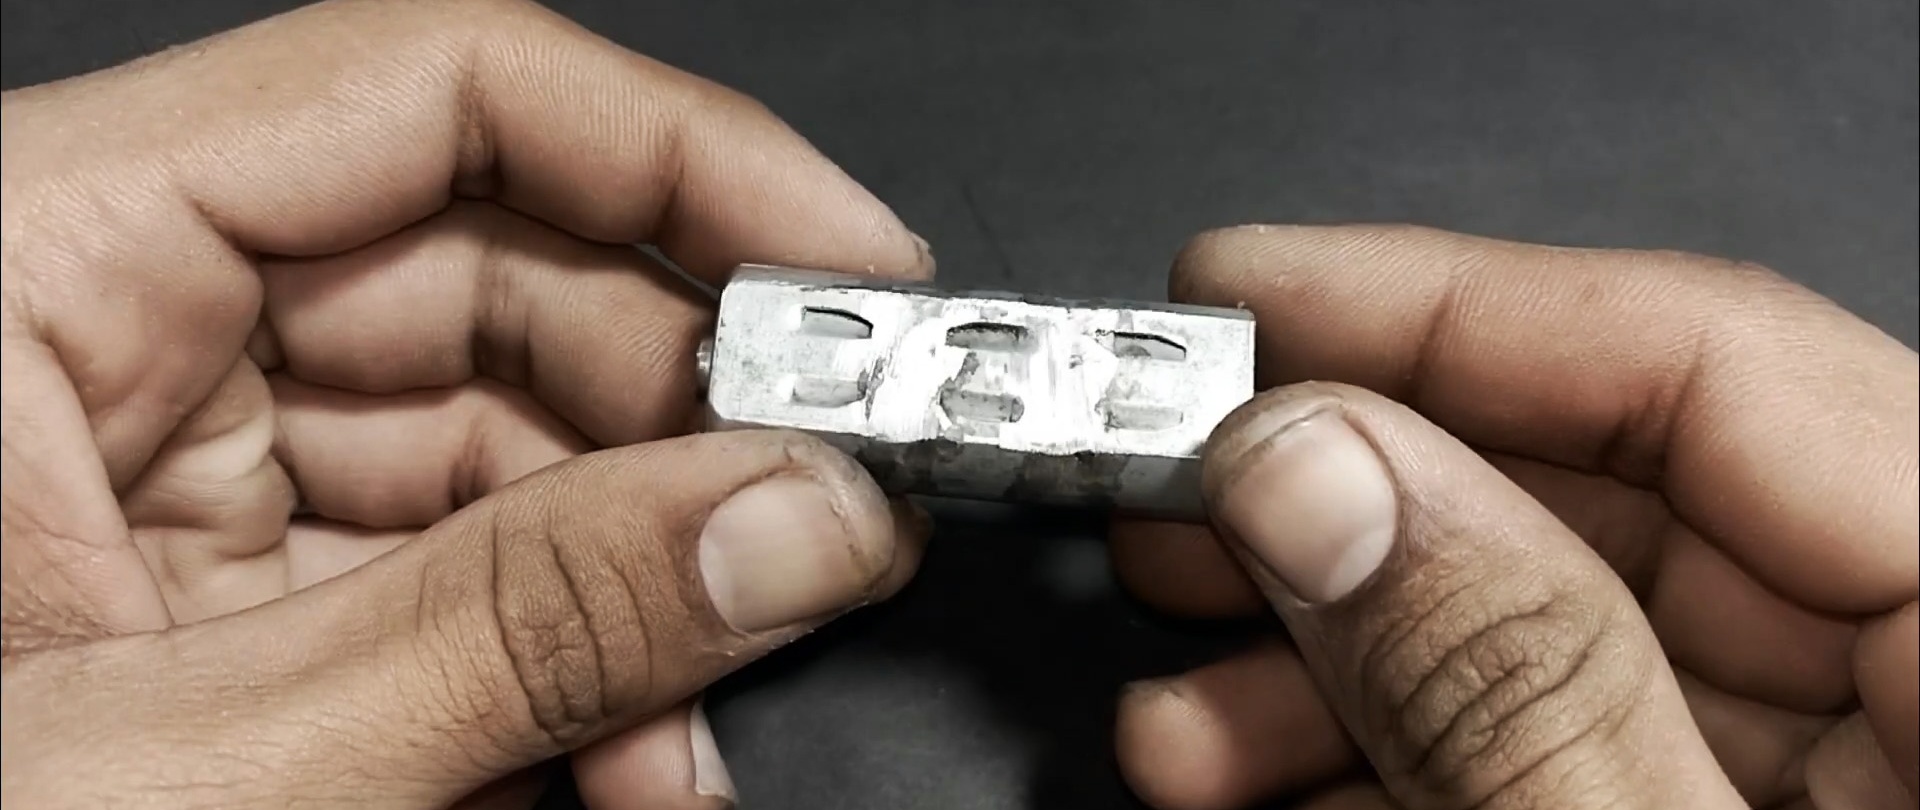
We cut off the covers of two casings with a grinder and clean up the cutting areas.
We remove two permanent magnets from the casings and grind the internal surfaces using a metal file.
The magnets, wiped with a clean cloth, are returned to the casings and fixed with springs bent from elastic wire.
Using a file, we remove burrs from the outer sides of the casings formed when sawing off the covers, press them together and solder the joints along the entire perimeter.
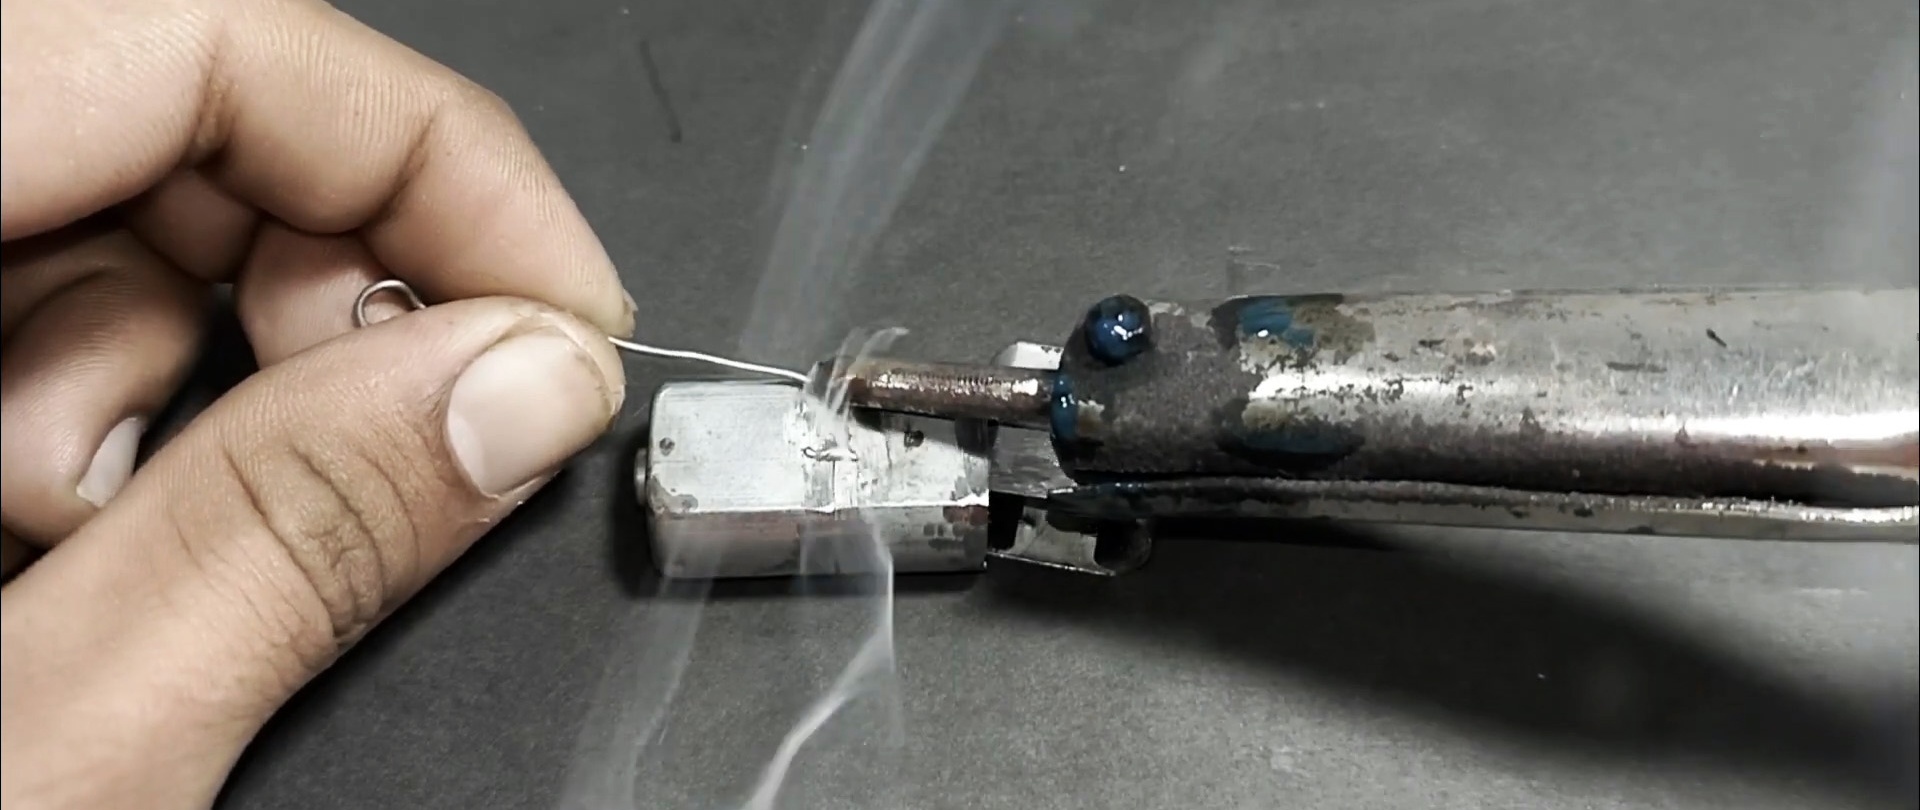
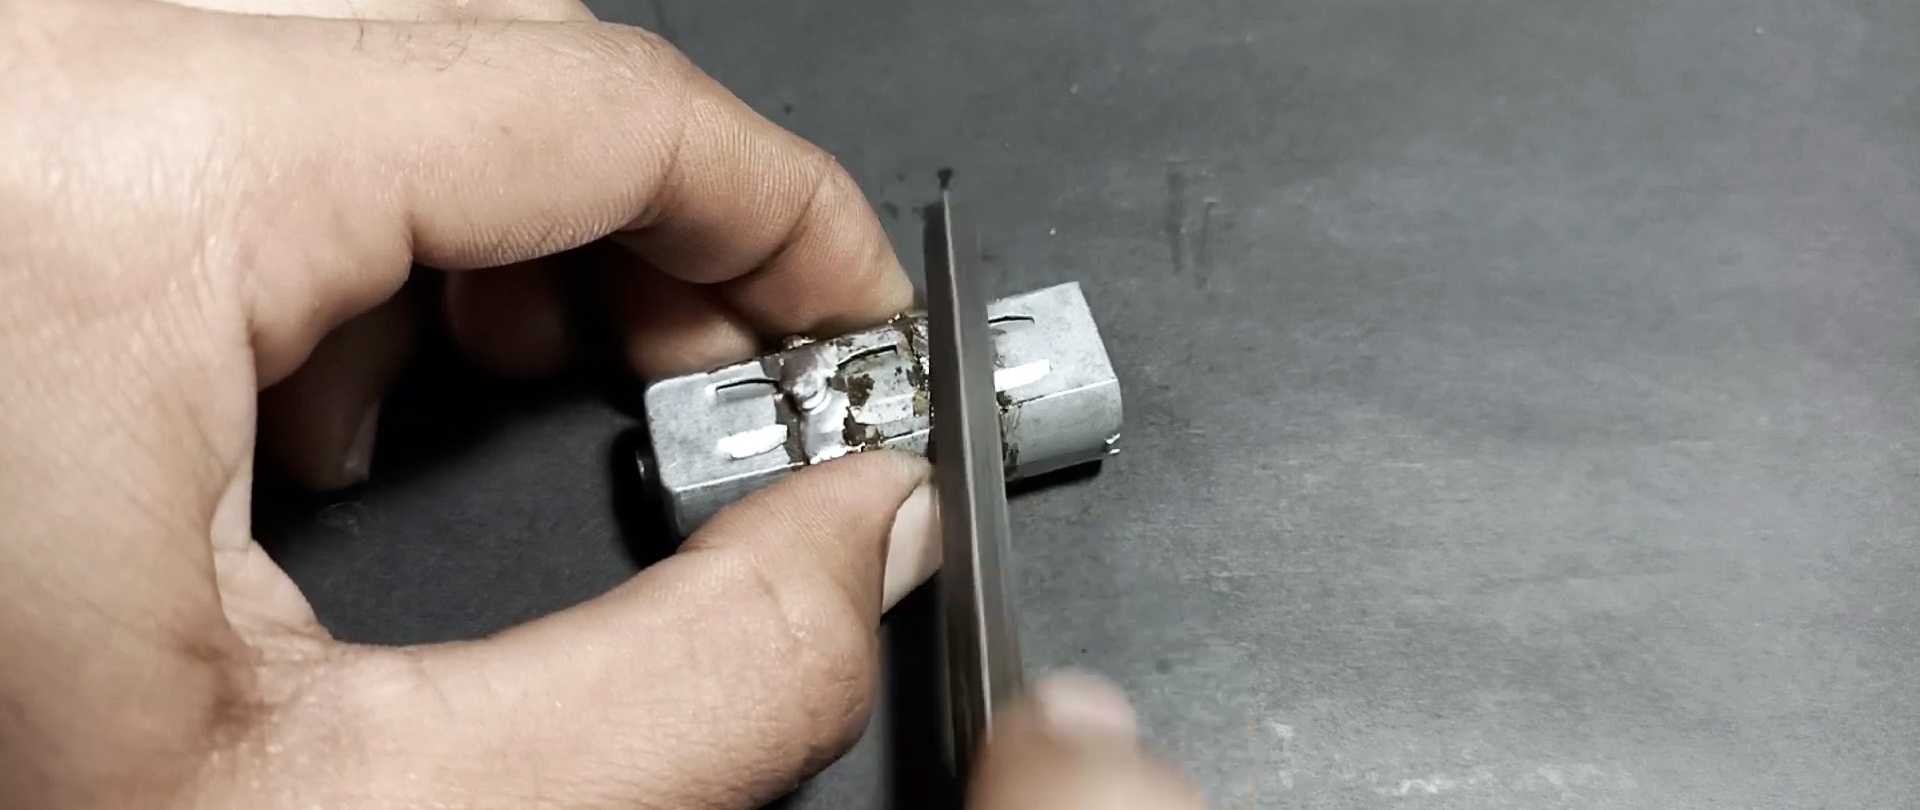
Remove solder deposits with a file.
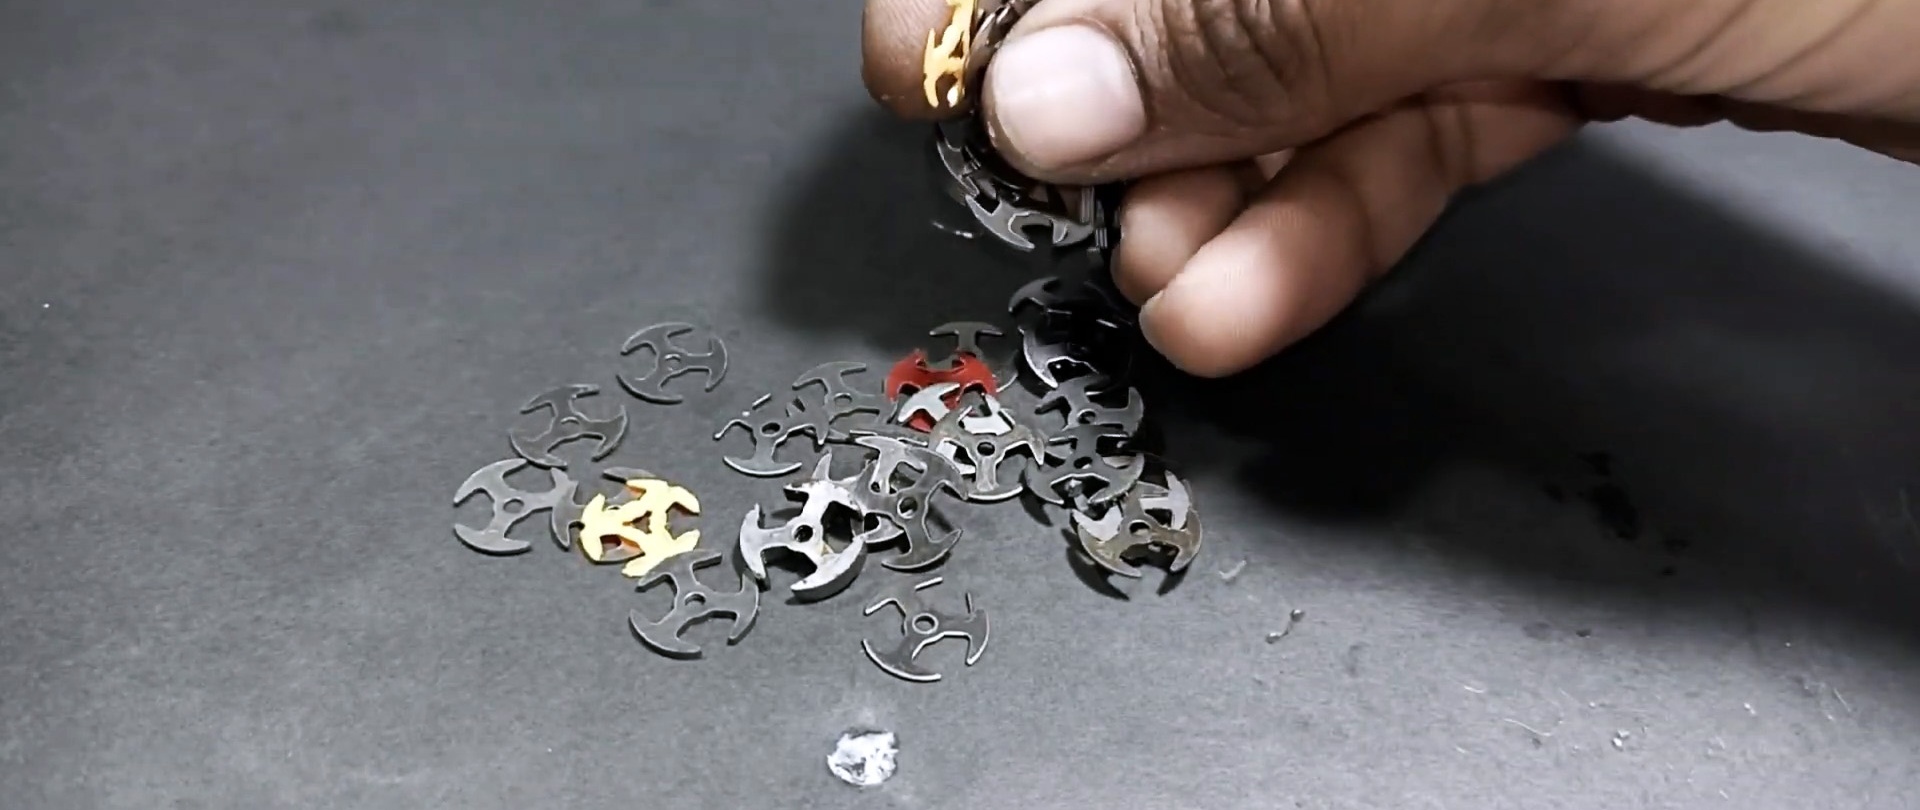
We tear off the winding wires on the rotors from the places where they are soldered to the collectors, unwind the windings, remove the collectors, use pliers to pull the axles out of the coils and disassemble the cores into segments.
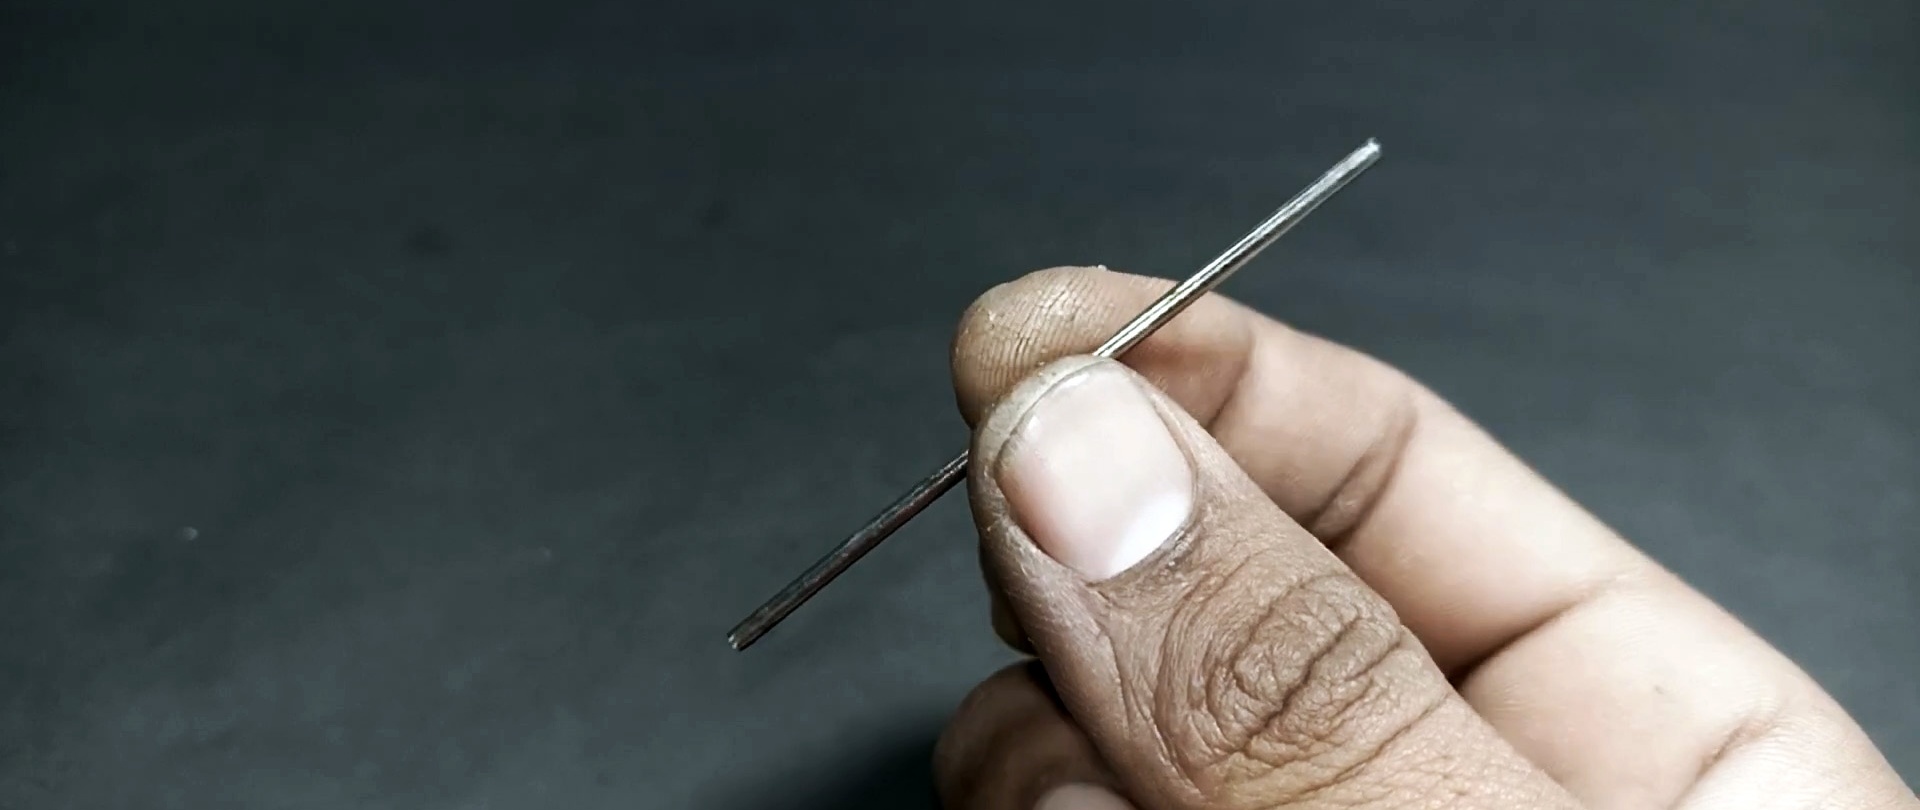
We select the required length of the axis for the electric motor and string armature core segments onto it, starting and ending the set with compression segments.
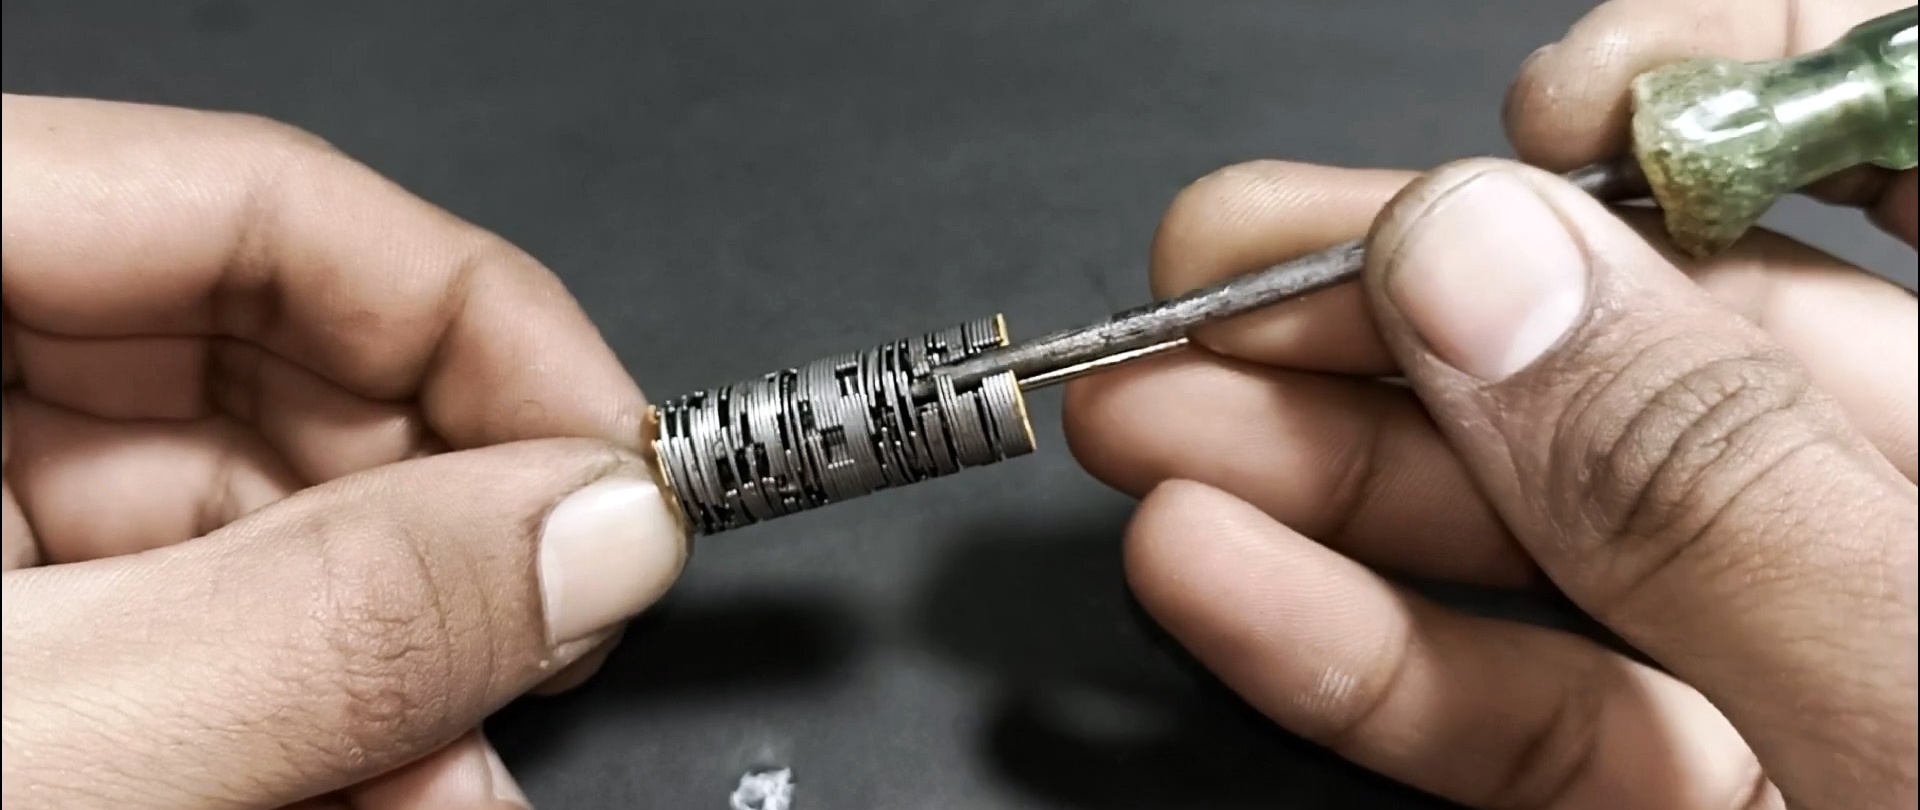
Using a screwdriver of a suitable diameter for the working part, we place the segments on the axis in the required position and fix it with superglue.
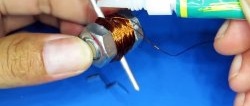
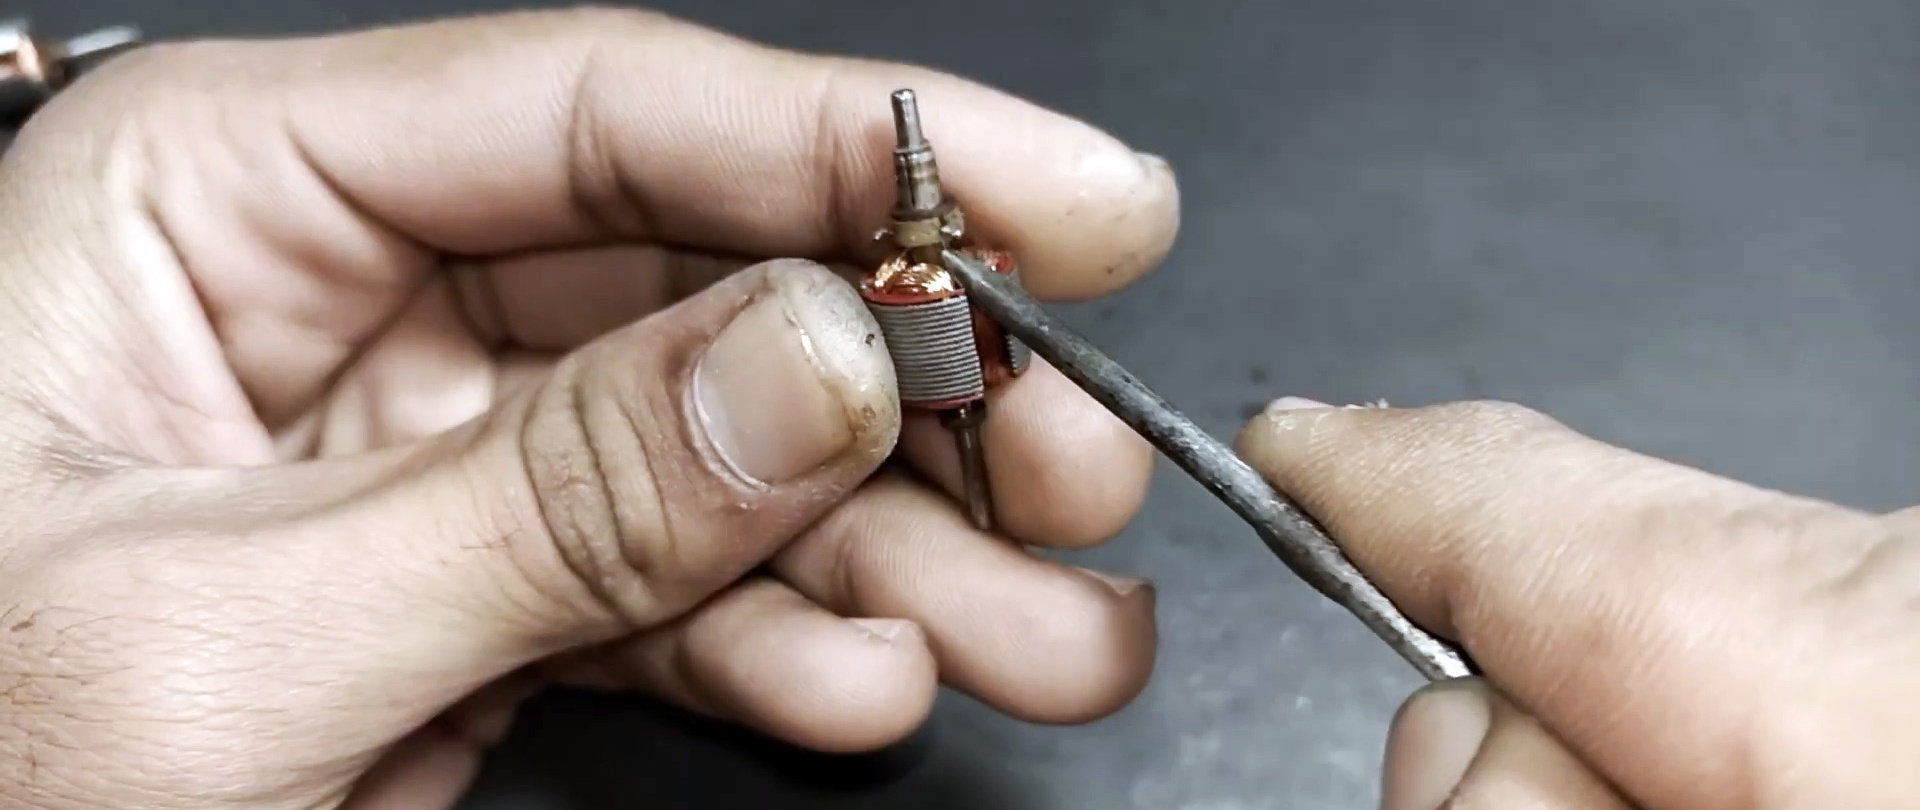
We put the commutator on the axis and, rotating it around the axis, insert the splines on its end into the grooves of the compression segment. We select the required diameter of copper wire, insulated with a special varnish, and wind 3 coils onto the core.
The end of one coil is the beginning of another. We wind it clockwise, and burn the junction of the wires with the collector contacts with the flame of a lighter to melt the varnish. We solder the ends of the wires to the collector contacts.
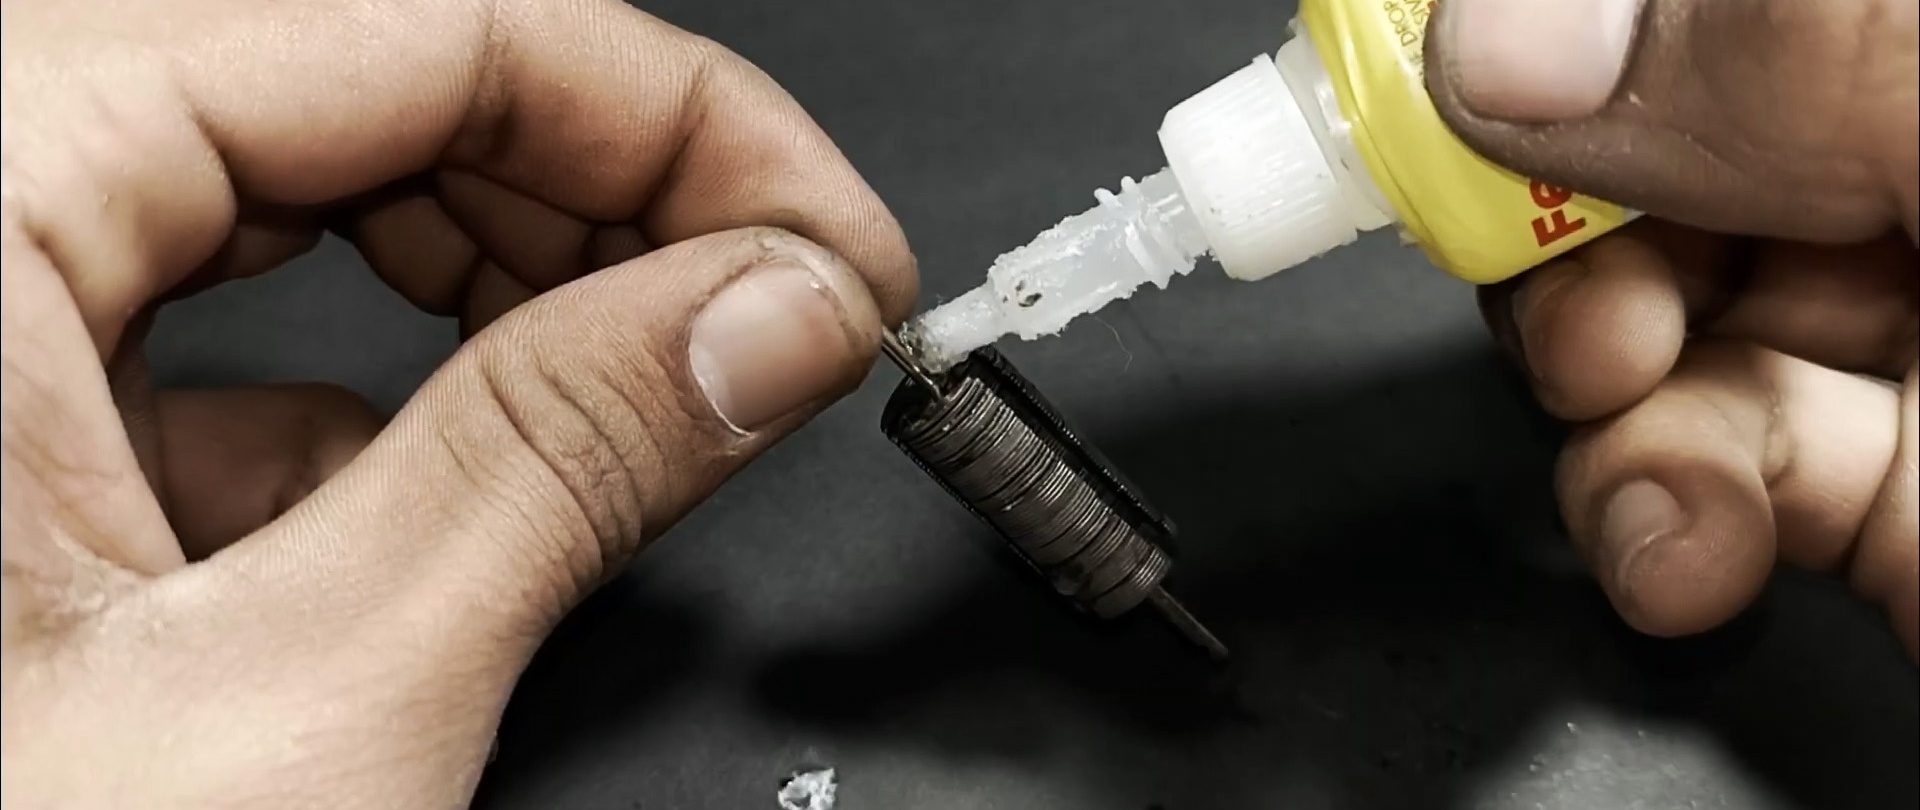
We put a restrictive ring on the axle and fix it with superglue. We put a plastic case on the resulting casing with permanent magnets inside and a rotor and fix it with two latches on the casing.
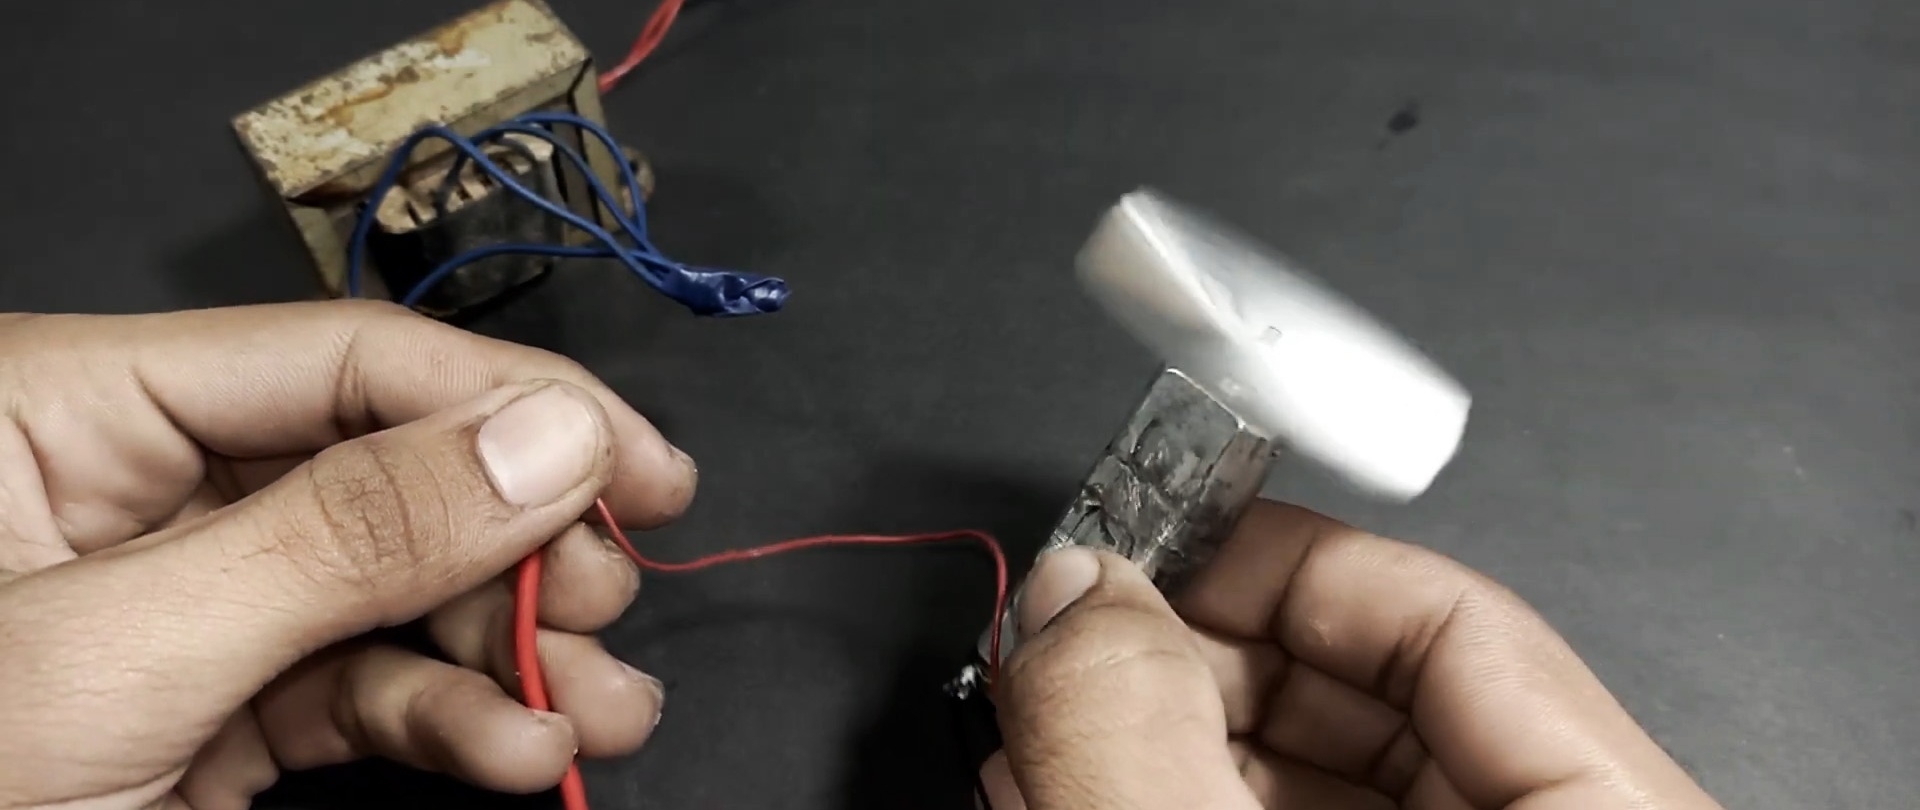
We solder wires to the motor terminals to connect to a current source, for example a AA battery, and make sure that our powerful DC motor is fully operational.
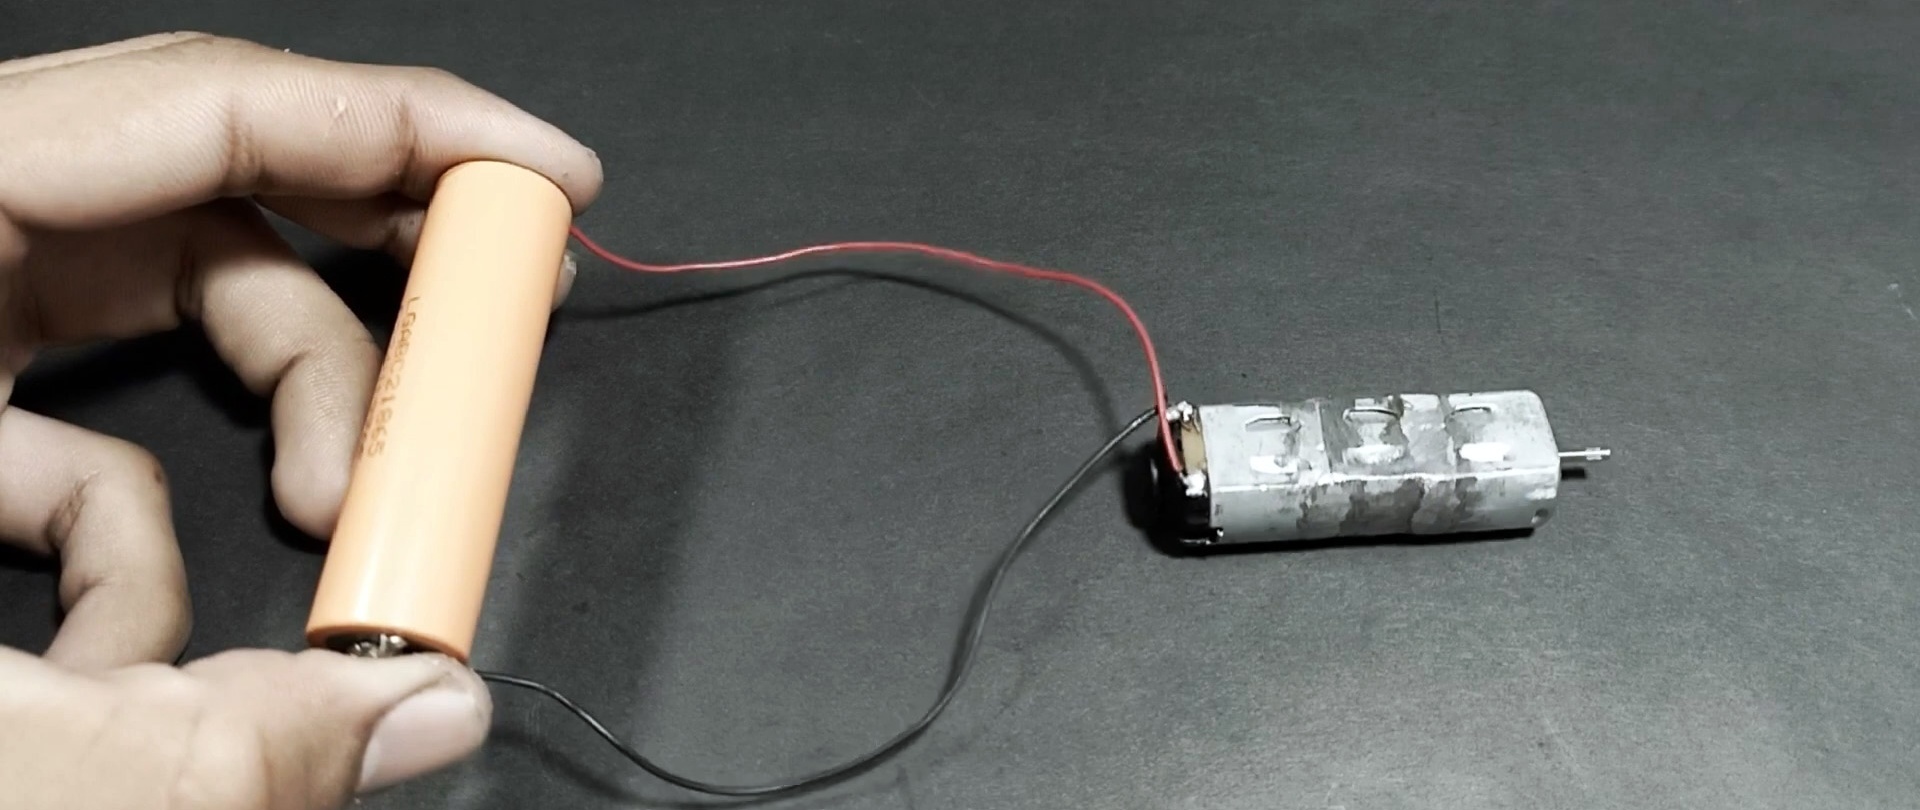
It has a lot of torque, at least the finger strength may not be enough to stop it. The motor can be used in a children's car, to drive a dynamic toy, to rotate a fan, etc.