How to fix 3 types of figure eights on a bicycle wheel at home
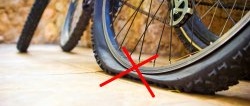
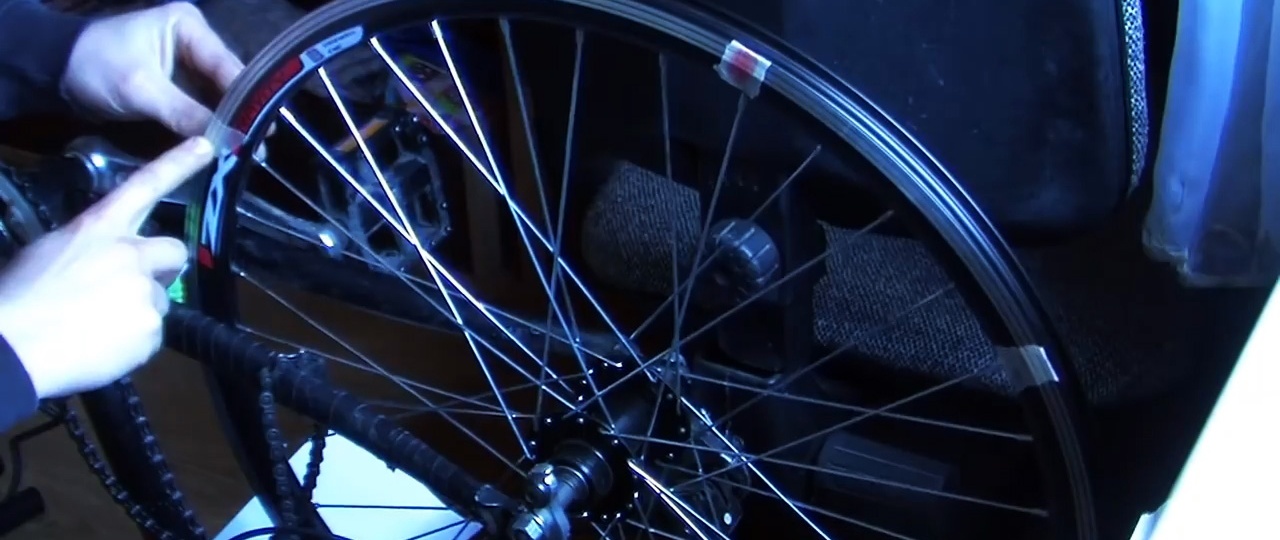
First, we find out whether there is a figure-of-eight defect on the wheel. To do this, rotate the wheel and place your finger on its rim. Moreover, the finger should lie motionless on the front of the bicycle. At the same time, we will feel the presence of the number eight directly.
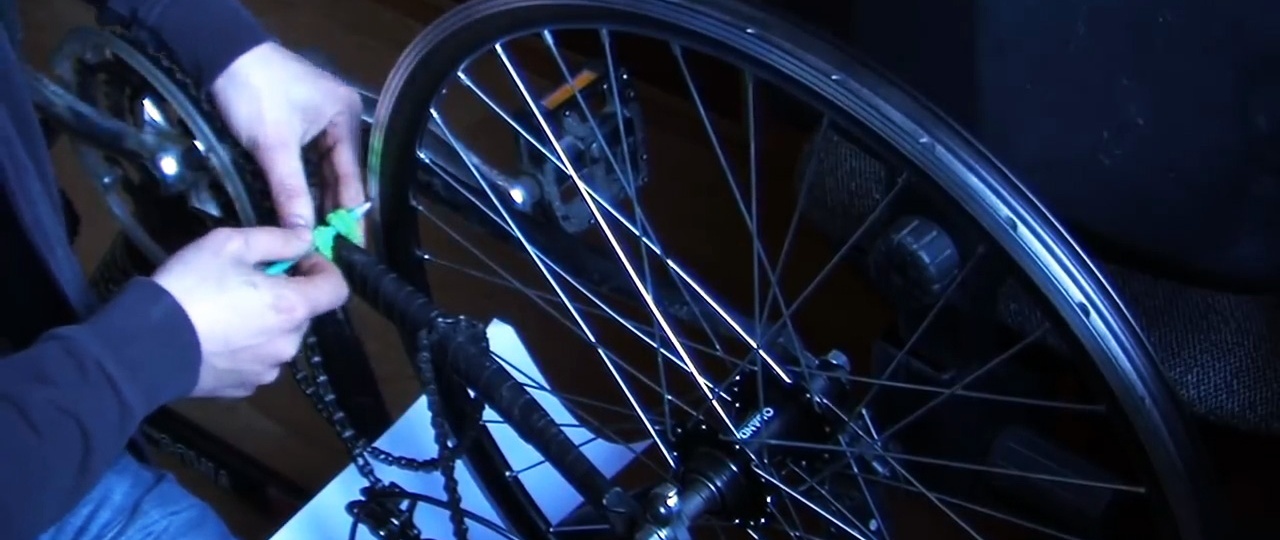
You can do it differently. We secure the pencil with a hair tie to the front of the bicycle and place the pencil lead on the rim. If, when the wheel rotates, a pencil draws a broken line on the rim, then there is a figure eight.
The classic figure eight assumes that most of the rim is flat and only bent in one place. To eliminate such a defect, you must first release the spokes from one flange and clamp them from the opposite one.

To do this, we rotate the rim and look at the pencil in order to find the place that is most in contact with the pencil. We mark it, for example, using masking tape with a red mark.


Next, we find 2 places where the rim stops bending and then spins smoothly. We also place marks in these places using masking tape.We previously marked the place of the maximum bend of the figure eight with tape with a red mark, and with masking tape without a mark we marked the place where the figure eight ends.
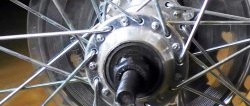
Since the figure eight is directed towards the near flange, we use a spoke wrench to release the spokes from the near flange and tighten the spokes from the far flange no more than a quarter turn.
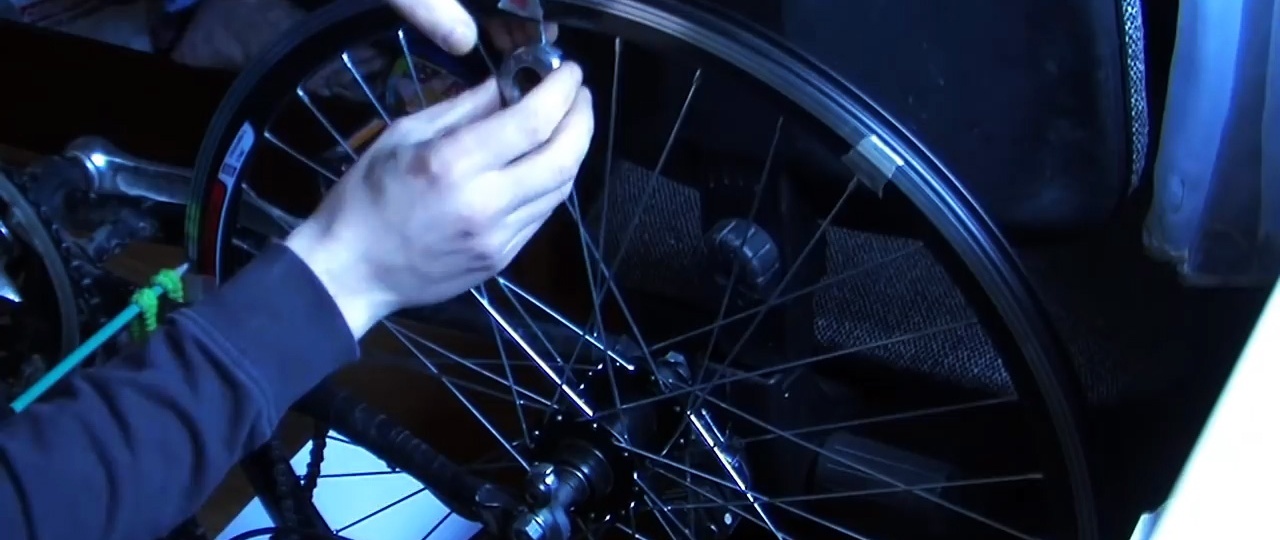
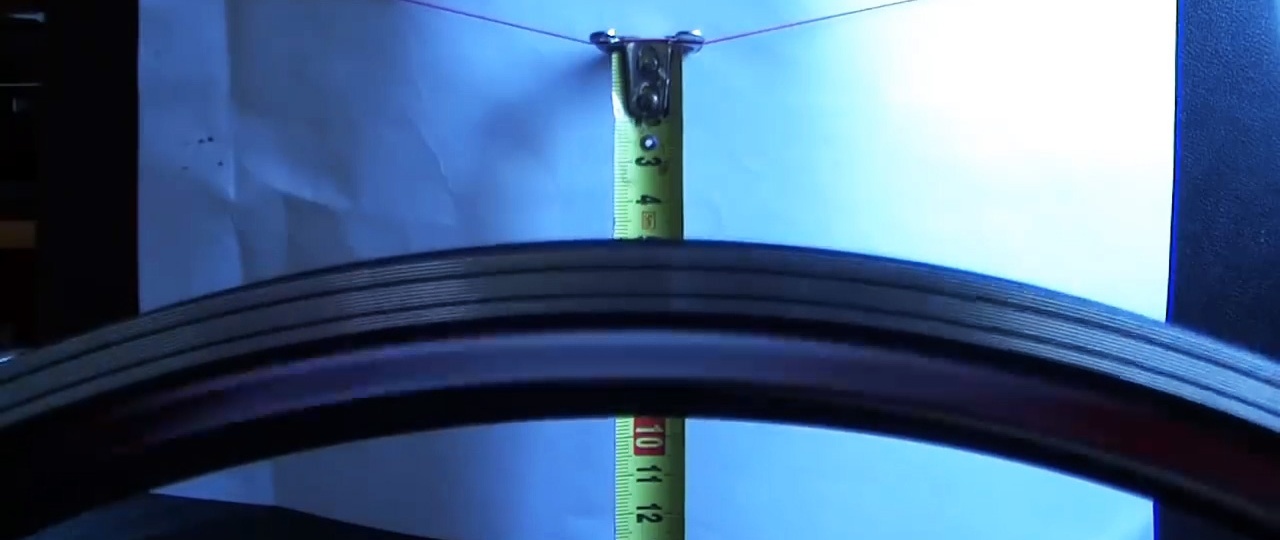
When the spokes are pulled from the far flange, the rim begins to bend in its direction, i.e., in this way the figure eight is stretched. If once is not enough, we repeat the operation several times until we get the desired result. A residual defect of 0.5 mm can be left, since it will not lead to anything critical.

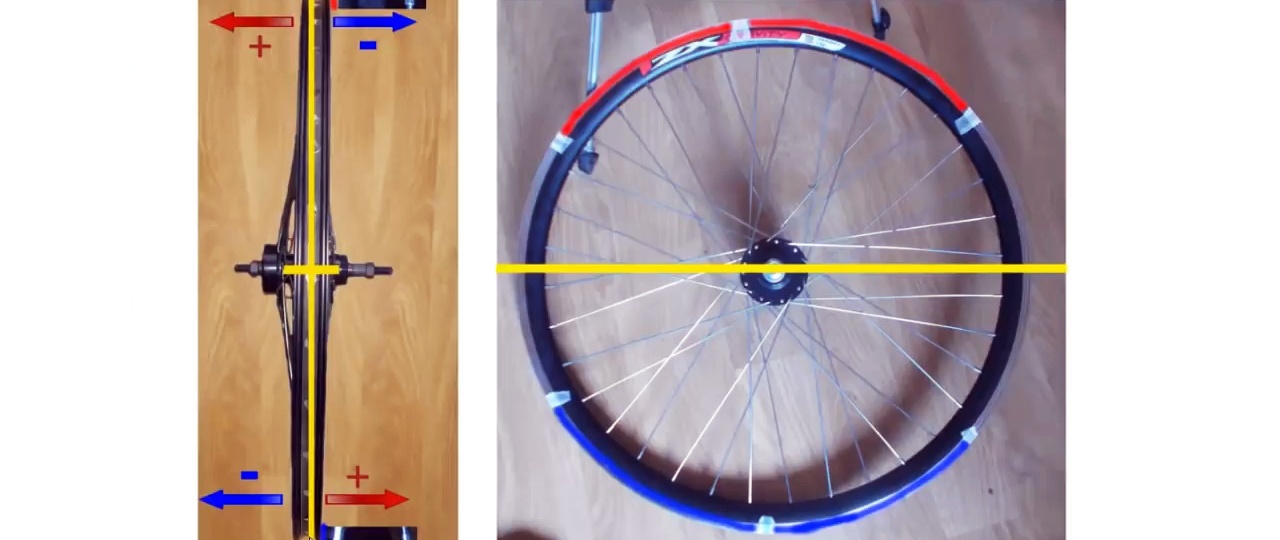
Now let's look at the second type of figure eight, when the rim is bent in two directions. Also, using a finger or pencil, we find the maximum deviations of the rim and stick masking tape with a red mark. Next, we find the points where the rim is farthest from the finger and pencil, and mark these places with masking tape with a blue mark.
Next, we divide the rim into equal parts, i.e., glue tape between the blue and red marks in two places so as to divide this half of the rim into 3 equal parts. We do the same with the second half of the rim.
Note that the displacement of the upper and lower parts of the rim relative to its center lie in opposite planes. On the sides of the red mark at the top there are 2 zones that need to be worked with. We do the same with the lower part of the rim, only in reverse.

From above you need to release the spokes from the side of the flange where there is a rim protrusion. Exactly this number of turns should be used to loosen the spokes on the opposite side of the flange. On the bottom side, where the pit is, you must first release the knitting needles, and on the opposite side, tighten them. It is better to tighten the spokes little by little several times than once for several turns of the key.
There is also a third option for eights. Sometimes all the spokes are well tensioned except for a few from a particular flange. They seem to need to be tightened, but in the end we get a local figure eight, since the rim already has such a curvature. It just needs to be changed.

You can, of course, loosen these few spokes and drive like that, but it is better to replace the rim with such a figure eight, since this defect can lead to worse, since the rim in the place of such a figure eight is weakened and with a significant impact it can bend and cause even greater damage.
The third type of eight is very difficult for a beginner to eliminate; only an experienced specialist can cope with it, and even then not always. After all, you will have to remove all the spokes, try to align the rim, put all the spokes back and make sure that all the painstaking work was in vain.