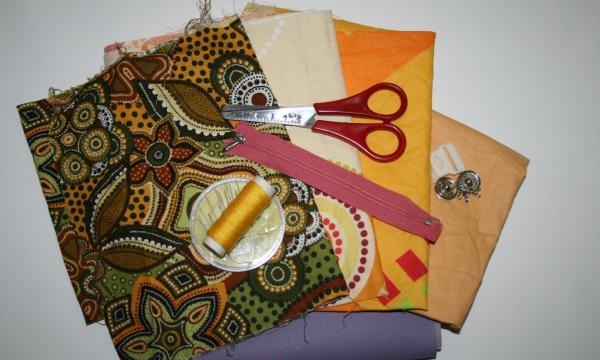
So, we will need:
- Fabric of different colors to make it more interesting for the baby to play.
- A needle and threads matching the color of the fabric.
- Various clasps: buttons, hooks, snaps, zippers, carabiners and so on.
- Sintepon for stuffing.
- Scissors.
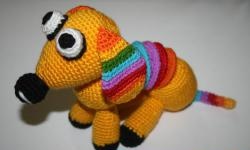
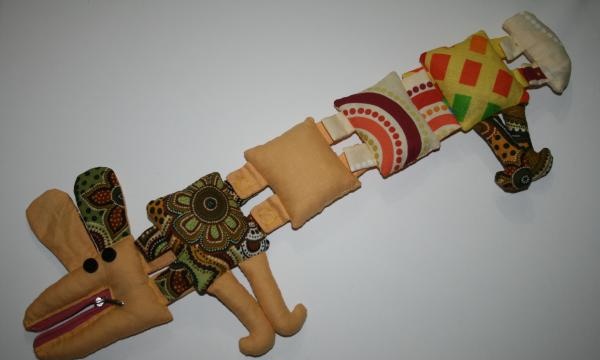
We will make a dachshund; it has a long body that can be divided into several parts connected to each other with locks. Let's figure out what parts there will be. Head and butt, two parts with paws, and two parts for the belly. There are six separate body parts in total. The parts of the abdomen and those with the paws will be rectangular in shape. The head and butt will be rounded and of different sizes.
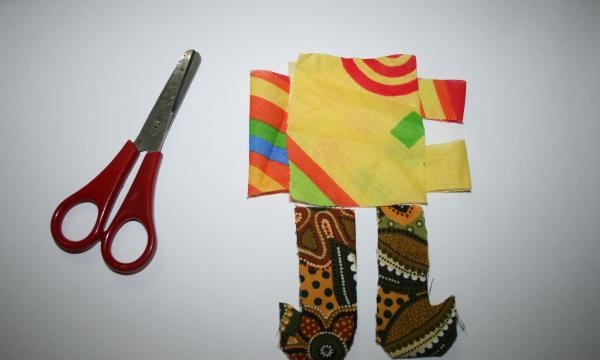
We begin to cut out the blanks. We cut out the legs, the rectangular part and the parts for connecting the parts.
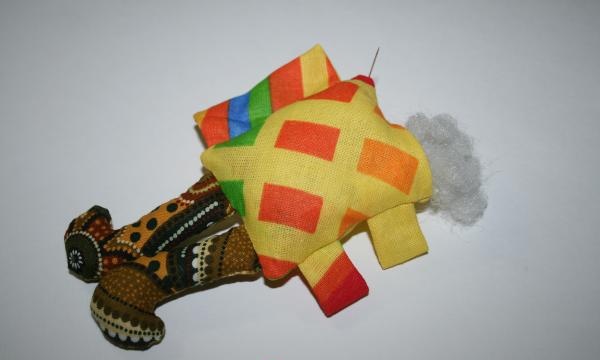
First we sew the legs and fasteners together. Then we insert it into the rectangle and carefully sew it together. We stuff the resulting part with padding polyester. It should be soft and dense enough to maintain its shape.
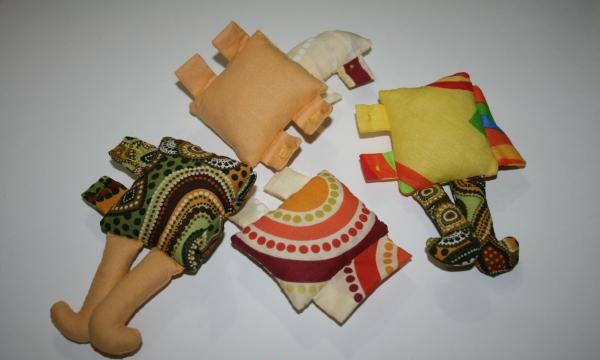
In exactly the same way we cut out, cut and sew the remaining rectangular parts.
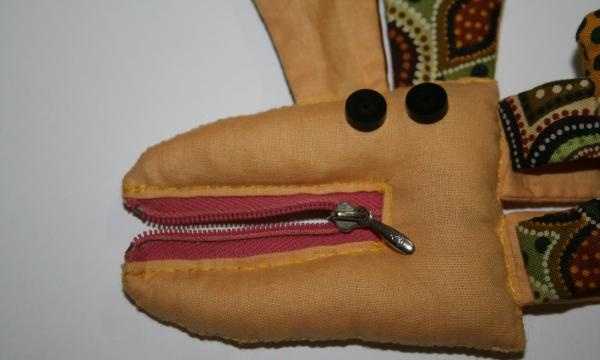
You'll have to tinker with your head a little. First, cut out two symmetrical parts of the head. Make a cut for the mouth and sew a zipper into it. After this, make the ears and fastener. Carefully sewing up the head, insert the ears and fasteners into it and sew with a fine stitch. Don't forget to stuff with padding before completely sewing the two parts of the head together. When it is ready, sew on the eyes on one side.
Now the most important part - we begin to sew on the locks. Choose their location yourself.
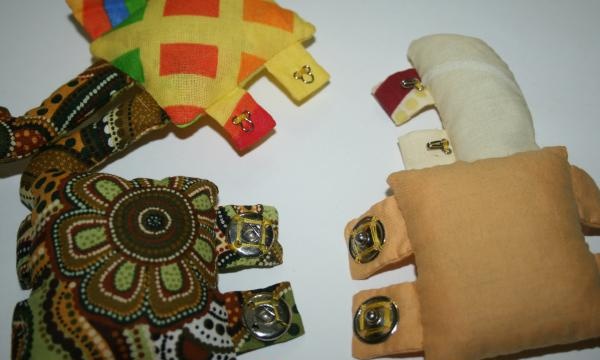
My head is attached to the part with the legs using Velcro, then there are buttons, followed by buttons, loops and hooks. The result is such a soft and educational toy that your baby will not get bored for a long time.
The fabric can be different not only in color, but also in texture. In this case, the child will not only learn clasps, but also learn to distinguish fabrics by touch.