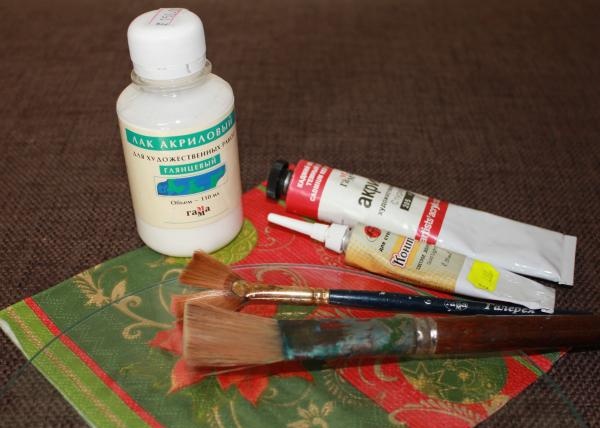
For work we will need:
1. Glass plate.
2. The napkin is thick, 3-layer.
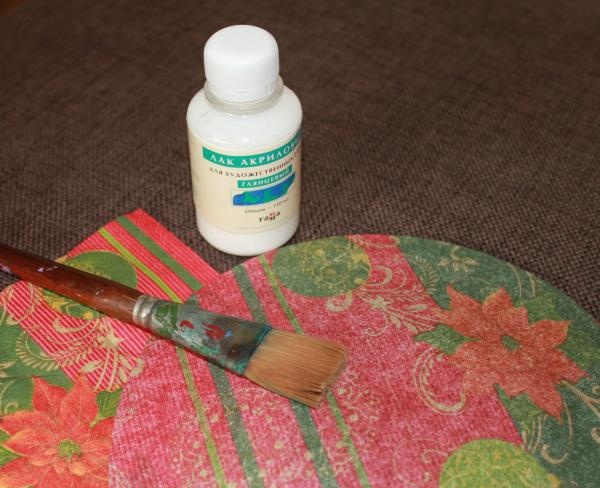
3. Acrylic varnish for artwork.
4. Acrylic paints for artwork.
5. Contours on glass and ceramics from the Sonnet company.
6. PVA construction glue.
7. Brushes.
8. Zero grade sandpaper.
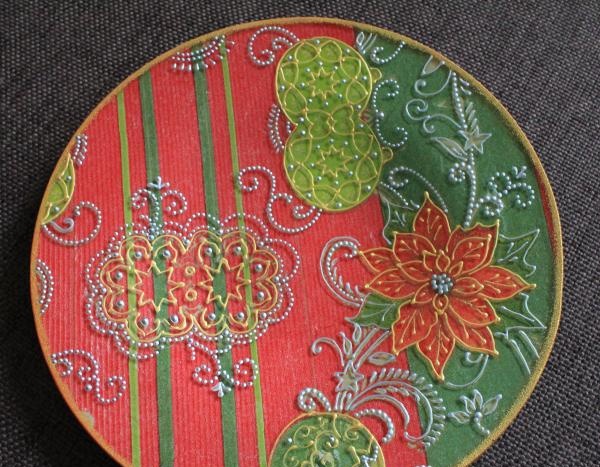
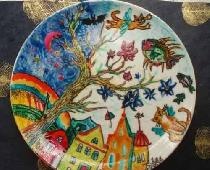
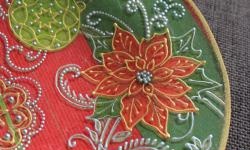
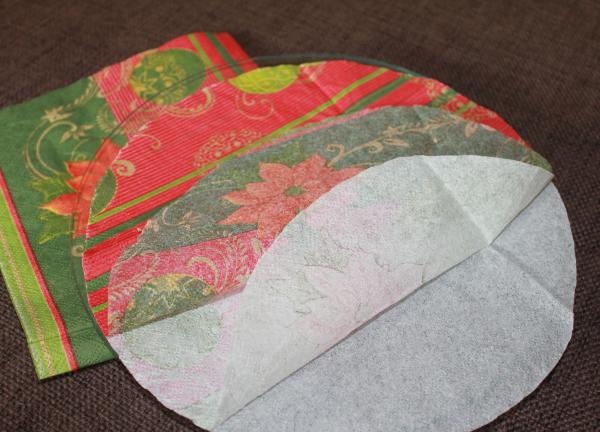
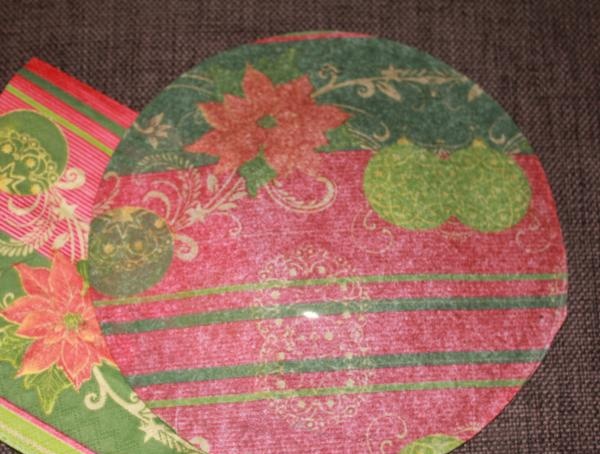
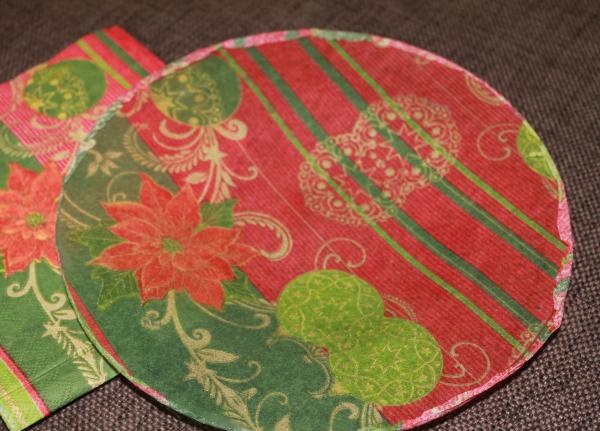
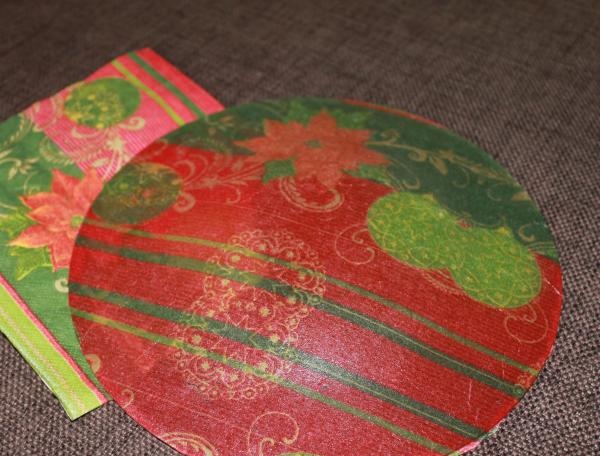
Step 1. We lay out the napkin, place a plate on top of it, select a fragment with which we will decorate the plate, trace it and cut it out. We separate the top layer with the pattern from the cut out fragment, and we will continue to work with it.
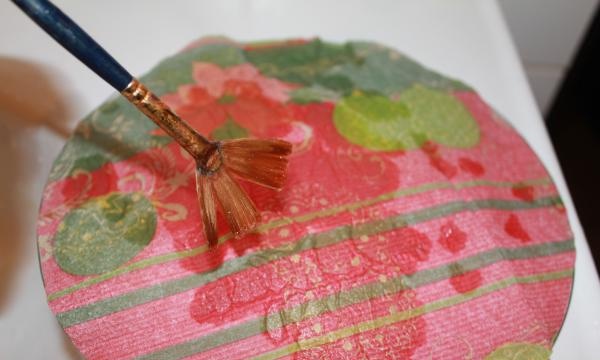
Step 2. Gluing the napkin. To do this, wash the plate with any detergent and dry it. Turn the plate upside down and place the napkin on it, pattern down. Next, using a fan brush, carefully drip water onto the napkin until it is completely wet. After this, use your fingers or a brush to smooth the napkin onto the plate, removing any wrinkles and air bubbles that appear. Then dilute the PVA glue to a liquid state and pour a little glue into the center of the plate.From the center to the edges, we begin to coat the napkin, doing this especially carefully along the edges. Everything must be done very carefully, with light touches, because... a wet napkin stretches and tears easily! Then we dry the napkin with a hairdryer.
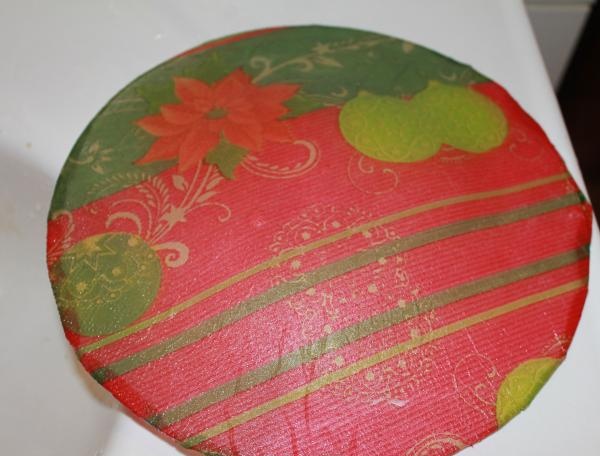
This is what the glued and dried napkin looks like.
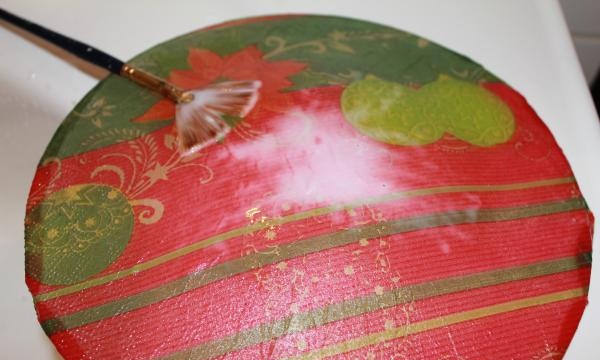
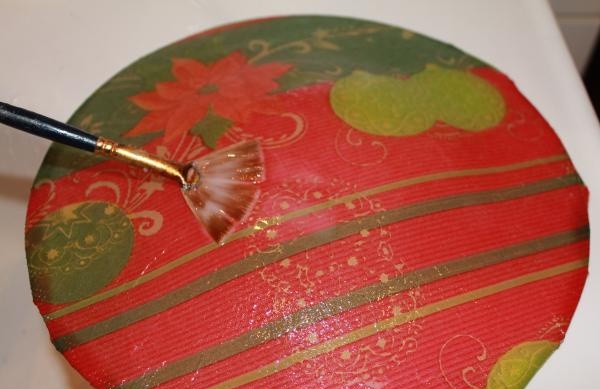
Step 3. IMPORTANT! Varnishing a napkin. Varnishing will protect the napkin from being soaked in paint during further priming and will give the drawing a rich color! Cover the glued and dried napkin with acrylic varnish in 2 layers, drying each layer with a hairdryer. After varnishing, use sandpaper to remove excess pieces of napkin along the edges and carefully sand the remaining folds.
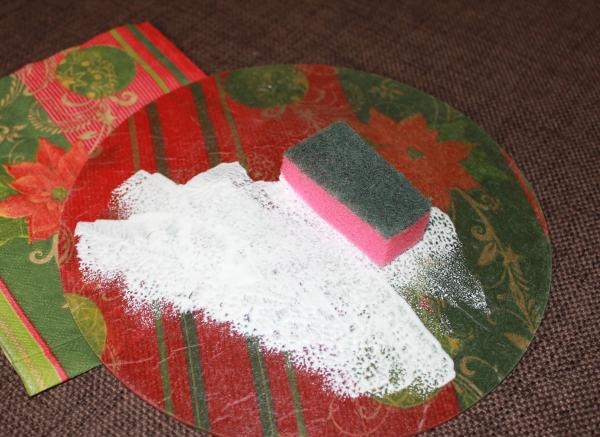
Step 4. Padding. Using a piece of foam rubber, apply white acrylic paint using the “poke” method onto a dried, varnished napkin. The first layer should be thin, dry it with a hairdryer, apply a second layer and dry it as well. Next, the plate can be covered with acrylic paint, the color matching your napkin, and varnished so that the back side of the plate also looks beautiful.
Step 5. Painting with contours. In this case, the napkin design is outlined on the glass with contours of gold and silver using the technique of dot and contour (solid) painting, which gave the plate an additional decorative effect.