Ever since I was captivated by such a fascinating activity as glass painting, I was pleased to discover that the eternal question “What to give?” I somehow decided on my own. After all, for any occasion in life there is always an exclusive item at the ready, into which - and this is the most important thing - a piece of your soul is invested. And although there are still more than two months left until the next global holidays, we are starting to stock up on handmade gifts.
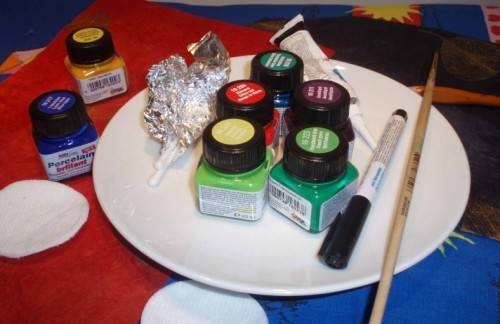
For the creative process we will need: opaque paints for painting glass and porcelain, a marker for painting porcelain, a white porcelain plate, solvent, brushes, a jar of water, cotton pads and swabs, metal foil.
It is convenient to remove unnecessary drips with cotton pads and swabs; you can make an excellent “palette” from foil - it is very convenient to mix paints in small recesses to get new shades.
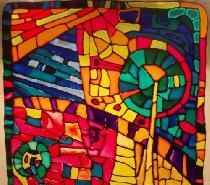
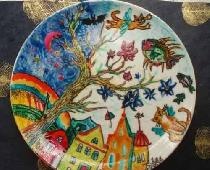
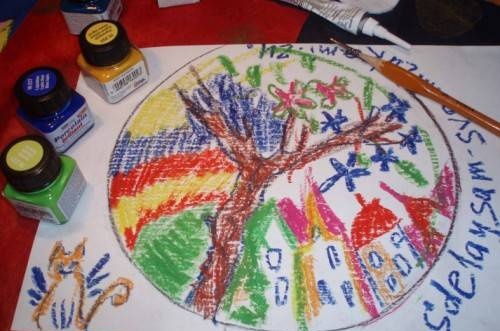
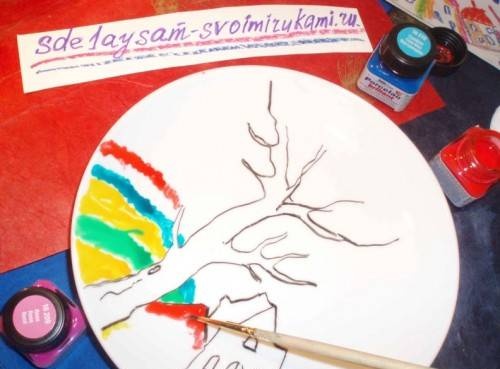
Of course, before dipping a brush into a jar of paint, we need to decide what kind of design or pattern will appear on the plate. It is convenient if, during the drawing process, an approximate sketch of the future creation is constantly before your eyes.For your sketch, you can use drawings found on the Internet, pictures from magazines, and, of course, your own imagination. For example, I wanted to bring to life something like this:
We begin to transfer the drawing to the plate. For these purposes, it is convenient to use a special marker for glass, which is used to mark the contours directly on the plate and draw on top of its lines. If you don’t have this at hand, don’t worry, you can paint right away with paints; if you don’t like something in the drawing, it’s easy to fix, because the paints can be easily wiped off.
When the entire surface is painted and dry, we take a black marker for painting porcelain in our hands and draw the details where we want - we outline the contours. There are no restrictions here, we draw as our imagination dictates.
Now the almost finished product needs to be dried in air for four hours, and then put in the oven and kept there for 90 minutes at a temperature of 160C. Then turn off the oven and wait for the plate to cool down.
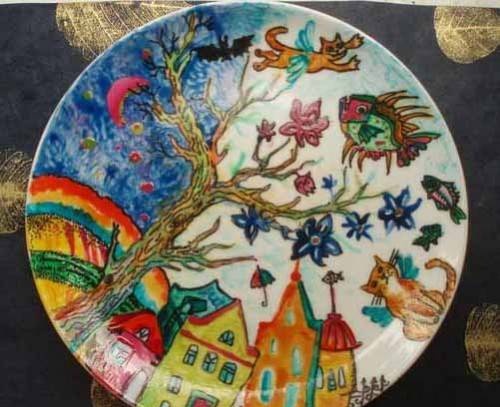
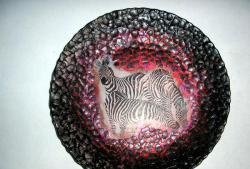
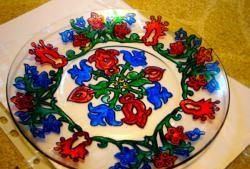
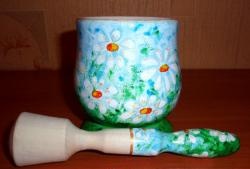
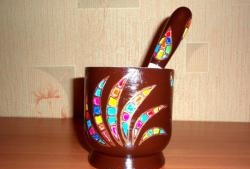
Everything is ready, let's start admiring!