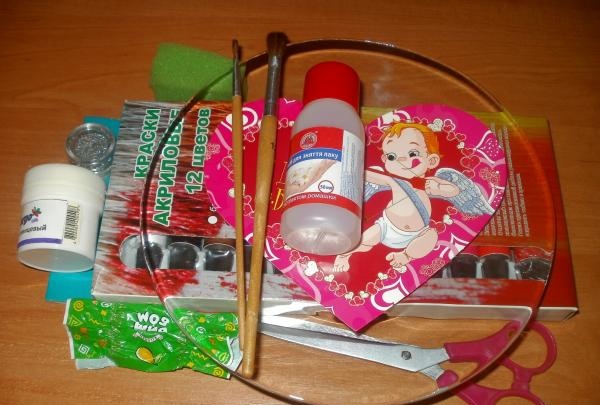
Materials and tools:
• Valentine;
• acrylic paints;
• glass plate;
• sponge;
• candy wrapper;
• brushes;
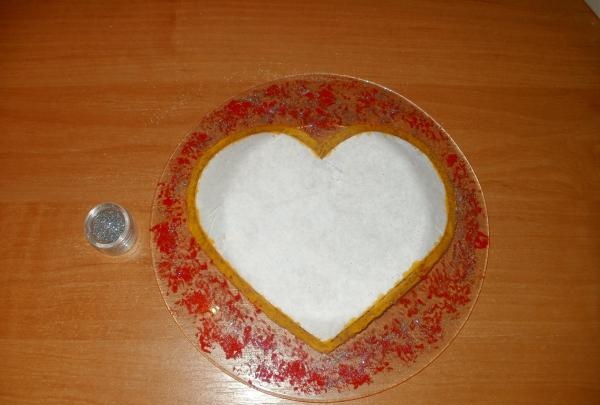
• sparkles;
• PVA glue";
• scissors;
• acrylic lacquer;
• nail polish remover.
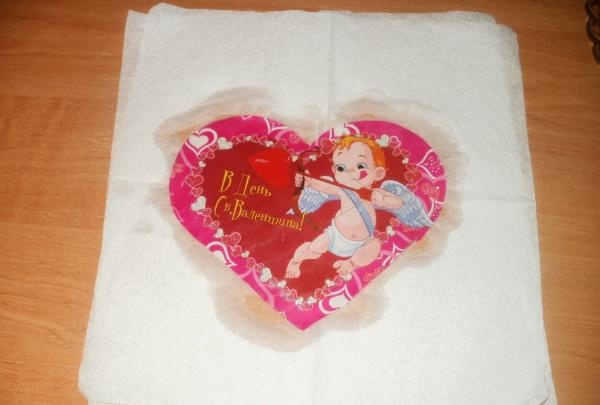
1. Valentine is a double card, so first we cut it. Place the top page in warm water for 10-15 minutes so that it soaks well, then it is easy to remove the excess layer of paper.
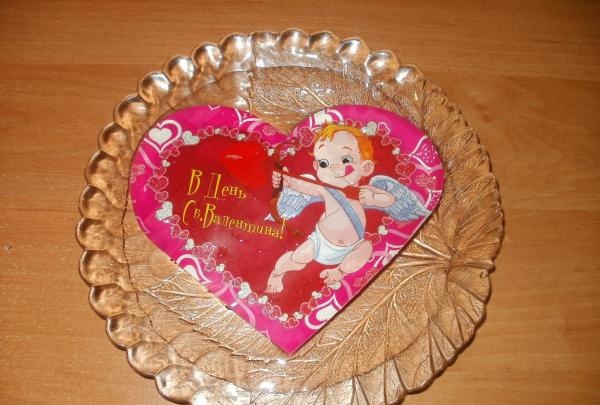
2. Take the picture out of the water, thin it, that is, separate the top layer. Place it on a napkin to remove excess moisture. We also blot the top with a napkin.
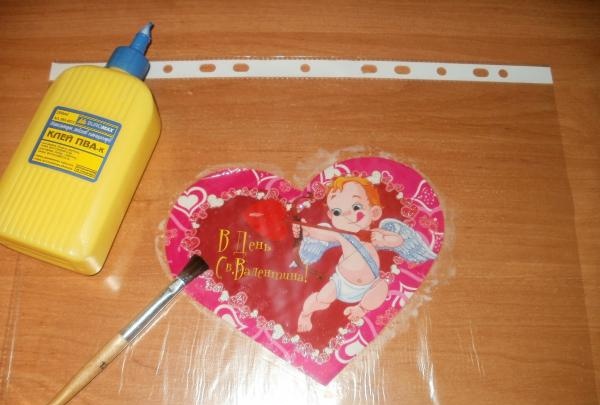
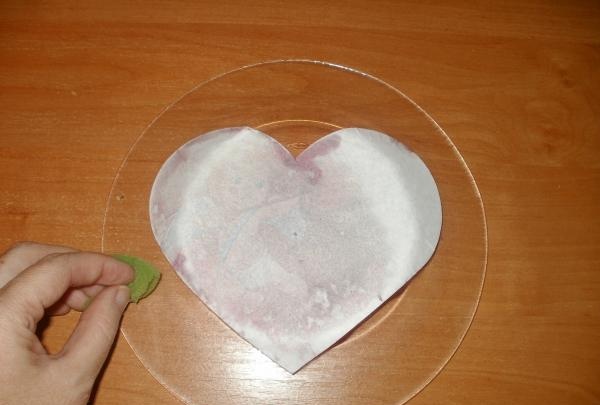
3. Carefully transfer the Valentine card to the file. Apply glue to the front side.
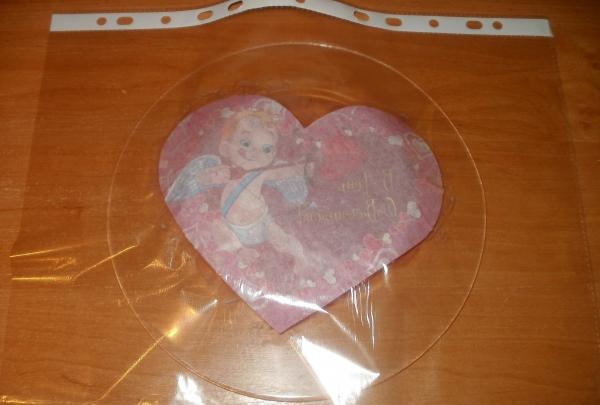
4. Turn the plate over to the reverse side. We perform the so-called reverse decoupage. We press the file with the valentine tightly to the surface of the plate, carefully smoothing it with our fingers and expelling air bubbles. Then we remove the file and wait until it dries.
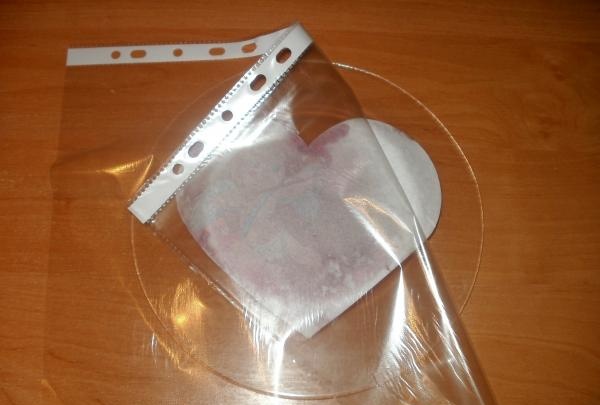
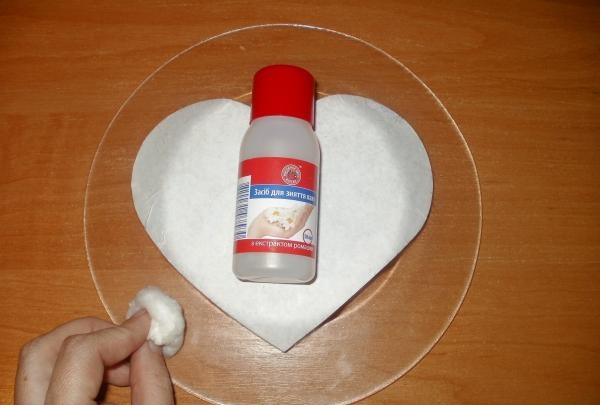
5.Wipe off excess glue with a wet sponge or cloth before it dries.
6. Before applying acrylic paint, wipe the plate with nail polish remover.
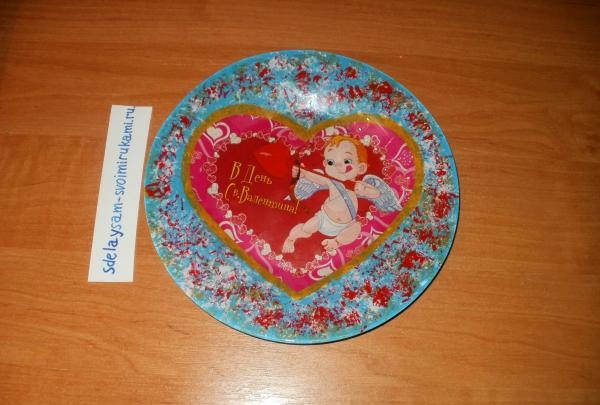
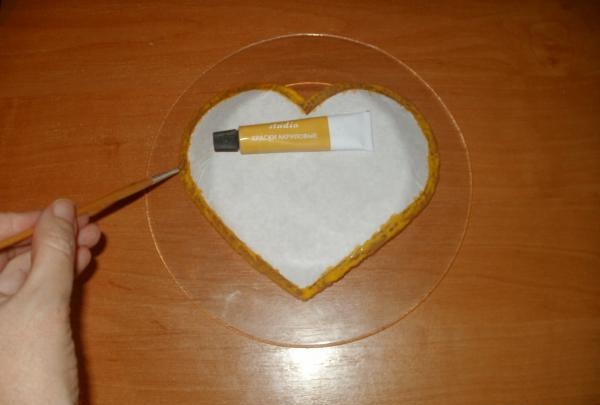
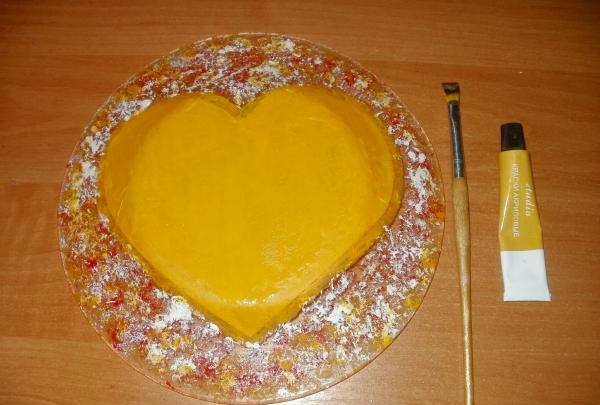
7. Use yellow paint to make a frame around the heart. But we don’t draw a line, but press the brush with paint to the plate.
8. After the yellow paint has completely dried, we begin to decorate the edges of the plate. We crumple the candy wrapper, apply red paint to it and stamp it, but not tightly, but so that there is room for other colors.
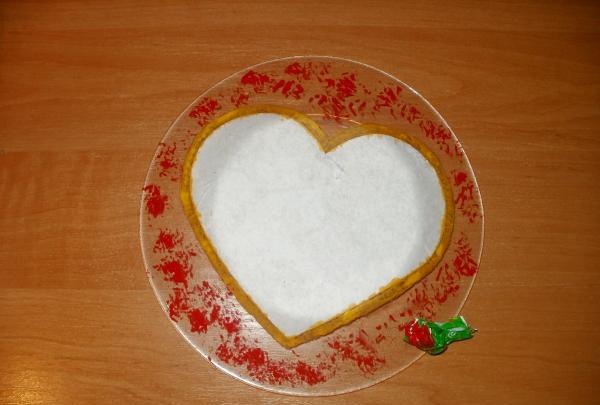
9. While the paint is not completely dry, sprinkle with glitter and leave to dry.
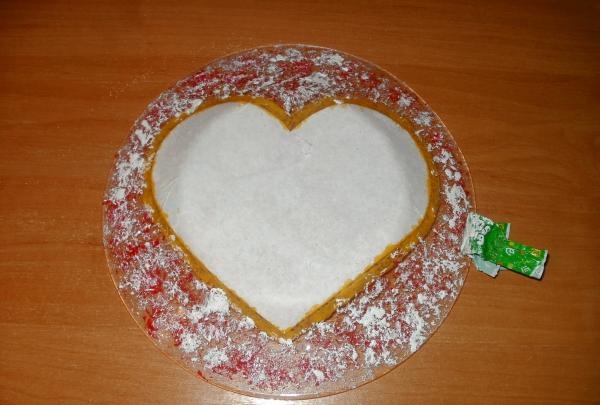
10. Similarly, we make stamps with white paint.
11. The third layer of paint is light yellow. We apply it to the sides of the plate using a wrapper. We paint the Valentine card with the same color.
12. Spread the finishing blue paint evenly with a sponge over the entire surface of the plate. We paint it twice. Let it dry completely. Next, apply varnish to the entire surface of the plate.

14. Decoupage is finished. Present ready for Valentine's Day!