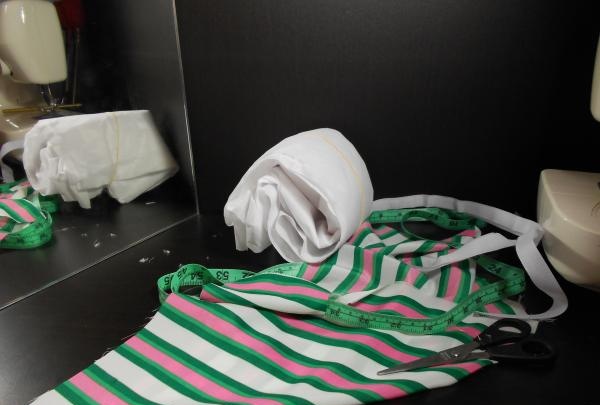
We will need:
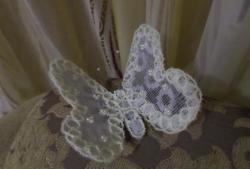
A piece of fabric; for my butterfly it took 30x50 cm.
Interlining on a paper base is the same size as the fabric.
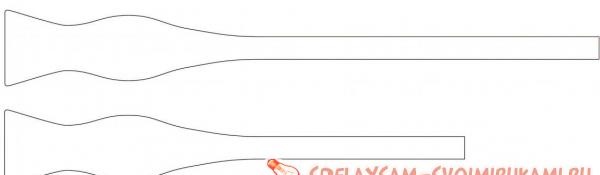
Pattern.
Safety pins.
Hot glue gun.
Velcro narrow (1 cm) to match the butterfly, 10 cm.
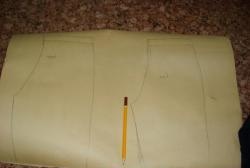
We prepare the pattern. We print this pattern on an A4 sheet. Estimate, at least very roughly, the circumference of the neck of the person for whom the butterfly is intended. At this stage, you can add or remove a few centimeters directly on the pattern, then cut out the pattern.
We attach the patterns of both elements to the interlining, pin them, trace them and cut them out without allowances.
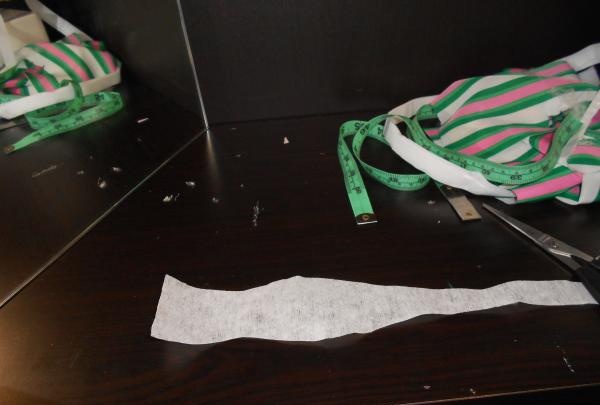
We pin the non-woven patterns with pins (the adhesive side to the fabric), iron them, cut them out with an allowance of 0.5 cm.
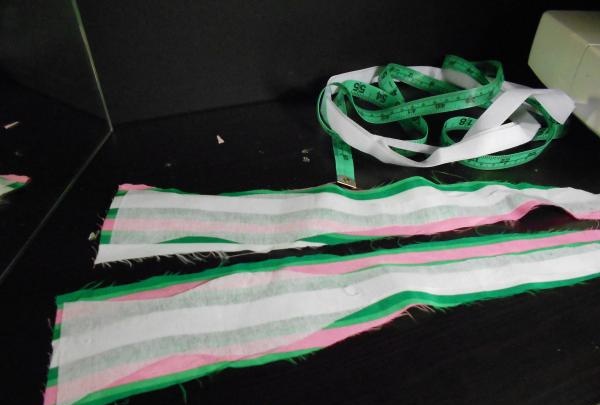
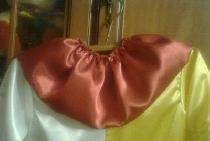
We use pins to pin our blanks with fabric (right sides facing inward).
We sweep by machine. Leave a hole for turning; It’s better to leave it somewhere in the middle of each element, so it will be easier to turn it out.We cut the corners as close as possible to the stitching on the wrong side.
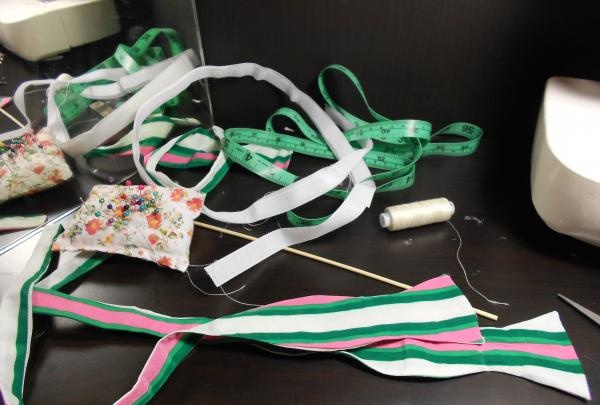
We turn both elements inside out and sew up the hole with a hidden seam.
Ironing out the details.
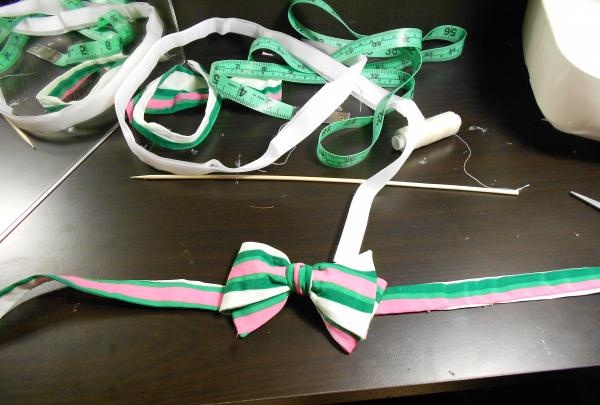
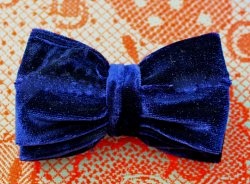
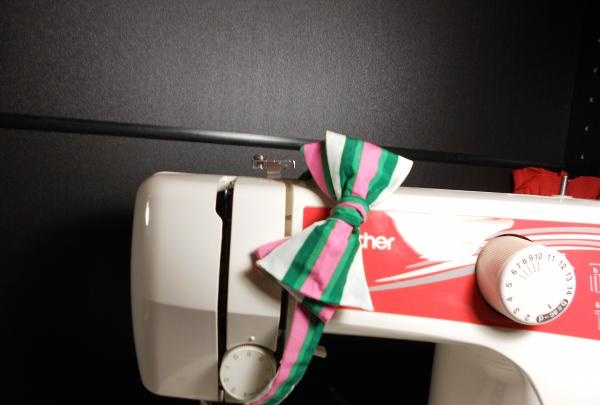
We tie a bow tie. This process can take as much time as sewing the butterfly itself. I use these instructions for tying butterflies from the Internet.
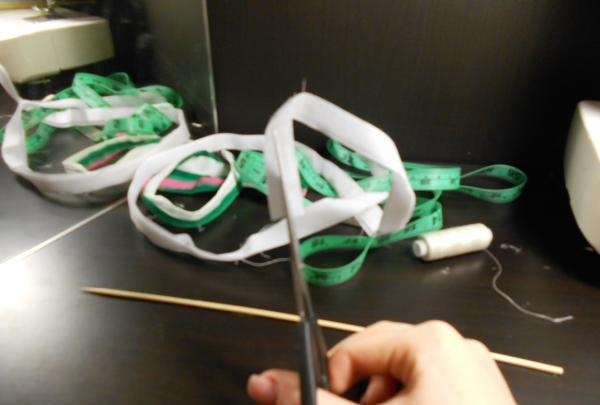
Now you need to make the clasp. We cut the Velcro lengthwise so that its width is no more than 0.5 cm.
Hot glue the Velcro to the butterfly. The part of the Velcro that is softer will be longer than the hard one. We glue the entire soft part onto one part of the butterfly, cut off a small fragment of 1x0.5 cm from the hard part of the Velcro and glue it with hot glue to the other part of the butterfly.
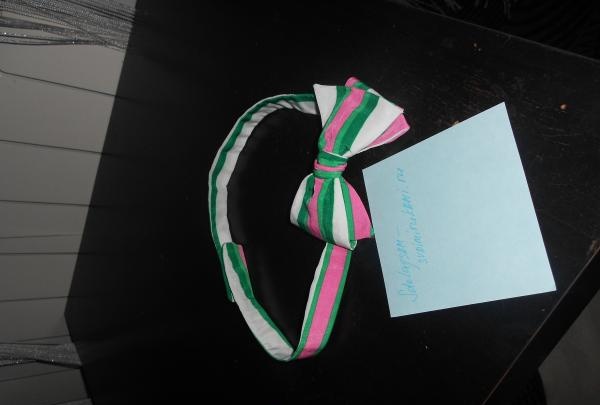
We enjoy the result.