Do it yourself
Life hacks, master classes, useful tips, recipes.
home » Handicraft techniques » Sewing » Patterns " Beach tunic
Almost any modern fashionista should have at least one beach tunic in her arsenal. But what to do if the tunics offered in stores don’t suit you in color or the material doesn’t suit you? Don’t despair, in this master class we will show you how to easily and simply sew a tunic yourself. The whole process will take you no more than 15 minutes, and the result will delight you for more than one summer season. To make it, I used a ready-made pareo, bought many years ago and never worn. If you also have some kind of pareo in your bins that you don’t wear for some reason, feel free to take it out. Today we will find a worthy use for it. If you don’t have an unnecessary or already tired pareo on hand, you can purchase a piece of light and airy fabric you like at the store. In this case, at the very beginning of work you will need to machine all the edges. This step is missing in our master class, because... The edges of the pareo are already finished with overlock. The advantage of sewing a tunic is that you do not need to spend a lot of time searching for a tunic that specifically matches your swimsuit color. You just need to choose the material you like and devote a little time and effort to the process.

So, for work we need:
1. Unnecessary pareo or piece of fabric.
2. Threads to match.
3. Scissors.
4. Pins.
5. Centimeter tape.
6. Sewing machine.
7. Summer mood and 15 minutes of free time.
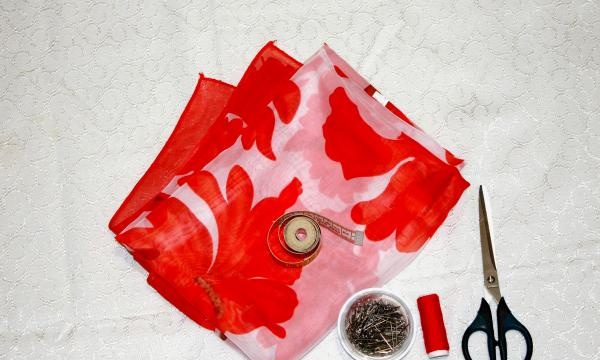
for work we need


The dimensions of my pareo are 146x98cm. My size is M. I think this tunic will fit girls with sizes S to L.

The first thing we need to do is fold the fabric with the already finished edges in half. As a result, we get a canvas of 73x98cm. We pin around the perimeter with pins.
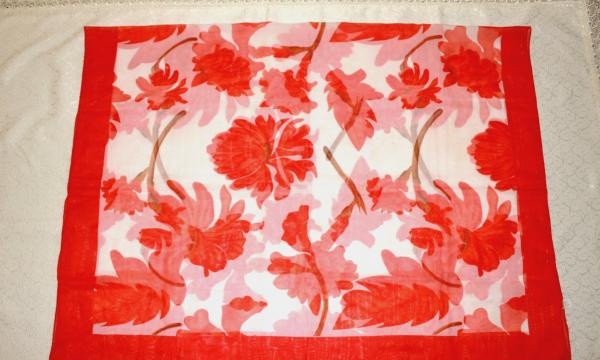
We pin with pins


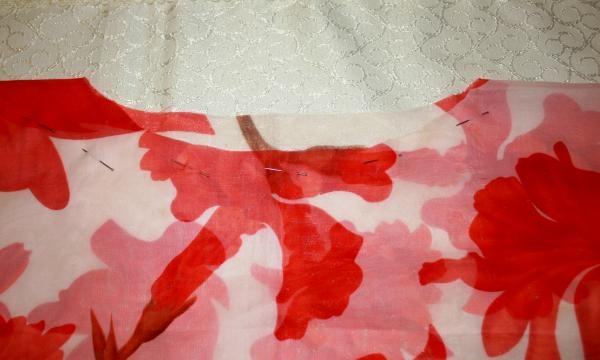
On the fold in the center, pin the expected neck line.
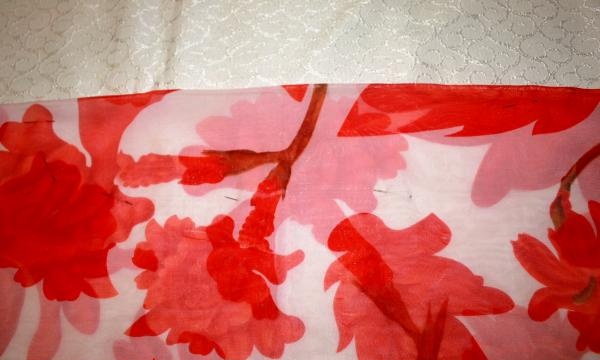
expected neck line


Fold it in half again so that you get a canvas of 73x49cm.
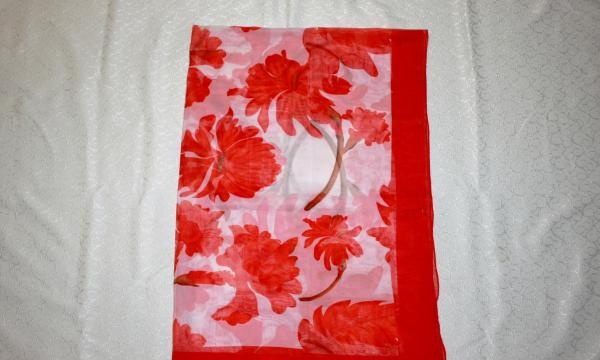
it turned out to be a canvas


We will measure the neckline from the fold.
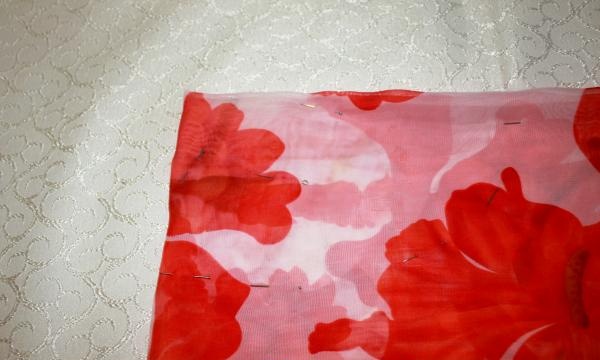
we will measure the neckline


From the left corner along the top edge we measure 14cm. Measure 3 cm from the top edge down. Draw a smooth line. This is the neckline from the back.
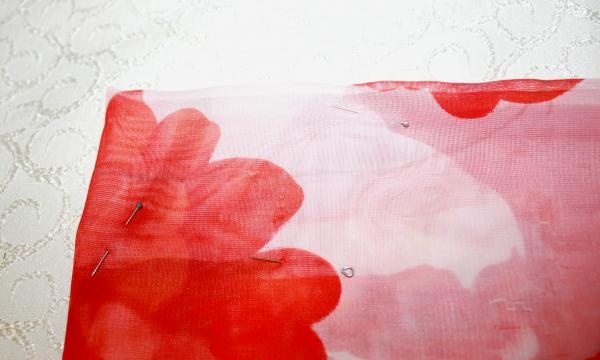
neck line from the back


We do the same thing, but measure down not 3cm from the top edge, but 6cm (or 3cm from the back neck line). We draw a smooth line. This is the front neck line.
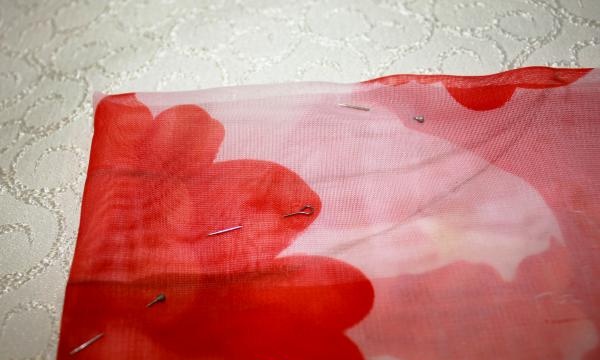
Draw a smooth line


Cut it out.

Cut it out


Next along the front part we need to mark the line for the sleeves. To do this, fold the canvas as you originally folded 73x98cm. On the front part we measure 20 cm from the right and left edges. Draw a straight line 48cm long towards the top of the product. I just pinned it together. Along these lines you will need to lay two even lines.
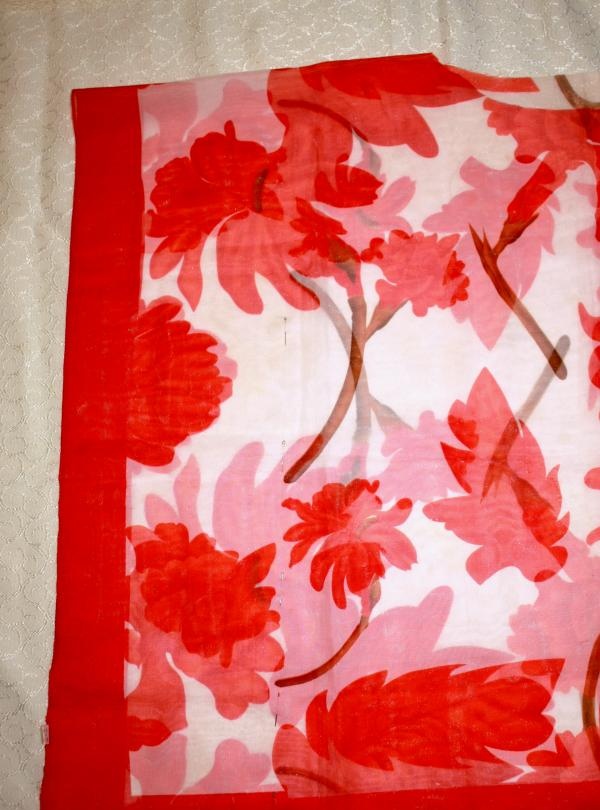
just pinned it together


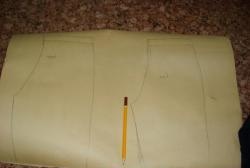
I offer a primitive pattern with markings in centimeters. Sorry for the quality, the pattern was made in haste for clarity. The red dotted line indicates the cutting lines. The blue dotted line is the stitch lines.
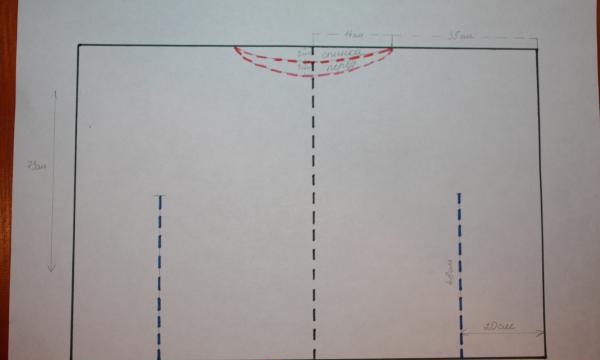
Blue dotted line


All we have to do is machine the neck. We bend the cut and stitch it.
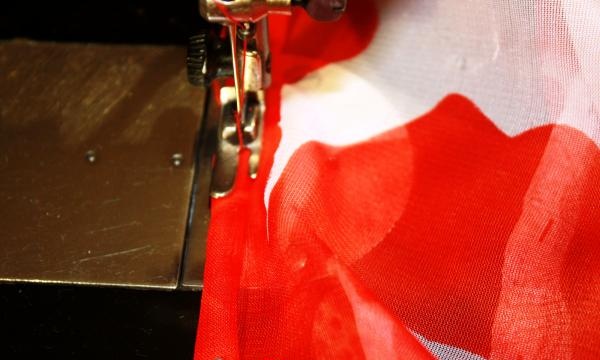
we lay a line


Now we sew a line along the blue dotted line on the right and left sides. Lay the lines along the front part!
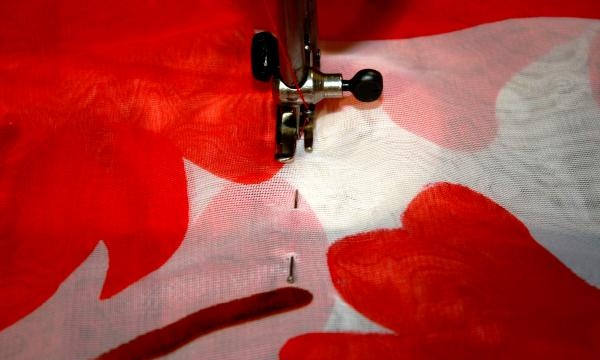
Lay the lines


Let's iron and go to the beach! Our airy beach tunic is ready!

Beach tunic
come back
Comment
  • bowtiesmilelaughingblushsmileyrelaxed relaxedsmirk
    heart_eyeskissing_heartkissing_closed_eyesflushedrelievedsatisfiedgrin
    winkstuck_out_tongue_winking_eyestuck_out_tongue_closed_eyesgrinningkissingstuck_out_tonguesleeping
    worriedfrowninganguishedopen_mouthgrimacingconfusedhushed
    expressionlessunamusedsweat_smilesweatdisappointed_relievedwearypassive
    disappointedconfoundedfearfulcold_sweatperseverecrysob
    joyastonishedscreamtired_faceangryragetriumph
    sleepyyummasksunglassesdizzy_faceimpsmiling_imp
    neutral_faceno_mouthinnocent
4 minus one =
Comments (0)

How to make a house for guinea pigs

CD balls | Do it yourself

How to repair a broken cable yourself

Computer homemade products | Page 6 | Do it yourself

«Do it yourself - with your own hands» - a site of interesting homemade products made from scrap materials and items at home. Step-by-step master classes with photos and descriptions, technologies, life hacks - everything a real master or just a craftsman needs for needlework. Crafts of any complexity, a large selection of directions and ideas for creativity.

We recommend reading

Washing machine error codes