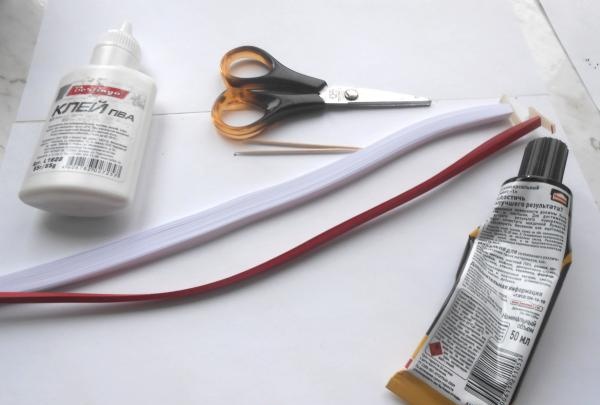
- quilling paper of two colors;
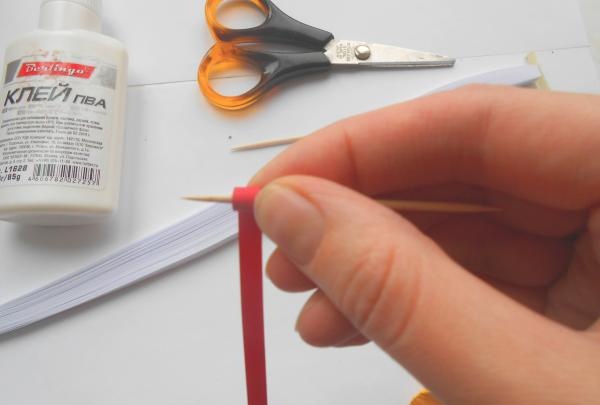
- toothpick;
- PVA glue";
- scissors
- “Moment” glue (transparent);
- metal rings for fastening;
- hooks-holders for earrings.
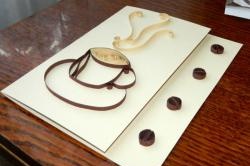
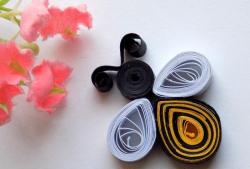
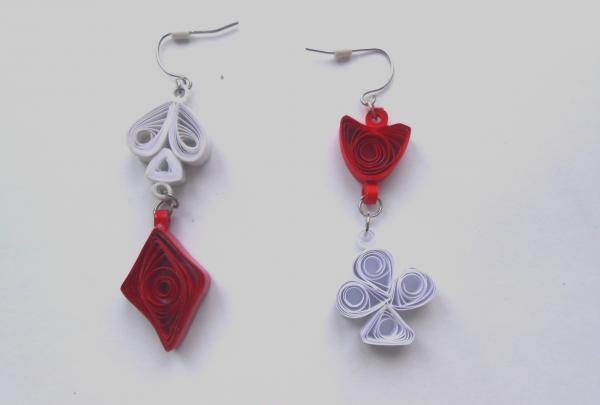
Each earring consists of two elements representing a card suit. Since each element consists of a different number of parts, the length of paper used must be different. If you take the same length, the twist density in different parts of the earrings will be very different.
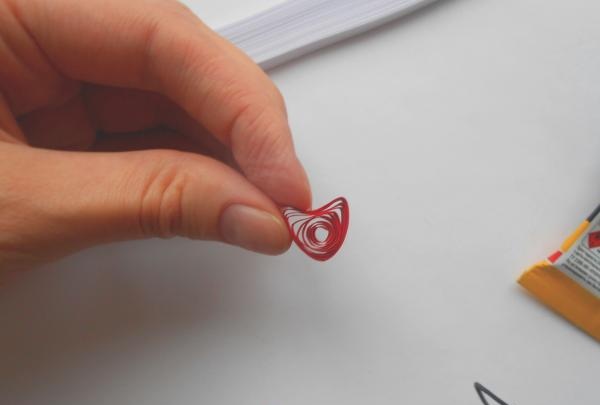
1.We start with the “hearts” element. It consists of one piece, so I use the full length of the paper. Twist it onto a toothpick. In this case, it's better than a quilling tool because we don't want a very tight twist. We twist the paper, remove it from the toothpick and shape it into a heart. Glue the tip using PVA glue.
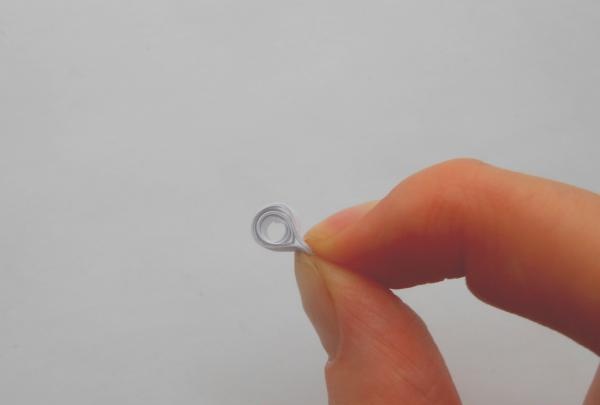
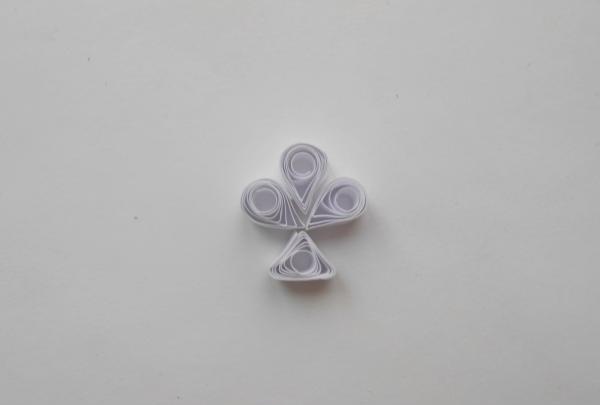
2.The “clubs” element consists of four parts. We use paper half the length. We twist three elements of the “drop” type and one triangle. Glue them together. For the “drop” elements I used PVA glue.To glue the triangle, I use Moment glue, since the contact area is small and it needs to be fastened well.
3.Now all that remains is to make connecting rings from paper. They should be unnoticeable, so I roll them from paper cut in half lengthwise. I also glue it to the main parts with Moment glue. Since the gluing area is different, in some places you will have to glue it front-on, and in other places sideways. This does not affect the beauty of the earrings, since the detail is insignificant.
The second earring is made in the same way. The “spade” element consists of three parts, and the “diamonds” element consists of one part. You need to make sure that all the details of the earrings are approximately the same size. It’s easier to make one detail and compare with it.
4. Now you can cover the earrings with ordinary colorless nail polish in two or three layers for greater safety.
5. We fasten the elements of the earrings with metal rings and attach hooks. The original earrings are ready.