To make such beauty we will need:
• notebook sheets;
• sharp knife;
• knitting needle;
• glue;
• bowl of the desired shape;
• gouache paint.
Stages of work:
1. To make this crafts we will use blank sheets from notebooks. You can, of course, take painted ones if you plan to paint them later, or in order to save money. We took clean ones because we have stock.
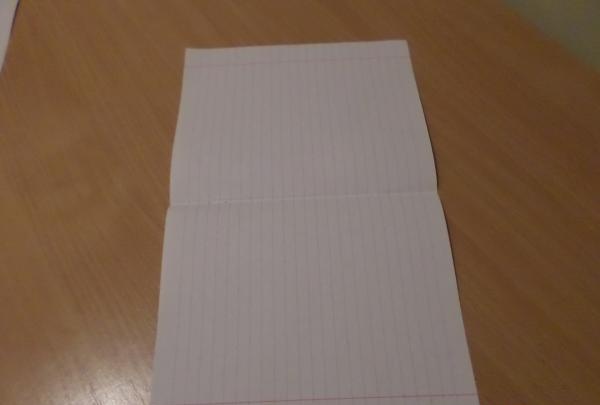
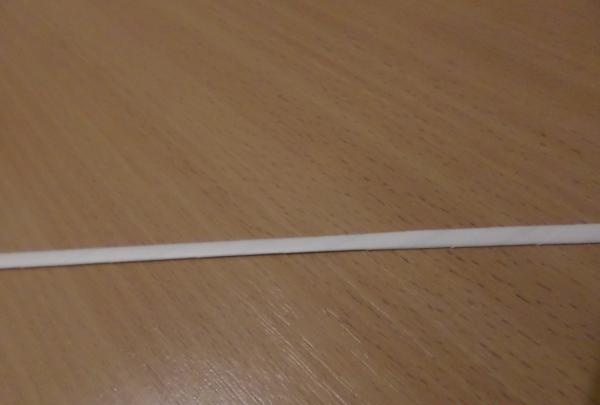
2. So... A double notebook sheet must be cut into four identical blank strips with a sharp knife.
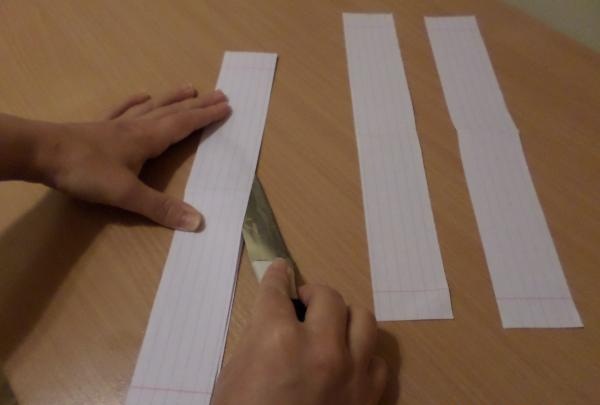
3. Make the required number of strips.

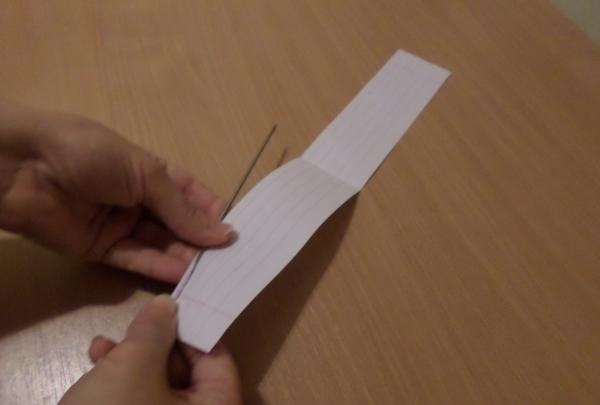
4. Now, using a knitting needle, we make tubes for weaving from strips. The smaller the angle, the better and stronger the tube will be.
5. Fix the tip with glue.
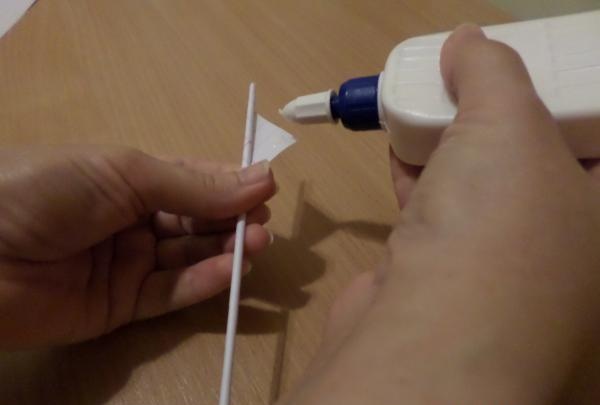
6. The required number of straws is prepared.

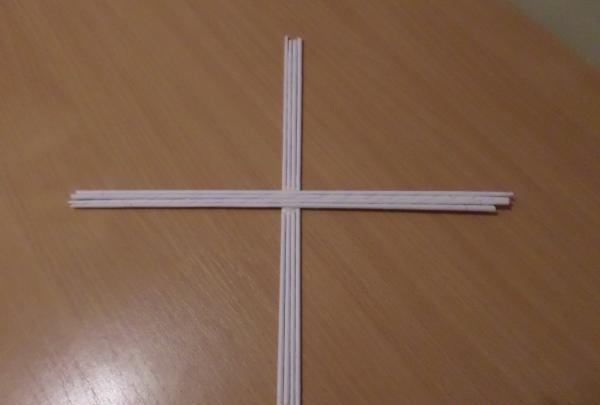
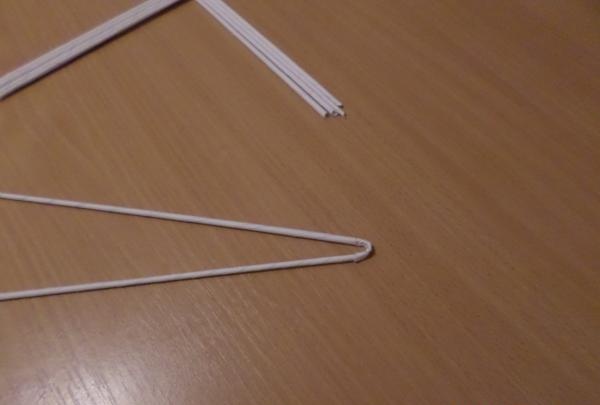
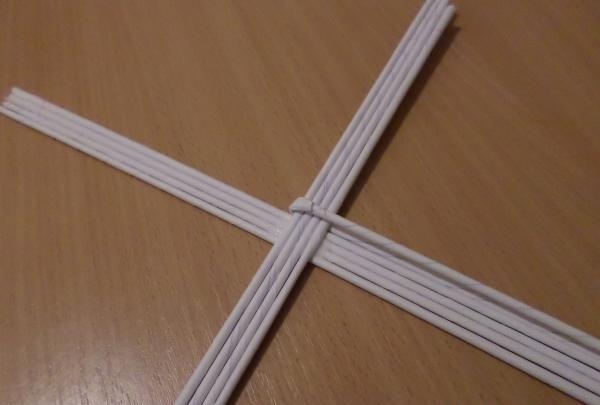
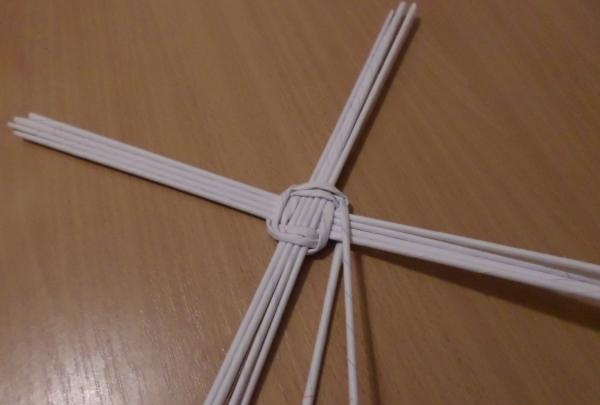
7. We begin weaving. For the base we need 8 tubes. We fold them 4 at a time with a cross.
8. Glue two tubes together, inserting the thin end into the thick one.

9.Let the resulting long tube dry. Next, bend it in half, making a loop.
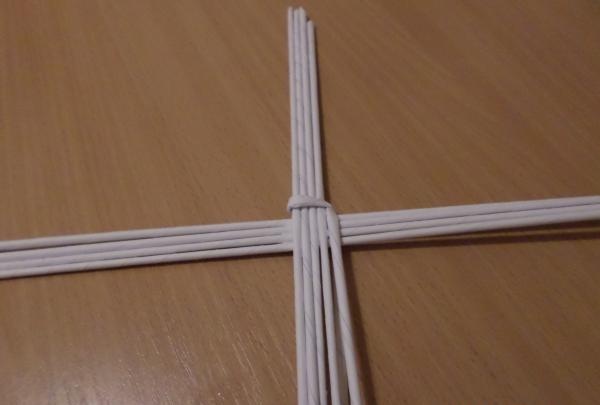
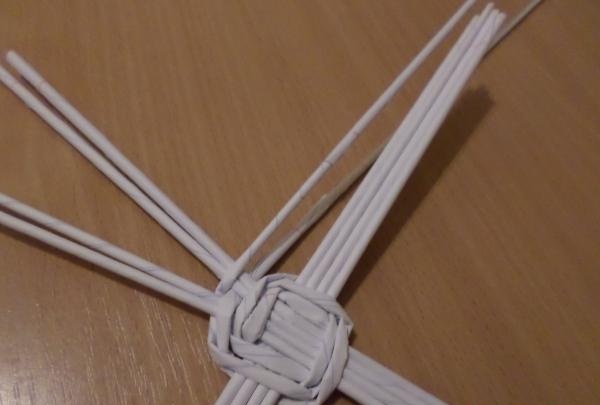
10. Now put a loop on any 4 tubes.
11. Intertwining the two ends of the working tube with each other, we bring them to the next four.
12. We continue in a circle. Thus we make two rows.
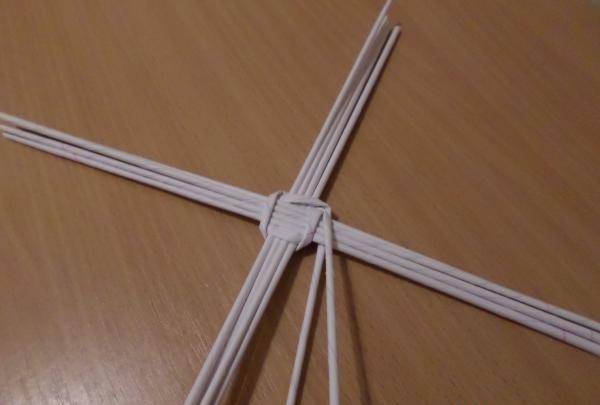
13. If the tubes run out, we extend them, as when making a loop.

14. Starting from the third row, we begin weaving every 2 tubes.
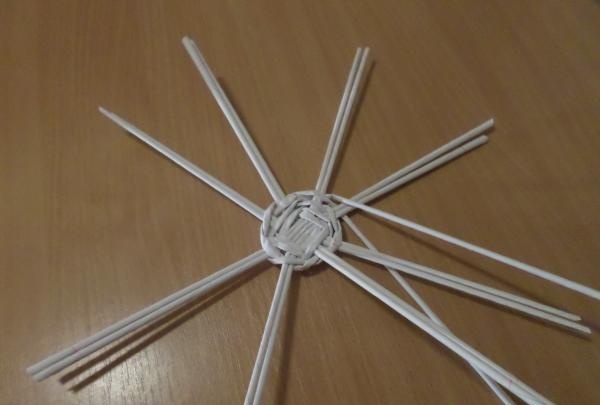
15. In this way we weave two more rows. We make sure that there is an equal distance between the tubes.
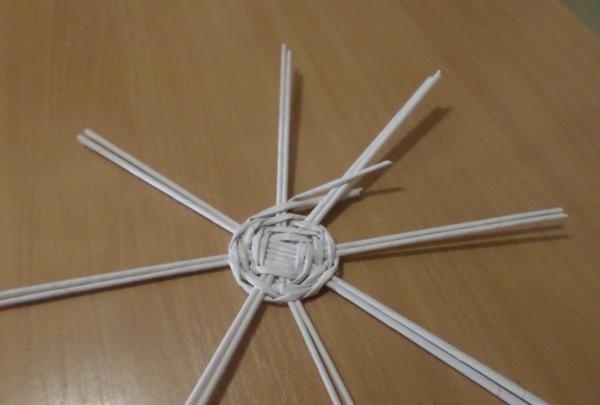
16. From the fifth row we weave through each tube.
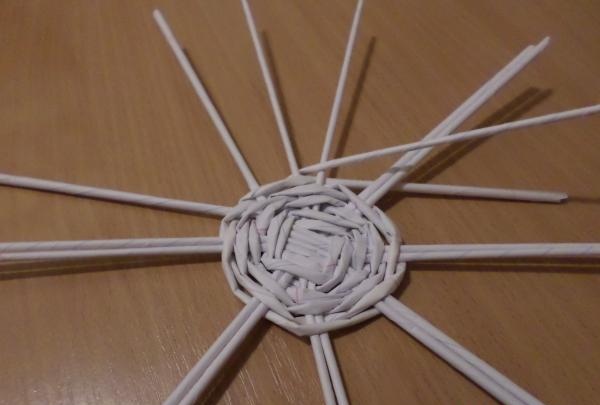
17. Next we weave as many rows as the size we want the bottom of our future basket to be.
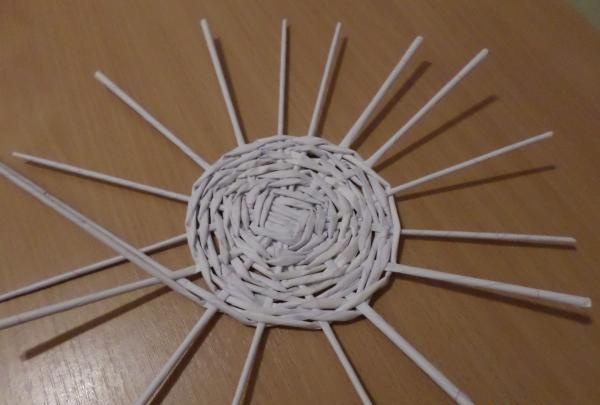
18. The bottom is ready.

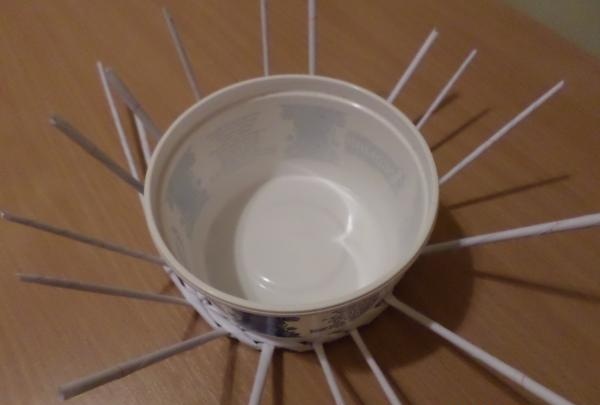
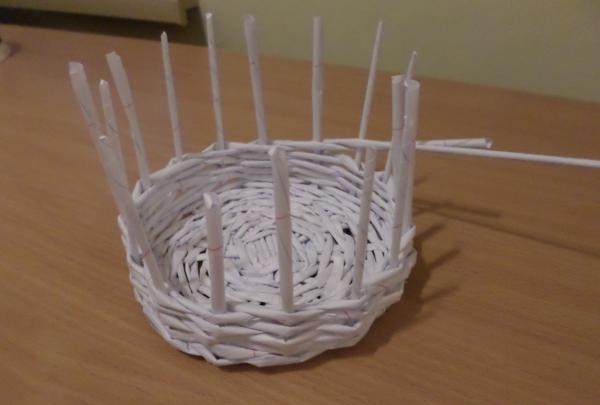
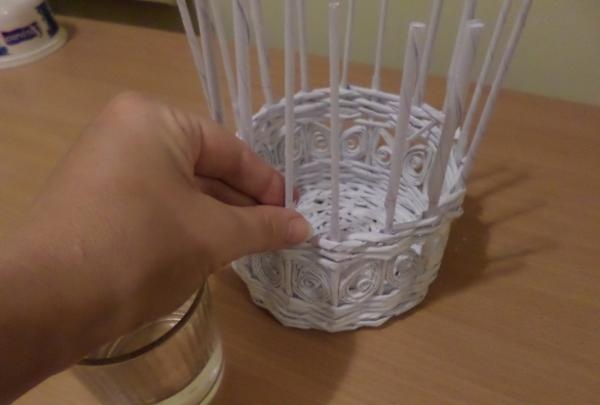
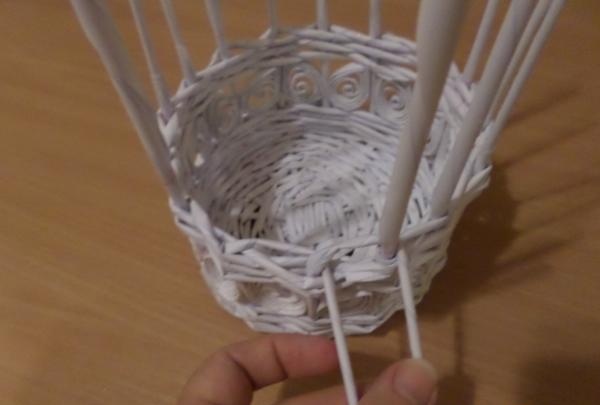
19. Now take the bowl, turn it upside down, put the bottom of the basket on it, and lift the tubes.
20. To prevent anything from going to the side, you can secure several tubes with clothespins.
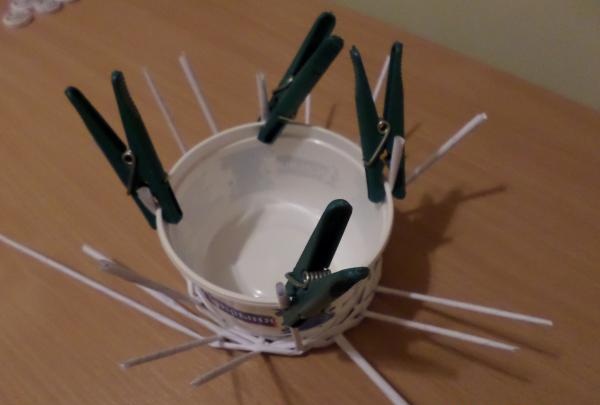
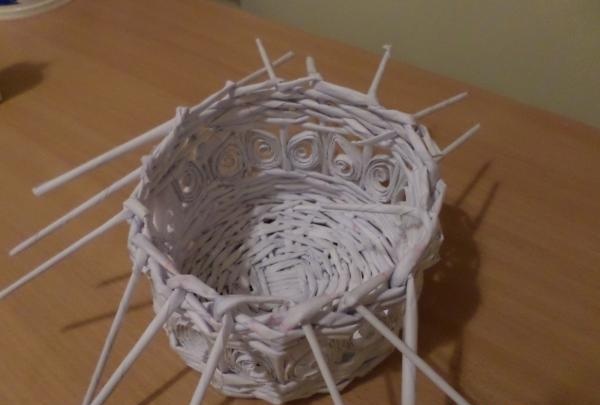
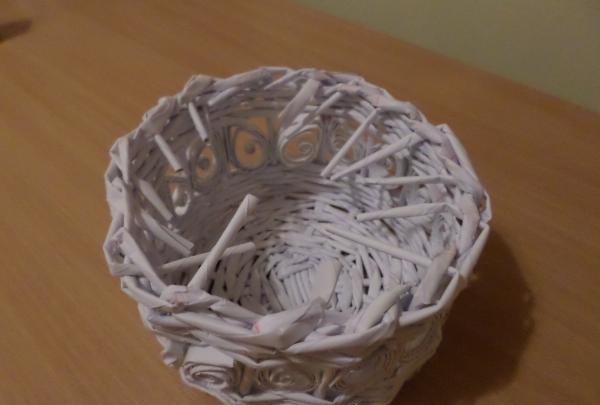
21. We braid the bowl to the place where we want to insert the pattern.
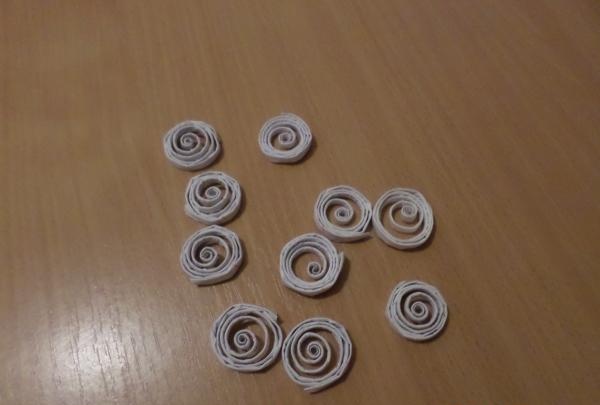
22. Now take the tube and carefully flatten it.
23. We wind the flattened tube onto the knitting needle until the very end.
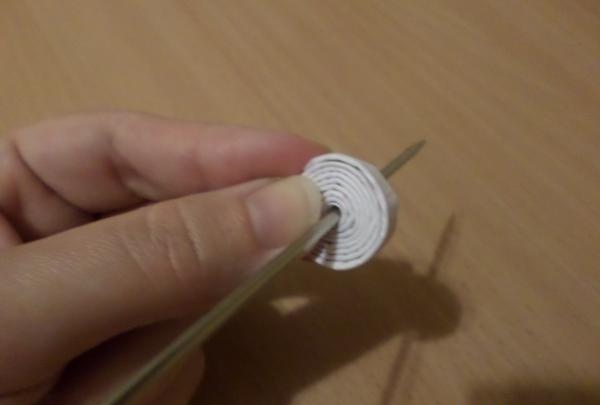
24. Remove from the knitting needle, glue the inner and outer ends and get a turn in the technique quilling.
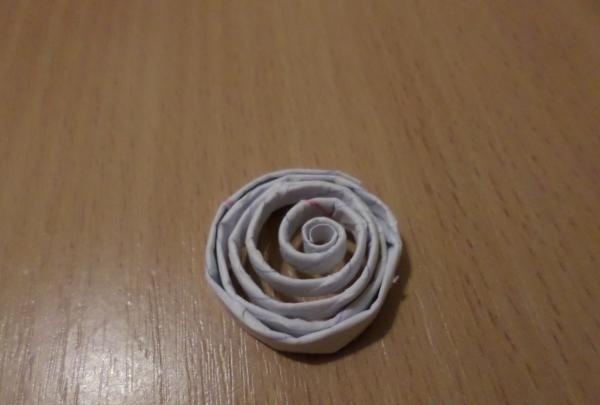
25. We make a few more such turns.
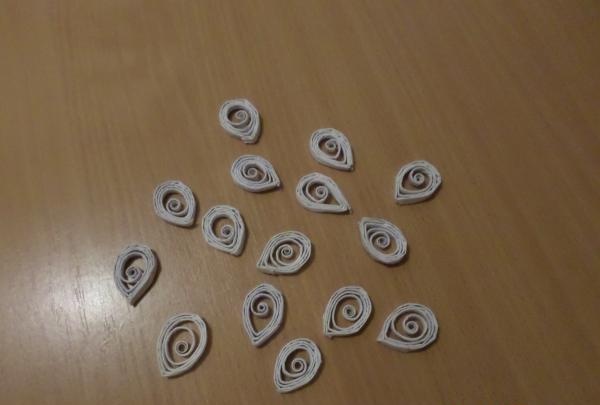
26. We give each turn the desired shape.
27. Insert the curls into the weave, securing with glue.
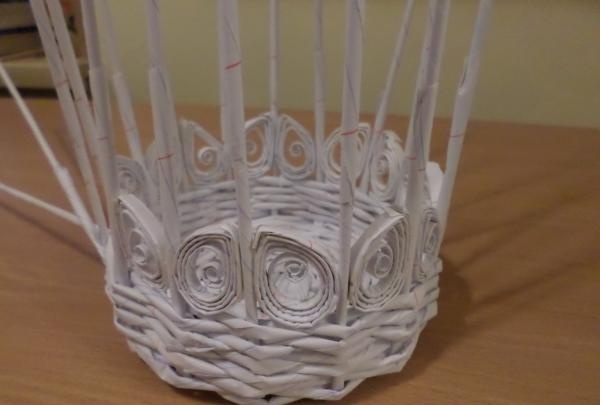
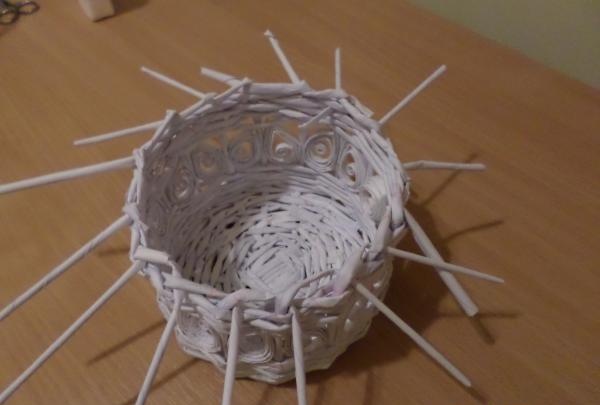
28. Next, insert the tubes and continue weaving to the desired height of the basket.

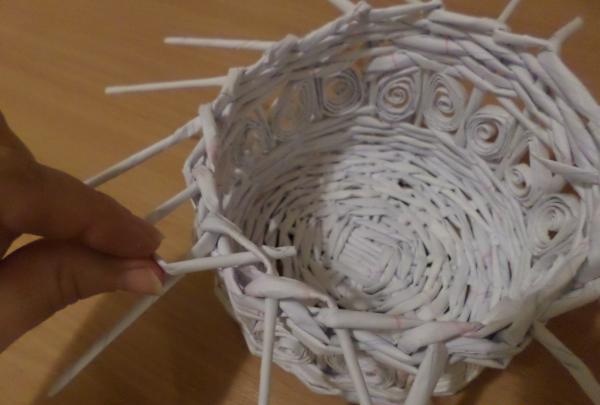
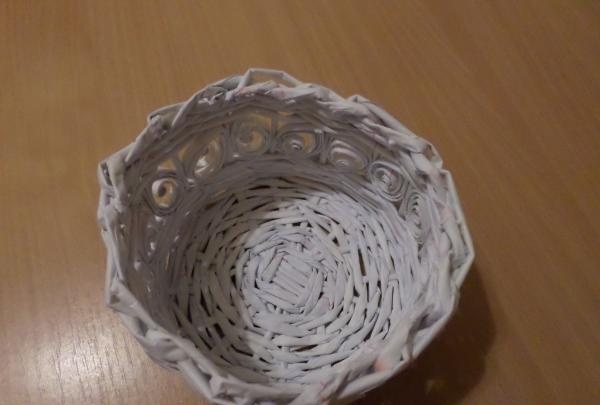
29. Now you need to make a small braid, thereby finishing the weaving. Lightly moisten all the tube stands so that they do not burst during the weaving process.
30. Take the first rack, hook it behind the second one and take it outside; the second rack behind the third and take it outside; so until the end in a circle.

31.We thread the last post into the first loop.
32. We begin the second row. We take any rack and tuck it behind the first rack, bring it inward, and so on until the end in a circle.
33. Carefully coat the joints with drops of glue and let dry.
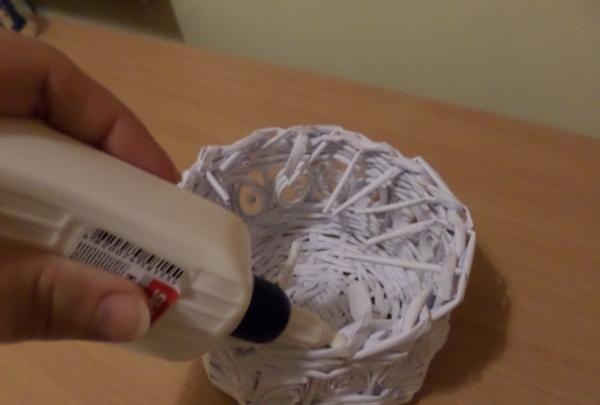
34. Trim the edges after the glue has dried.
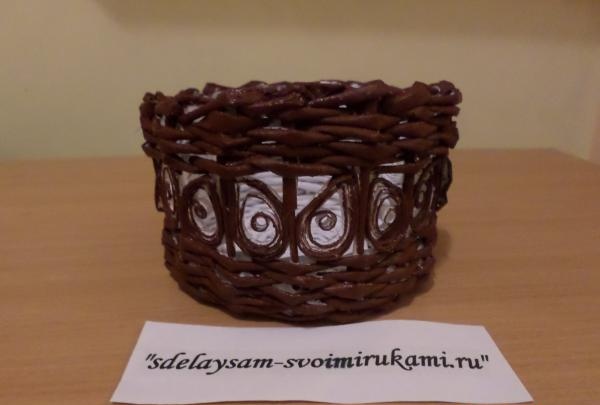
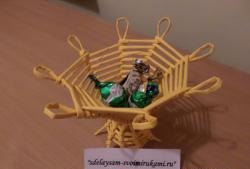
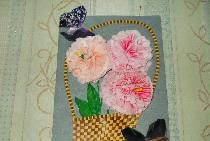
35. Now we paint the basket.
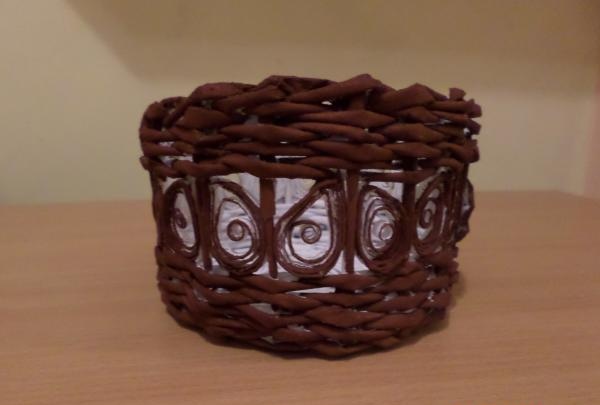
36. The last stage is varnishing for shine and strength. The openwork basket is ready.