3 skeins of yarn (280 meters) green (50% wool, 50% acrylic).
Knitting needles No. 2, knitting pin, several auxiliary knitting needles.
Decorative button.
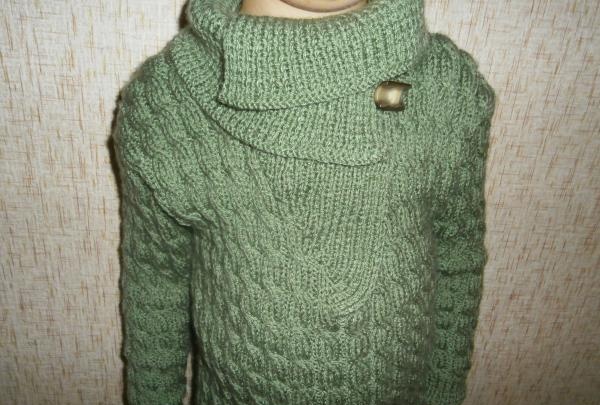
Knitting The jumper will be made in two patterns:
The cuffs on the sleeves and the bottom of the jumper, as well as the collar, will be made with an elastic pattern.
The main part of the knitting will be done with a rope pattern, for which you will need a knitting needle.
The jumper will be knitted in two patterns:
The cuffs on the sleeves and the bottom of the jumper, as well as the collar, will be made with an elastic pattern.
This pattern is not complicated; you will need to alternate the front and back loops.
The main part of the knitting will be done with a rope pattern, for which you will need a knitting needle.
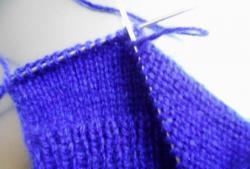
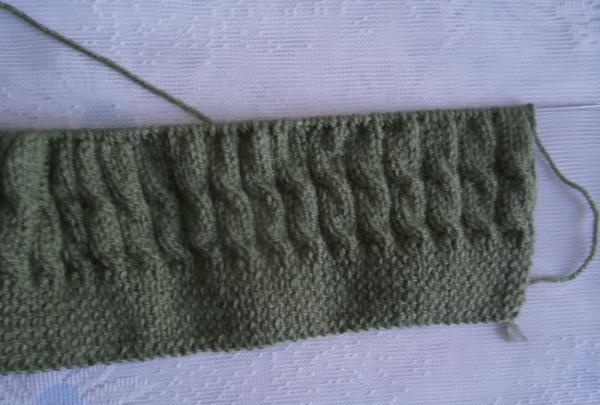
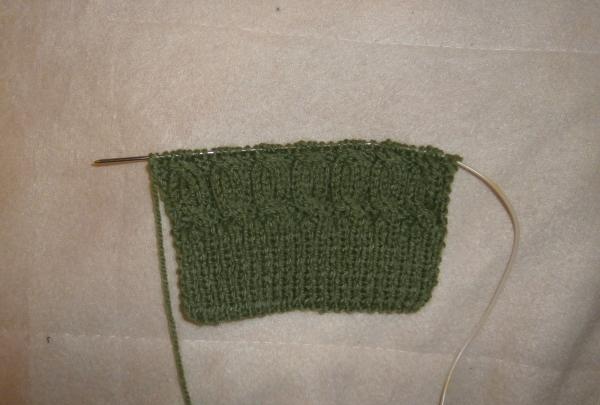
This pattern is also not difficult to execute. The harness itself consists of four knit stitches, which will be knitted invariably throughout the entire pattern; two purl loops are added between the knit stitches so that the main pattern is visible. The pattern is made only on the front side; on the back side everything is knitted in accordance with the pattern.
1st row: 2 purl loops, 4 knit loops, 2 purl loops.
3rd row: 2 purl loops, slip the first 2 knit stitches onto a knitting pin, which remains in front of the knitting, then knit the remaining 2 knit loops and return the loops from the pin to the knitting needle and also knit them, thus crossing, 2 purl loops
5th row: 2 purl loops, 4 knit loops, 2 purl loops;
7th row: 2 purl loops, 4 knit loops, 2 purl loops;
9th row: 2 purl loops, 4 knit loops, 2 purl loops;
The 11th row is knitted as the third, that is, a crossing is performed.
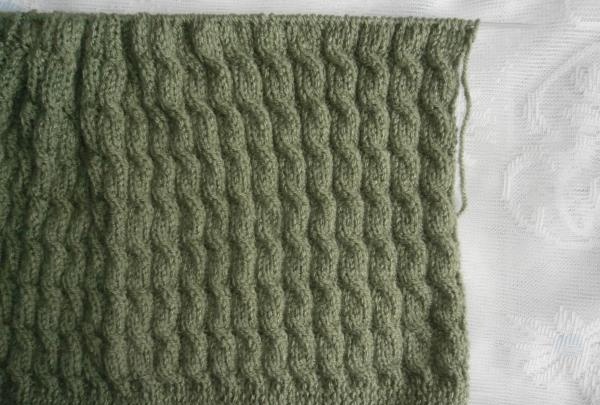
Thus, every 3 front rows a strand pattern is made.
Making the main part of the jumper.
In order to avoid unnecessary seams, the back and front of the jumper will be knitted at the same time.
So, we cast on 200 loops and knit 4 centimeters with an elastic band. Then we knit the first 2 loops with purl loops, the next 4 loops with knit loops, and again 2 purl and 4 knit loops, and so on until the end of the row. Now the knitting will be done with a rope pattern. The first and second rows are knitted without changes; in the third row you will need to cross over the knit stitches. Thus, continue knitting further.
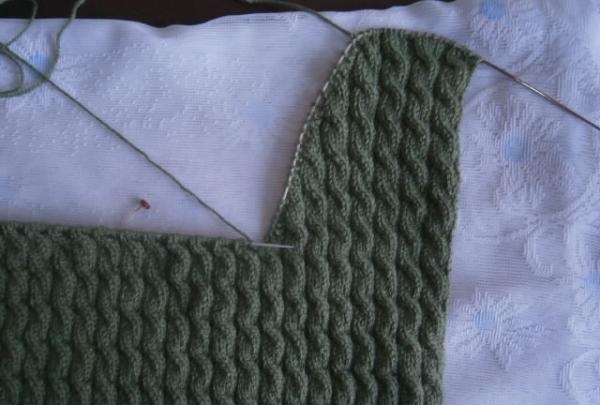
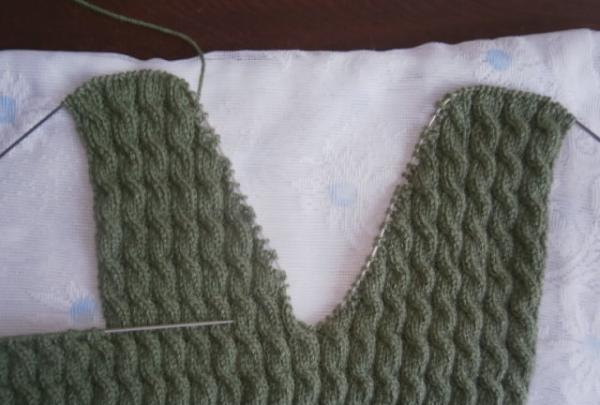
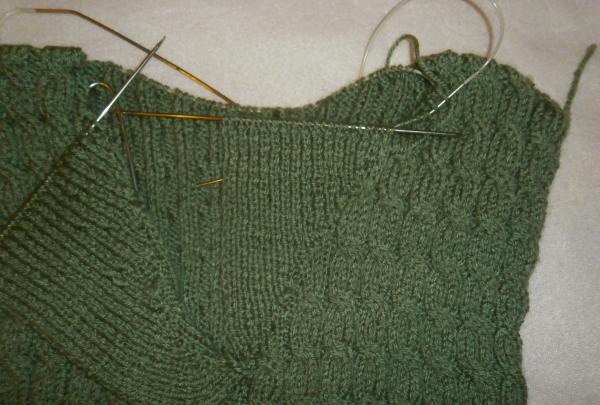
After about 26 centimeters from the beginning of the product or after 22 centimeters from the beginning of knitting, you reach the armhole and you need to divide the knitting into three parts.
The division occurs as follows: the first 8 flagella with 2 purl loops on both sides belong to the right shelf, the next 8 flagella and 2 purl loops belong to the left shelf, the remaining loops will be the back.
Right shelf.
Since the jumper is supposed to have a wide collar, which is knitted into the product, the neck will be formed deep, the loops for the neck will go down immediately, every second row, one loop at a time, will be retaken on an additional knitting needle (this is done in order to avoid unnecessary seams that could press or rub the baby's delicate skin).
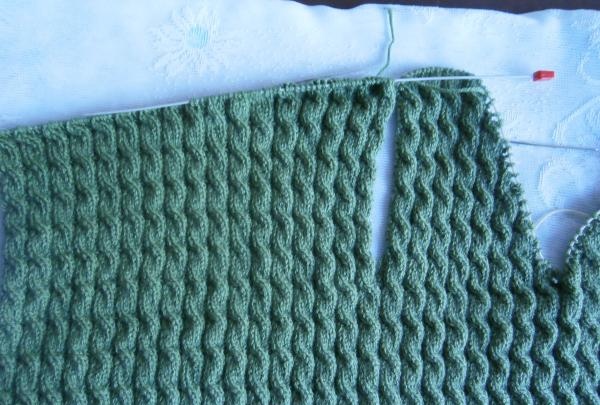
So, on the main knitting needle there are 48 loops left, and they are knitted with the main pattern of 17 centimeters, in every second row the outermost loop is removed for an additional one, until there are 20 loops left, from which the shoulder seam will then be formed.
Left shelf.
The left front is knitted similarly to the right on the next 48 stitches
Back.
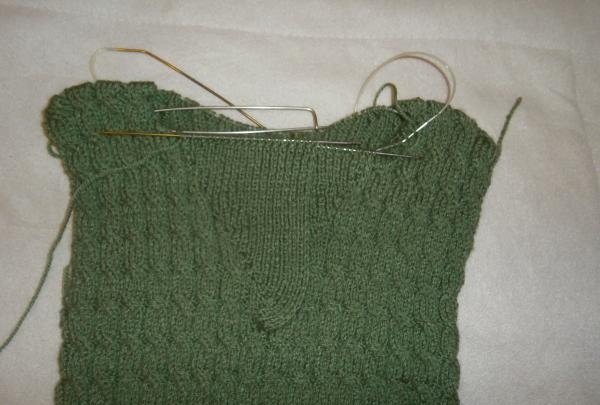
We knit the remaining 104 loops in a 15-centimeter pattern, and then divide them into two parts and form a neckline, lowering three loops in each row, transferring them to an additional knitting needle.
Now we connect the shoulder seams and one side seam together using a hook or sewing needle. The main part of the product is ready.
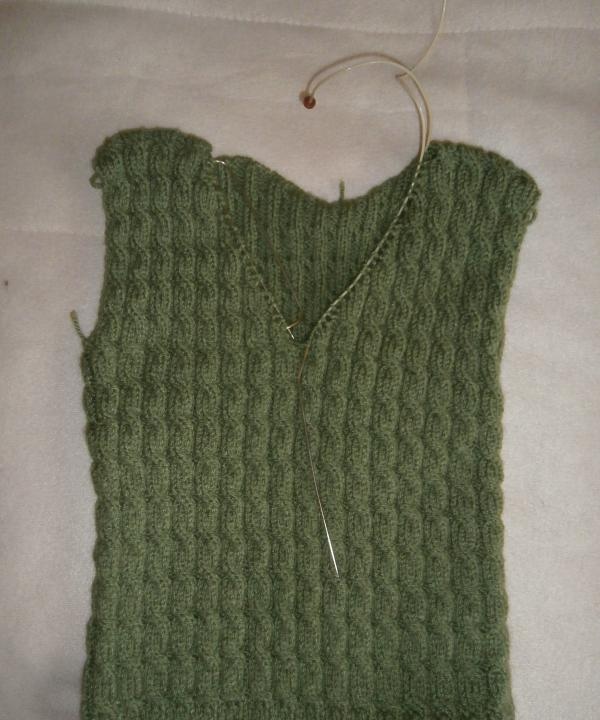
Neck.
We have the neck loops on additional knitting needles and now we will need to form the neck. First, knit the right side with an 11-centimeter elastic band, adding one loop in every second row, thus knitting a triangle
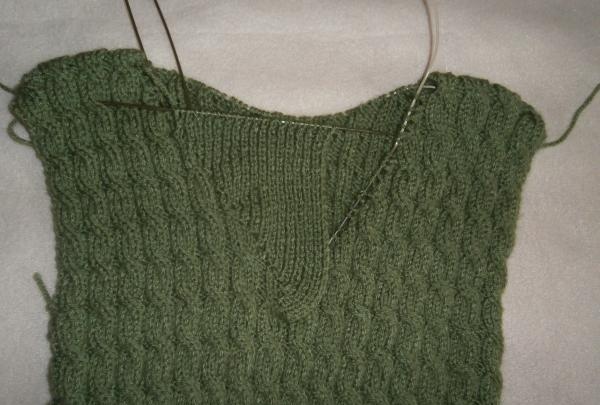
Then we knit the left side of the neckline in the same way, forming a triangle.
Now we re-slip all the loops onto 1 common knitting needle and knit everything together for 12 centimeters.
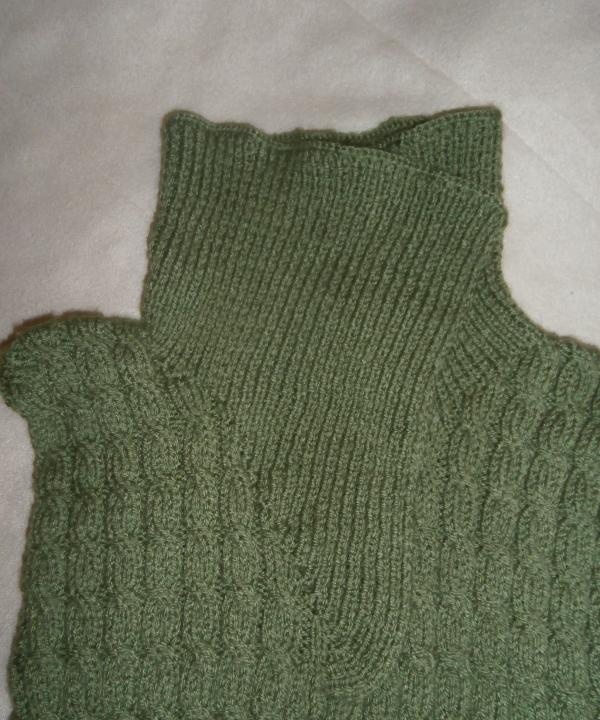
Now we sew the neckline from the side from the inside and tuck it in.
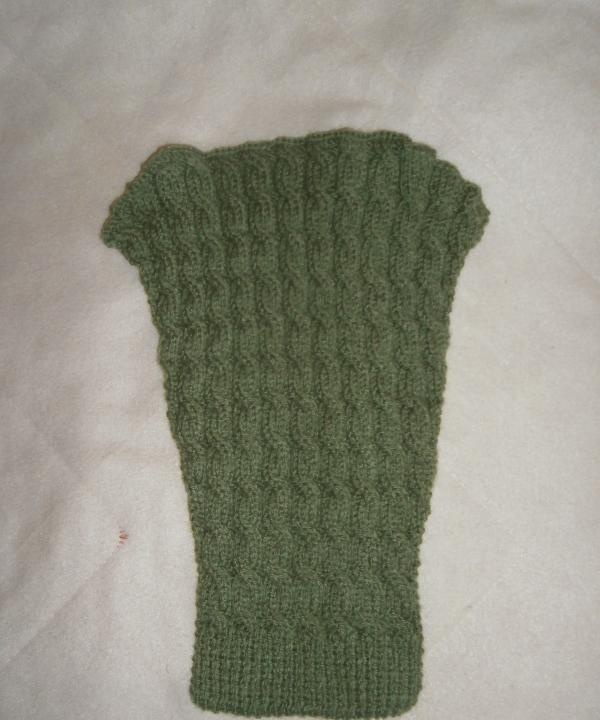
Sleeves.
We cast on 44 loops, knit 4 centimeters, and then add a pattern and knit the main fabric, adding one loop in every second row.
After 30 centimeters there will be 86 loops on the knitting needle.Now we lower the loops, knitting another 2 centimeters to cut out the armhole and cast off 20 loops on each side.
The second sleeve is knitted similarly
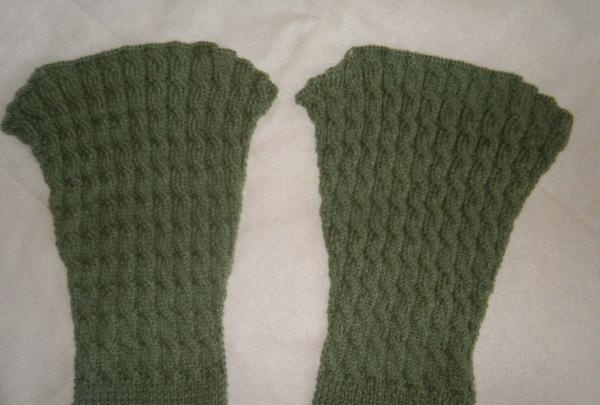
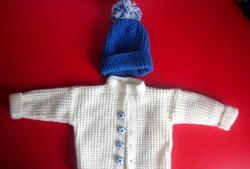
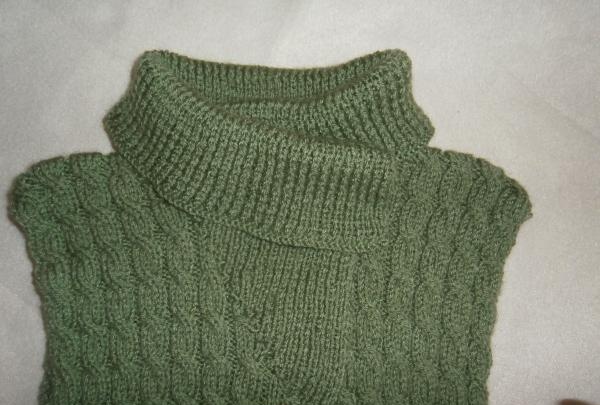
Now we sew the sleeves together and then sew them to the jumper. The green and warm jumper for your beloved son is ready.