Required material for making a children's swing:
- plywood, board or chipboard;
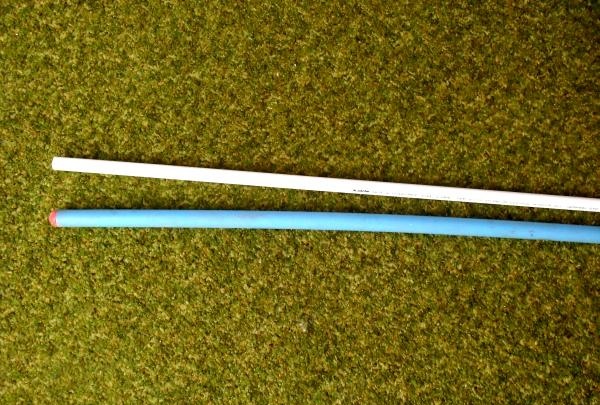
- an old mop or plastic tube;
- clothesline;
- drill.
Stages of work:
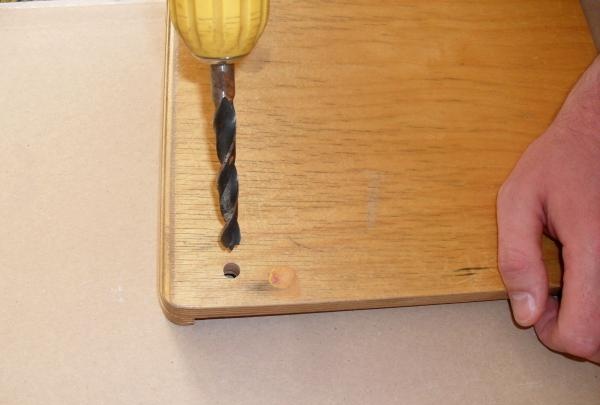
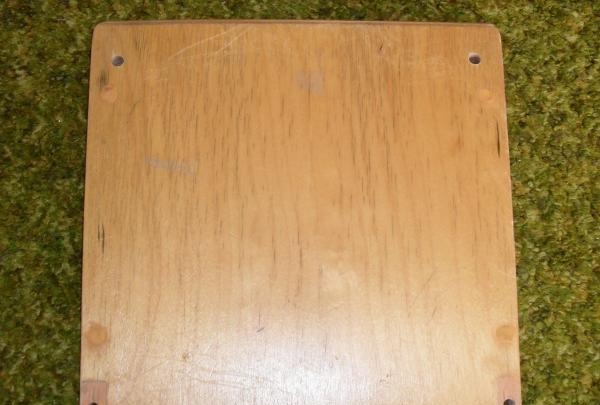
1. Cut out a square from a piece of thick plywood, chipboard, board (whatever is in the house). This will be the swing seat. Drill four holes in the corners of the workpiece.
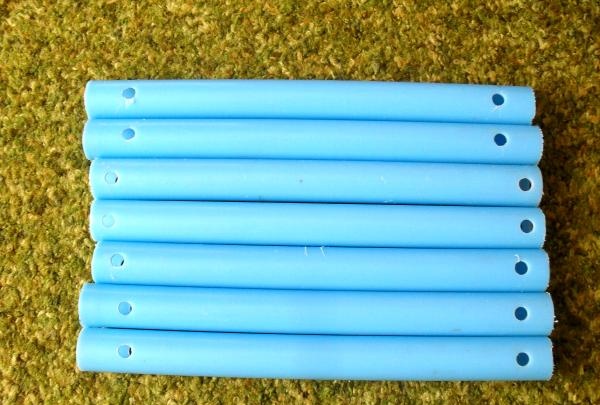
2. From the handle of an old mop or a plastic pipe (it doesn’t matter what is available) we cut 7 sticks of the length that the seat should be, and 8 shorter sticks.
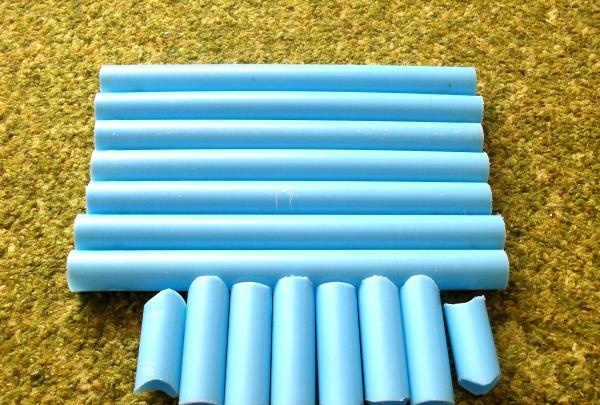
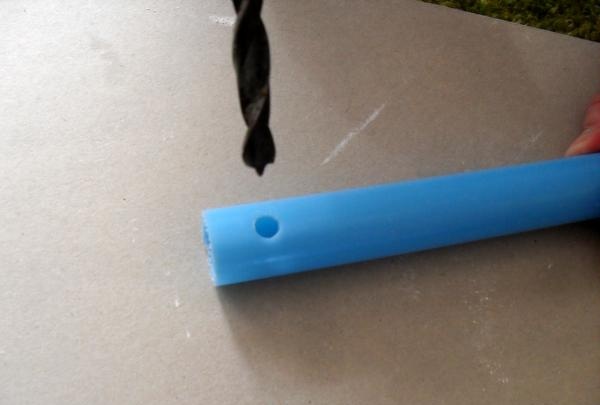
3. Drill through holes on both sides of each long stick. Short sticks must be hollow or have a hole drilled in them from top to bottom.
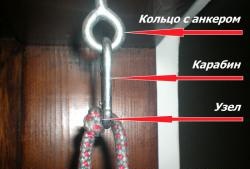
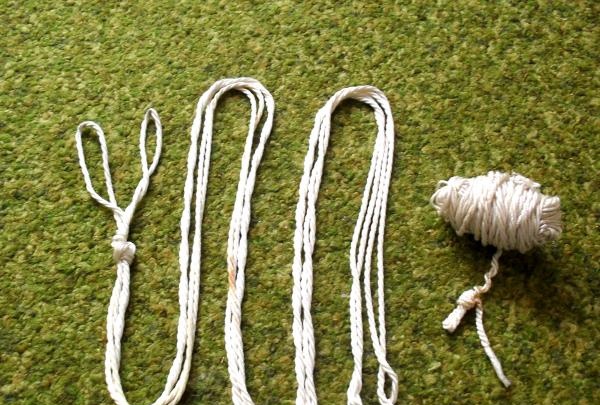
4. We measure the distance from the place of future attachment to the desired location of the swing seat.We cut two lengths of this distance from the clothes cord, plus 20 centimeters for knots. Fold one part of the rope in half, stepping back 15 centimeters from the edge of the fold, and tie a knot. The resulting loop is the fastener for the top of the swing. We repeat the folding procedure with the second part of the cut rope.
5. We thread the end of the rope into the side holes of two long sticks, and string a short stick onto it. Next, we thread the rope through the hole of the next two long sticks, and again string the short one. We drag the rope into the edge hole of the seat and tie several knots.
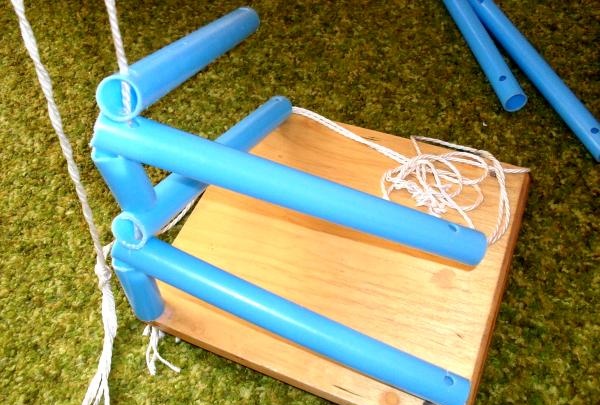
6. We pass the second end of this rope through the hole of a new long stick, thread it into the free hole of the stick strung on the other end of the rope. Next - add a new long stick through the short stick, thread it into the second hole of the long stick, already strung on the other end of the rope, add a short stick. We secure the seat with knots at the bottom. The result is the “side” of the swing.
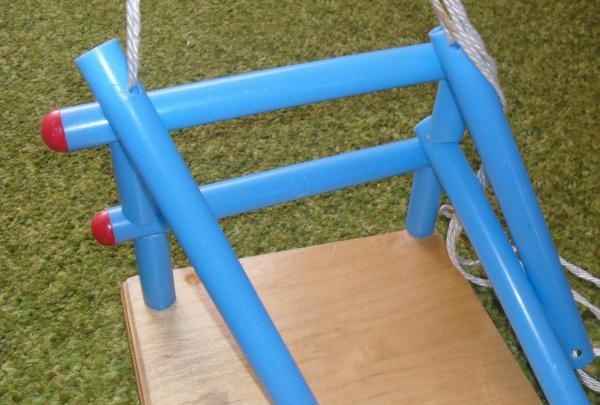
Repeat everything with another piece of rope, turning the already attached long sticks at an angle of 90 degrees, placing them parallel to the edge of the seat.
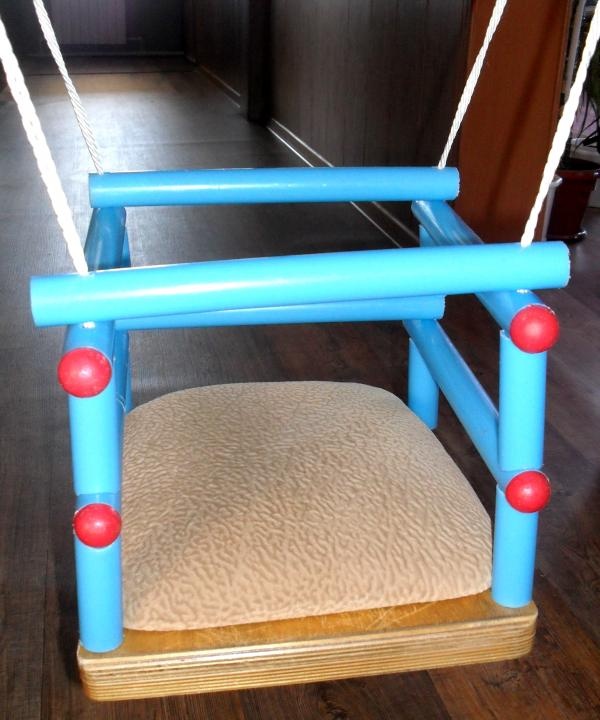
The rocker is ready to fly and is waiting for its passenger!
Now there will be twice as many children's voices in your home or garden. After all, your baby will definitely invite all his friends to ride on such a wonderful swing.