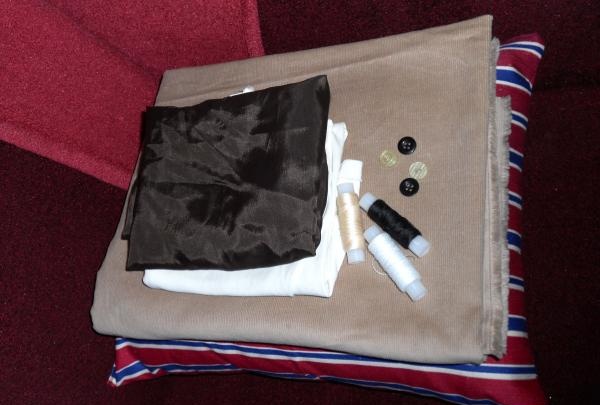
To sew such a pillow you will need the following materials:
- dense fabric (preferably slightly stretchy) 1x1.5 meters;
- white fabric (stretchy) for the eyes, 15x30 centimeters;
- brown or black fabric for the nose, 15x15 centimeters;
- threads are black, white and in the color of the main fabric;
- 2 black buttons and 2 pieces to match the color of the main fabric (instead of the second pair of buttons, you can take a zipper to match the main fabric);
- base for a rectangular pillow (pre-stuff with suitable filling).
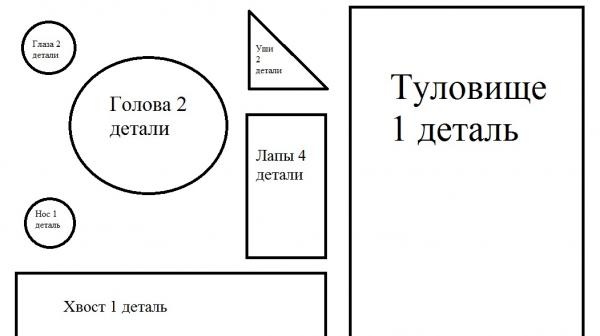
First you need to cut out all the parts from a piece of fabric. This should be done according to the following pattern. The dimensions are calculated based on what size the pillow is planned to be and what size the base for the pillow is sewn.
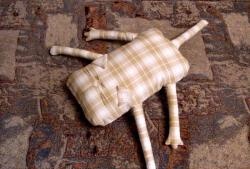
Then you should sew all the small parts. The tail and paws are stitched with an indentation of approximately 1 centimeter from the edge of the fabric.Turn right side out.
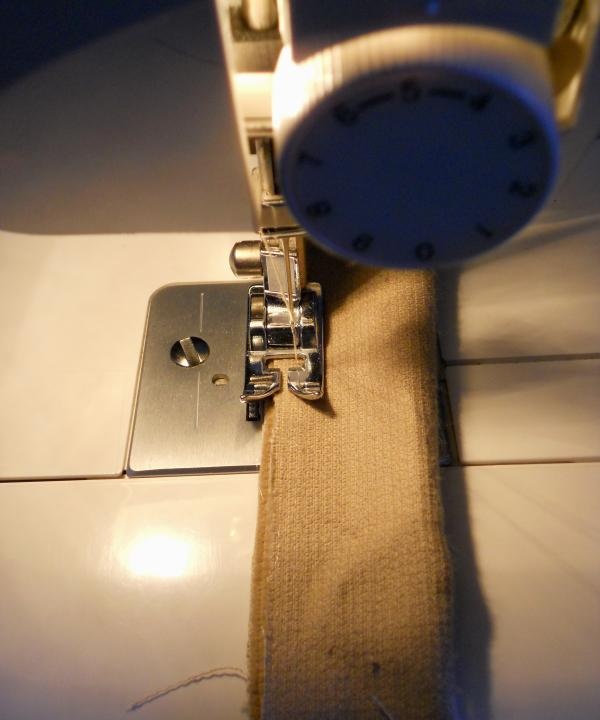
The fabric for the body is stitched across the width, taking into account the fact that the wrap will overlap.
The blanks for the ears are two isosceles triangles. Fold each piece in half along a line from top to base and stitch along the edge.

Then turn the ears out and sew them to the head. To do this, fold both parts of the head with the front side inward. Place the ears with the tops inward between the parts for the head. Make an indent of about a centimeter and carefully sew along the edge, without sewing about 5-10 centimeters in order to turn the head right side out from the wrong side.

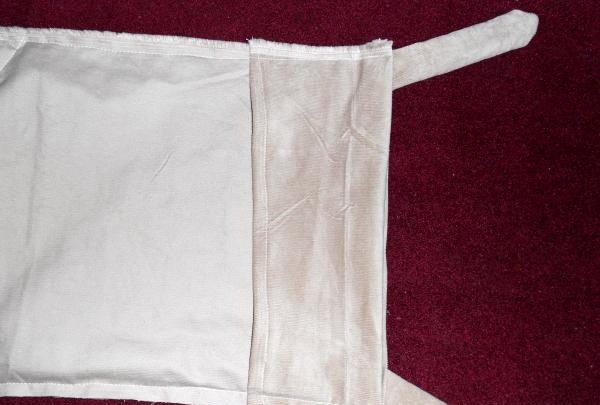
Now the paws, tail and body are sewn together. The base for the body is sewn so that part of the fabric overlaps.
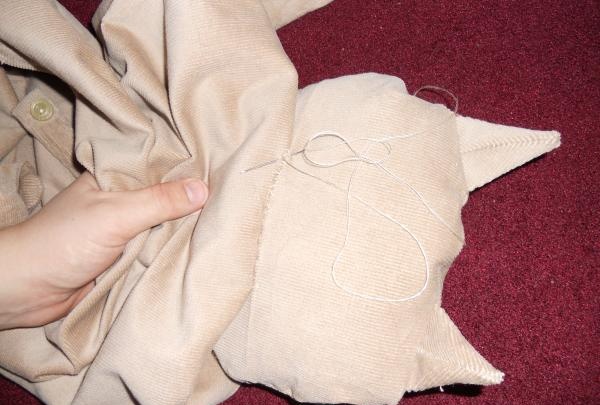
Now you need to make a “face” for the cat. To do this, two circles are cut out of white fabric. Sew the circle around the edge manually with a needle and white thread.

Place the filler inside and tighten the thread. You will get a kind of bag. Carefully stitch it to form a ball.
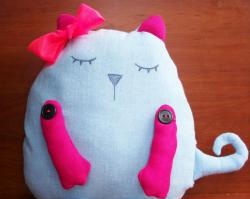
Sew the eyes to the cat's face. Sew black buttons in the center of the “white” - these are the “pupils”. Sew so that the “squirrel” ball is stitched through – this way the eyes will hold more firmly.

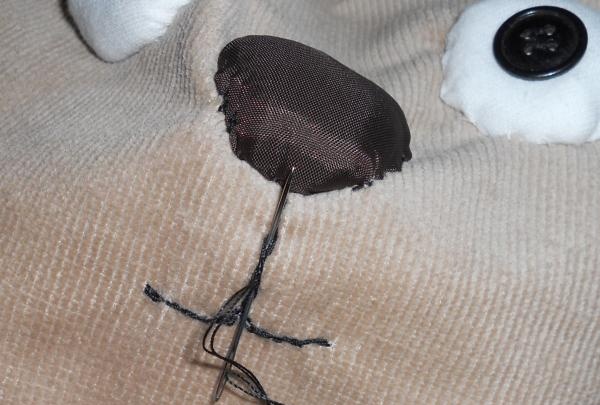
Use the same principle to make the nose. Sew it to the muzzle.
Under the nose, use a back stitch to embroider the outline of the cat’s mouth.
After the muzzle is made, the cat's head is stuffed with a suitable filler. The hole is closed with a hidden stitch. The head is sewn to the body.
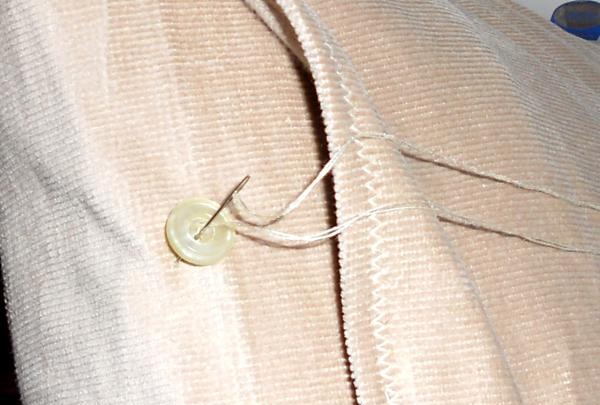
In the place where there is a hole for pulling the cover onto the base of the pillow, you need to sew 2 buttons (or a zipper).
At the end of the work, straighten and iron the fabric of the cover, cut and remove excess threads.
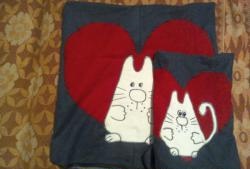
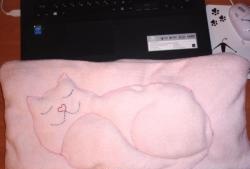
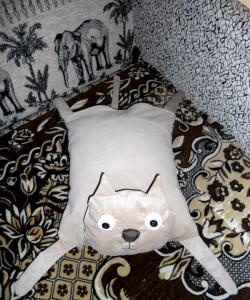
The decorative cat pillow is ready.
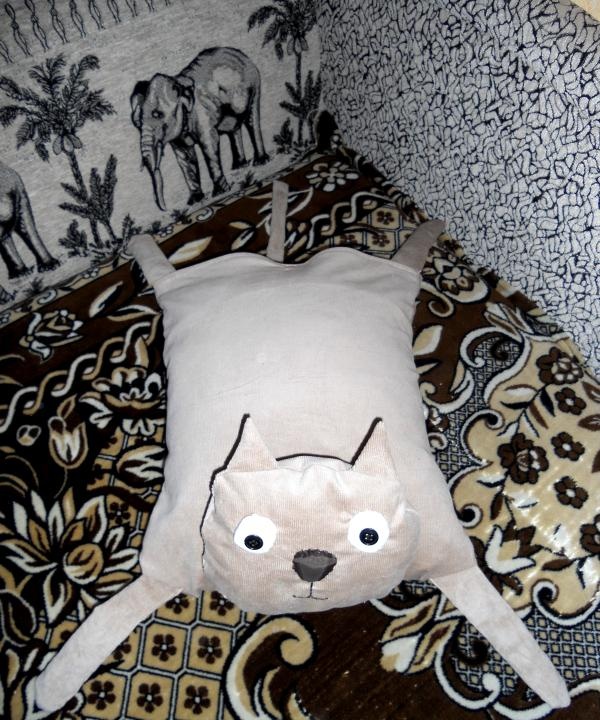
You can give it as a gift or keep it as a convenient, functional and unusual interior decoration.