To work we will need:
- beads of light green and dark green colors for leaves;
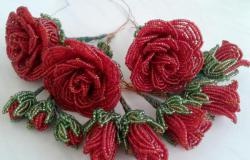
- larger white beads for flowers (you can take small beads);
- wire for twigs approximately 0.2-0.3 mm thick;
- aluminum or steel wire for forming branches and trunk;
- threads for winding twigs (green or dark);
- plaster or alabaster and a bowl for pouring it.
- paints.
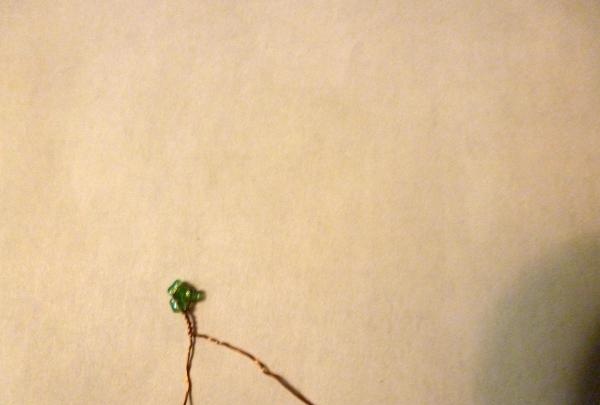
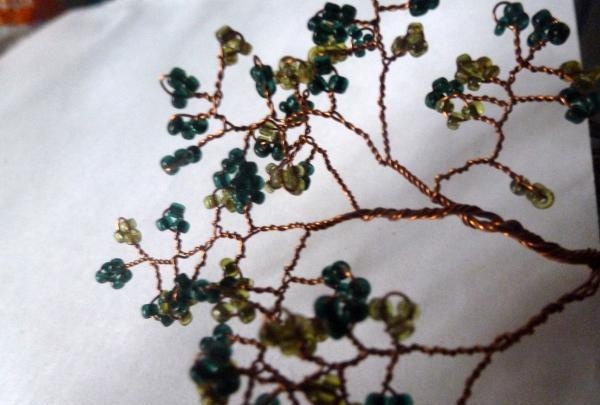
We measure 40 cm of thin wire and cut 18 pieces of such blanks. We begin to make branches with leaves. To do this, you need to collect 3 pieces of green beads, step back 10 cm from the beginning of the wire and make the first loop. Twist the wire a few turns. It turned out to be 1 leaf.
Step back 1.5-2 cm from the first leaf-loop and make a second loop. Also dial 3 pcs. beads and twist the wire 2-3 turns. Continue this way until the end of the delay.You will get approximately 5-7 leaf loops. Depends on how long the wire was measured and on the distance between the loops.
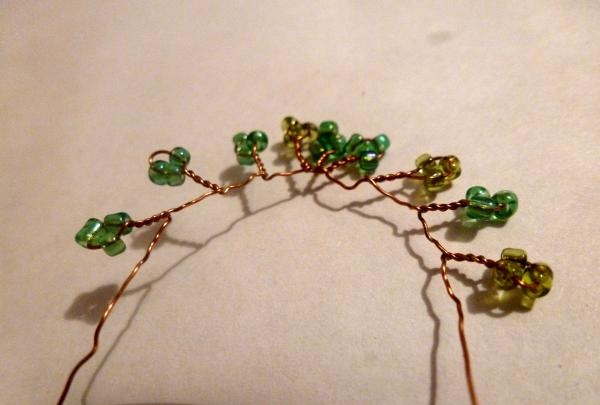
Now you need to find the middle leaf and fold the wire in half from it. If you have an even number of loops, you can fold an asymmetrical branch, then the bottom leaf will be without a pair. We twist the leaves together. You need 18 such branches. These are small branches.
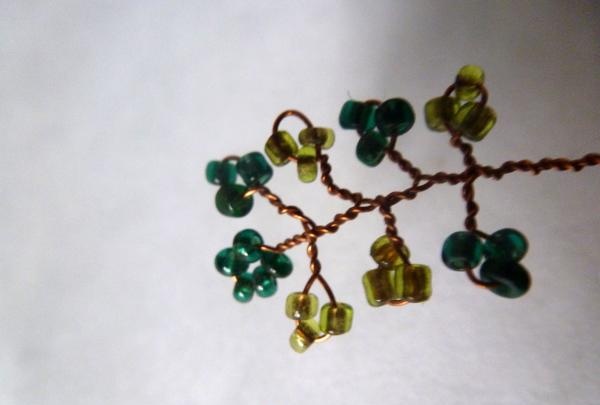
Now we make a large branch. To do this, we need a longer wire of about 50 cm, and the principle of operation remains the same, only we need to make 9 loops instead of 7 pieces. 3 pcs. beads in each. You need to make 21 large branches.

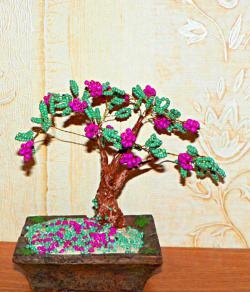
What is an apple tree without flowers? In order to make a branch with flowers, we need small white beads or large beads. We measure 20 cm of thin wire. Just like when making leaves, we retreat approximately 10 cm from the edge of the wire and fasten 3 beads. We make a regular twig, only a small one of 5 loops.
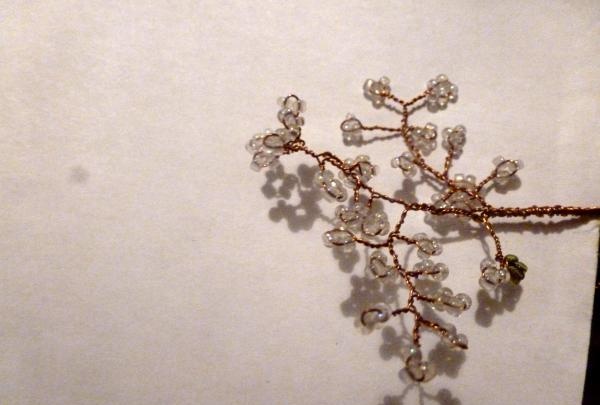
We don’t retreat far, just to make a few turns of wire we secure the second loop. So we make 5-7 loops like small flowers. After this, we twist several turns of wire under the entire inflorescence to secure the branch.
We make about 18-20 pieces of such branches. If you want more flowers, you can do more, but then there may be a lot of white on the tree.
We begin to form the apple tree itself. To do this, we need thicker wire, preferably aluminum, it is softer and more pliable in work. But steel wire will also work, then the wood will be more rigid.
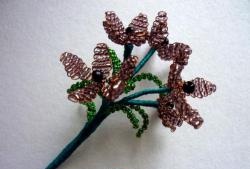
Cut off about 20 cm of thick wire and make a branch. We will have 9 such branches.
To do this, using thin wire or thread, we tightly wrap the inflorescence to the thick wire. Apply a small sprig of leaves 2 cm from this branch and continue wrapping. We continue this way until we run out of leaves. For one branch you will get approximately 2-3 small branches with leaves, 2-3 large branches with leaves and 2-3 inflorescences. You can make a branch entirely from inflorescences. The quantity depends on how many preparations you made; there should be approximately the same amount in all branches.
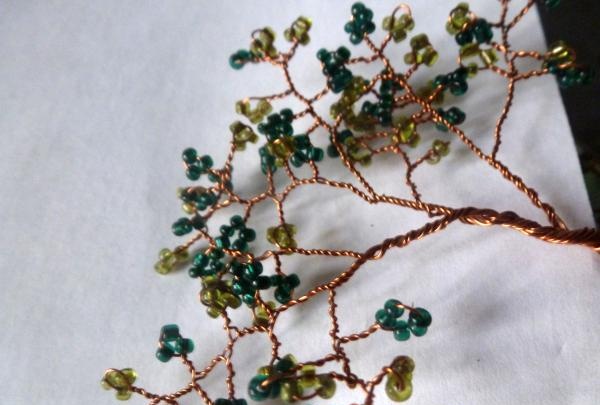
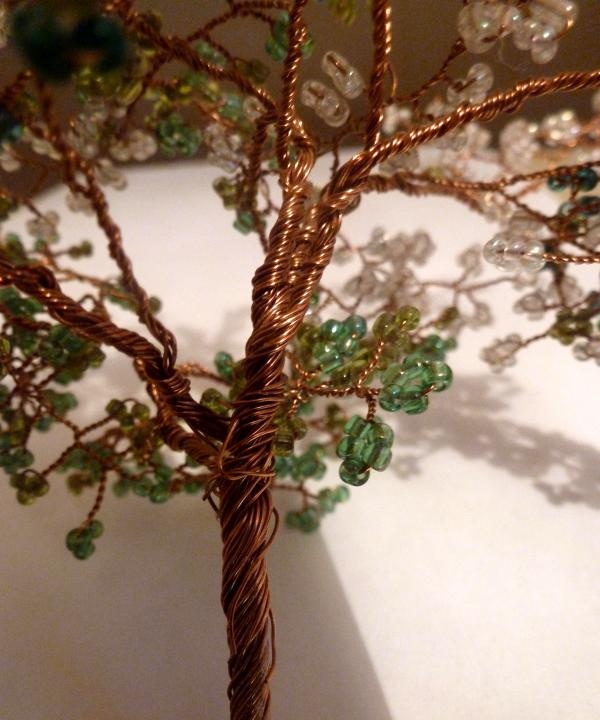
We connect them together in 3 branches. Thus, we will have 3 main branches of which the tree itself will consist.
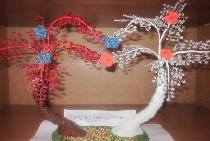
Now we connect all the branches together and form a trunk. It is advisable to add another 2-3 pieces of thick wire of the required length to it, for density, or a harder steel rod. Fix the branches firmly so that they do not move up and down the trunk. Do not forget to leave at least one end of the rod or wire to securely fix the tree; it is better if there are 2-3 ends, then the tree will be more stable
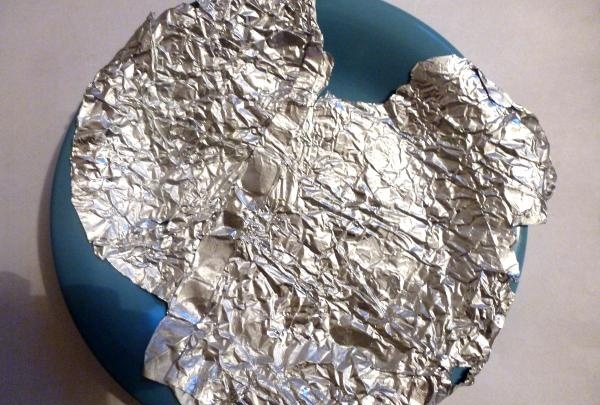
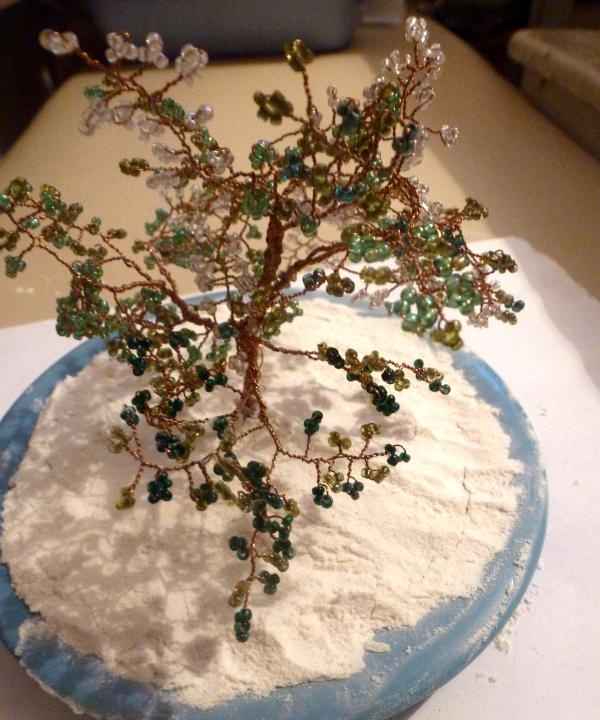
All that remains is to “plant” the tree. To do this, take a bowl and line the bottom and sides with foil. This is necessary to make it easier to pull out the finished tree when the plaster hardens.
Thin the plaster. Place the tree in the bowl, straighten all the ends of the wire and fill it with plaster. You can also coat the lower part of the trunk with it.
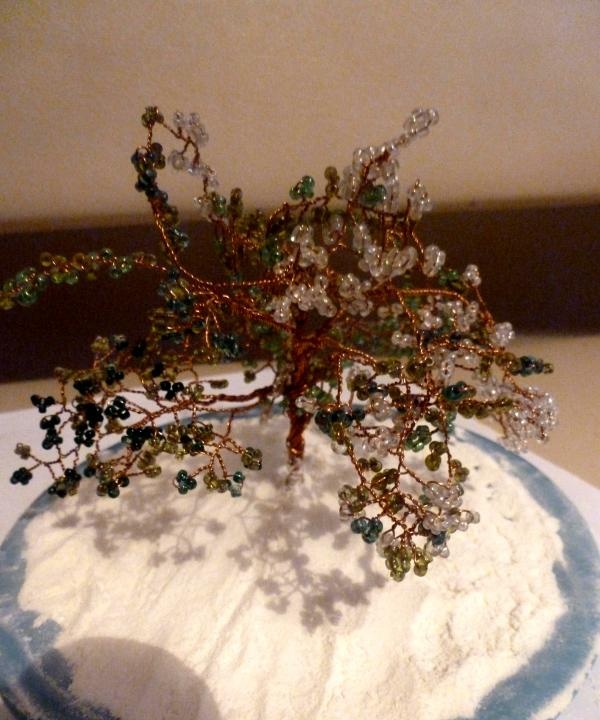
When the plaster has dried, remove the finished tree from the bowl and paint the stand and trunk. You can decorate it with beads, threads or simply varnish it. Or you can leave it as is.
Good luck in your creativity.