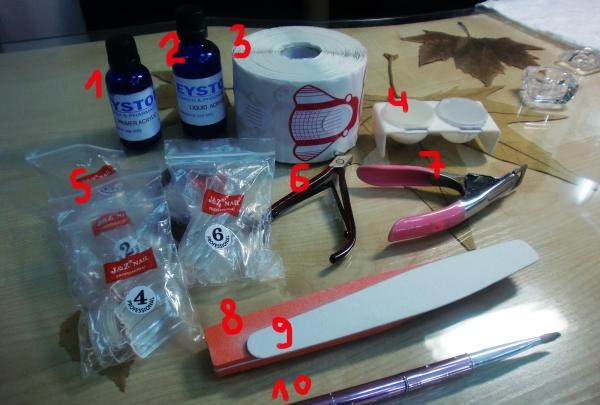
So, for acrylic extensions you will need the following materials and tools:
1. Liquid
2. Plymer
3. Forms for extensions
4. Acrylic
5. Tips (transparent or milky)
6. Wire cutters
7. Tip cutter
8. Soft file for polishing nails
9. Hard file for natural and extended nails
10. Acrylic brush (size 7-8)
Acrylic extensions on tips have many advantages over gel ones: tips can be removed, they are more durable and can be restored, whereas a broken nail extended with gel will have to be cut down, and besides, gel nails cannot be restored.
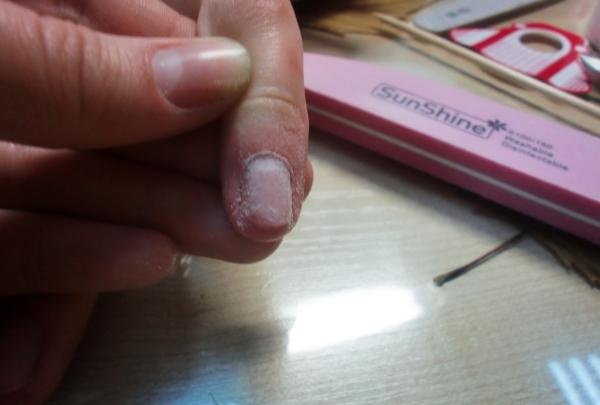
Before the procedure, the nails must be thoroughly treated. They should be cut to the root, filed with a file and there should be no varnish left on them.
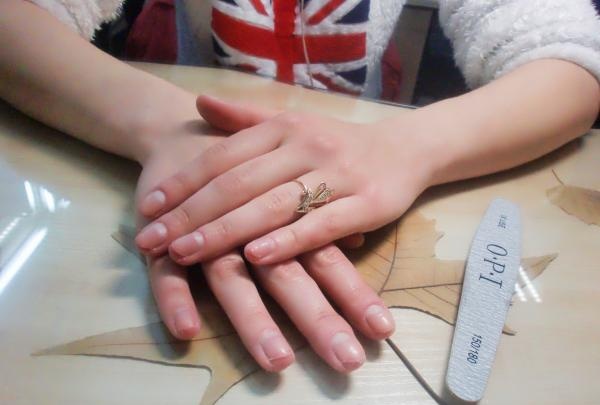
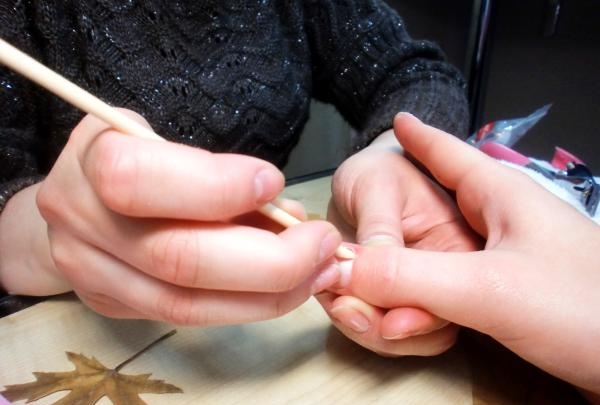
Use an orange stick to carefully remove the cuticle. There is no need to cut it off; it will be camouflaged after applying acrylic.
Using a file for grinding, it is necessary to process all the nails as a whole so that they have a rough surface.
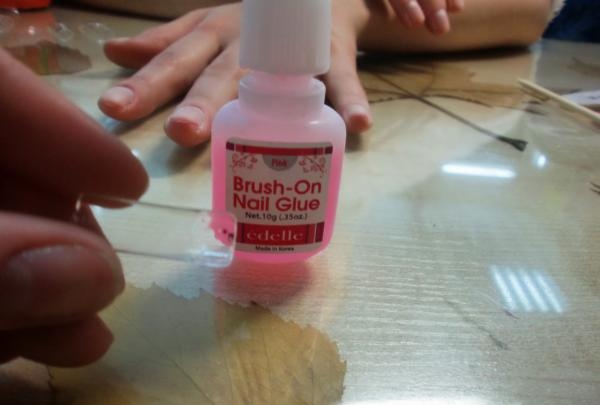
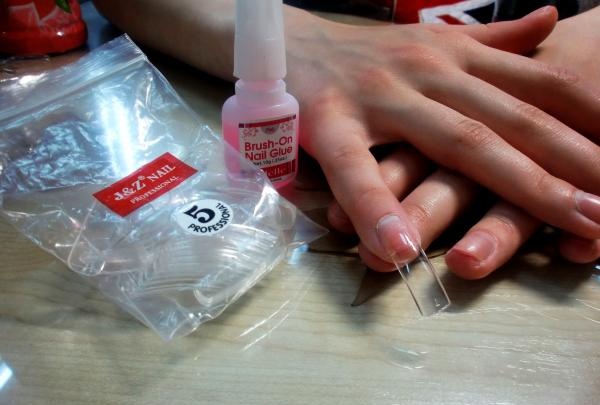
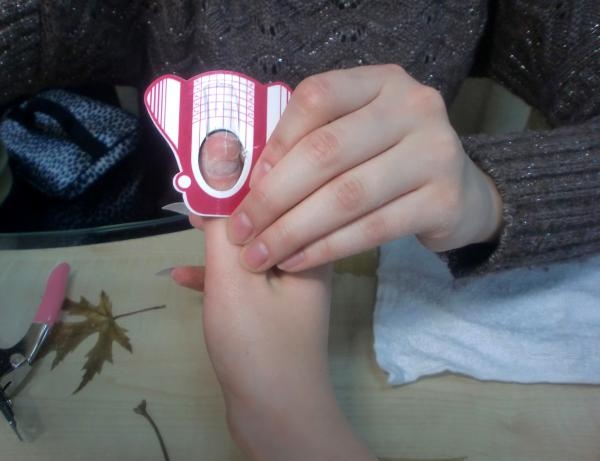
For each nail you need to choose a false nail tip. They come in ten sizes. The number is indicated on the top of the tip. Apply special nail glue to the tip. I’ll tell you a secret that Chinese tips are very short-lived, so pay a little extra and choose a Korean or European manufacturer.
Glue the tip, hold it on the nail for a few seconds until the glue dries. You should feel when the tip sticks firmly to the nail plate.
Do this procedure with each nail. Sometimes it happens that tips of the same size fit on the same nail, or the nail of the right hand is different in size from the nail of the left - don’t be alarmed, this happens.

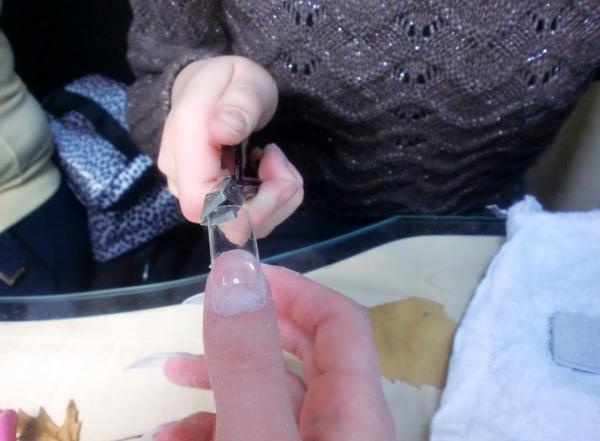
Cut off the excess length of the nail with a tip cutter, check it against the extension form, where the scale is marked with a centimeter. This is done to ensure that all nails are the same length.
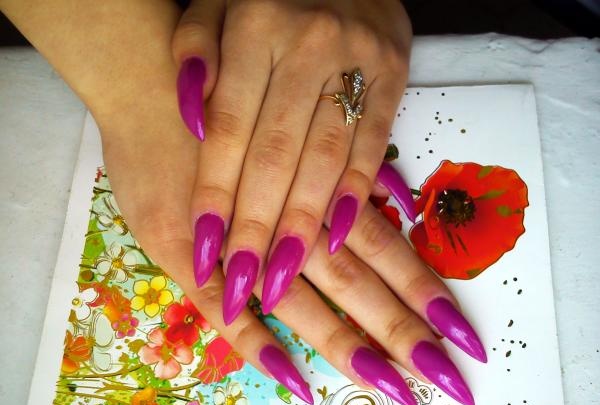
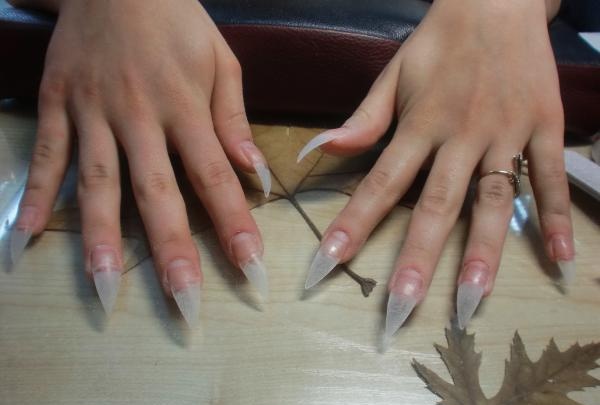
I will make the “stiletto” shape - they are always long (no shorter than 4 cm) and sharp, so the square edges must be cut off with pliers to make it easier to shape them later.By the way, the name “stiletto” was given to such nails for a reason: a pointed Italian dagger has the same name.
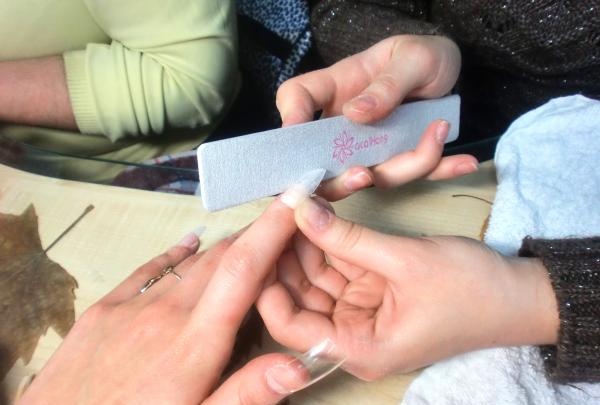
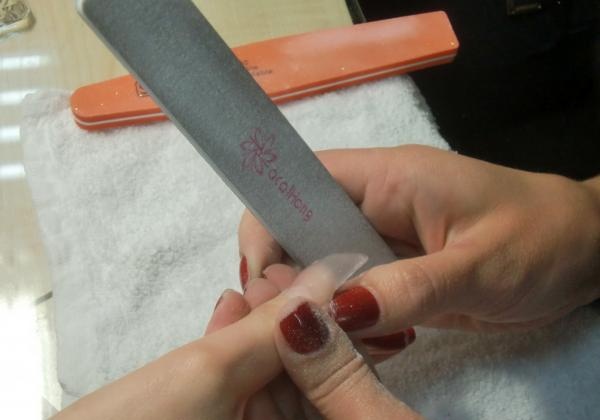
Now start sanding your nail. The base of the tip must be completely cut off and connected to the natural nail. After watching the video, you can understand how to properly file the tips so that they do not break.
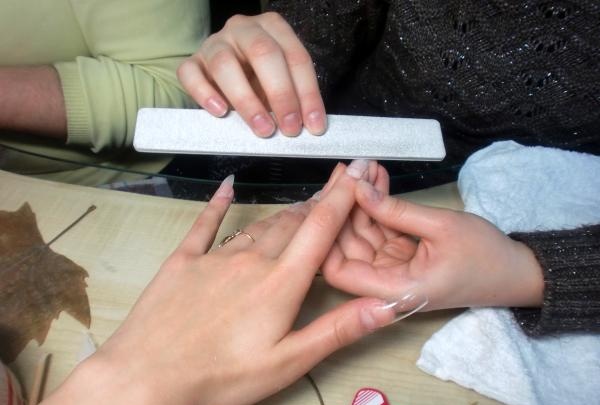
Now you can give it a “stiletto” shape; to do this, you need to file down the edges of the nail so that the natural nail blends smoothly into them.
Now coat each nail with a degreaser - primer.
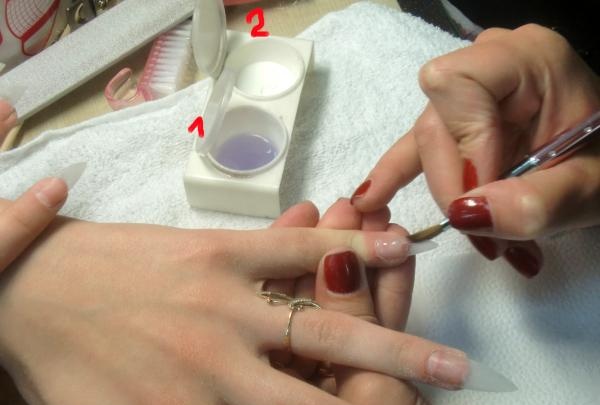
Apply acrylic with liquid to the surface of the tips. Number 1 is liquid liquid, number 2 is powdered acrylic. Acrylic comes in white and pink. Pink is suitable for a French manicure because it looks very natural. The composition must be applied very carefully. Acrylic hardens quickly, so everything needs to be done extremely quickly. The more acrylic you put, the stronger the nail will be. The video clearly demonstrates this procedure.
There should be a small bump in the center of the nail. Don’t be alarmed if the surface of the extended nail is uneven – it can all be filed off.

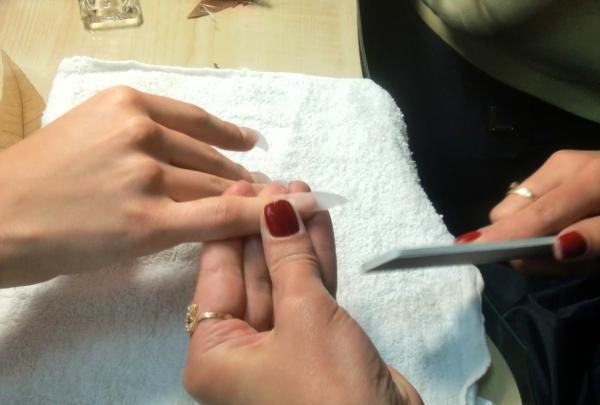
First, trim the shape of your nails with a file. They should remain just as sharp.
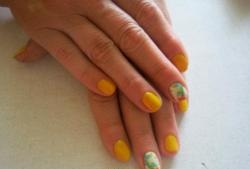
Now you can start sanding. Level the surface of the nail, eliminate all tubercles. After this, remove dust and acrylic residues with a brush and proceed to varnishing. The first step is to apply a transparent varnish, then a colored one, and the third layer is a fixative varnish, which will add shine to the nails.
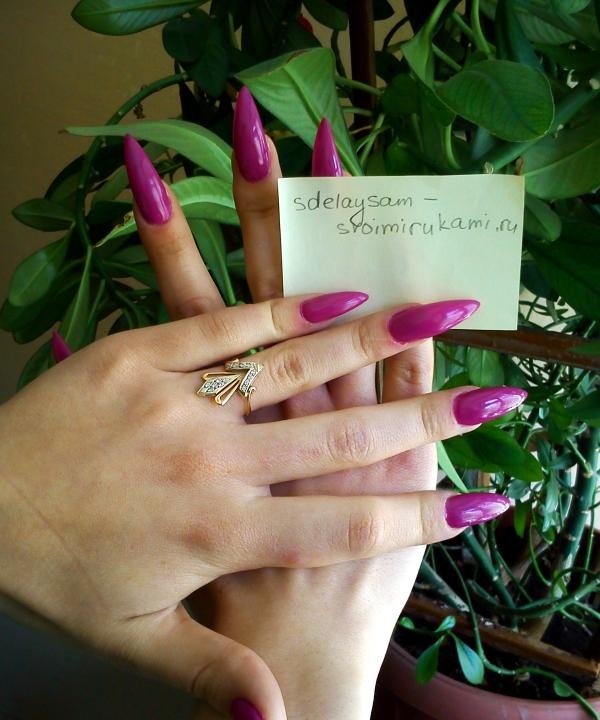
As you can see, growing nails without skills is not at all difficult. An untrained master will complete it in a maximum of 4 hours. The stiletto shape is the most complex, so for the first extension you can choose a square one.Stilettos are the most outlandish form of marigolds, but you need to be careful with them - otherwise you can injure yourself or tear your tights. Long nails are a real luxury; you will be doubly pleased with the result if you do the extensions yourself!