Do it yourself
Life hacks, master classes, useful tips, recipes.
home » Useful and interesting » How to restore a weakened shaft for a bearing
A jammed bearing can rotate on the shaft, gradually erasing it by fractions of millimeters. If you do not change it immediately, then in the future the new bearing will no longer fit, so you will need to build up the leaky shaft. This is usually done by electric welding and then the part is processed on a lathe. In cases where this method is unacceptable, you can use the method of electric spark microwelding.
How to restore a weakened shaft for a bearing

Materials and tools:


  • sandpaper;
  • piece of electrode d3 mm without coating;
  • drill;
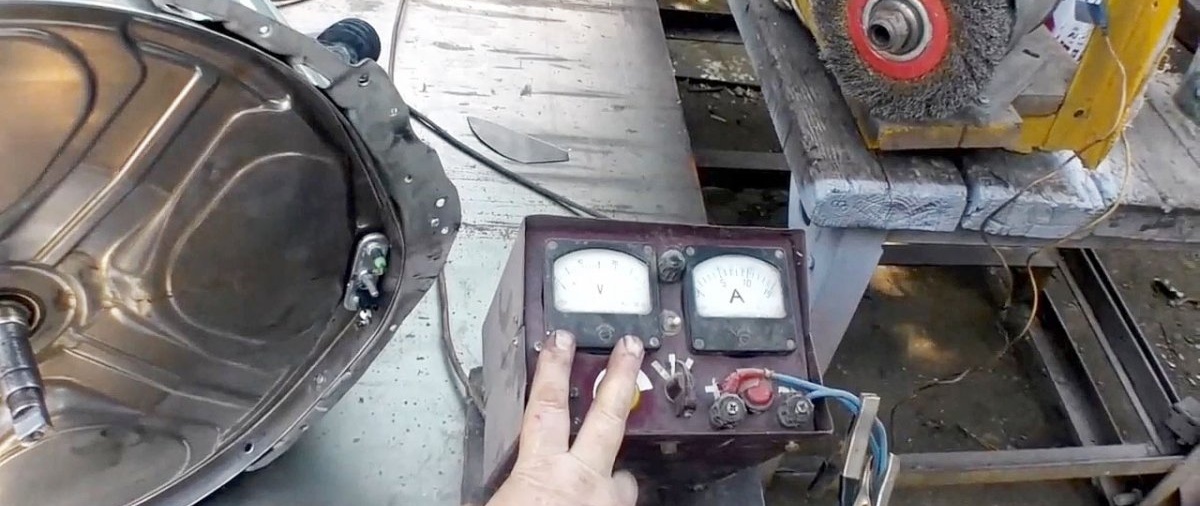
  • power supply 10-15V, 5-10A;
  • clamp for cylindrical connections.

A transformer, a car battery charger or a welding inverter at minimum settings can be used as a power source. The use of the latter is less desirable, since often its power will be too much even at the weakest settings.
How to restore a weakened shaft for a bearing

Shaft deposition


How to restore a weakened shaft for a bearing

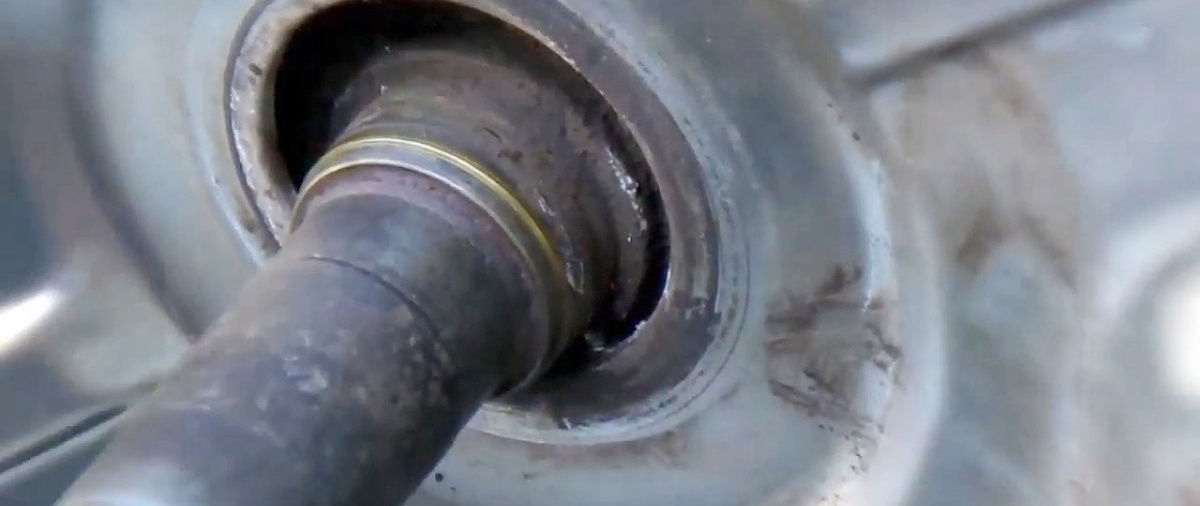
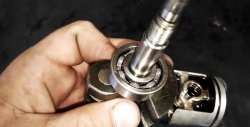
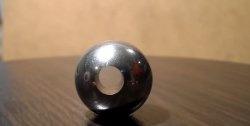
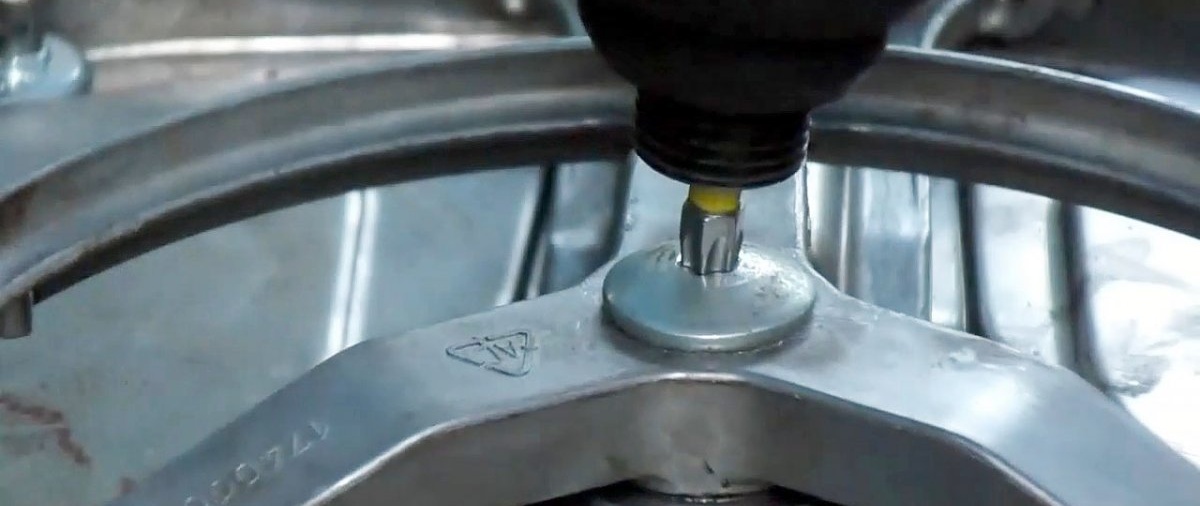
After dismantling the bearing, it is necessary to grind the shaft at the extension site.
How to restore a weakened shaft for a bearing

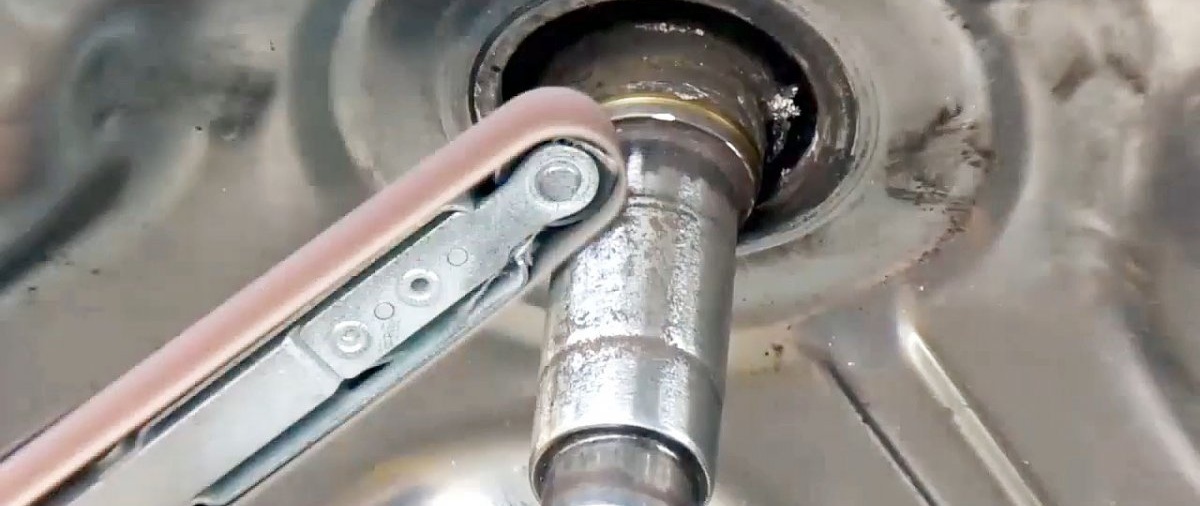
Next, the diameter is measured to determine the required height of metal welding.
How to restore a weakened shaft for a bearing

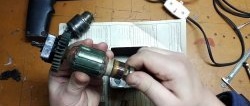
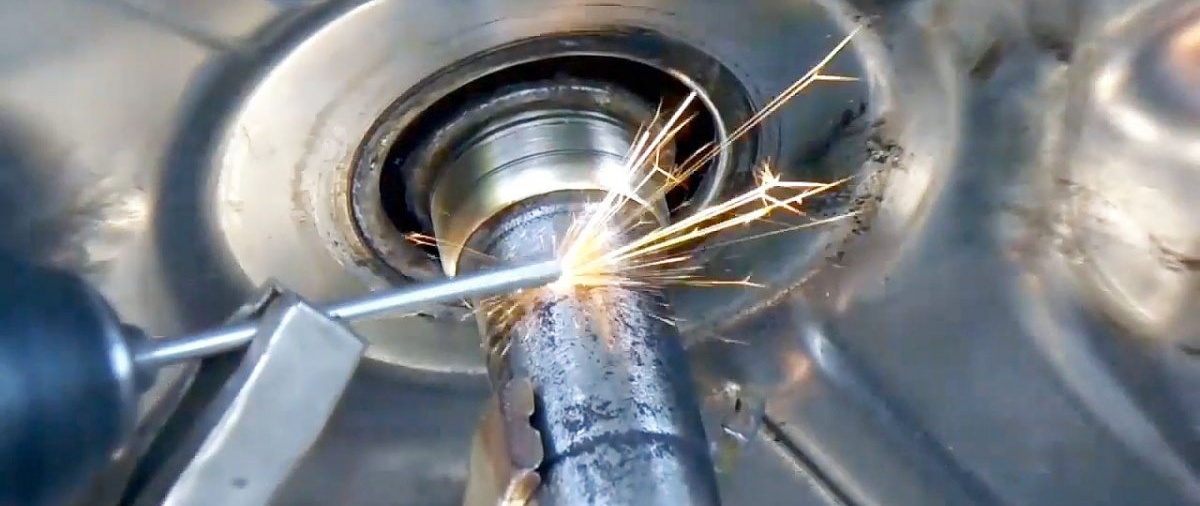
A small piece of welding electrode.
How to restore a weakened shaft for a bearing

We remove the coating, straighten and polish to a shine.
How to restore a weakened shaft for a bearing

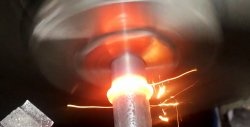
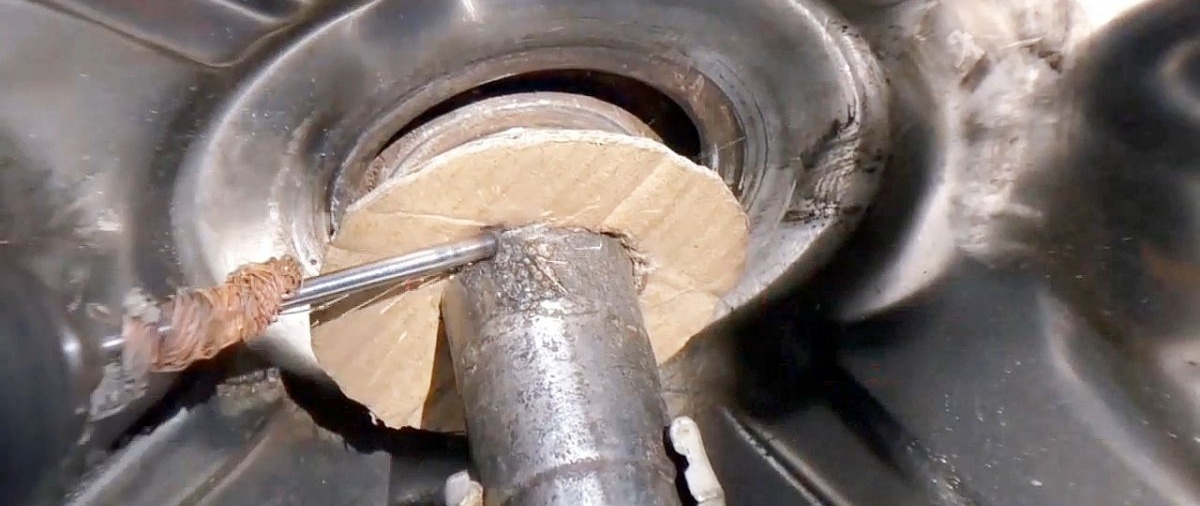
Clamp it in the chuck of an electric drill or screwdriver.
How to restore a weakened shaft for a bearing

A wire from the power source is connected to it on the side. Polarity doesn't matter. It can be secured with an alligator clip or simply wound. The second wire from the power source is fixed to the shaft. It should be fixed in an insignificant place that can be slightly damaged by fusing.
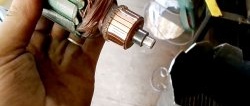
Voltage is applied to the power source, after which the drill starts. A rotating electrode with a fixed wire is applied to the shaft at the point of extension. As a result, a microwelding process occurs. The metal from the electrode is directed to the shaft. This happens very slowly and in a thin layer. By moving the electrode along the shaft without gaps, approximately 0.05-0.1 mm of thickness can be applied in one layer.
How to restore a weakened shaft for a bearing

How to restore a weakened shaft for a bearing

How to restore a weakened shaft for a bearing

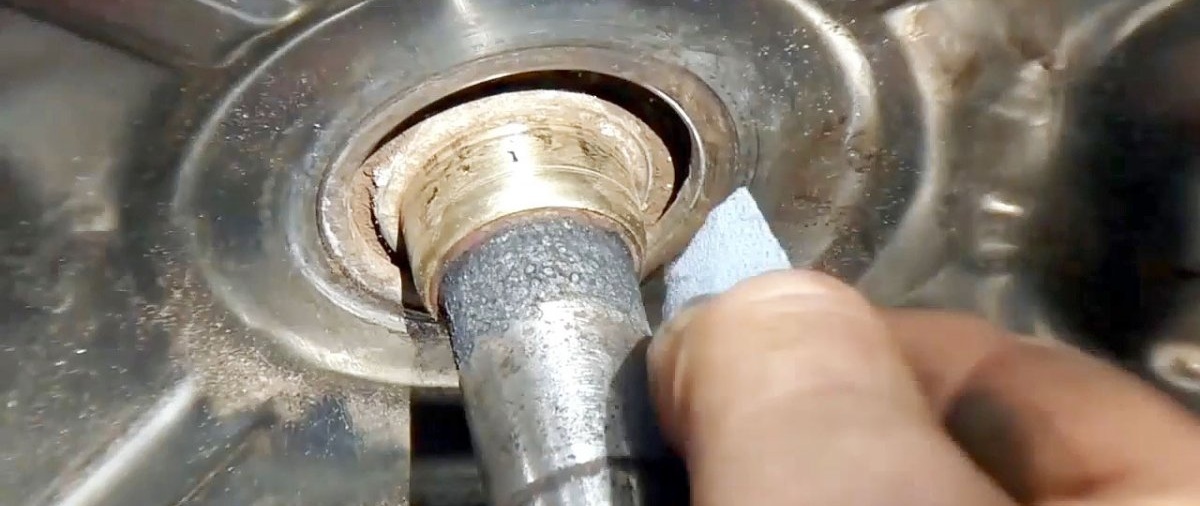
After welding, each layer must be sanded with sandpaper to remove slag. Layers are applied repeatedly until the shaft reaches the required thickness. Thus, even with minor wear of 1 mm, at least 10 layers will have to be applied.
How to restore a weakened shaft for a bearing

How to restore a weakened shaft for a bearing

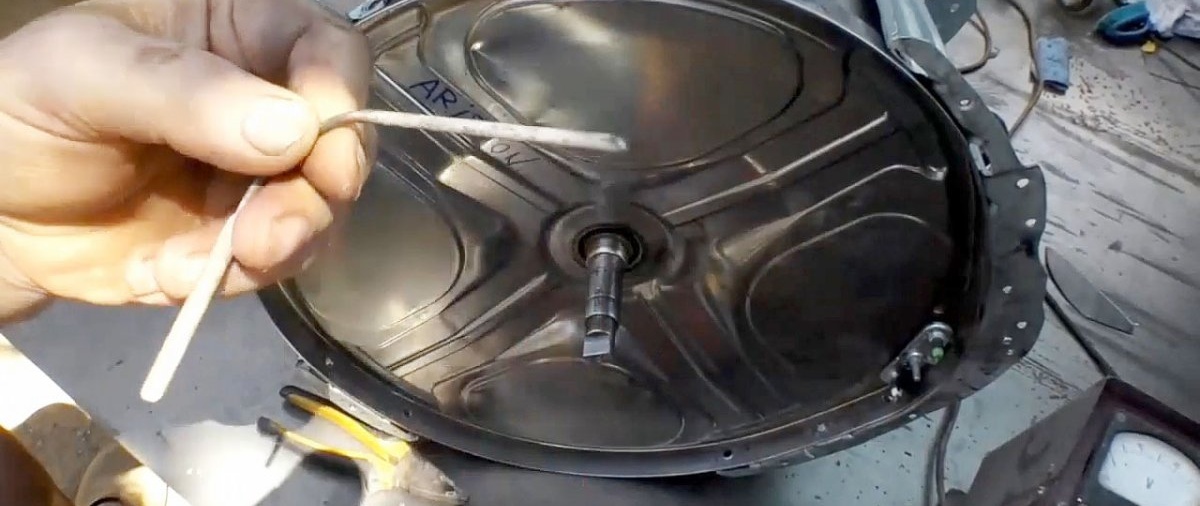
Having restored the required thickness and re-sanded the shaft with sandpaper, a cylindrical joint retainer is applied.
How to restore a weakened shaft for a bearing

How to restore a weakened shaft for a bearing

The bearing is mounted on top.
How to restore a weakened shaft for a bearing

How to restore a weakened shaft for a bearing

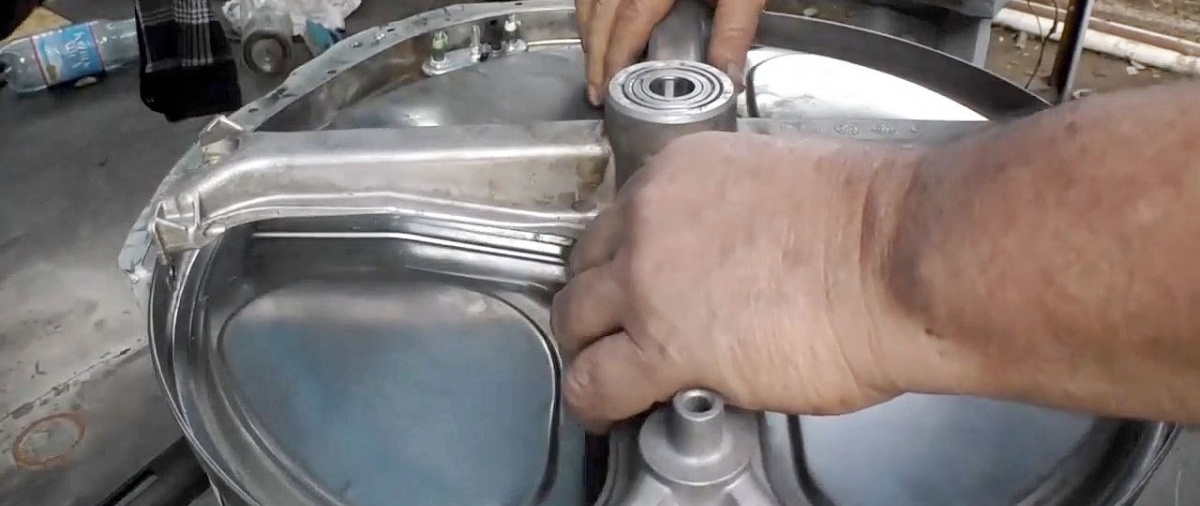
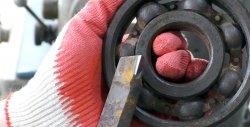
The liquid fixative will fill all the pores in the welded metal and the gap between the shaft and the bearing. Once cured, it will provide very good additional hold. Thanks to this, the new bearing race will no longer rotate, but will become smooth without play.

Watch the video


come back
Comment
  • bowtiesmilelaughingblushsmileyrelaxed relaxedsmirk
    heart_eyeskissing_heartkissing_closed_eyesflushedrelievedsatisfiedgrin
    winkstuck_out_tongue_winking_eyestuck_out_tongue_closed_eyesgrinningkissingstuck_out_tonguesleeping
    worriedfrowninganguishedopen_mouthgrimacingconfusedhushed
    expressionlessunamusedsweat_smilesweatdisappointed_relievedwearypassive
    disappointedconfoundedfearfulcold_sweatperseverecrysob
    joyastonishedscreamtired_faceangryragetriumph
    sleepyyummasksunglassesdizzy_faceimpsmiling_imp
    neutral_faceno_mouthinnocent
5+two=
Comments (4)
  1. Alex
    #1 Alex Guests 3 September 2019 20:15
    2
    The author has not heard about centering...
  2. Guest 123
    #2 Guest 123 Guests September 4, 2019 07:38
    3
    Video "How not to repair!"
  3. Otto_Schnapstrinke
    #3 Otto_Schnapstrinke Guests 6 January 2021 18:21
    1
    But essentially, the method is suitable, but for a little wear and tear. If there is a hole in the shaft, it is better to make friends with the turner. You can use thick copper wire (from 2 mm). It is connected to a welding inverter with a low current, dots are placed, the large parts are peeled off with a file and then sanded to fit the bearing with interference. It is important not to make a mistake with this, if the tension is strong, the separator will bend during installation and such a unit will not work for a long time. The thread lock is redundant. If it gets in the wrong place during installation, there will be problems.
  4. Vlad
    #4 Vlad Guests 11 November 2021 09:27
    0
    If it’s very simple, then the landing is pierced in a circle, and that’s it!

Postcard “Bee” | Do it yourself

A simple homemade blacksmith's forge

How to light a scout fire

Simple color music using LEDs | Do it yourself

«Do it yourself - with your own hands» - a site of interesting homemade products made from scrap materials and items at home. Step-by-step master classes with photos and descriptions, technologies, life hacks - everything a real master or just a craftsman needs for needlework. Crafts of any complexity, a large selection of directions and ideas for creativity.

We recommend reading

Washing machine error codes