There is always a job for a drilling machine in a home workshop, but it costs from 20,000 rubles. With some skill and perseverance, you can assemble it yourself, and it will be no worse than the factory one.
Will need
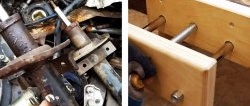
- Two old shock absorbers;
- drill with power handle;
- two bearing housings with bearing;
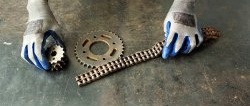
- roller chain and sprocket;
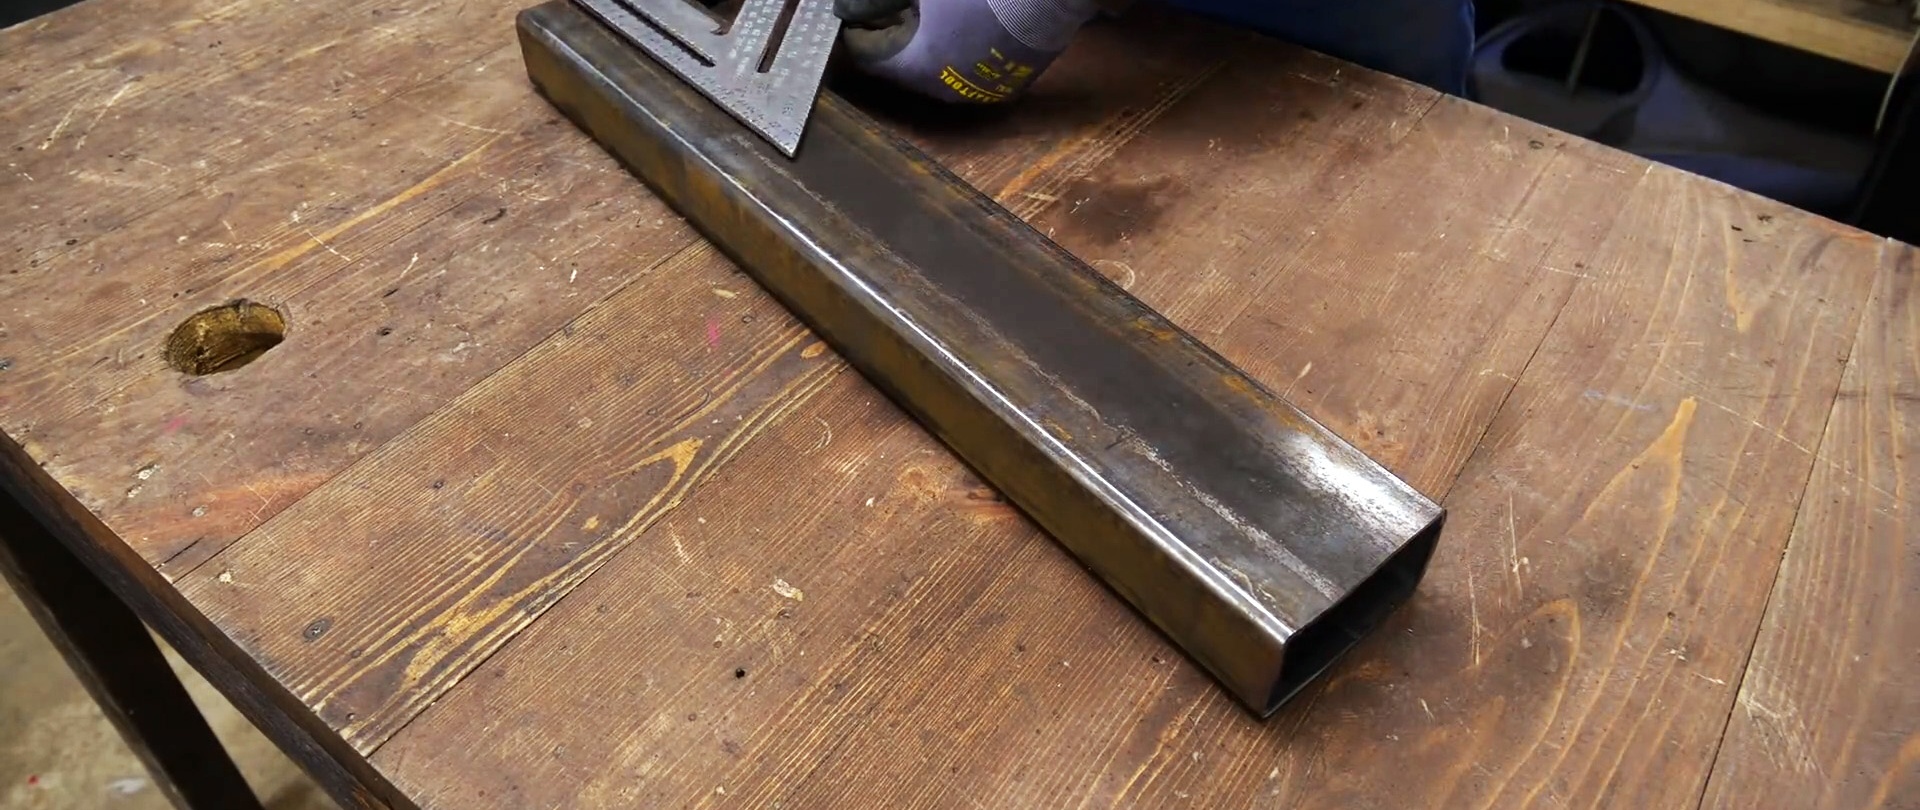
- profile rectangular pipe;
- spindle feed handle and plastic balls;
- steel sheet, plates and angle;
- stud, bolts, washers and nuts;
- extension spring, etc.
The process of making a drilling machine from shock absorbers
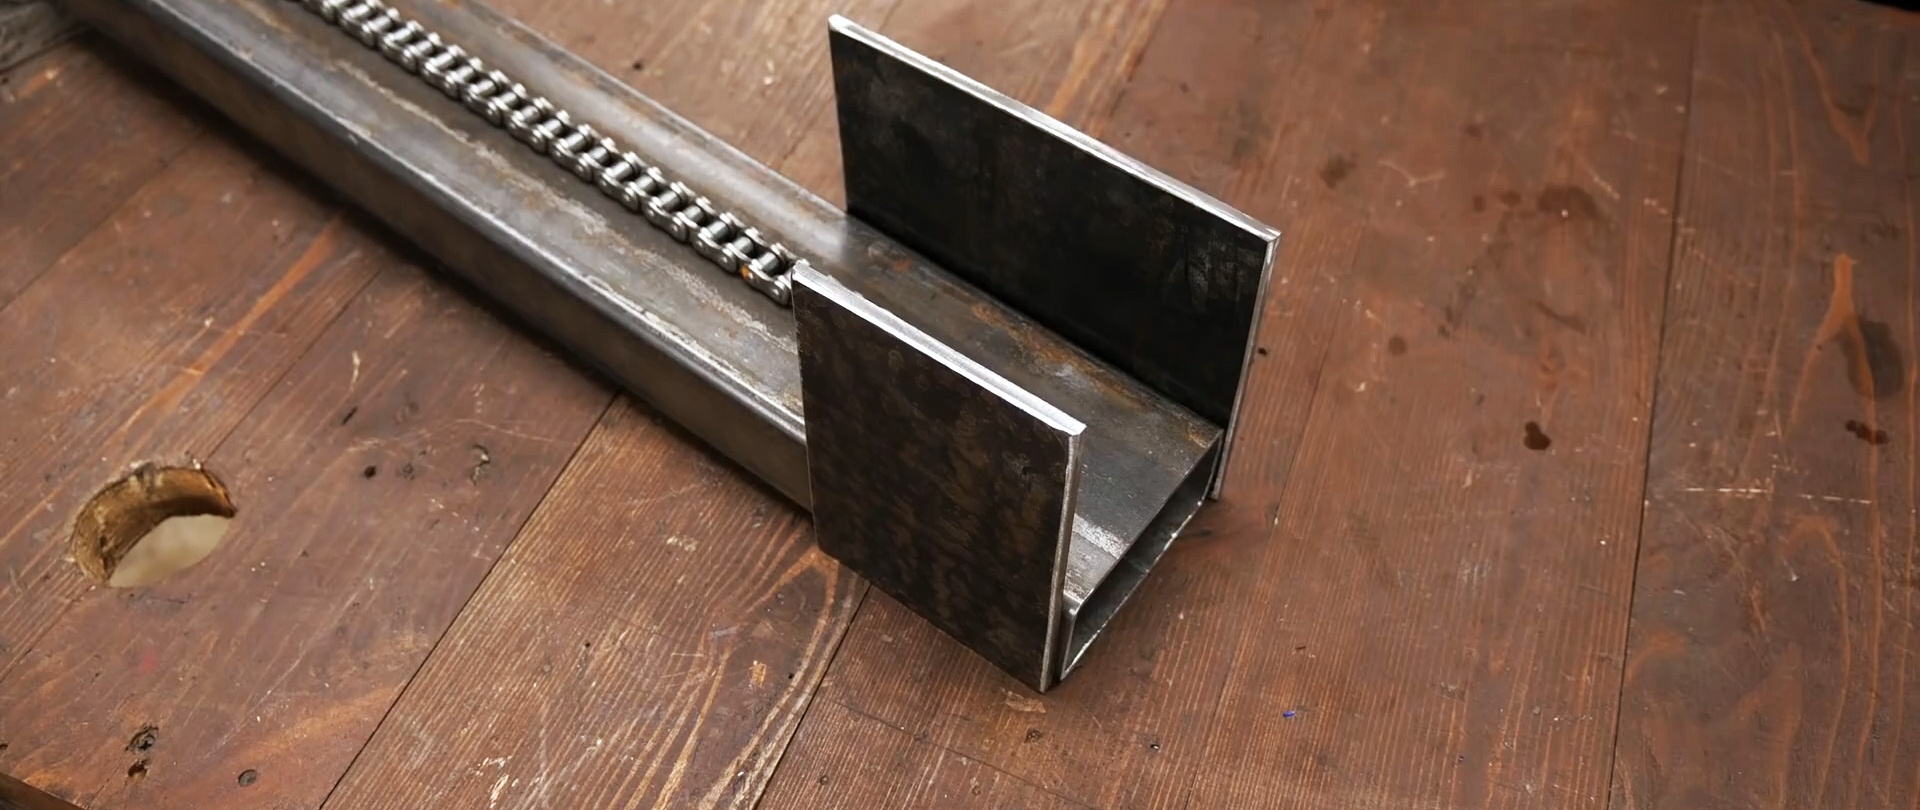
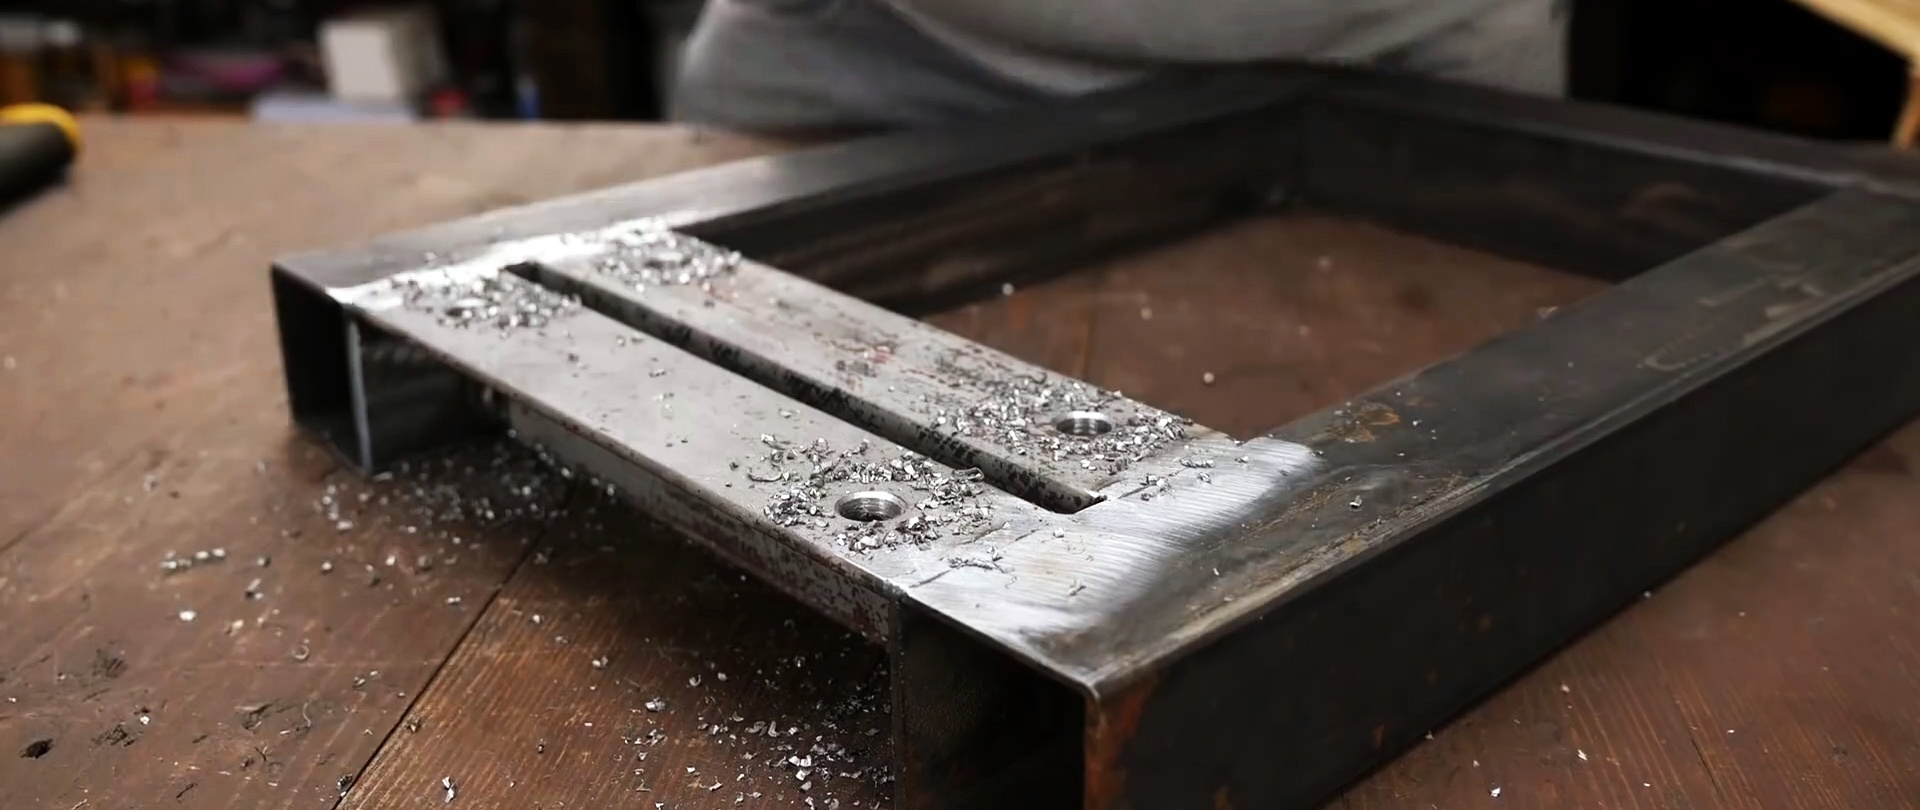
According to the markings, we weld a piece of roller chain to the wide side of the profile pipe.

Using bearing housings, we mark and drill holes in the steel plate for fastening them with hardware.


We screw a nut onto the stud inserted through the bearing, put on the sprocket and secure it with a second nut.

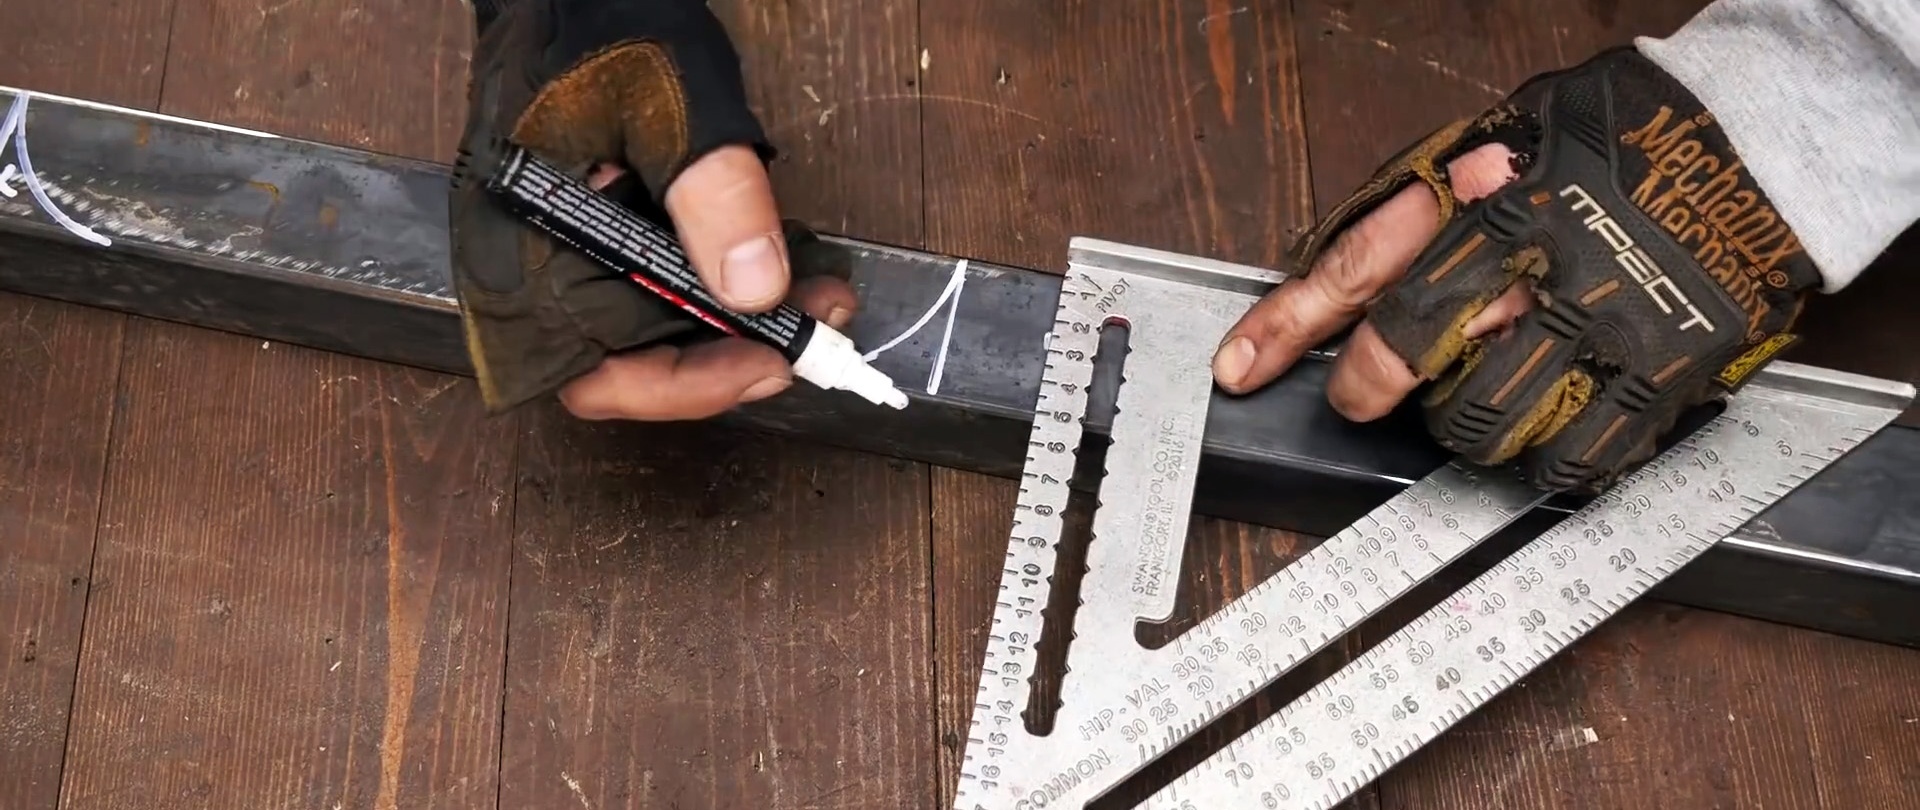
We mark another plate for installation and welding in the center of the profile pipe, drilling holes in the corners and rounding them.

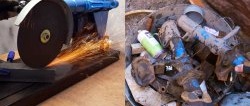
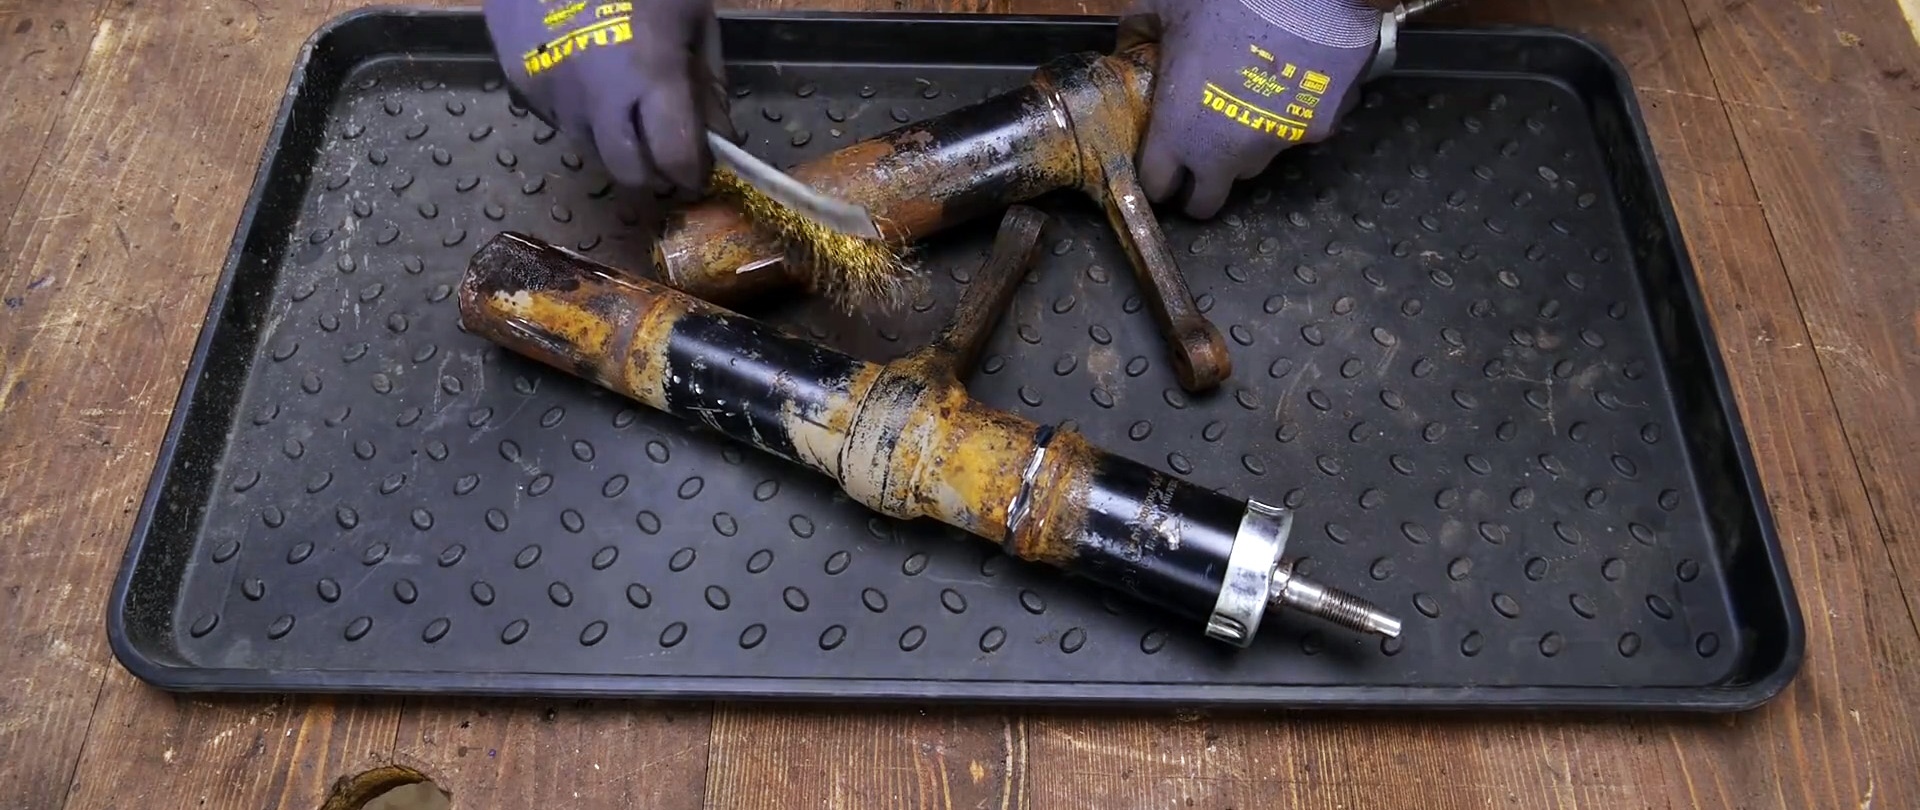
We clean the old shock absorbers, and after drilling the bottoms, drain the oil and knock off the covers. After wrapping the mirrors of the rods and threads with aluminum foil, we place them in the shot blasting chamber for complete cleaning. Finally, remove the levers.
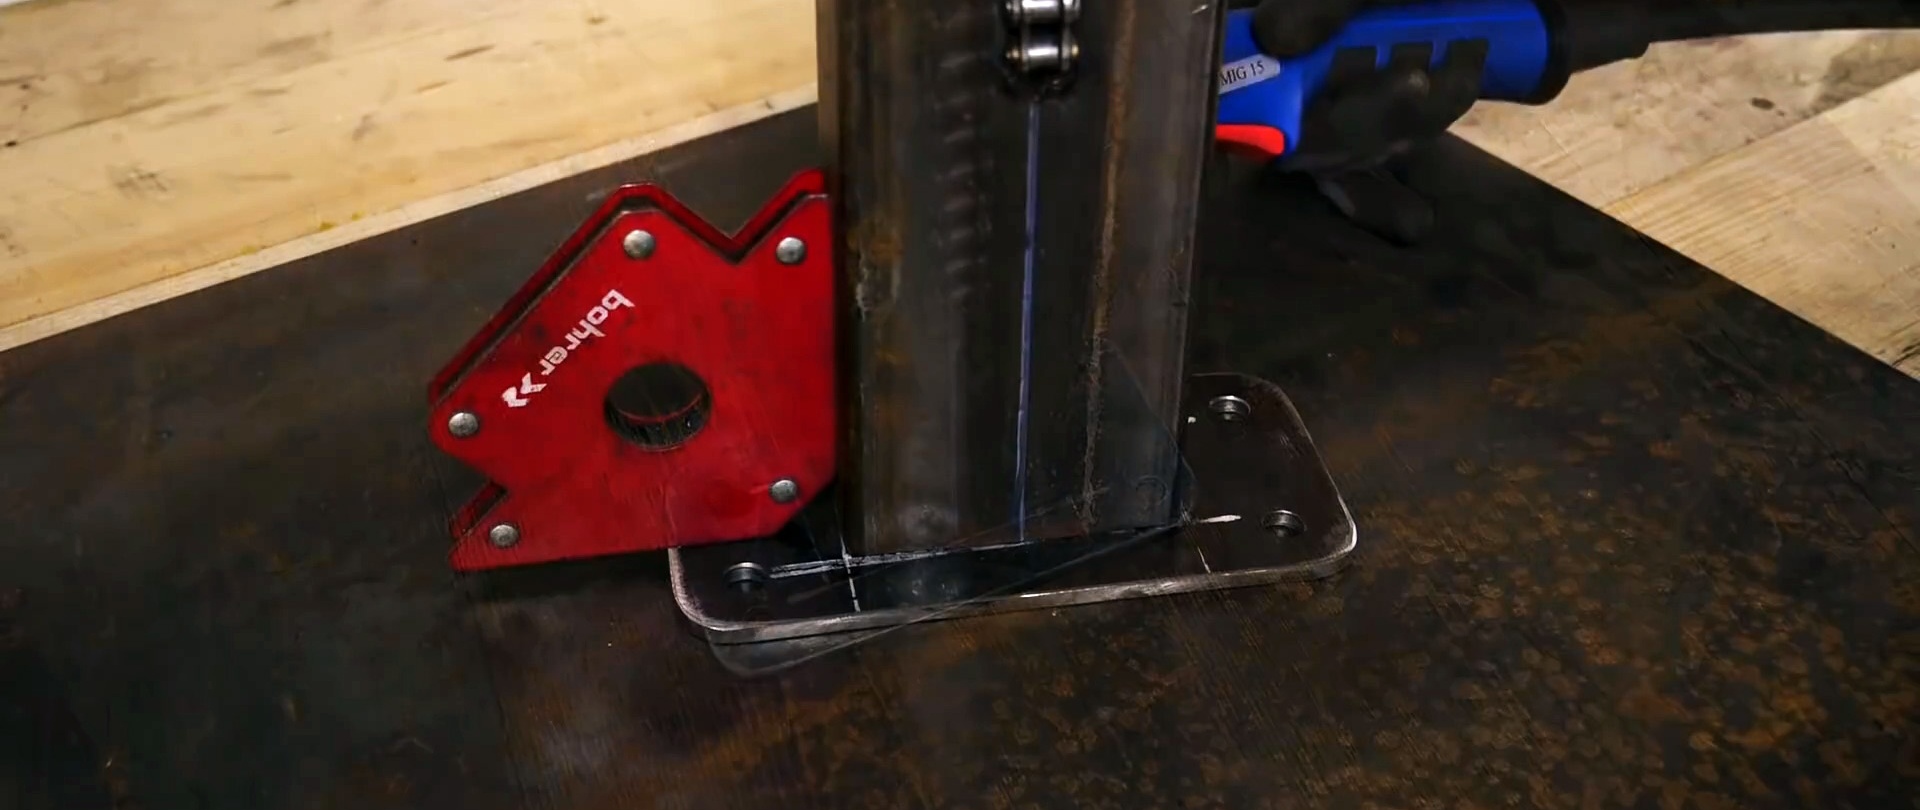
We place the shock absorbers with their upper parts in the corners at the level of the sloping shelves and weld them.
We fix the shock absorbers parallel to the steel plate at the corners using welding.
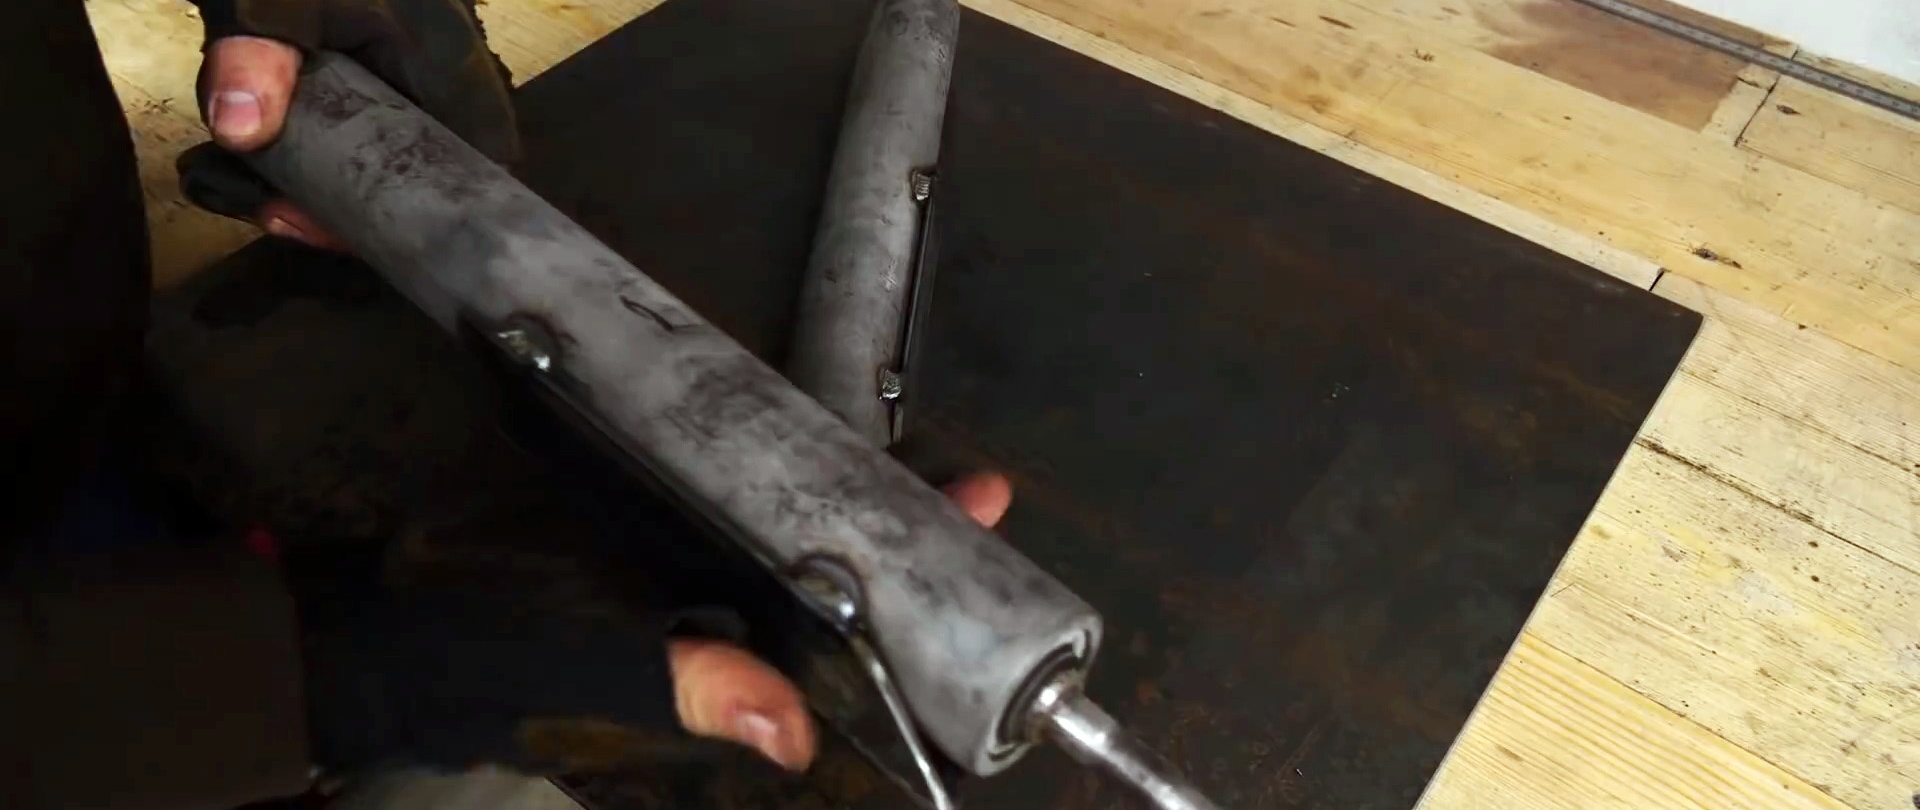
We apply a piece of profile pipe to the ends of the painted rods and drill two holes along the marks.


We lay it flat and place a U-shaped bracket in the center with its legs facing outwards and weld it.

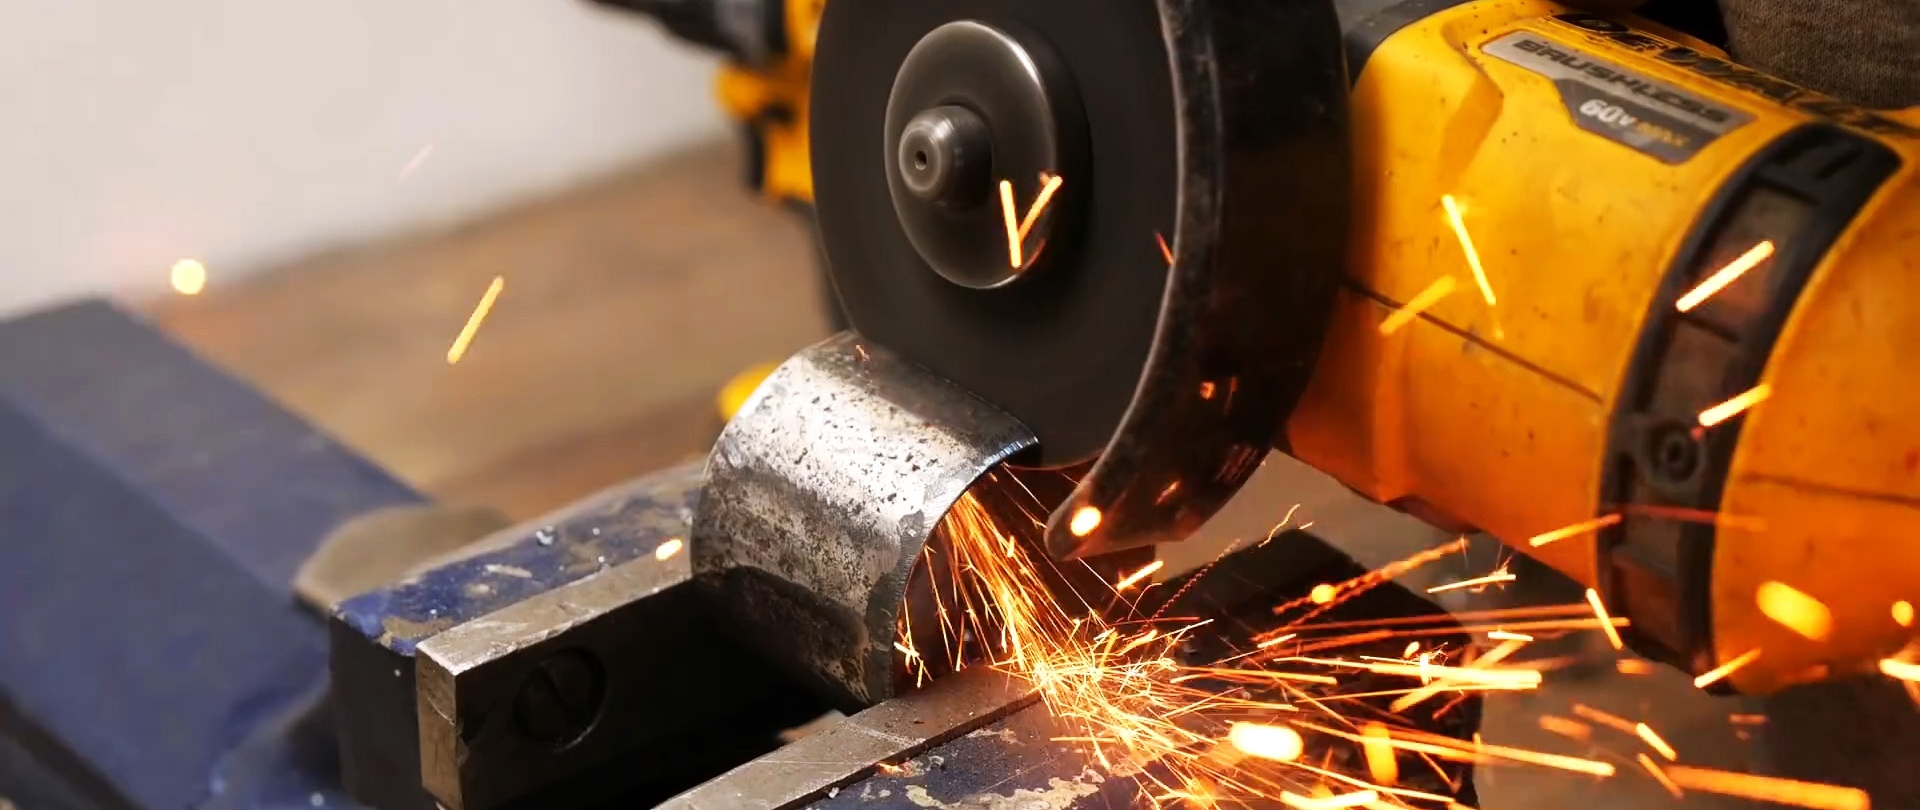
For a fragment of a profile pipe with a length equal to the width of the larger side, remove the opposite edge. Drill a hole in the center of the square base.

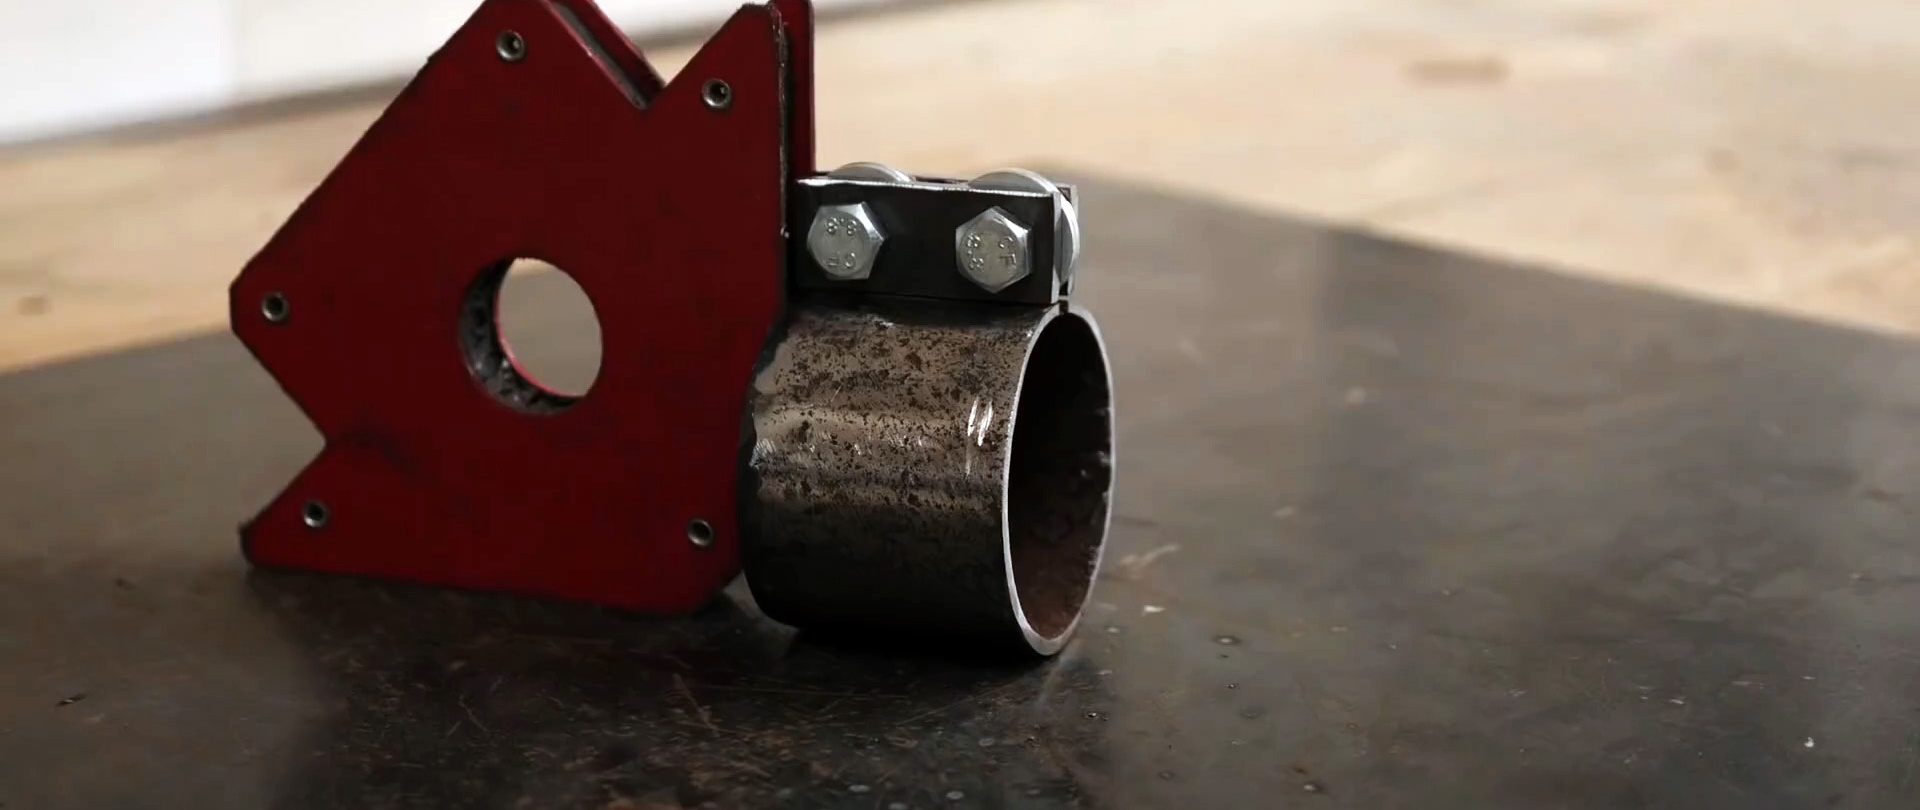
We cut a fragment of a round pipe along the generatrix and weld ears with two holes along the edges of the cut. It turned out to be a kind of clamp.
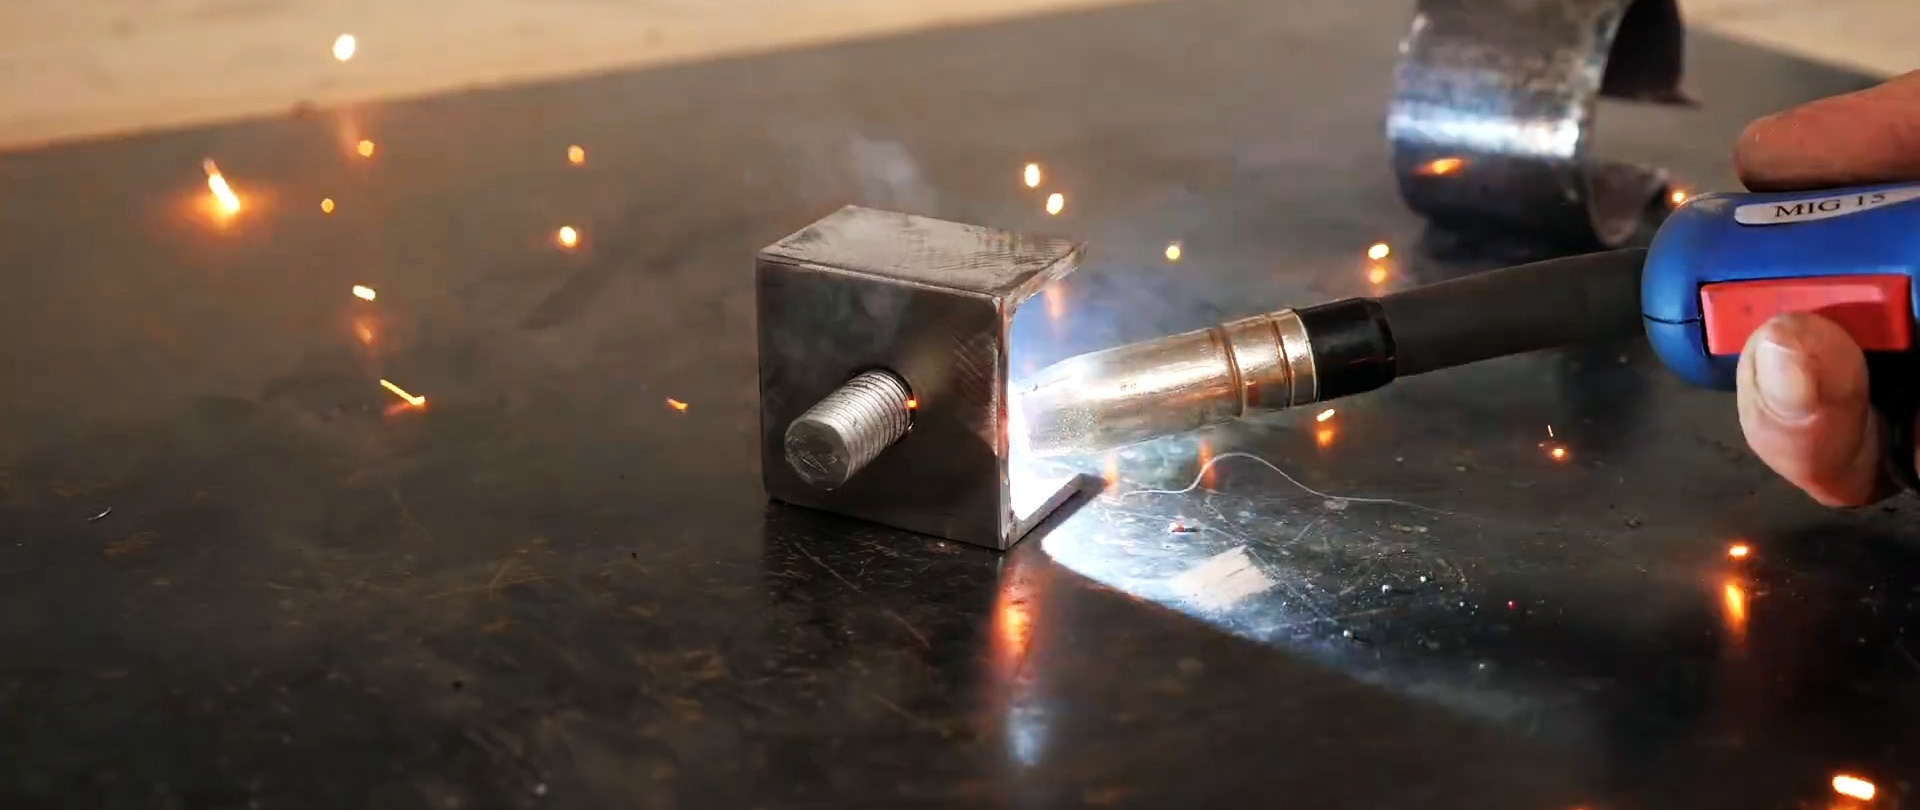
Insert a bolt into a part made from a profile pipe from the inside and weld it behind the head. We fix the hardware in a vice, place the clamp along the legs with the ears up and connect them by welding.
We place the U-shaped bracket on the profile pipe between the shock absorbers, then the rods will fit into its holes. Screw the nuts onto the threads of the rods and tighten them.

We turn the shock absorbers over and place an assembly of bearing housings, pins and sprockets on the bracket leg. We weld the assembly plate to the bracket.


We weld a plate of different widths to the narrow sides of the profile pipe with a chain flush with the end.


We place the assembly on them, then the sprocket will engage with the chain, and weld the shock absorbers to the plates.

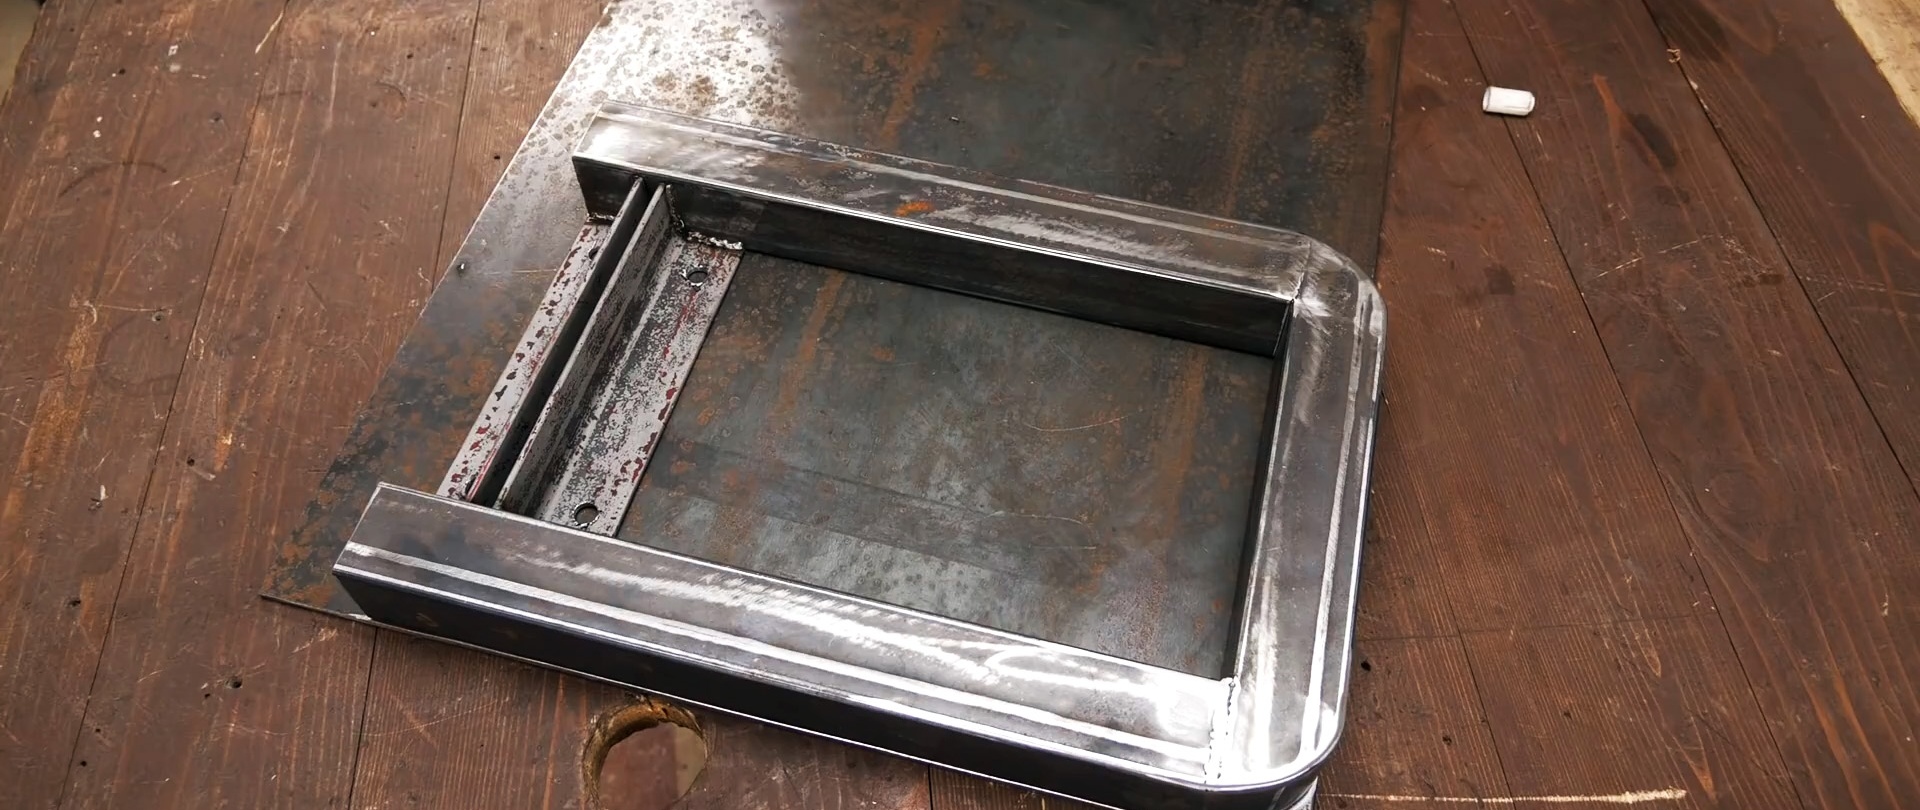
We bend a U-shaped element with rounded corners from a profile pipe. We fix the legs at right angles to the crossbar and weld them.
We weld two corners crosswise to the ends of the legs with a small gap. We make 2 holes in the shelves along the edges.


We cut out a cover for the U-shaped element from a steel sheet and weld them. This unit is the base of the machine.
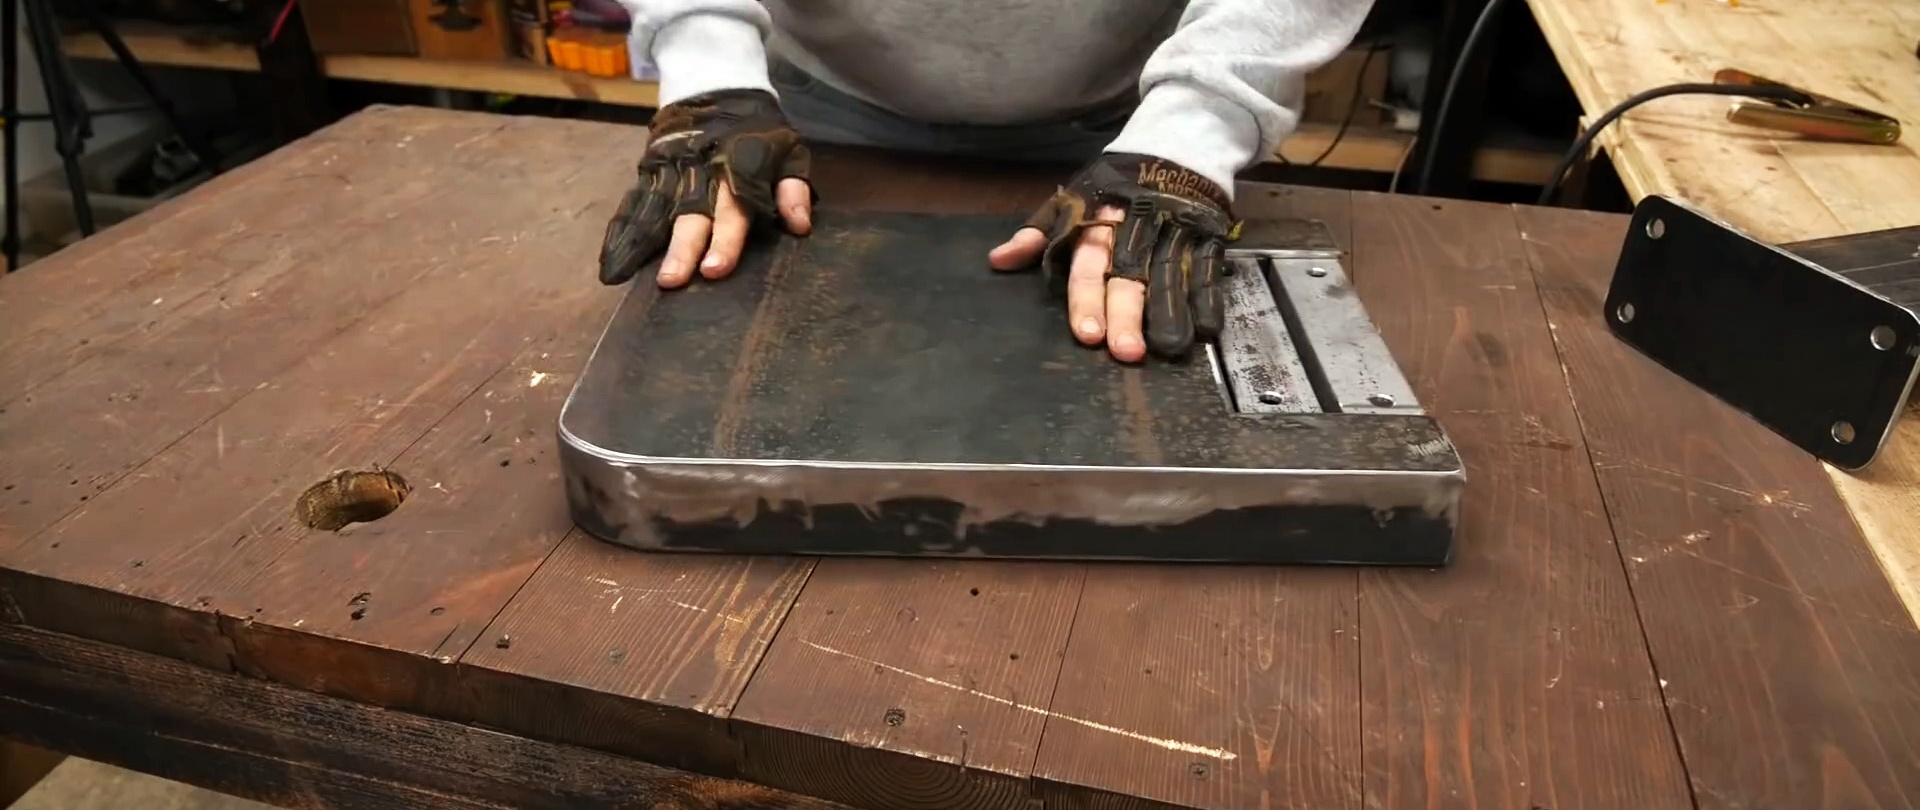
We attach the assembly plate with shock absorbers to the base with four bolts and nuts.
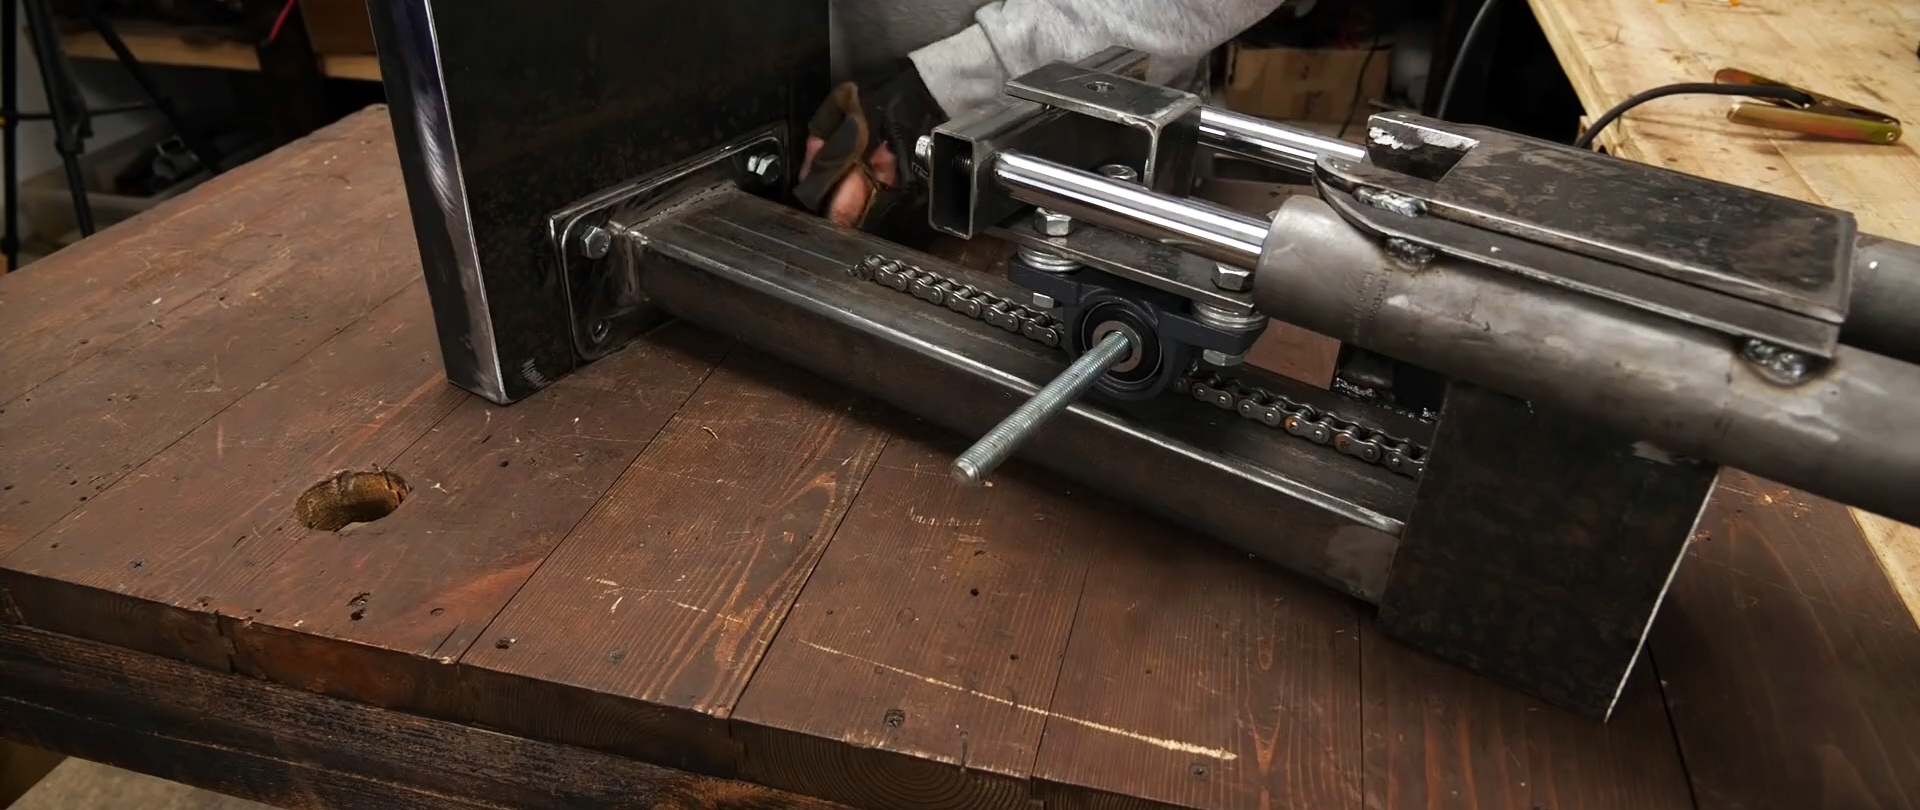
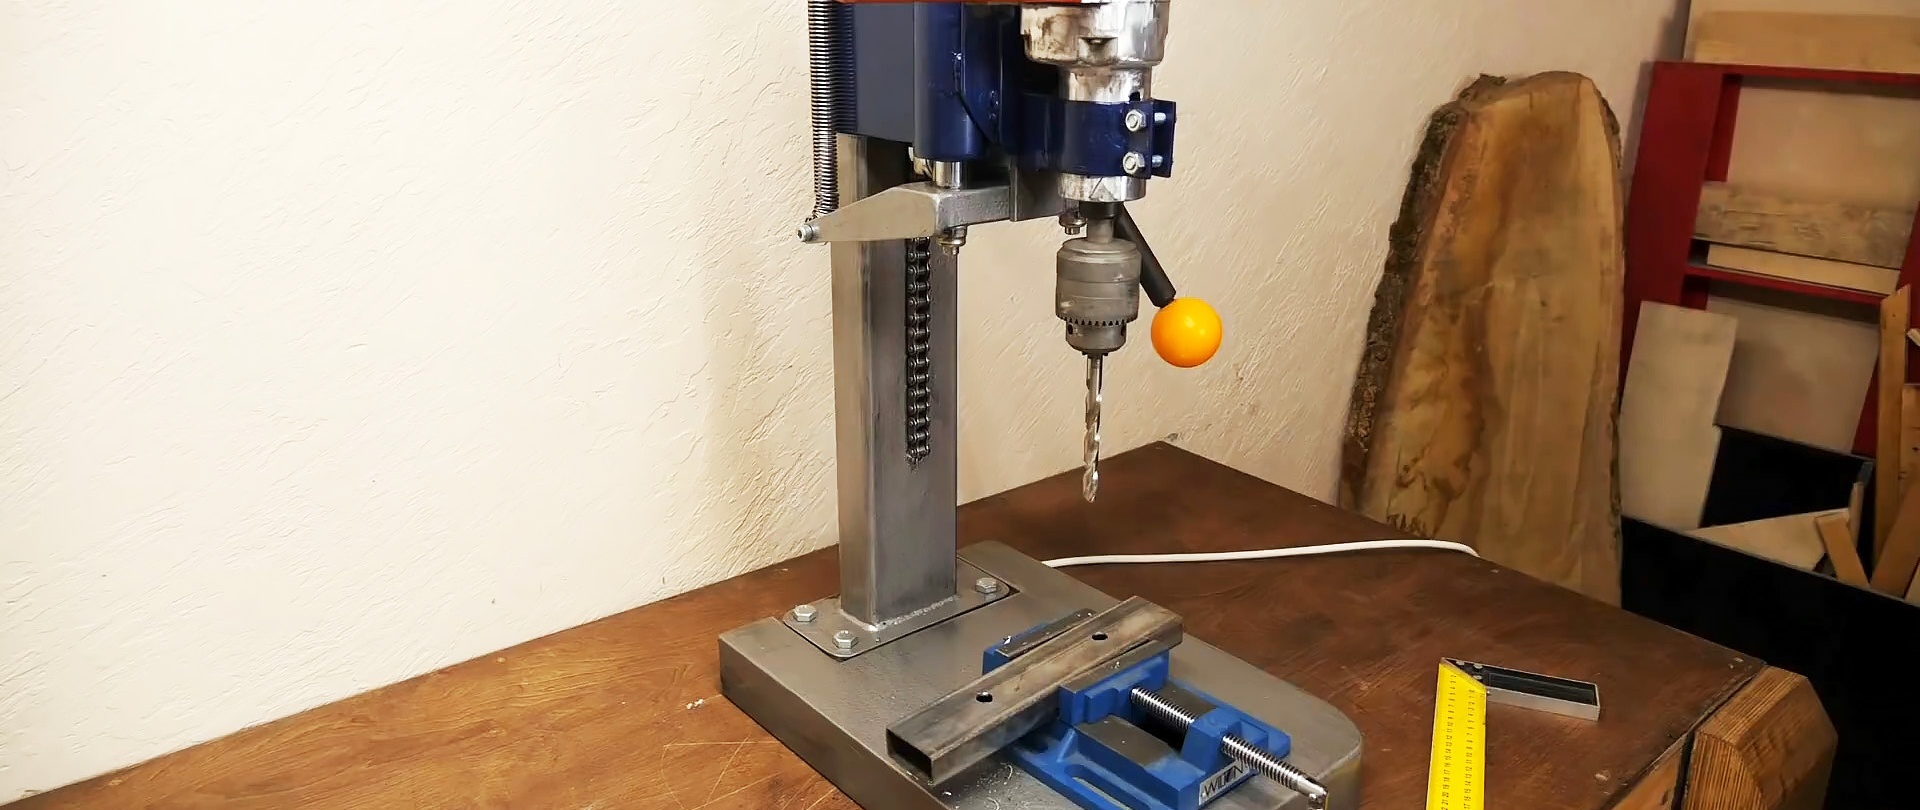
We put the spindle feed handle on the pin and secure it with a nut.

We screw plastic balls onto the ends of the handle spokes, drilling blind holes in them and cutting threads.

To lift the spindle, we attach a tension spring to the body and spindle.
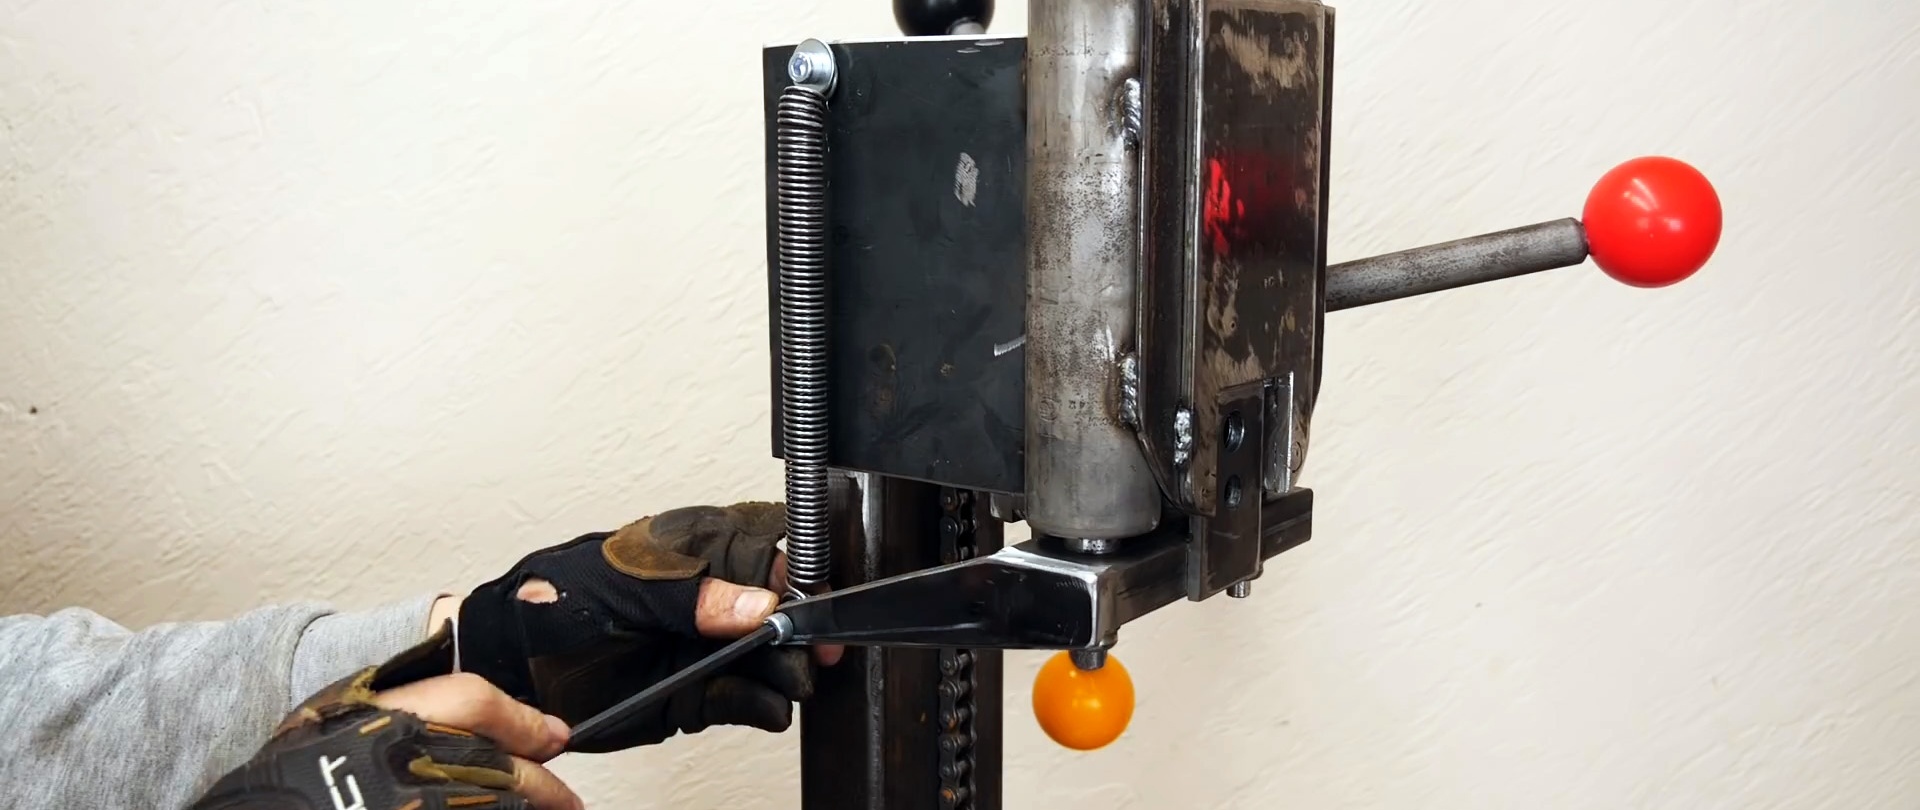
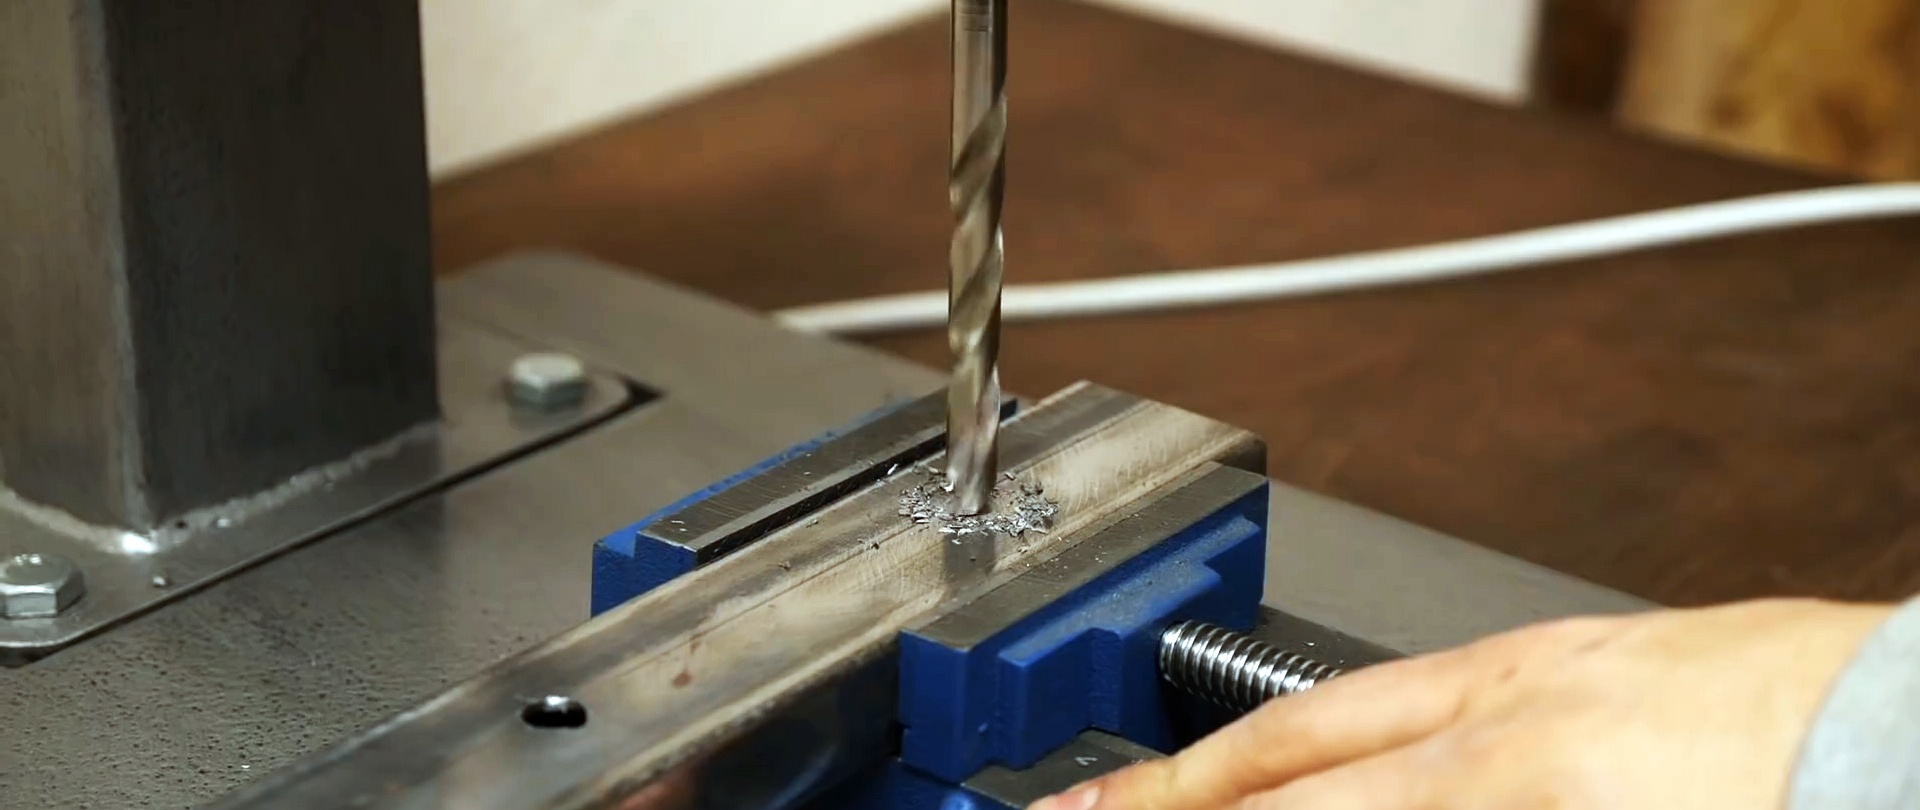
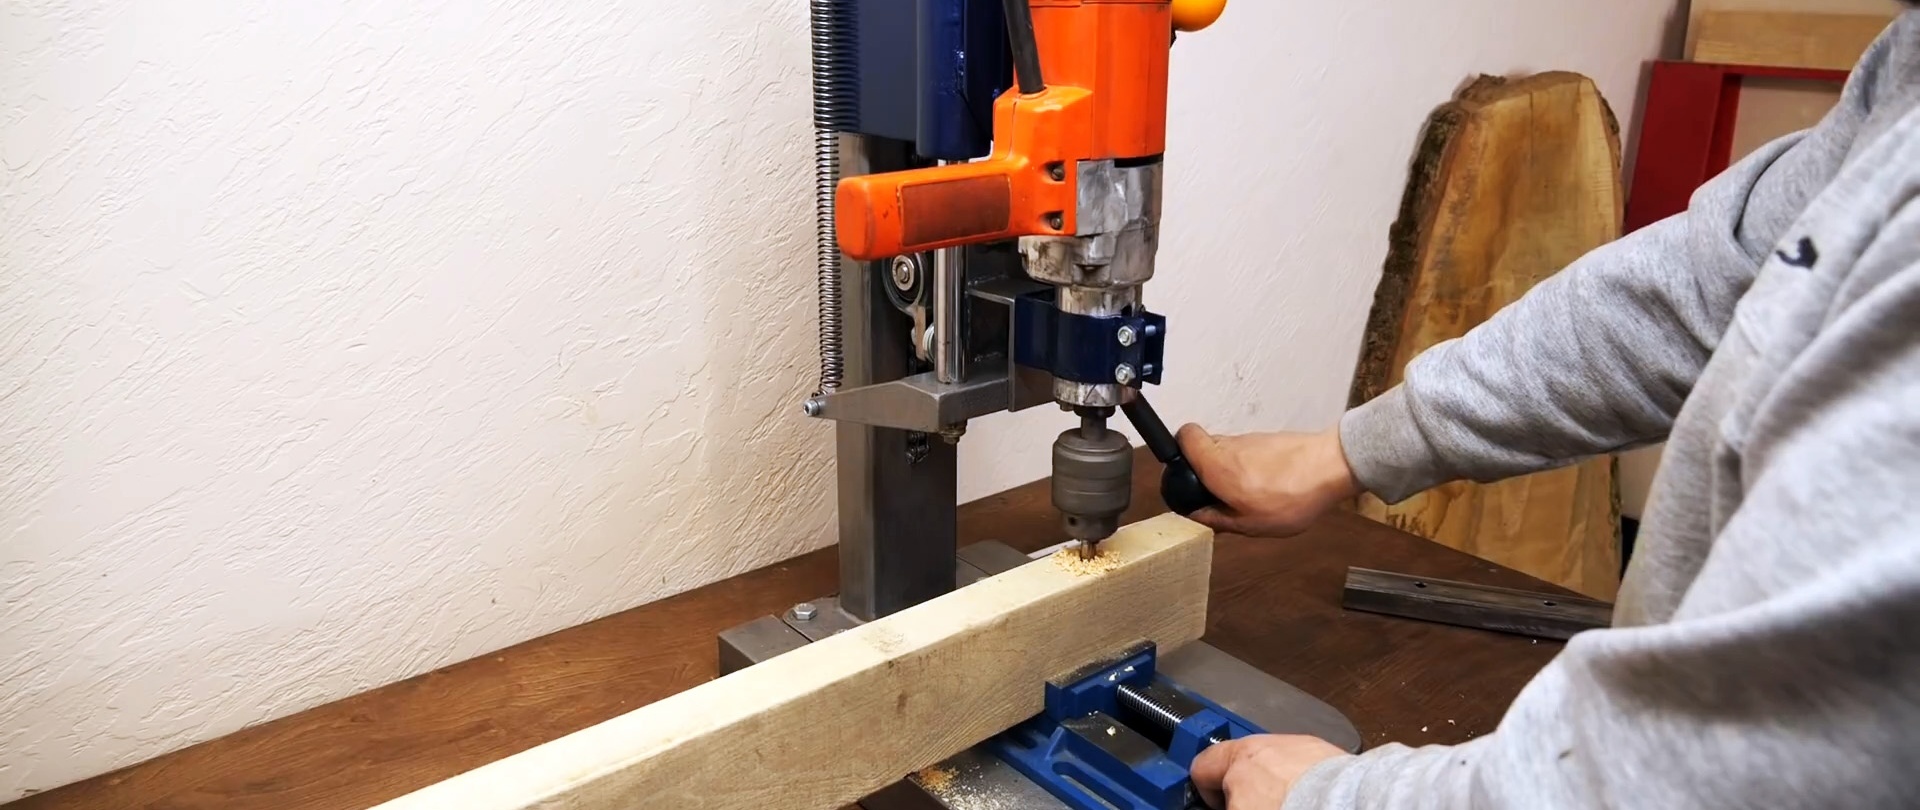
We attach a clamp with a base to the plate between the shock absorbers, into which we insert a drill with a reinforced body and tighten it.

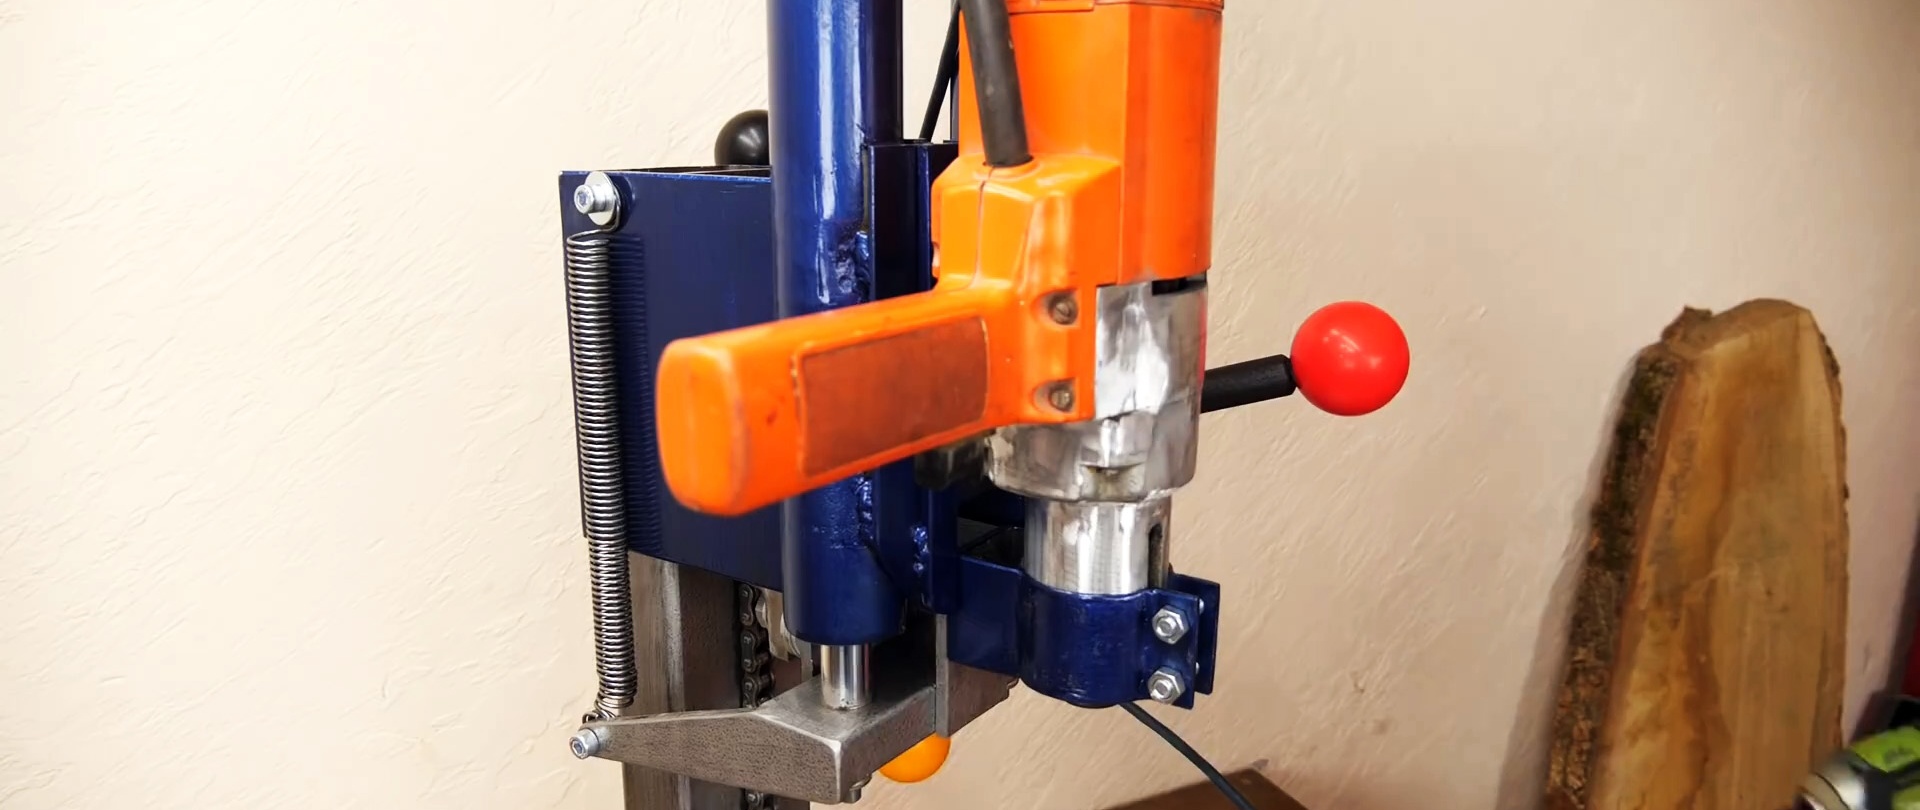
The machine is ready for use.