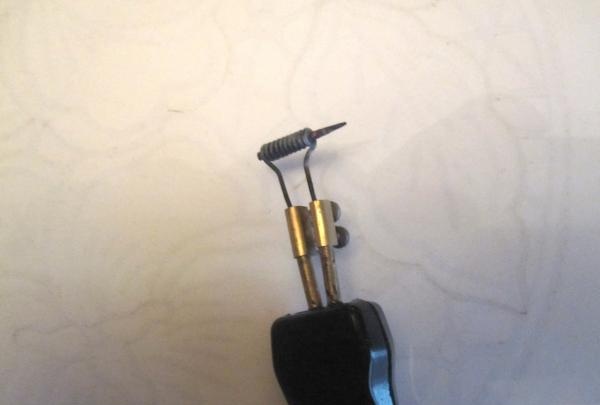
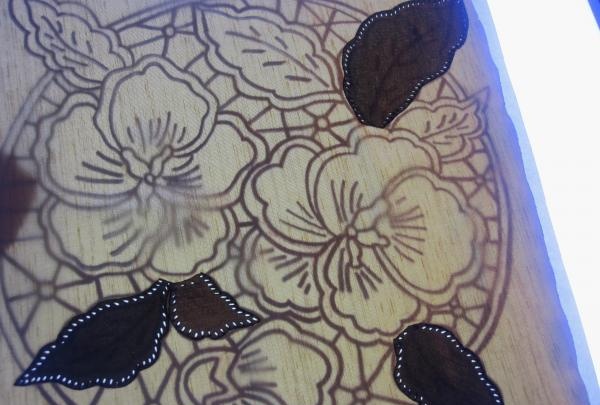
Next, the work requires: glass, a lamp, paper and thin synthetic fabric; satin is best suited. The glass is installed so that a lamp can be installed under it. For this purpose, I use an LCD TV with a damaged matrix, instead of which glass is inserted (perhaps someone will be interested in such a device, it’s quite convenient). The drawing is printed on a printer or copied onto a white sheet of paper or whatman paper by hand. It is desirable that the lines of the drawing are clear and thick; if they are thin, then you should outline them with a marker. You can find a suitable drawing on the Internet or come up with your own.
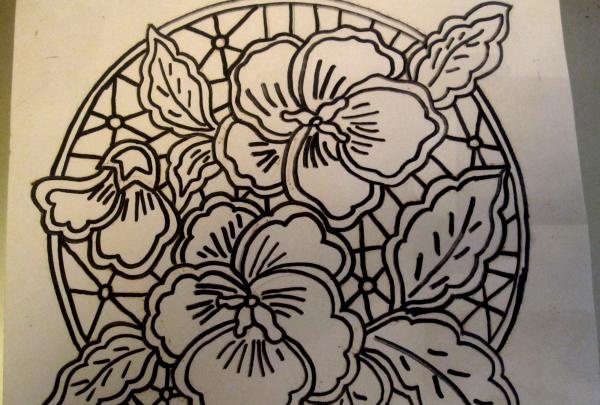
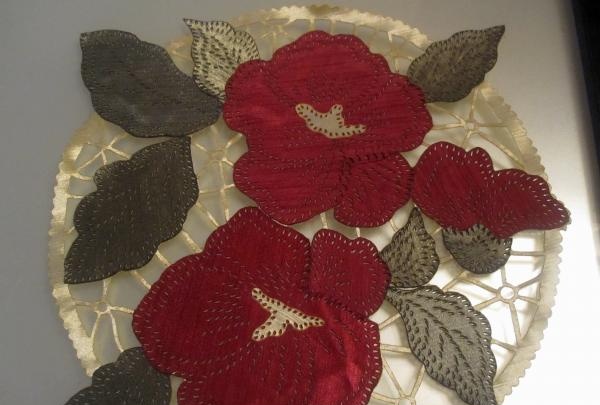
Let's look at burning on fabric using a napkin as an example (I took the picture from the Internet):
Turn on the lamp, place the paper with the pattern on the glass, put the fabric on top and start burning. You can make both single-layer products, with a pattern, and two-layer ones, with “gluing” the layers to each other, using a burning device.
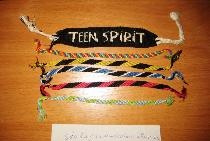
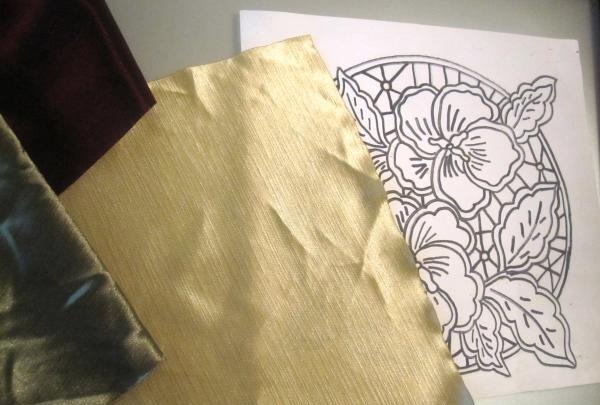
I'll talk about creating a two-layer napkin.
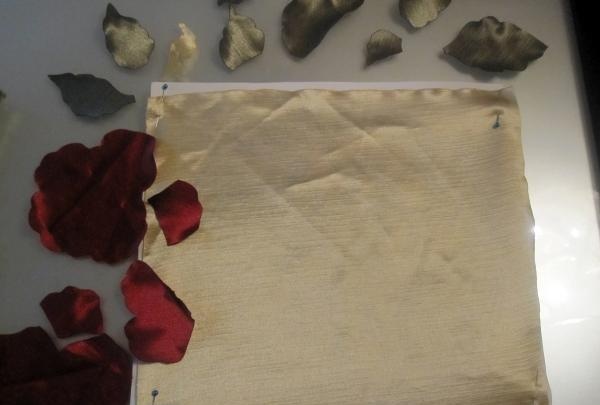
To do this you will need a small piece of plain fabric and colored scraps. You can choose colors according to your taste. I chose gold for the base and centers of the flowers, green for the leaves, and red for the flowers themselves.
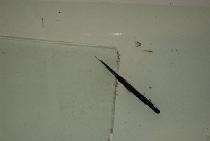
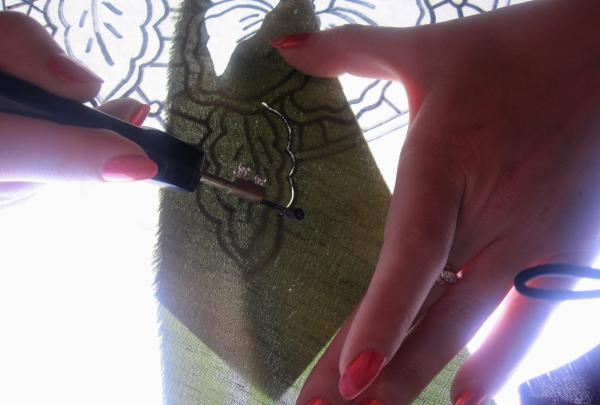
First, using the sting of a burning machine, we cut out the elements from the flaps that will be placed on top of the base, flowers and leaves. It is best to iron the fabric and stretch it slightly when burning. Keep in one place, avoiding moving. The needle of the burning device should be directed away from you. You need to cut out the parts along the outer contour, the inner contour will be discussed later.
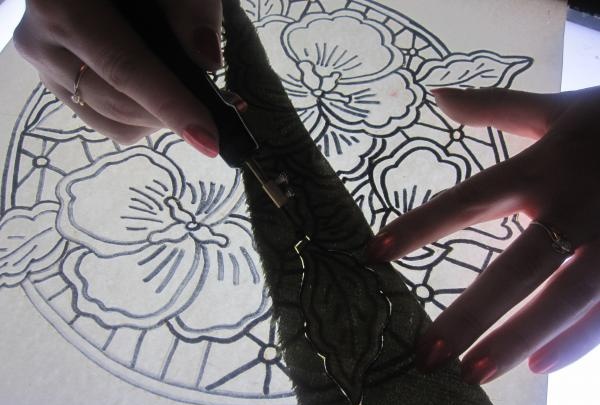
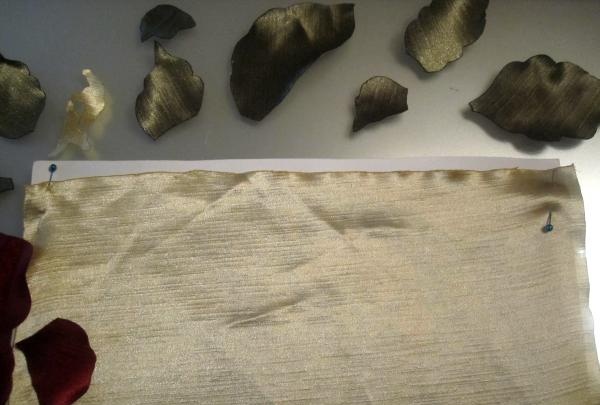
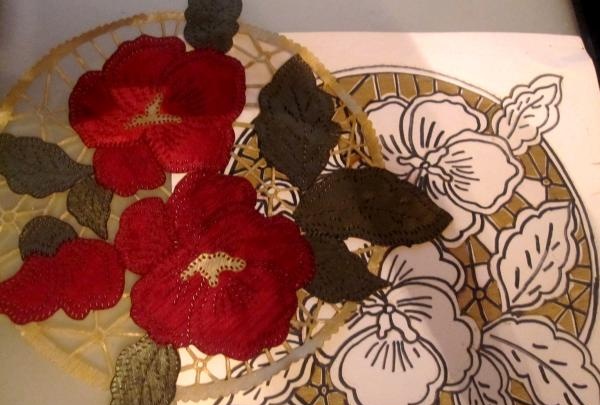
After all the details are cut out, take the fabric for the base of the napkin and pin it to the paper with the pattern, covering it completely.
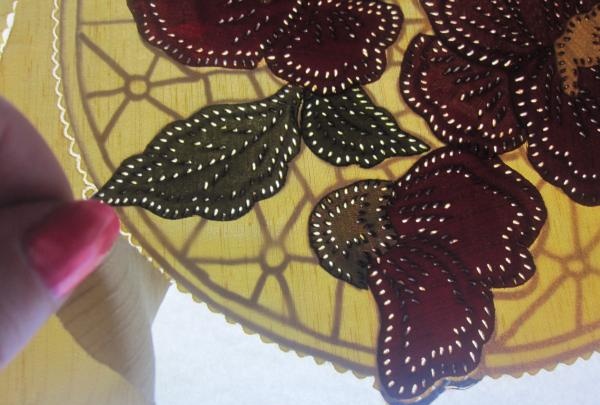
Next, we take the part that will be below, for example, part of the leaf can be located under the flower and “glue” it to the base using this method:
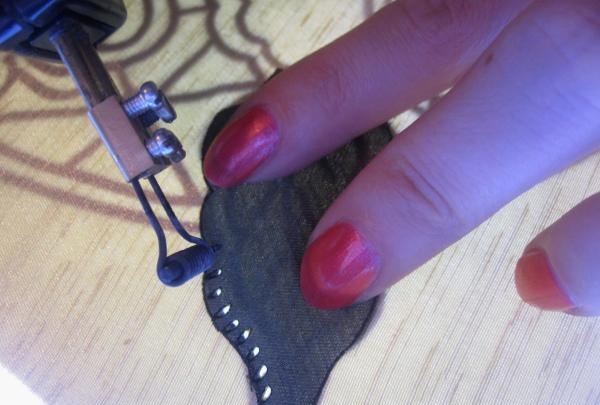
Using a needle, we make light strokes that look like a droplet; do not hold the needle in place for a long time, otherwise you will get large holes.
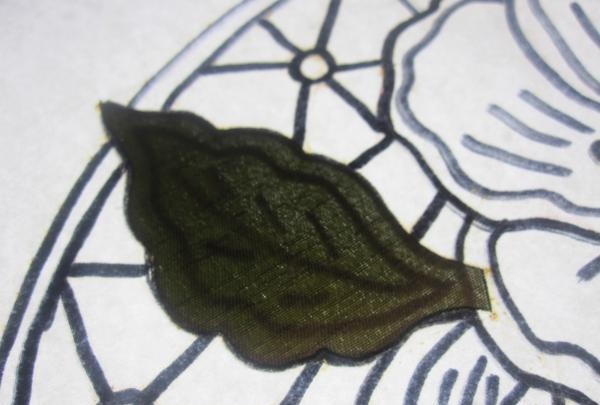
The details are superimposed on the base according to the drawing. When all the leaves are attached to the base, we proceed to the flowers. Also, according to the drawing, we apply it to the base and “solder” it using the same method, hiding the tails of the leaves. In this napkin, the flowers are divided into two parts. The larger part will be applied on the front side, and the small part on the wrong side. This will create an interesting color effect.
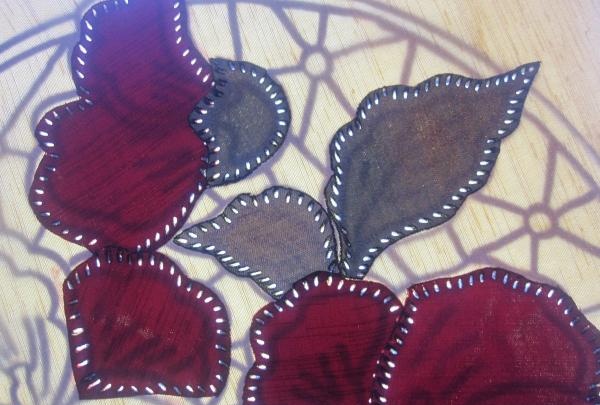
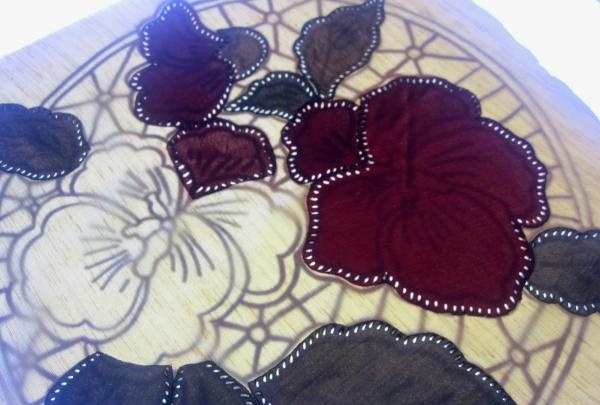
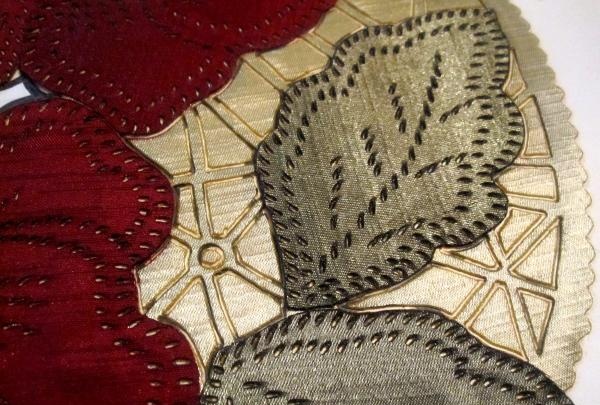
When all the elements are “soldered” to the base, we begin to follow the same “droplets” along the inner contour and the remaining lines on the flowers and leaves.
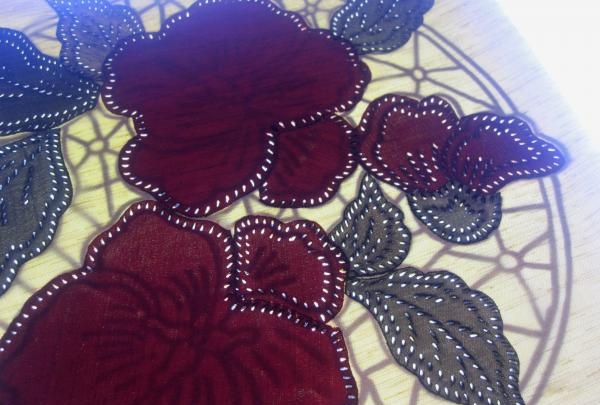
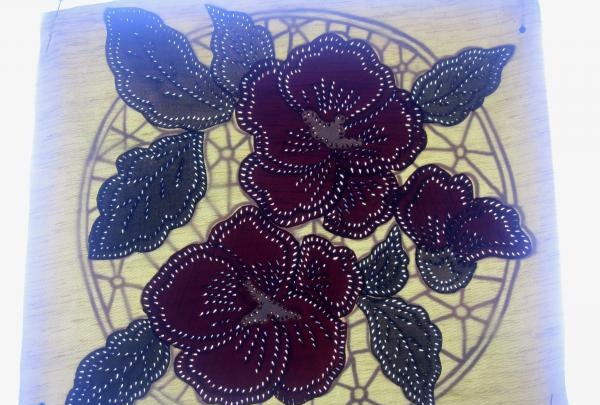
After all the elements have been placed on the base, all that remains is to cut holes of various shapes according to the design and cut out the outer contour of the entire napkin.It can be made either smooth or openwork, as in my example. This is an important part in creating a napkin and requires special care.
The finished napkin will delight you with its beauty