Do it yourself
Life hacks, master classes, useful tips, recipes.
home » Present » Paintings » Painting using a printer
In the modern world, there are many new technologies that allow you to decorate your home using handicrafts. I propose an interesting way to create a picture printed on fabric using an inkjet printer.
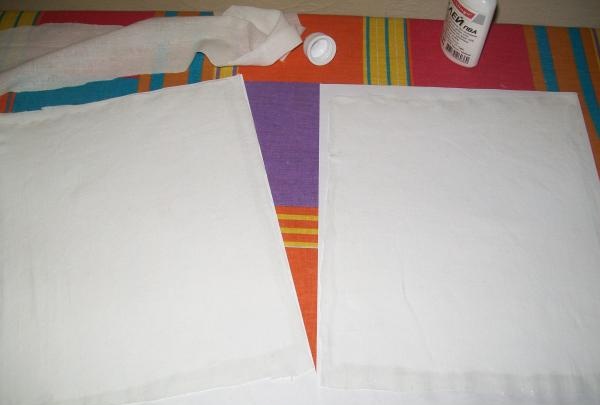
Take thin fabric - calico, chintz (I think you can try silk, satin).

Painting using a printer


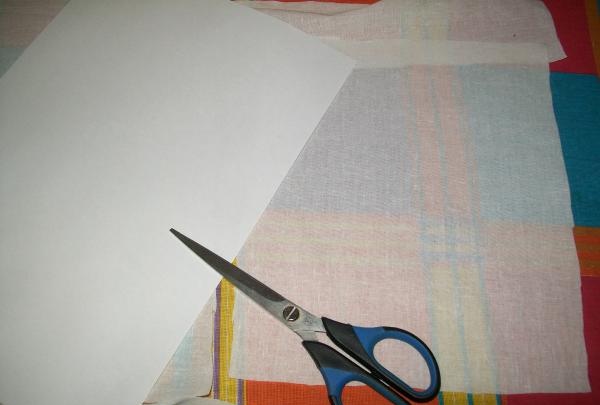
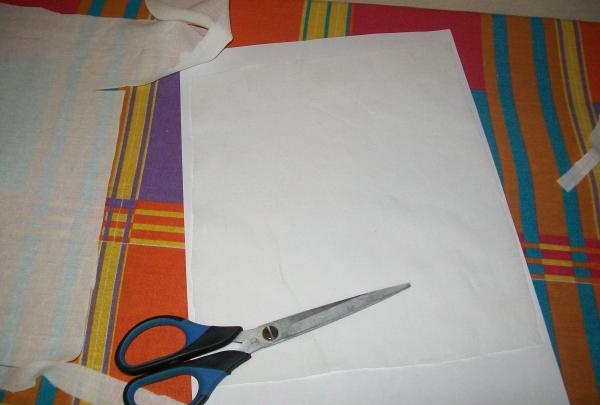
Carefully cut the fabric to the size of an A4 sheet, but about 5 cm shorter - the printer will grab the paper by this edge. To avoid wrinkles on the fabric, which could cause the printer to “chew” the paper, carefully iron the piece of paper with an iron. (photo 2) You can make several blanks at once.


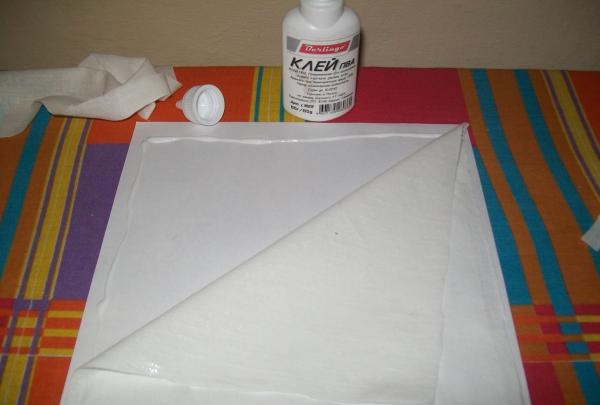
Apply PVA glue along the perimeter of the material (that’s what it is, it remains flexible when dried), carefully press the edges to a sheet of paper. Pay special attention to the bottom edge that is inserted into the printer - so that there are no protrusions, folds, or protruding threads! Of course, nothing should stick out on the sides of the sheet either. Leave the paper to dry completely or, if you are in a hurry, dry it with an iron through an unnecessary cloth.


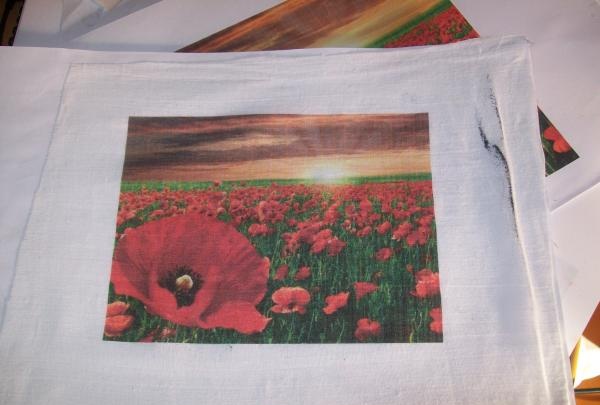
Now copy the image you are going to print into a Word document (although if someone finds it more convenient to work with another program, please), arrange it on the sheet in the way you like. Before printing on fabric, make a test print on paper - it may well turn out that the design extends beyond the edges of the material (I ruined my first painting this way). Check the paper sample with the fabric one and adjust the location of the pattern.
Now we print on fabric. Don’t be alarmed that the printer works quite strained - after all, it is not designed for such work, it’s our crazy hands that force it.


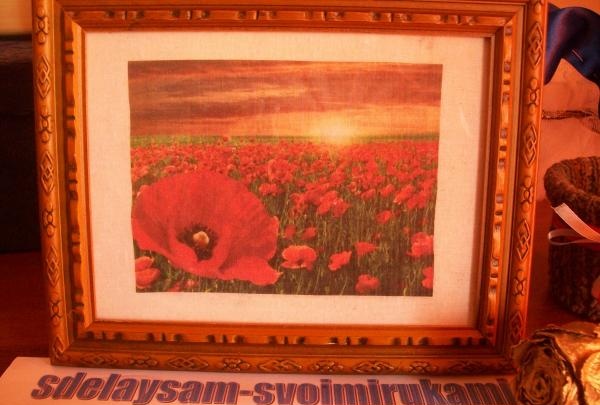
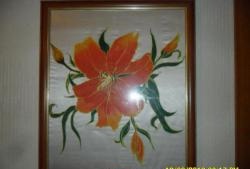
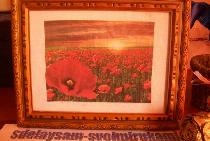
But the result is worth it! The drawing turns out wonderful, although the colors become a little paler.


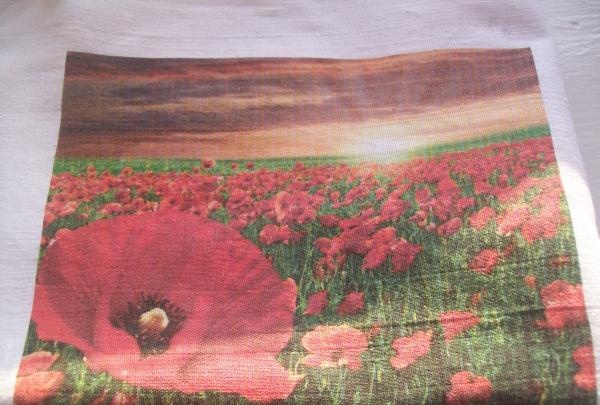
A very interesting texture is visible, something like a painting on canvas.


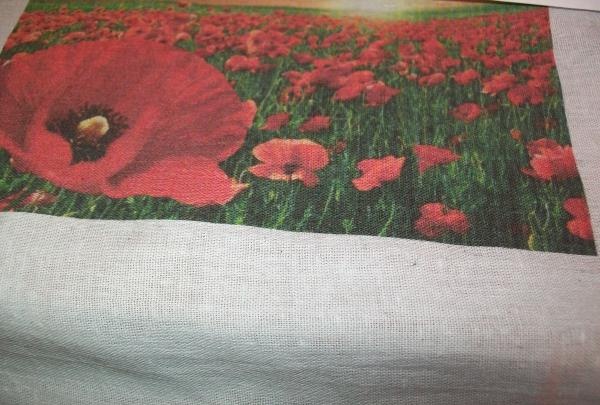
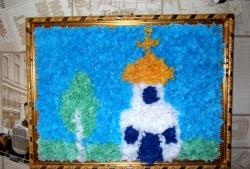
Now you can tint the drawing with acrylic paints, you can put the fabric on plywood and coat it with varnish, or simply insert it into a suitable frame under glass.

come back
Comment
  • bowtiesmilelaughingblushsmileyrelaxed relaxedsmirk
    heart_eyeskissing_heartkissing_closed_eyesflushedrelievedsatisfiedgrin
    winkstuck_out_tongue_winking_eyestuck_out_tongue_closed_eyesgrinningkissingstuck_out_tonguesleeping
    worriedfrowninganguishedopen_mouthgrimacingconfusedhushed
    expressionlessunamusedsweat_smilesweatdisappointed_relievedwearypassive
    disappointedconfoundedfearfulcold_sweatperseverecrysob
    joyastonishedscreamtired_faceangryragetriumph
    sleepyyummasksunglassesdizzy_faceimpsmiling_imp
    neutral_faceno_mouthinnocent
3+three=
Comments (3)
  1. Veent
    #1 Veent Guests July 17, 2012 01:20
    1
    It would look better if they printed a truly digitized picture, rather than a photograph.
  2. Irina
    #2 Irina Guests 27 May 2013 15:15
    0
    The idea is just great! I'll definitely try it. Thank you!!!!!
  3. Vladimir
    #3 Vladimir Guests 10 January 2017 15:00
    0
    Brilliant! Otherwise I don’t know what to do with this rubbish.

Magnetic welder contact

Corrugated paper dahlia | Do it yourself

Charger for portable batteries | Do it yourself

Tool stand made of PVC pipes | Do it yourself

«Do it yourself - with your own hands» - a site of interesting homemade products made from scrap materials and items at home. Step-by-step master classes with photos and descriptions, technologies, life hacks - everything a real master or just a craftsman needs for needlework. Crafts of any complexity, a large selection of directions and ideas for creativity.

We recommend reading

Washing machine error codes