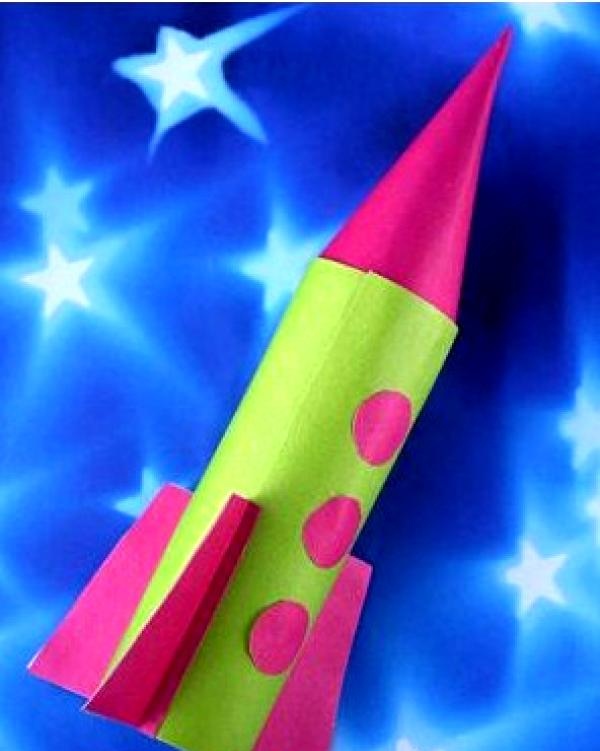
Children are the flowers of life. But these “flowers” can sometimes be so unbearable, especially in outdoor games. Sometimes there is a desire to sit in a quiet environment, without shouting, noise or running. And there is a great activity that will help your children concentrate on creating something new - the Rocket craft. There are several ways to create this kind of instance. This article will discuss two options for creating a rocket.
Tube rocket.
To work you will need:
• tube made from cling film,
• scissors,
• paper of different shades and colors,
• PVA glue (the set is minimal, this craft is suitable for any family budget).
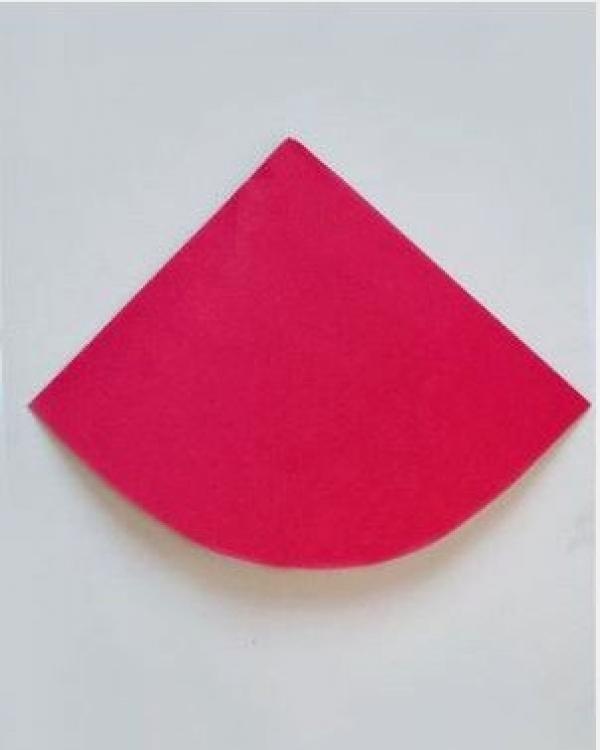
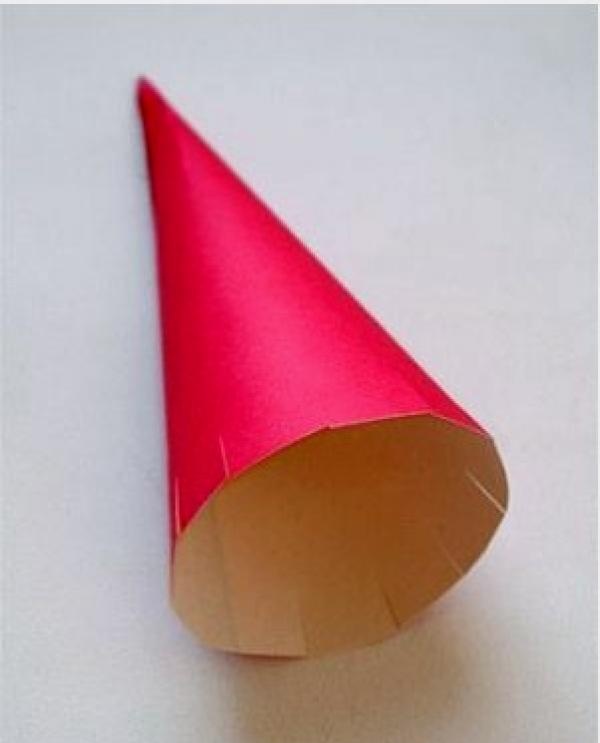
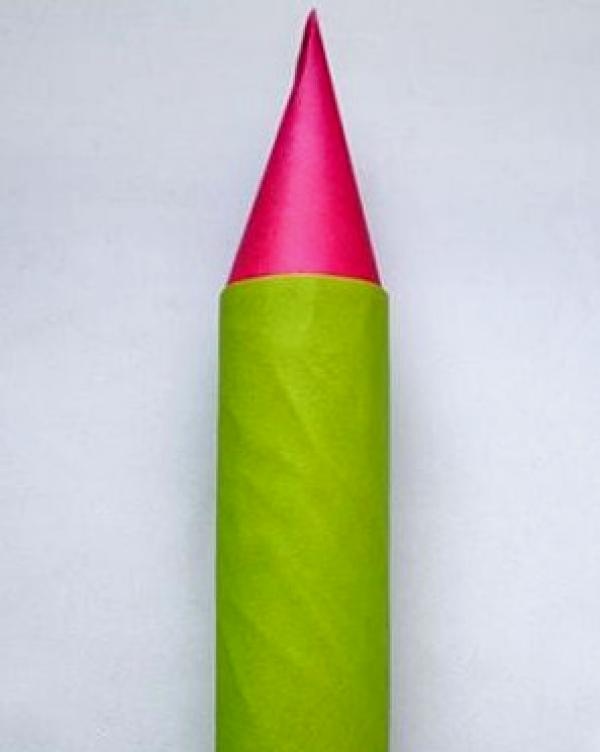
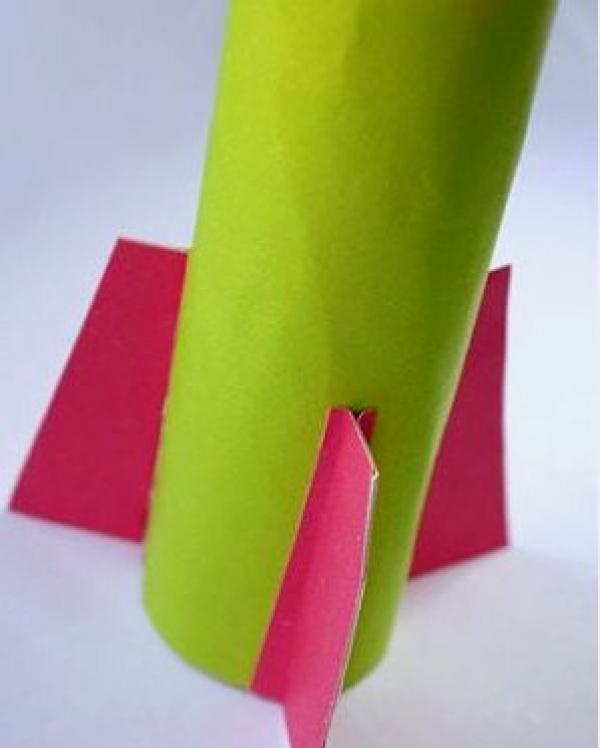
Having chosen the color of paper you like, cut out one fourth of the circle. Having determined the diameter of the tube, we glue a cone from the resulting cut-out part. You need to make small cuts at the ends, after which we glue this part to the tube from under the cling film (you must first cut the tube to the length required). We cover the cylinder (tube) with colored paper. The next step is to cut out the trapezoids, they will serve as the wings of our rocket.Glue the trapezoid in half, leaving an allowance to glue it to the rocket. We decorate the rocket with different “twists”.
All is ready!
Colored paper rocket
This type of work is perfect for children over three years old. First you need to prepare at least four different colors of corrugated paper. The work is not that difficult, but warn your baby to be patient.
We take corrugated paper and carefully cut strips 1.5 and 2 centimeters wide.
To create the rocket body we will need ten strips of the same color. We twist the strips into one roll, gluing one strip to the other alternately. You should try to twist it as tightly as possible. After all ten strips are wound, push the middle of the “roll” upward. The result should be a neat cone. We repeat again, the result should be two such cones (it is advisable to make them the same color, it will look more beautiful).
We cut out two strips 4 centimeters wide, and twist them into a circle with a diameter identical to the cones. We get the “cabin” of the rocket. From 1.5 centimeter strips we wind six “rolls” consisting of five strips. We make cones from the three resulting rolls, and glue the remaining three as a base to each resulting cone. All that remains is to assemble the rocket. We put all the parts in place using superglue.
The rocket is ready to launch!
Your baby will love these toys because he will create them himself and it will be very interesting to play with them.