Easter, a holiday so significant for all Christians, is approaching and it’s time to start preparing: do some general cleaning, embroider an Easter towel or napkin and prepare presents for relatives. And today we will show you a manufacturing option crafts for Easter with your own hands, which you can make together with your children.
Materials:
• Plaster, water and container for pouring.
• Acrylic paints or gouache.
• Sequins.
• PVA glue.
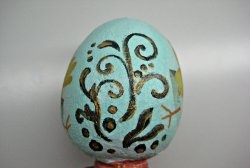
• Eggshell.
• Salty dough.
Stages of making Easter crafts:
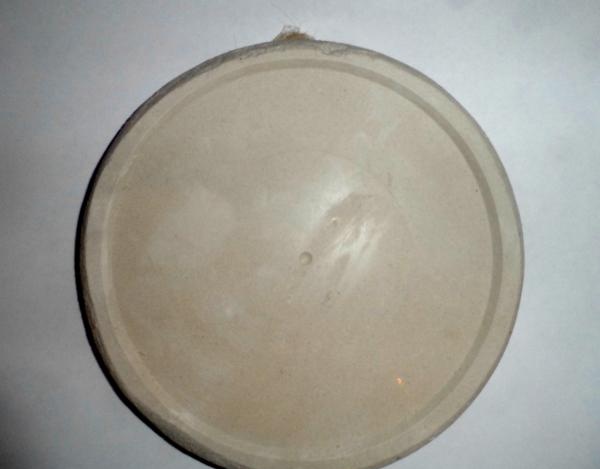
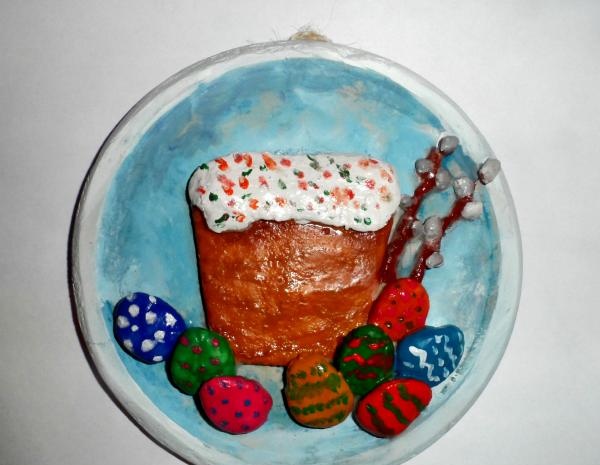
First, let's prepare all the materials and start working with pouring. We select a suitable container, in this case we used a small disposable plate, and pour gypsum diluted with water into it. Also at this stage, we recommend taking care of a loop, which can be made from twine or rope. After the plaster has hardened, remove the workpiece. If you forgot about the loop, you can make it at the very end of the work (glue it on the back side).
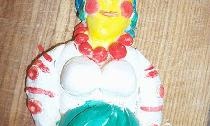
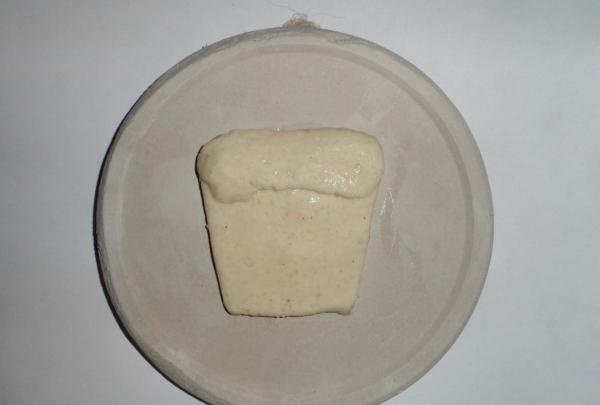
Next, knead the salted dough, roll out part and cut out the cake.We coat the plaster with glue and place the Easter cake, we also form an oval from the dough (for the top part of the Easter cake), coat the plaster with glue and place the part.
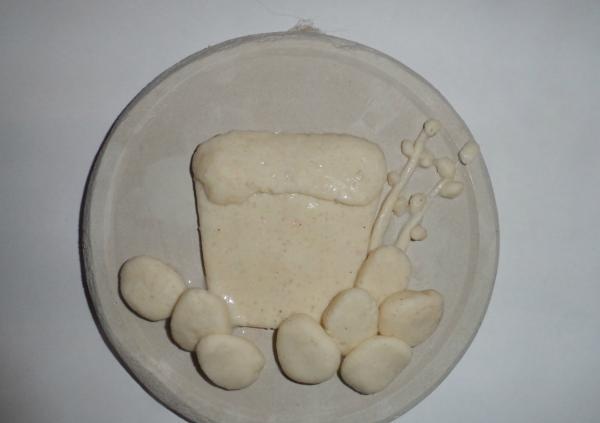
We roll small balls of dough, flatten them and shape them into eggs, place them on the picture, not forgetting to coat everything with glue. In addition to eggs, you can make a couple of willow branches in the background, or make something else.
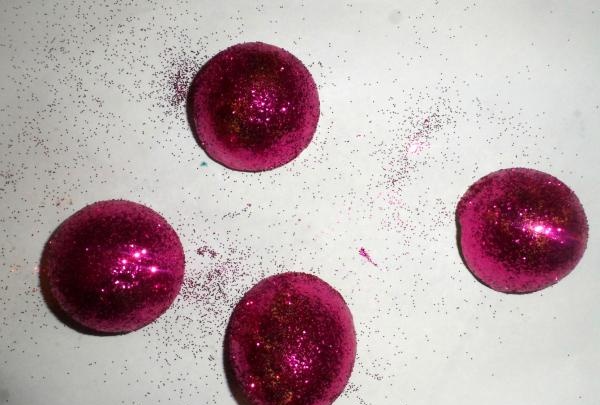
At this stage, the modeling is completed and the product needs to be dried. On a battery, the salt dough will dry in about a day or even less (depending on the thickness of the parts). At normal room temperature the dough will take longer to dry. While the dough is drying, you can prepare the shell. We take a chicken egg shell, wash it, dry it, cover it with PVA glue and sprinkle it with glitter. Dry the shell. Well, if you don’t have glitter, then you can simply paint the shell with paints.
When the salt dough on the craft has dried, cover all the parts with paint and dry.
We coat the edges of the picture with glue and decorate with pieces of shell. We dry the product and the DIY Easter craft is ready.