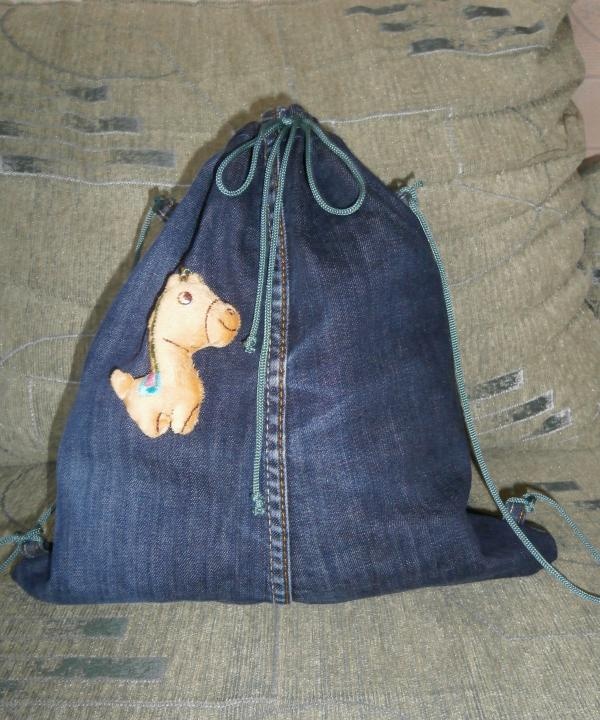
Modern designers are coming up with many ways to use unnecessary jeans in everyday life - they are used to make toys, wallets, pillows, bags, chair covers... And I suggest making a children's backpack.
To sew a children's denim backpack you will need the following materials:
- unnecessary jeans;
- cord or rope;
- large scissors;
- small nail scissors;
- blue threads for sewing;
- ruler;
- pins;
- safety pin.
The procedure for sewing a backpack.
1. First you need to cut two pieces, each 35 cm long, from the legs of your jeans.
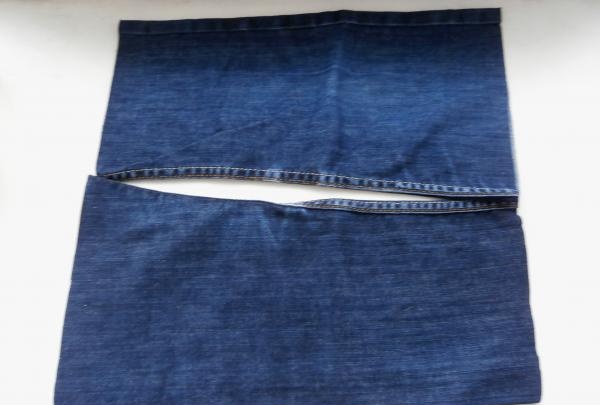
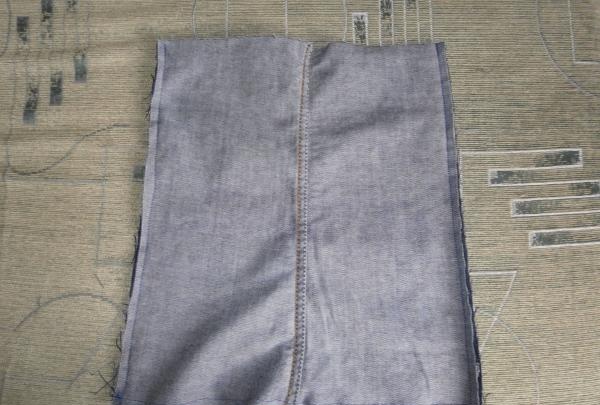
2. Now you need to cut off the side seam on one side of each piece.
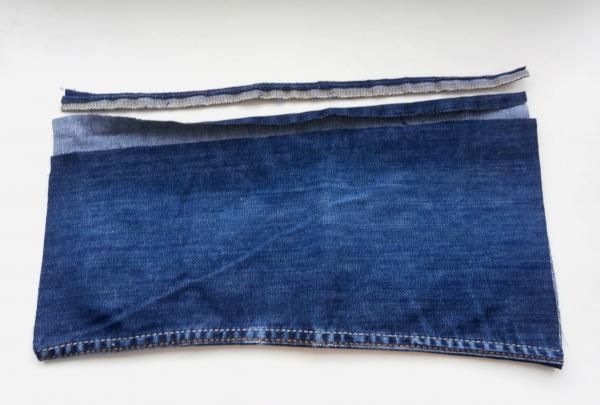
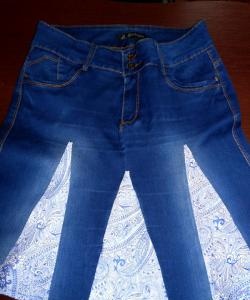
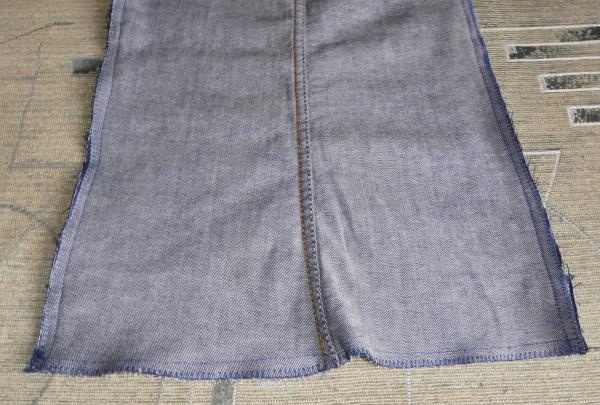
3. Straighten the pieces. You will get two denim panels. Trim them with scissors so they are symmetrical.

4. Cut the belt loops from your old jeans. Trim them so they are the same length.
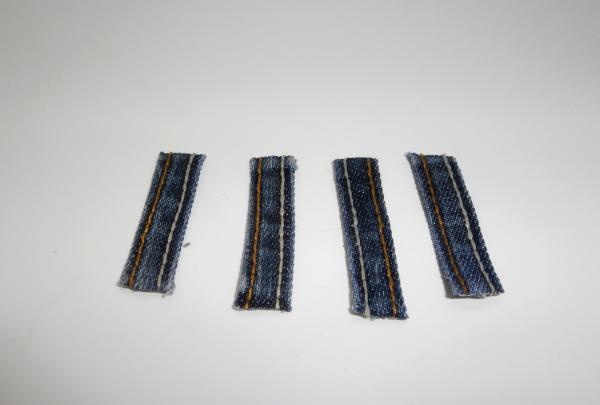
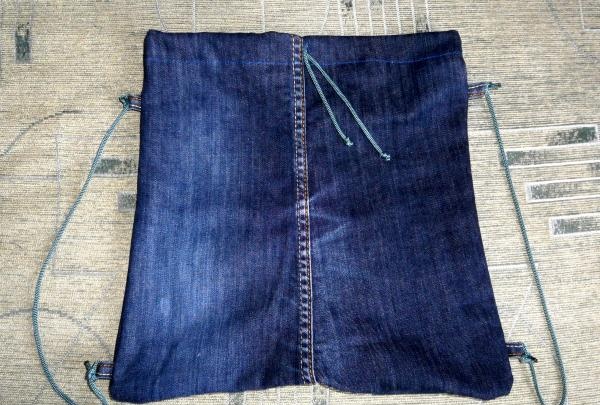
4. Fold the panels right sides together.Fold each belt loop in half to form loops and place them on the sides between the denim panels (loops facing inward). Secure the belt loops with bobby pins or baste with thread. This will be the base of the backpack, and the belt loops will become loops into which the straps can then be threaded.
5. Use a sewing machine to stitch the sides of the backpack base and the bottom side.
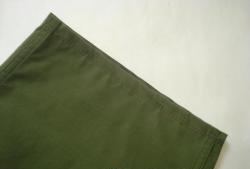
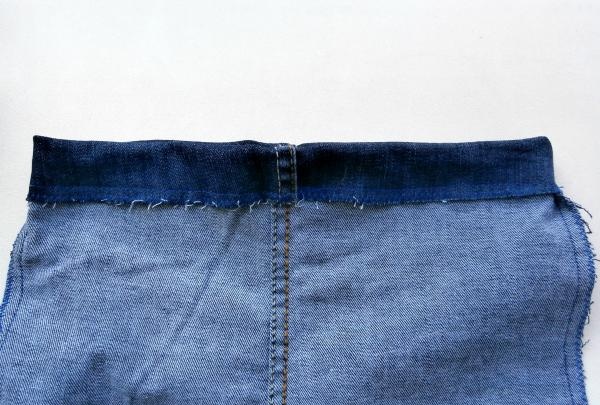
6. Finish the edges using a sewing machine using a zig-zag stitch.
7. Tuck the top edge of the backpack and stitch it using a sewing machine.
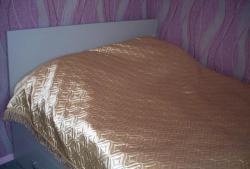
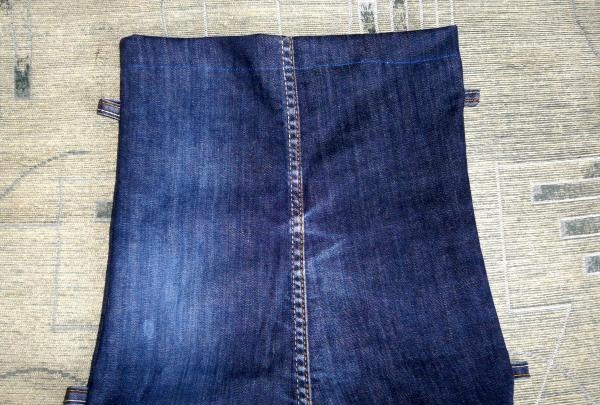
8. Turn the backpack right side out and straighten it out.
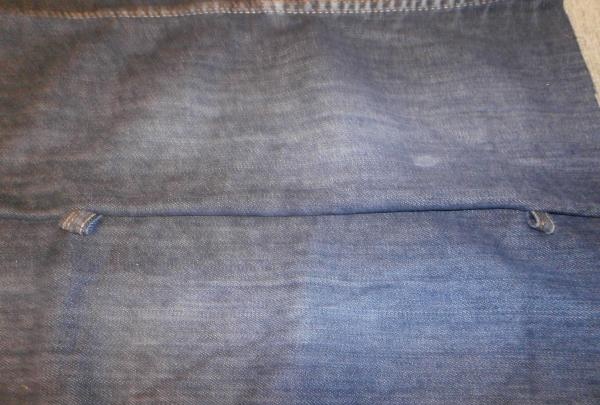
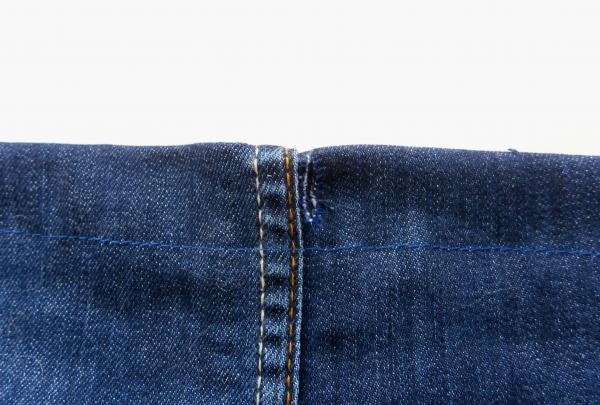
9. On the front side of the fold, make a small cut with nail scissors. Hand stitch the resulting hole using a buttonhole stitch.
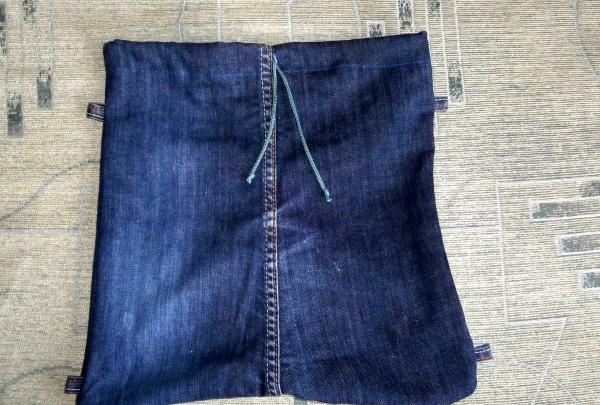
10. Take a colored cord and cut a 50 cm long piece from it. Tie knots at the ends of the cord. Attach a safety pin to one end and use it to insert the lace into the hem through the cut hole.
11. Now you need to make straps so that the backpack can be carried comfortably on your back. Take two pieces of cord, each 40 cm long. Tie the cords tightly to the loops on the sides of the backpack.
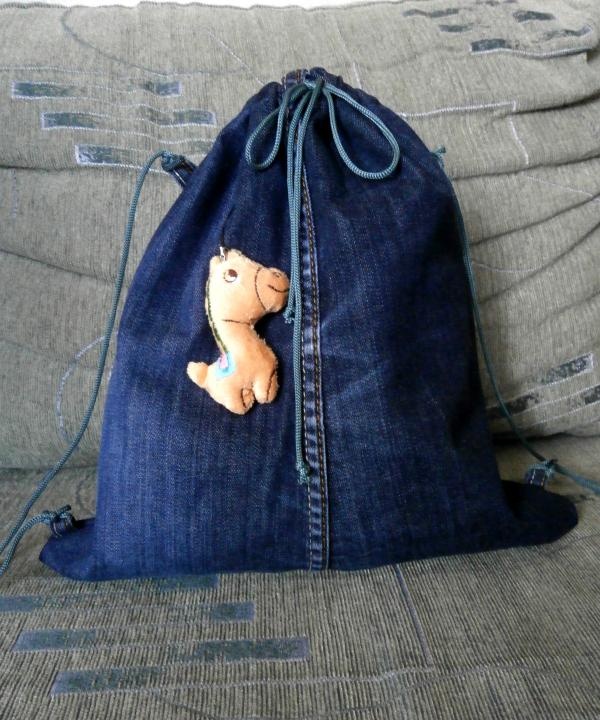
12. Tighten the drawstring at the top of the backpack and tie it into a bow.
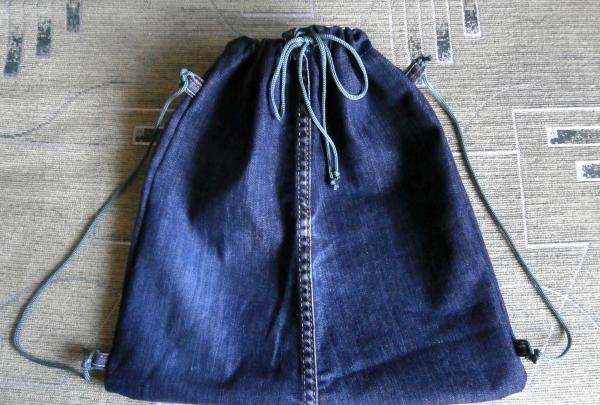
The children's denim backpack is ready. Attach a small toy keychain to it or decorate it with bright badges and give it to your child. The backpack will fit your favorite toy, a delicious sandwich, candy, and a bottle of juice or water.
This small denim backpack is perfect for taking on a walk or to kindergarten. A backpack will also come in handy for schoolchildren - you can use it to carry replacement shoes, a sports uniform for physical education, and you can take it with you on school excursions around the city.