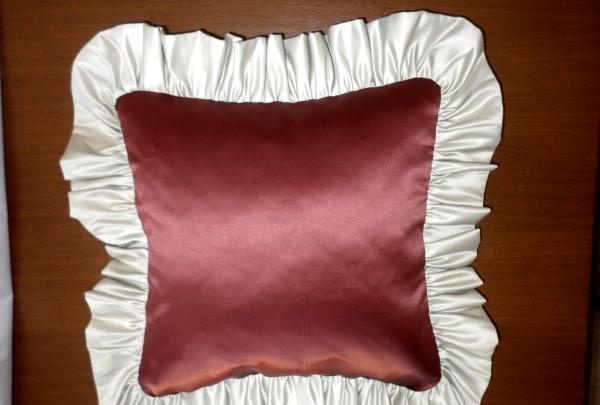
To sew 2 pillows, the finished size of which is 55*55 cm, you will need:
• fabric for pillowcases 150 cm wide and 100 cm long;
• finishing fabric 150 cm wide and 70 cm long;
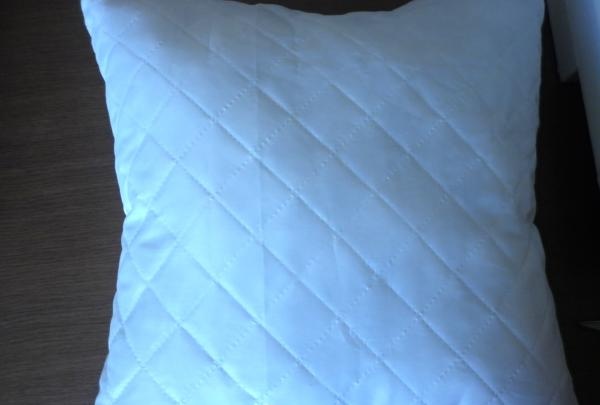
• quilted lining fabric on padding polyester, 150 cm wide and 85 cm long;
• Velcro tape (Velcro) 2.8 cm wide and 30 cm long;
• any filling for pillows, for example, holofiber;
• matching sewing threads;
• scissors;
• ruler;
• tailor's centimeter or tape measure;
• chalk;
• 2 hours of free time and a little imagination.
Step-by-step instruction.
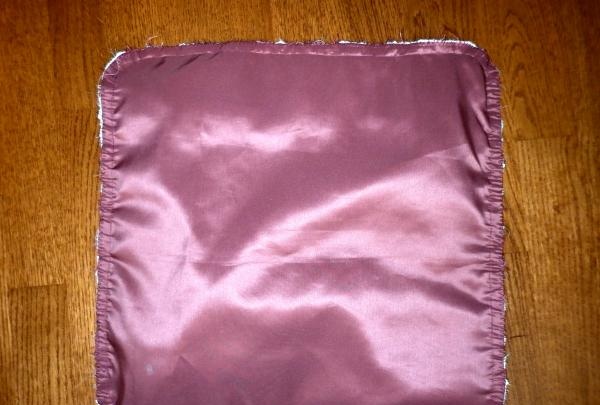
Reveal the details. For pillowcases, cut out 2 rectangles measuring 43*100 cm from fabric. For frills, you need to cut 2 strips of fabric measuring 17*300 cm (they can be cut transversely or obliquely).
1. Fasten the pillowcase onto the pillow.To do this, sew the short sides of the rectangles with a hem seam with a closed cut: first fold the fabric by 0.5 cm, then by 3 cm and sew a line.
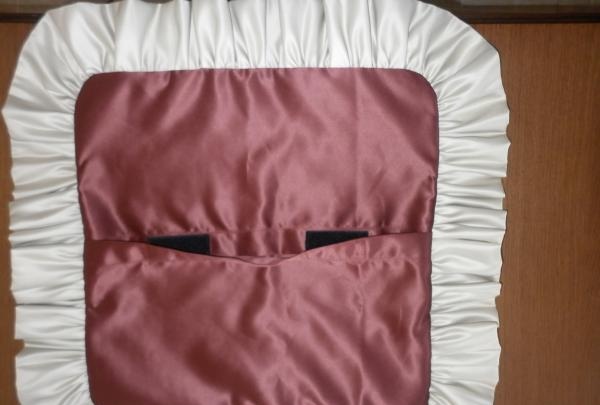
2. Cut the Velcro tape into 4 pieces, each 7.5 cm long. Stitch the top parts of the hooked braid onto the edge of the pillowcase on the wrong side, and the bottom parts of the braid onto the edge of the pillowcase on the right side. Make sure that the pieces of braid are located opposite each other, otherwise the fastener will turn out skewed.
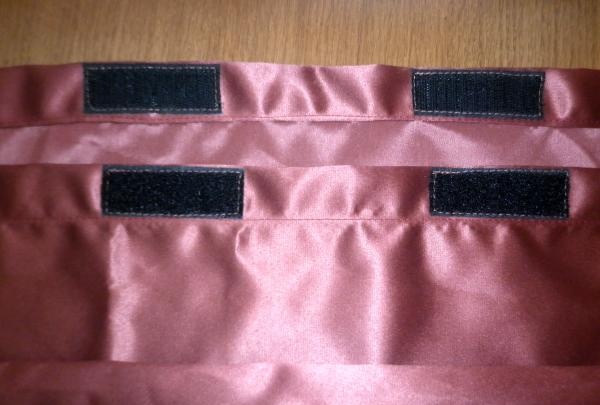
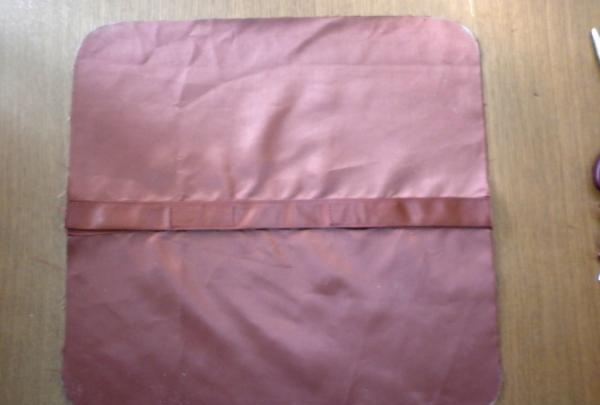
3. Fold the cut pieces and fasten the pillowcase. Then align it so that the fastener is exactly in the middle of the part. After this, cut into 2 parts, slightly rounding the corners. You should have 2 parts: the bottom one, on which the fastener will be located, and the top one.
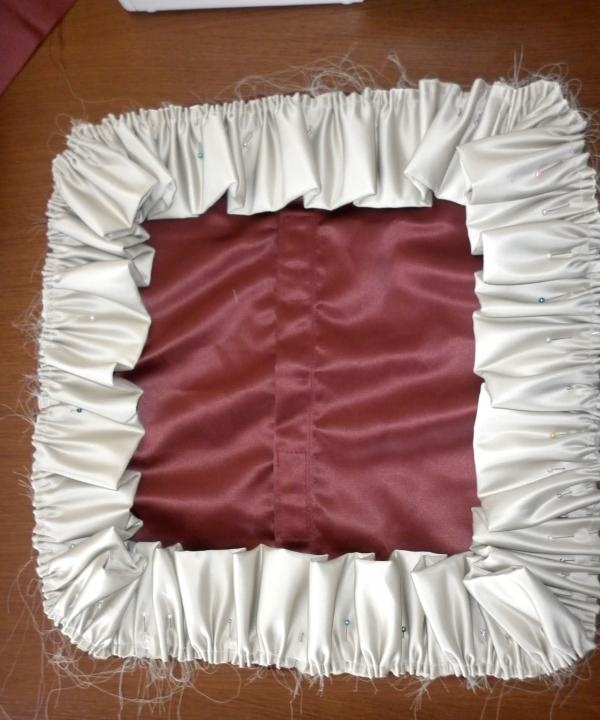
4. Sew the frill details into a ring and press the seams. Fold the frill in half and place a running stitch along the edges at a distance of 0.5 cm from the edge. Then gather the frill so that its length is equal to the perimeter of the pillowcase, which is approximately 165 cm.
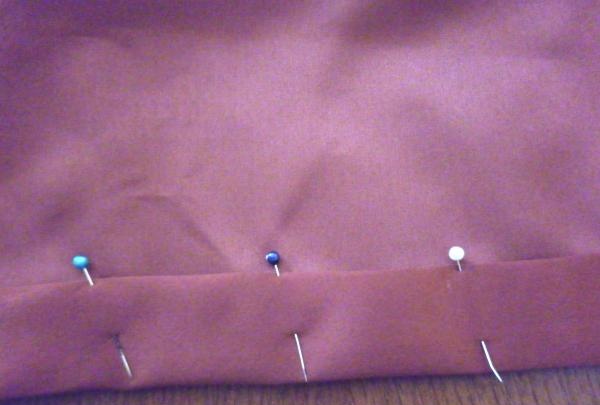
5. Place the finished frill on the bottom of the pillowcase and secure them with tailor's pins. After this, sew a stitch 0.75 cm from the edges, then remove the pins.
6. Sew the top and bottom parts of the pillowcase, process the edges with an overlocker or lay a zigzag stitch along them.
7. Turn the pillowcase right side out through the clasp, straighten the frill and iron the product. Repeat steps 2-7 to sew the second pillowcase.
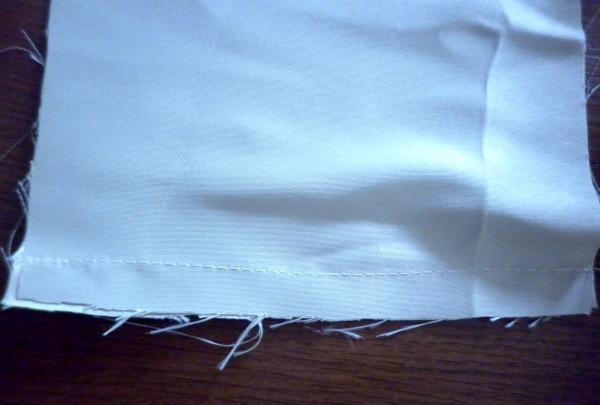
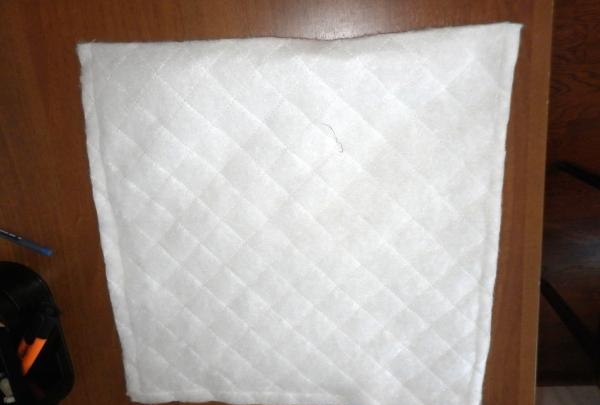
8. Now let's start sewing the pillow itself. To do this, cut out 2 pieces measuring 42*84 cm from quilted lining fabric. Fold each piece in half.Stitch 1cm from the edge, leaving a 15cm hole in the seam.
9. Turn the pillow right side out. Fill it through the hole left with filler to the desired volume.
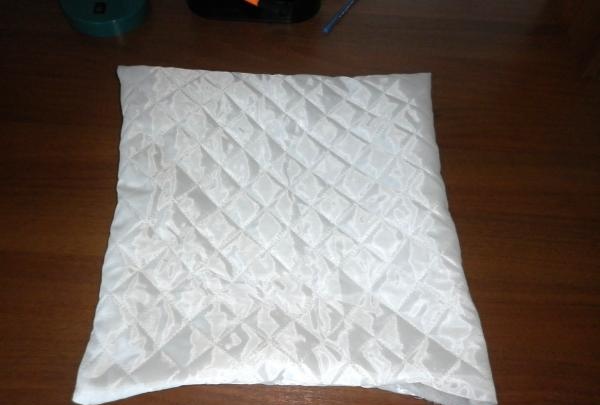
10. After this, stitch the hole or sew it with blind stitches by hand. Sew the second pillow in the same way. If you have a ready-made pillow measuring 40*40 cm, then this step 9 can be omitted.
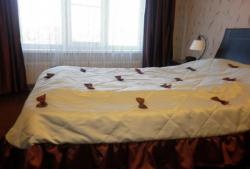
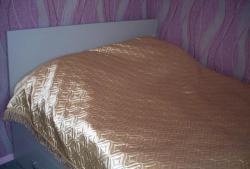
11. Place the pillowcase on the pillow and admire the result: a fashionable decorative pillow will look great on the sofa in the living room or on the bed in the bedroom, successfully complementing and enlivening the interior of any room!