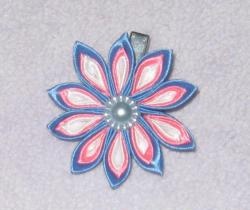
Very beautiful and original jewelry have become true friends of modern fashionistas. In addition, each flower in this style is original and unique, as it is made by hand.
Materials for manufacturing.
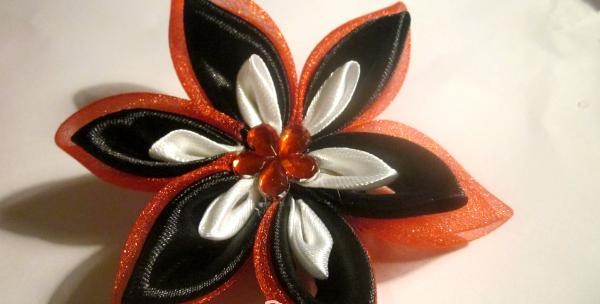
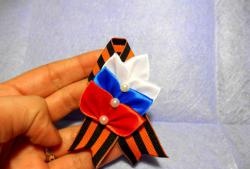
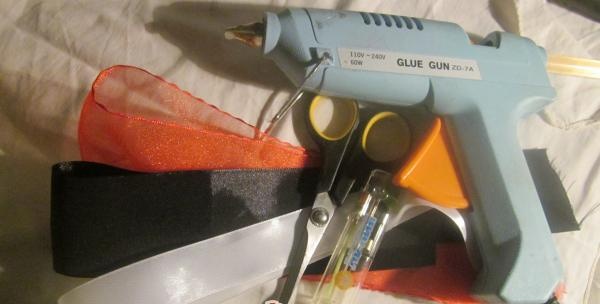
In this master class we will show you how to make a beautiful hair clip with a beautiful three-color flower. To make such a single flower, we will need three pieces of approximately 30 centimeters of ribbon in red, black and white colors. Red and black ribbons are wide, 5 centimeters each. And the white one is one and a half centimeters wide.We will also need a gun with a glue stick, scissors, an ordinary lighter, a small hairpin on which we will attach our flower and bead or, in our case, a red plastic flower.
Making a flower.
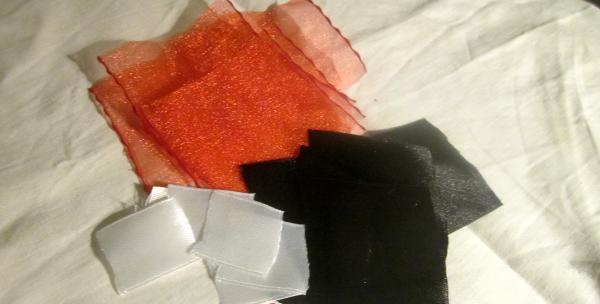
First we need to cut six even square pieces from each tape. Each of them needs to be burned a little at the cut points so that the pieces do not fray.
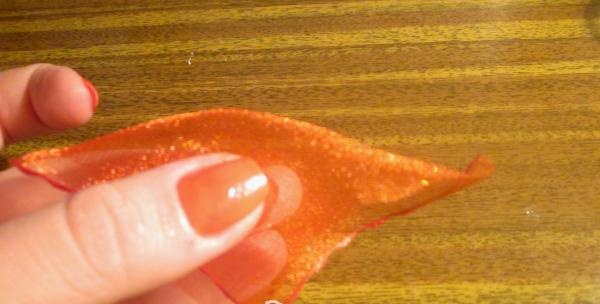
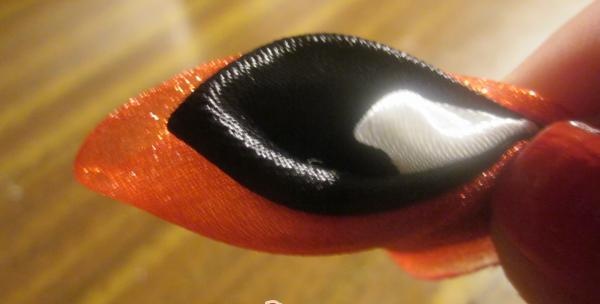
Next, bend the red square diagonally in half to form a triangle.

We bend the resulting triangle in half again, obtaining a triangle half the size. We do the same with black and white squares. Next, we connect the three resulting triangles with the lower corners, and alternately attach opposite corners to them.
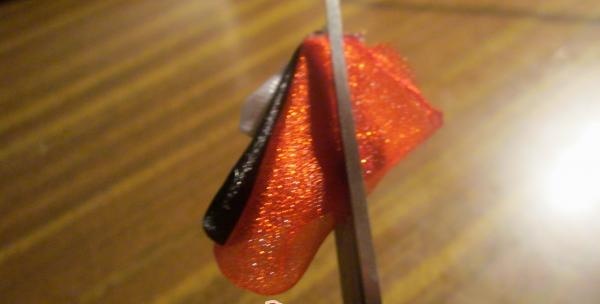
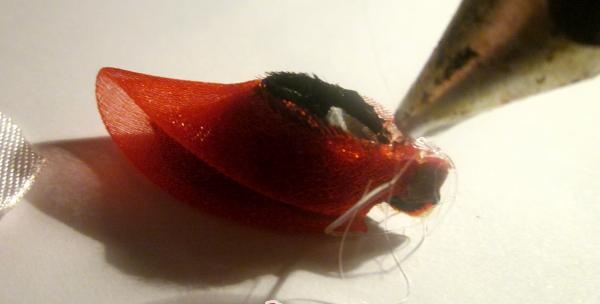
Using a lighter, lightly light the folded corners and press them, connecting the melted ends together.
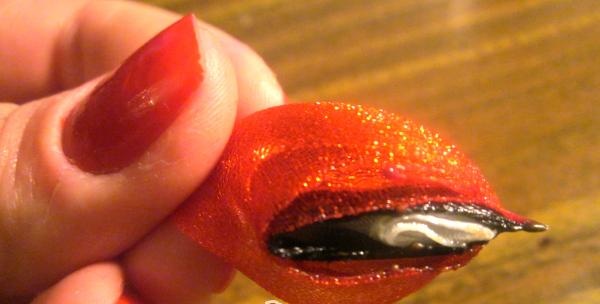
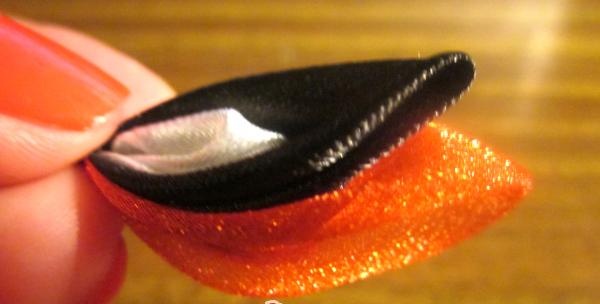
The petal is ready, but not completely. We cut the back of the resulting petal to length, reducing its height, and again slightly burn the cut area, avoiding further fraying. That's all. The first petal is ready.
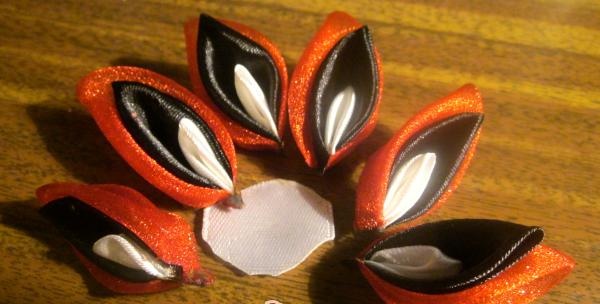
We do the same with other squares, and get six petals to connect them into a flower, cut out a small circle from another square of ribbon, burn it in a circle, and glue the petals to the circle one by one with a hot gun.
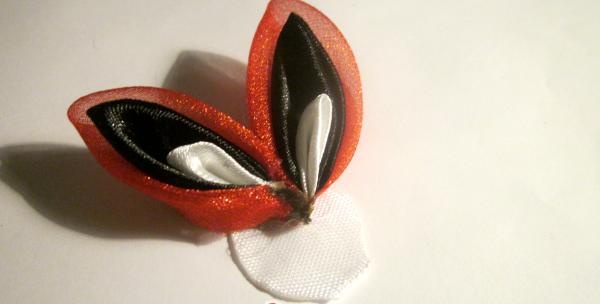
It is worth noting that glue must be applied not only to the bottom of the petal, but also to the side, which will be adjacent to the adjacent petal. This way they will fit closer and tighter to each other.
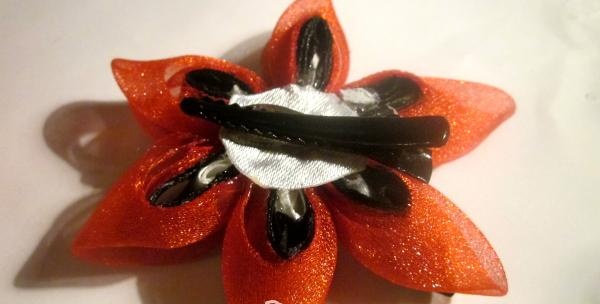
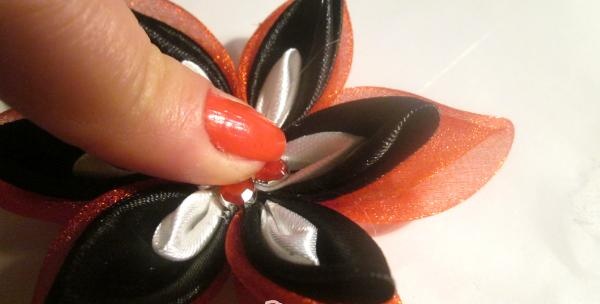
After the glue has cooled a little, pour a little more glue into the middle of the flower and glue the middle.

And after complete drying, we attach the hairpin to hot glue.
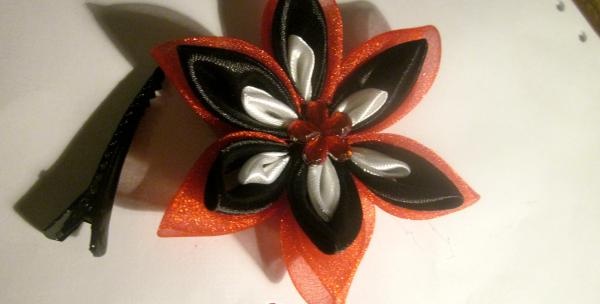
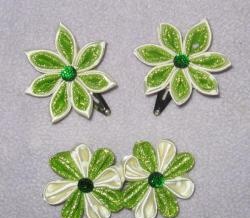
That's all, our flower is completely ready.This is one of the easiest ways to make a beautiful kanzashi style hair decoration. The color scheme, as well as the size of the ribbons, can be changed depending on the wishes of the future owner. Always be beautiful and don’t be afraid to experiment.