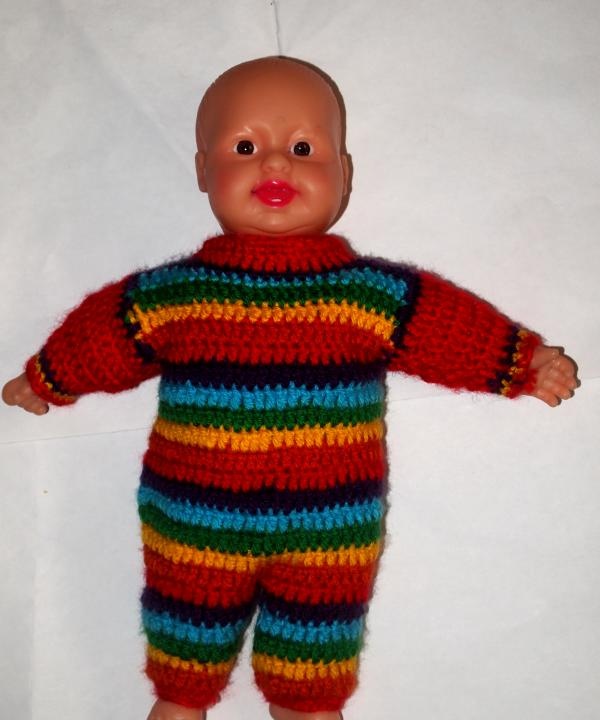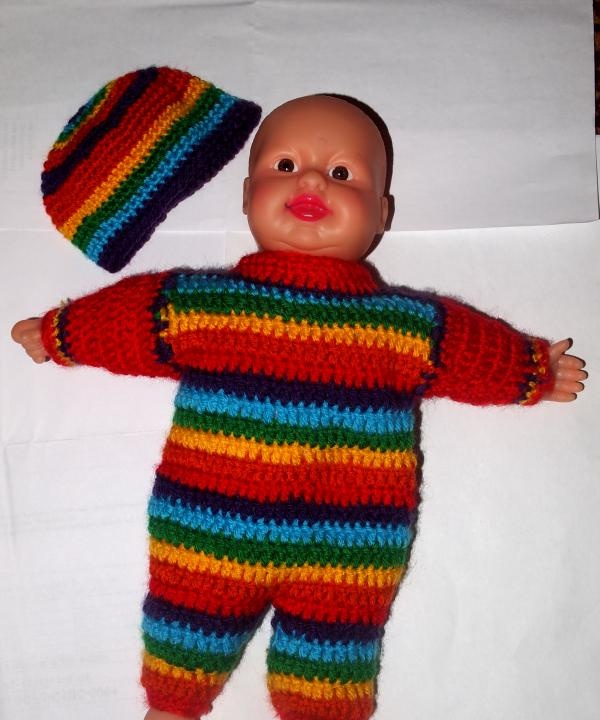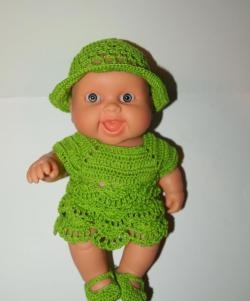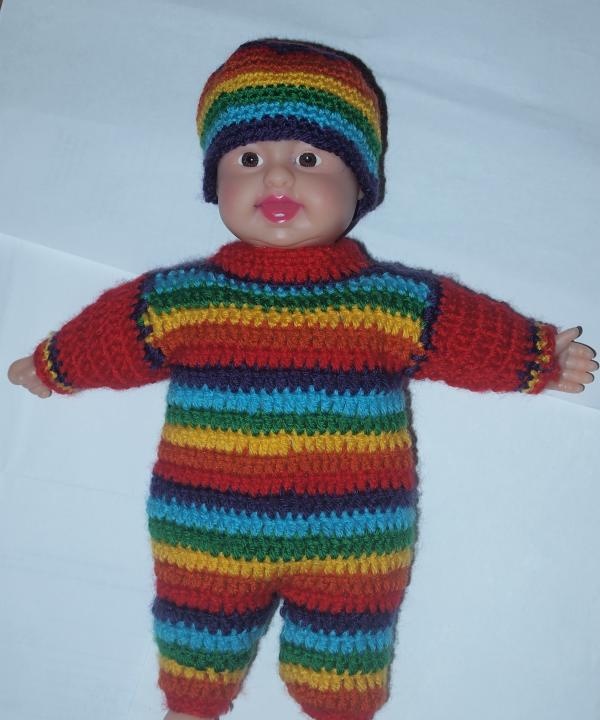
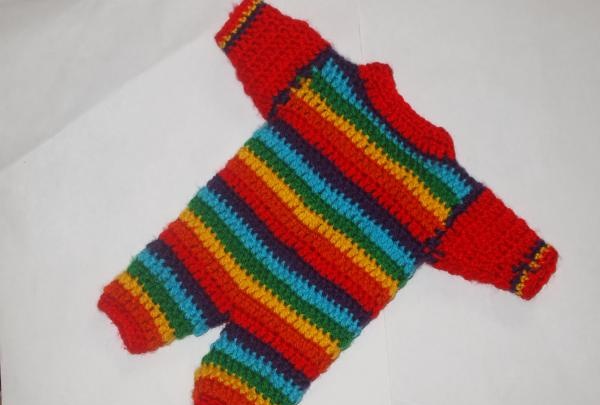
If your baby's doll outfit is outdated, I suggest updating it. It looks very original. You can knit a hat or a set consisting of a hat and scarf for your baby. In this case, they will look very harmonious with the doll. To knit a suit I use acrylic yarn of various colors. Initially, the idea was to knit a suit in all the colors of the rainbow, but it was then that I didn’t have blue yarn at home, and I decided to try knitting without blue. Hook 2 mm. You can use any yarn depending on the leftovers you have and your imagination.
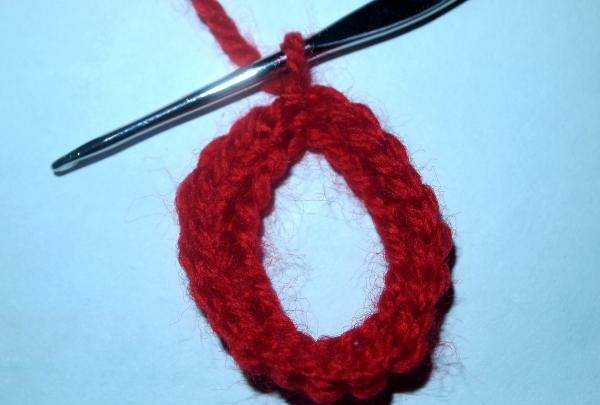
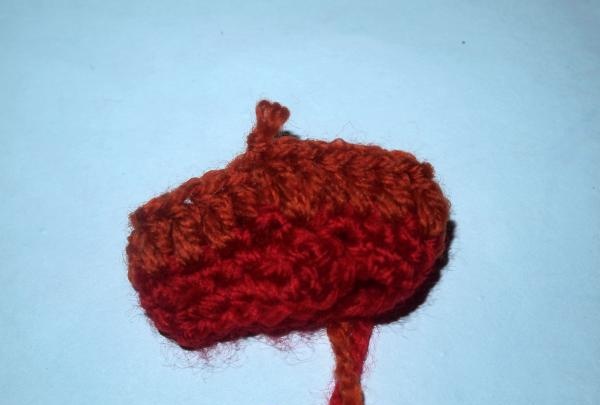
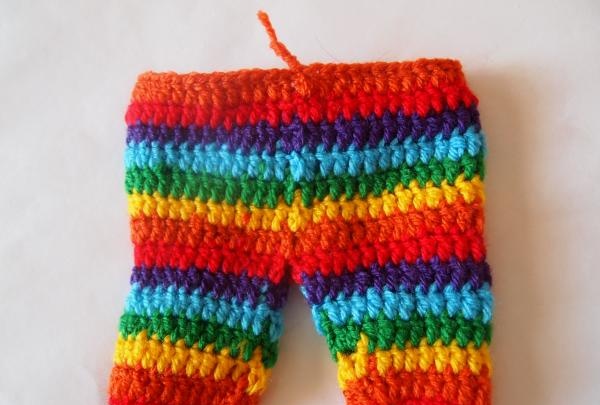
So let's get started. The knitting will begin from the bottom of the trouser legs. Each row of the costume will be made with a different color of yarn. To do this, cast on 20 VPs with red yarn and close it in a ring.
From each loop, knit 1 sc (single crochet). At the end of the row there is a connecting loop, and at the beginning of each row there is 1 VP if the row is knitted with RLS, and 3 VP if the row consists of SSN.
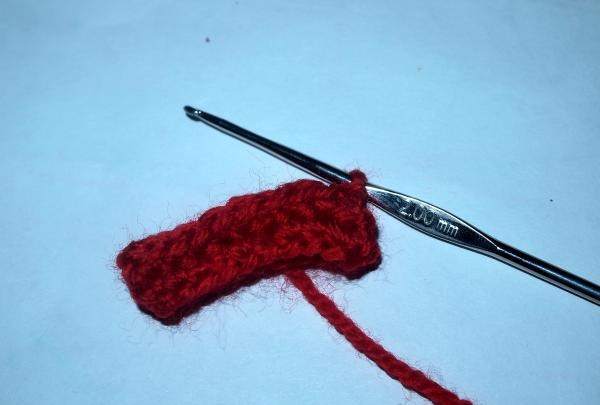
2nd row: knit similarly to the first. Row 3: Double crochet (dc) with orange yarn.Make an increase in the first and last loop, that is, knit 2 dc from them.
4th row: use yellow yarn to knit all DCs without adding. 5th row: knit in green like the 3rd row, that is, make 2 additions.
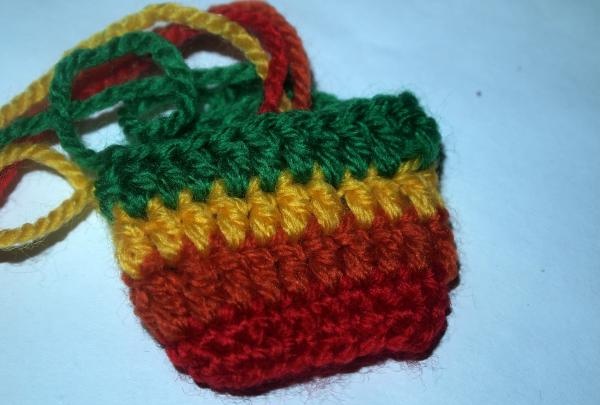
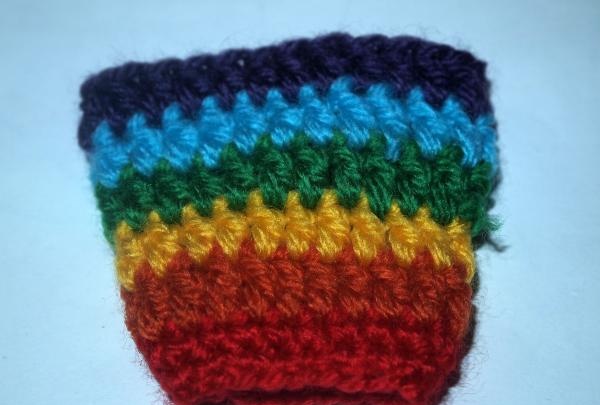
6th row: in blue similar to the 5th row; 7th row: use purple yarn in the same way as the 5th row.
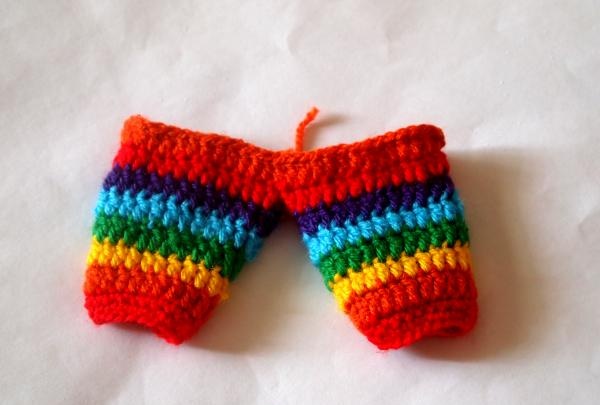
One pant leg is ready. Similarly, you need to connect the second one.
Now you need to knit a row of red yarn, combining the legs into one piece. To do this, knit one leg, then, leaving one loop unknitted, knit a DC in the second leg and continue knitting all around as one piece.
Thus, knit up to row 19 inclusive.
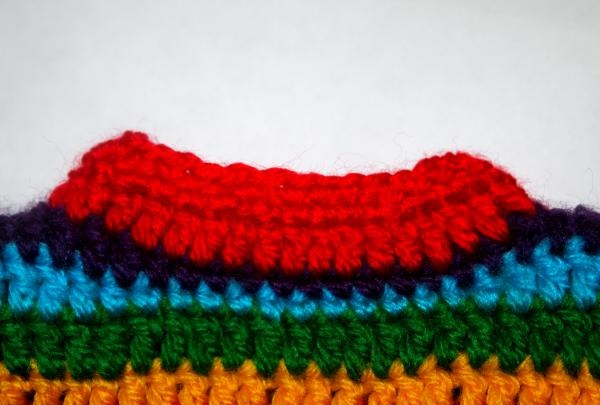
In the 16th row, it is necessary not to connect the row in a circle at the back in the middle in order to create a fastener. Moreover, at the end of the row it is necessary to tie a chain of 2 VPs so that the fastener overlaps. After this, you need to create armholes for tying the sleeves. To do this, divide the knitting into 3 parts and knit the back and two parts of the back separately. Knit up to 23 rows inclusive.

24th row, front part: 6 dc, 1 pc (half-stitch), then knit sc, at the end of the row knit pc and 6 dc.
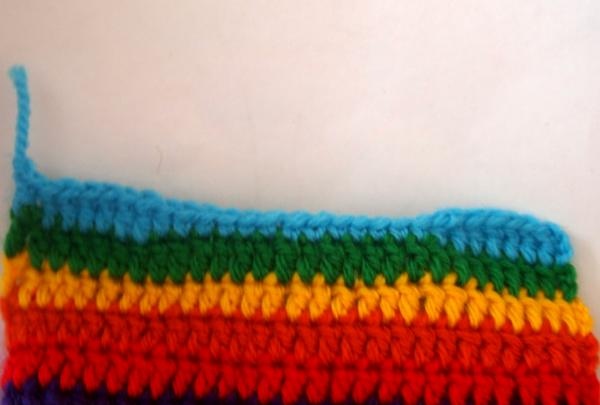
Row 25 front: similar to row 24. 24 row back: sc 25 row: like row 24 for the front of the suit.
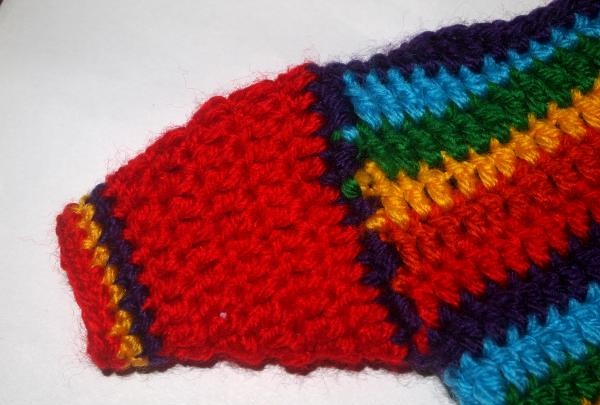
The next step is to decorate the collar; to do this, turn the suit inside out and sew the shoulder seams. This can be done with sc. Then dc to tie the first row of the gate. Work the second and third sc.
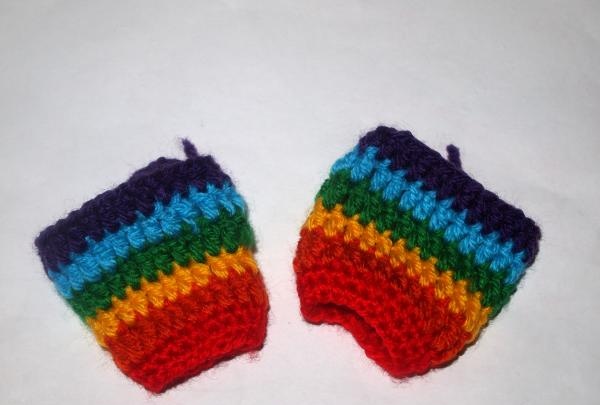
Sleeve:
Tie the armhole of the sleeve with purple yarn. After this, switch to red yarn and knit the first row of dc. Knit DC rows 2–5, decreasing 2 stitches in each row. It is more discreet to do this under the armpit.Work the last three rows of sc with purple, yellow and red yarn.
Knit the 2nd sleeve in the same way. Tie the edge of the cut on the back and sew on buttons or buttons.
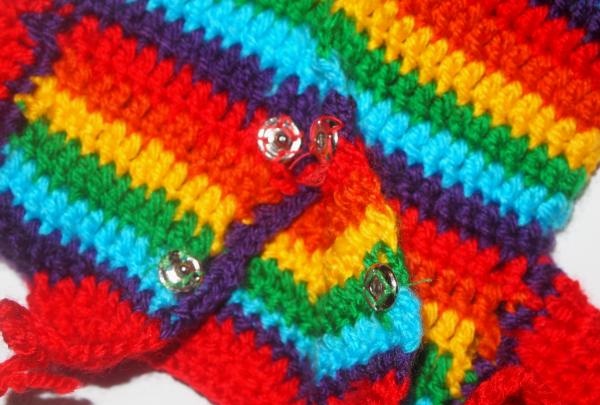
At the very top of the gate, for convenience, I made ties by tying chains from VP.
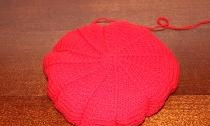
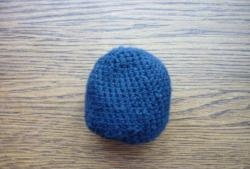
Cap. Cast on 5 VP and close the 1st row into a ring: 6 RLS; 2nd row: 12 RLS; 3rd row 18 RLS. Continue knitting a flat circle until it reaches the circumference of the doll's head.
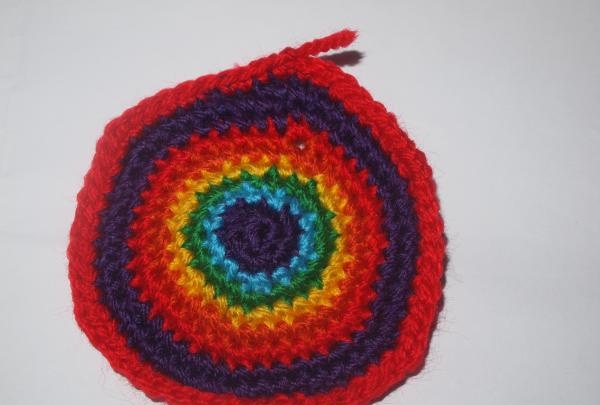
After this, continue knitting without adding until the required height of the cap is reached. It is best to try on while knitting to protect yourself from unnecessary work.
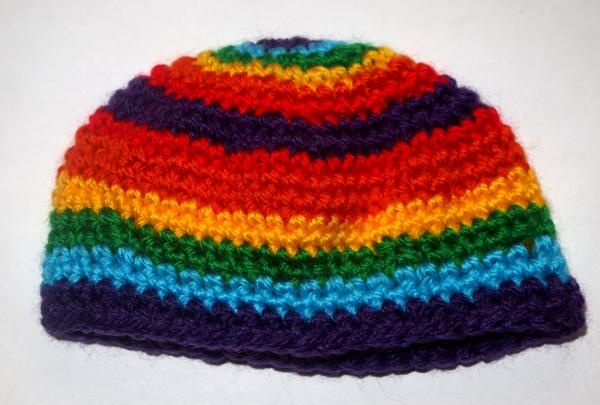
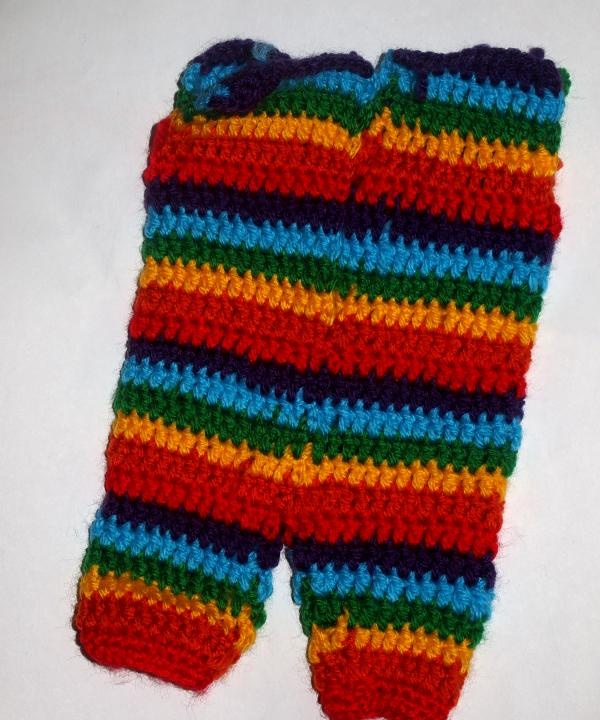
The costume is ready, you can dress up the doll and go for a walk with her.